
We may earn revenue from the products available on this page and participate in affiliate programs. Learn More ›
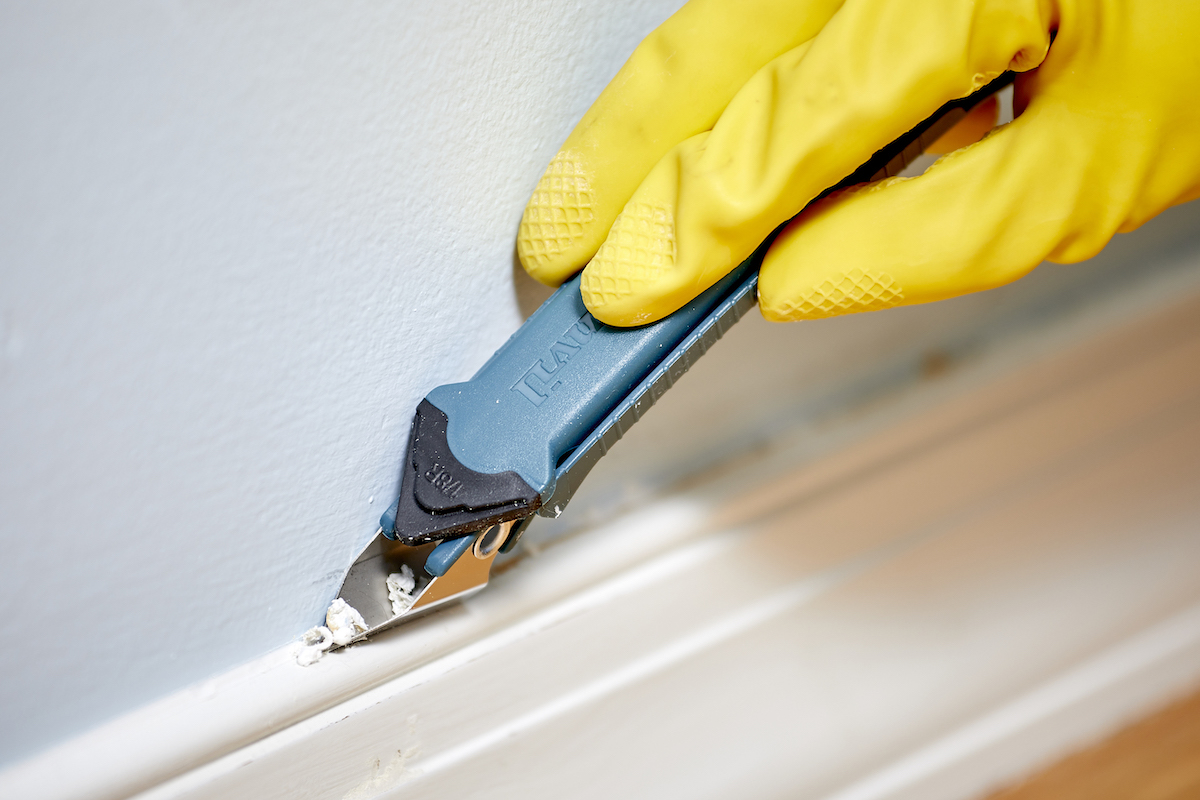
Though caulk often lasts for years, it doesn’t stick around forever. If yours has become discolored, has developed cracks, or has begun to separate, it’s time for a new application. Before you can lay down a new bead of caulk, however, you must get rid of the caulk that’s already in place. Though it’s not overwhelmingly difficult to remove caulk, the job can be tedious. In any case, it’s best to know what type of sealant you’re dealing with.
Inspect the caulk to determine whether it’s silicone- or water-based. While silicone-based caulk is rubbery and somewhat stretchable, the water-based stuff is considerably harder and tends to chip away. Some caulk removers work on both types; others only work with one or the other. Avoid a return trip to the store and be mindful of what you’re purchasing.
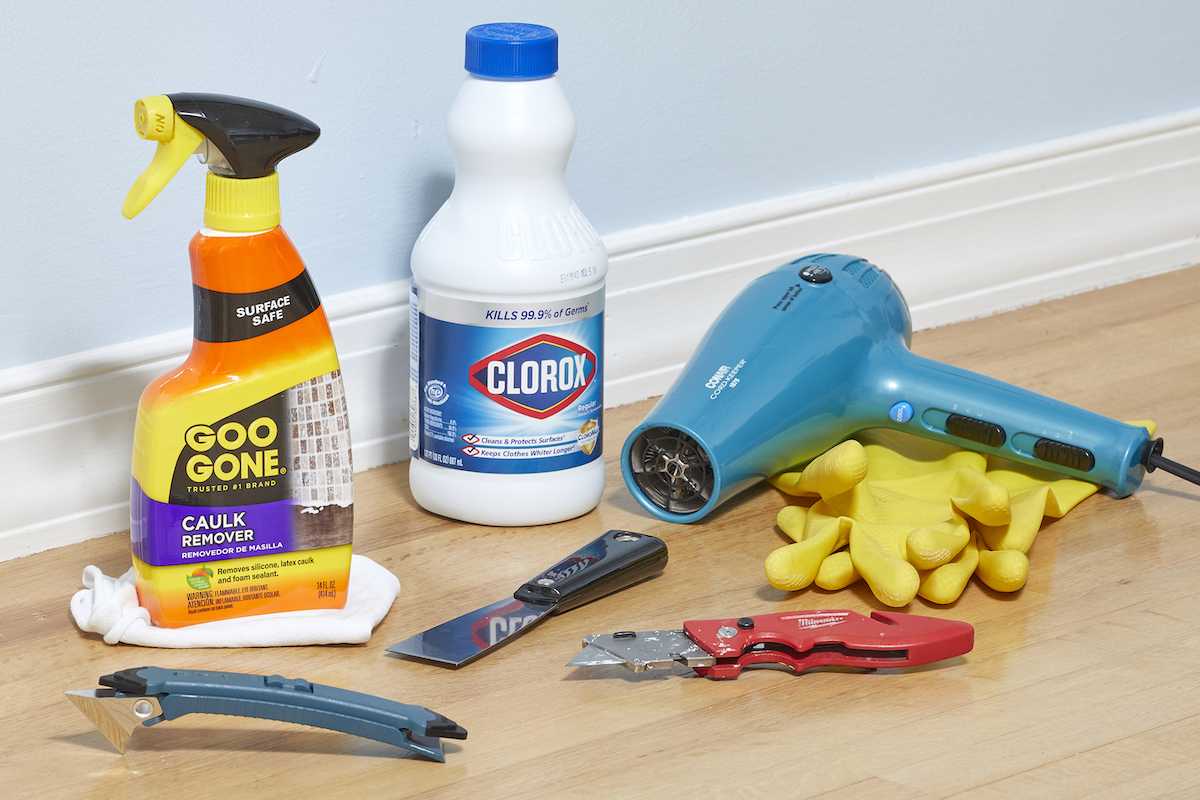
Tools & Materials
Bobvila.com may earn a commission from purchases made through these links.
Step 1: Apply caulk remover.
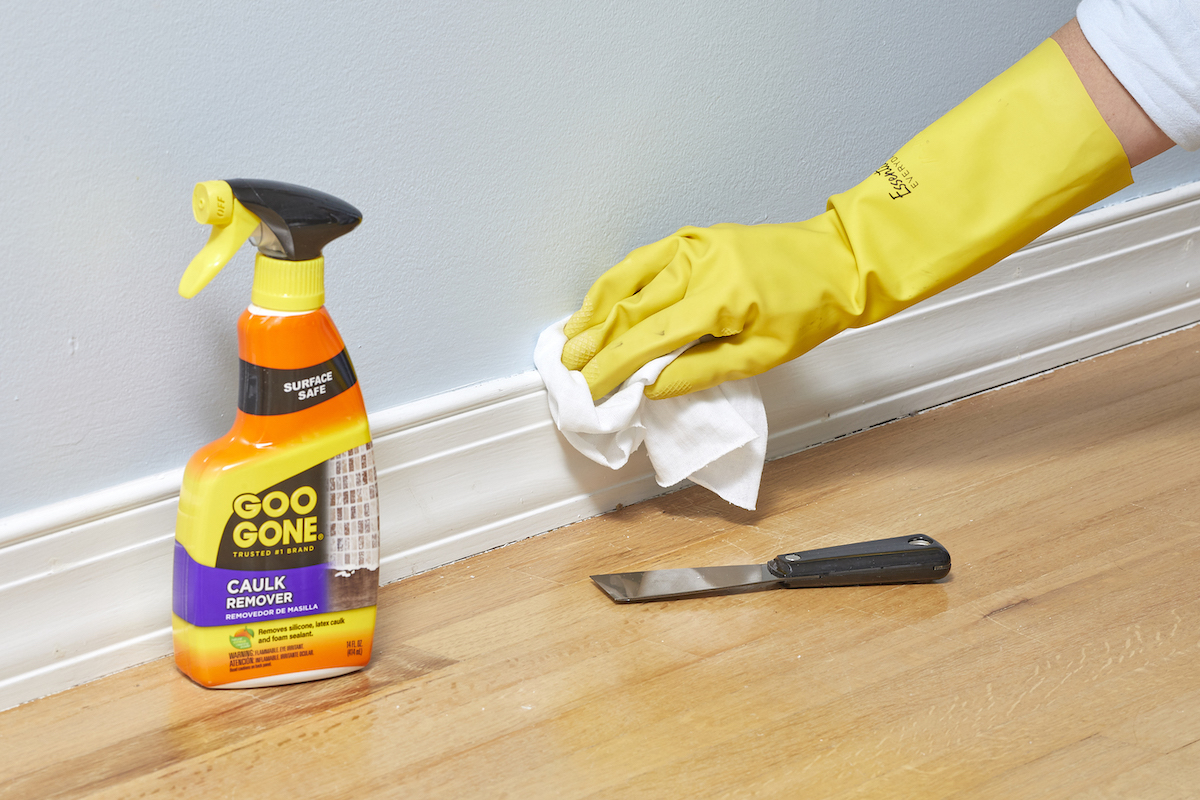
Having properly ventilated the work area, be sure to follow any other safety tips specified in the printed instructions for your chosen caulk remover. (Goo-Gone caulk remover works well.) Once ready, proceed to apply the product to the caulk you wish to remove, and then wait. The caulk remover, rather than making the sealant magically disappear, simply softens it. In most cases, the longer you let the chemical remover sit, the softer and more pliable the caulk becomes. Allow at least four hours. Note that a typical bottle of caulk remover usually covers about 20 or 30 linear feet of caulk.
Step 2: Cut caulk out of crevice.
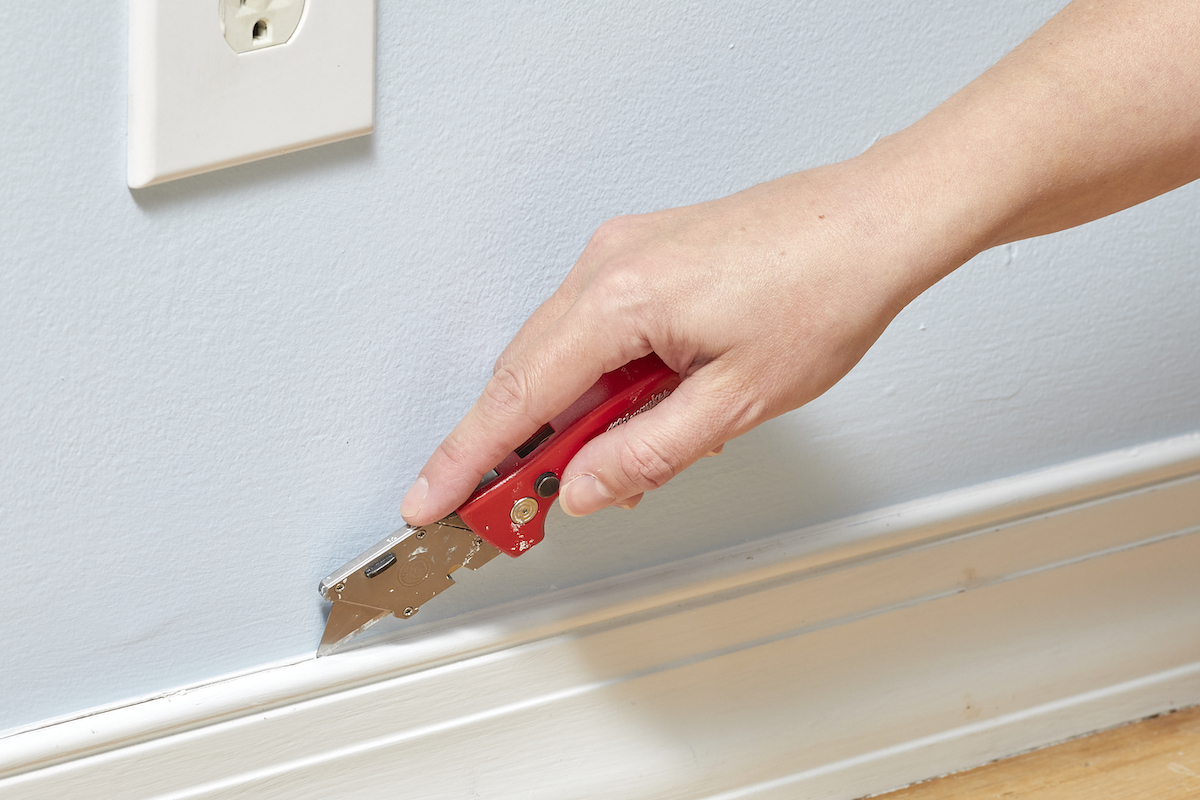
With the caulk now soft, remove it either with a caulk remover tool or a simple utility knife. Be careful with the latter, as there’s a danger of scraping the material on either side of the caulk bead. If the remover did its job, the caulk ought to come off rather easily. For any lingering residue, particularly in crevices, use a toothbrush or putty knife.
Step 3: Dislodge stubborn caulk with heat or alcohol.
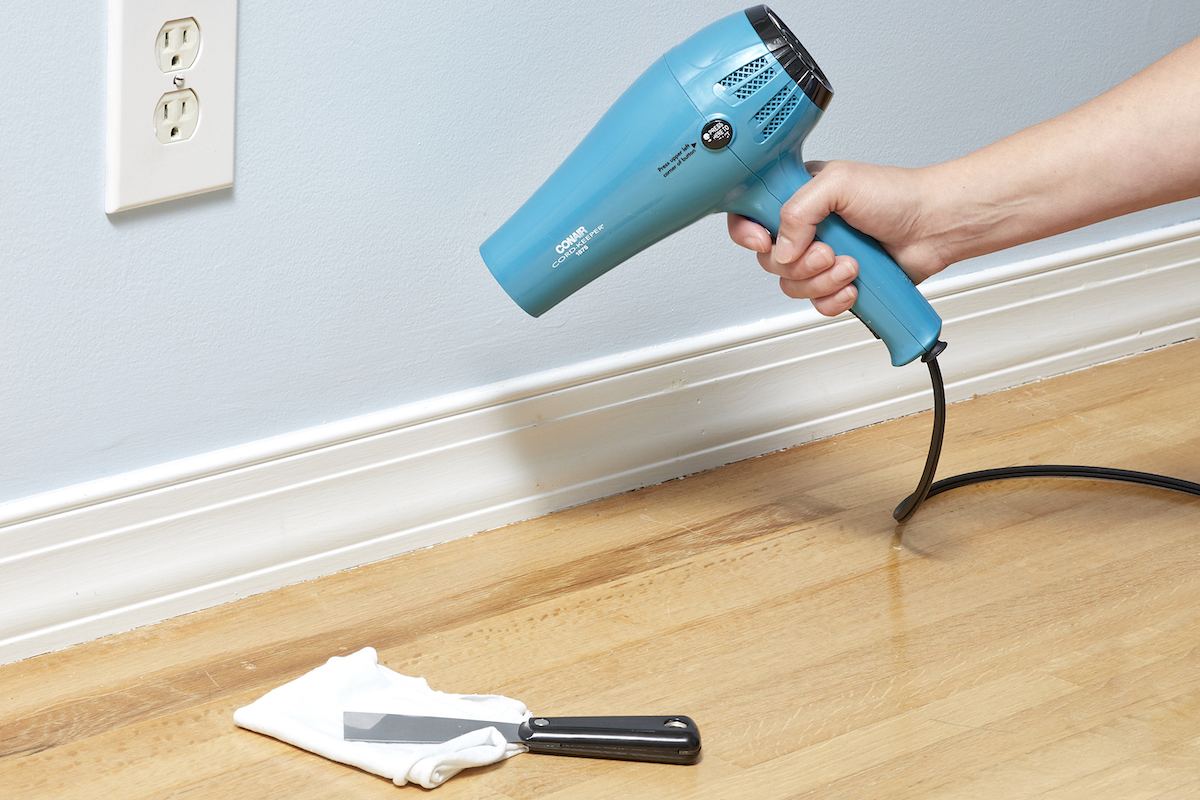
Sometimes those last vestiges of caulk can be remarkably stubborn. If you’re up against some caulk that won’t quit, one option is to cover the leftover caulk with alcohol-soaked rags, leaving them in place for a couple of days. Want a more direct method? Use either a heat gun or a hair dryer. With either, take care not to overheat the adjacent material (plastic, in particular, can be vulnerable to high temperatures). The leftover caulk, exposed to heat, finally ought to soften to the point where you can remove it with a removal tool, razor, brush or putty knife.
Step 4: Clean the surface of mildew or other buildup.
Finish the caulk removal task by cleaning the surface where the caulk used to sit. There may be a buildup of mildew and soap scum. To treat the mildew, apply water-diluted bleach with a cotton cloth. For soap scum, use the same technique but instead of bleach, opt for a homemade shower cleaner (a vinegar-and-water mixture usually does the trick).
With the right materials, a modest amount of know-how, and, yes, some luck, the process of removing caulk can be pretty painless. In home improvement, as in life, patience is a virtue. Take your time to get the job done right.
