We may earn revenue from the products available on this page and participate in affiliate programs. Learn More ›
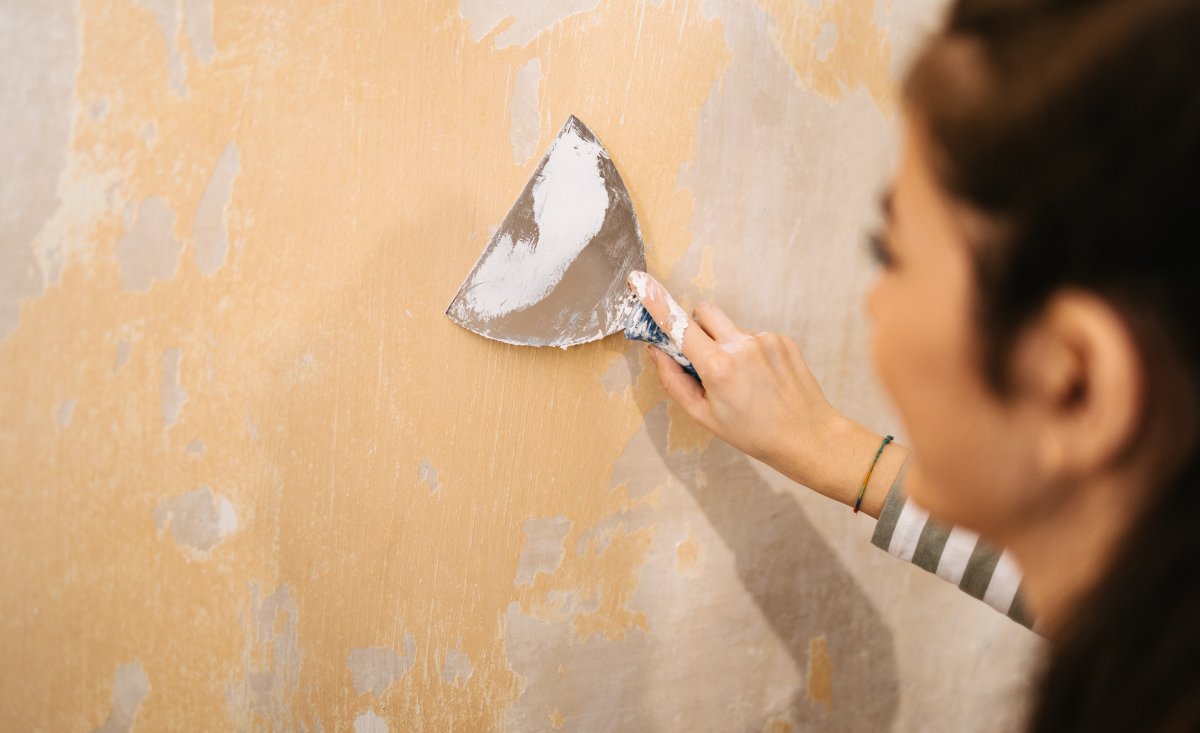
Texturing walls is a traditional way of adding character to a wall or covering such imperfections as drywall taping inconsistencies, but not everyone loves the ridges and swirls of knock-down or the soft ripples of orange peel. If you prefer flat surfaces, it is possible to get rid of an old textured finish, though this tends to be a messy, time-consuming project. Before you put on your work clothes and pick up a scraper, you should understand the two main methods for removing texture from walls depending on whether or not your walls are painted.
- Wall texture that has never been painted can usually be removed with a soak-and-scrape process.
- Painted texture requires skimming the surface with drywall compound. Paint acts as a sealant against water, so soaking wouldn’t be effective very effective in softening the texture—you’re better off covering up. The skimming process requires a fine touch, too, so you’ll need to be patient and allow a few hours, or more, per wall.
If you’re ready to roll up your sleeves, we’ve got the guidance to take your walls from textured to totally smooth. Keep reading to find the method for removing wall texture that works for you.
Need a hand?
Get a pro to do it for you. Connect with local contractors and get free, no-commitment estimates.
METHOD 1: Removing Texture From Unpainted Walls by Soaking and Scraping
SUPPLIES
Canvas drop cloth
3-inch painter’s tape
Protective eyewear
2-gallon pump sprayer
10-inch drywall taping knife
Step ladder
Dust mask
Drywall sanding pad
Drywall sanding screen
Bright work lights
-
To prep and protect, cover the floor with a canvas drop cloth and tape up exposed trim.
Avoid plastic drop cloths, which can become very slippery under wet drywall compound. Tape off baseboards, window trim, and door trim with 3″-wide painter’s tape. Don protective goggles and old clothing—you’ll probably want to dispose of these duds when you’re done. -
Fill a pump sprayer with water and spray the entire wall evenly to soften the texture.
You may have to spray the wall two or three times in order to saturate it sufficiently. Give the wall about 15 minutes of dwell time, then test the texture with a fingertip. When the texture is soft enough for you to rub it off all the way down to the drywall beneath, it’s time to scrape. - Starting at the top of the wall, scrape the softened texture.
Stand on a sturdy step ladder to reach the top and work your way down with a 10-inch drywall taping knife. To remove texture without gouging the drywall, hold the blade approximately 30 degrees to the wall, and scrape in whatever motion feels most comfortable to you, using long slow strokes. If the knife meets resistance, stop; spray that area again and wait until the texture softens sufficiently. -
Continue spraying and scraping until you’ve removed all the texture.
It’s okay if thin smears remain on the wall; you’ll sand them off in the next step. Let the wall dry completely, which could take up to 24 hours, before proceeding. -
Sand the wall smooth using a drywall sanding pad, fitted with a drywall sanding screen.
Be sure to wear a dust mask because even small residual smears can create copious amounts of drywall dust. It’s also a good idea to use a bright work light to illuminate the wall as you’re sanding so you can see tiny spots of compound. When your wall looks good under bright work lights, it will look amazing when it’s painted under normal light.

Tried-and-True Advice
“If you have a house with a textured wall and you want to at least minimize it, one approach I like is not doing anything at all with the finish. Instead, I look for opportunities to cover the wall rather than refinish it. This opens a bevvy of design options:
- An accent wall is a good option. We love to design and install these trim appliqués and I like the trick they play by calling attention to themselves rather than the wall texture behind. They require painting and caulk.
- Another option we like for ceilings is also ideal for wall cladding. Called WoodHaven Plank by Armstrong, I love it for a feature or accent wall. It comes factory finished. And, because it clips together, it only requires basic carpentry tools. Before going to all the effort, mess and expense of removing a textured wall, give some thought to covering it, and adding a texture you actually like.”
—Mark Clement, Contributing Writer
Get a pro to do it for you
Connect with a local professional ASAP and get free, no-commitment estimates for your project.
METHOD 2: Covering Painted Textured Walls With a Skim Coat
SUPPLIES
2-inch steel putty knife
Hammer
Canvas drop cloth
3-inch painter’s tape
Protective eyewear
Sanding sponges
Rags
Premixed all-purpose drywall compound
5-gallon buckets (2)
Drill with paddle bit
Large-nap paint roller
Roller cage
Roller pan
Extension pole (optional)
10-inch drywall taping knife
Taping pan
Stepladder
Dust mask
Bright work lights
- Remove the baseboard from the wall.
Slipping a 2-inch steel putty knife behind the baseboard and gently prying it outward should do the trick. You may need to tap the head of the putty knife with a hammer to help wedge it between the baseboard and the wall in order to pry the baseboard off. - Protect yourself and the rest of the room from falling wall texture.
Cover the floor with a canvas drop cloth (don’t use plastic as it can become slippery). Use 3-inch-wide (or wider) painter’s tape to tape off window and door trim with painter’s tape. Wear protective eyewear and old clothing that you can discard when you’re done. -
Lightly sand the surface of the painted texture if the paint is glossy.
While the drywall compound you will be applying typically sticks very well to painted surfaces, it’s a good idea to knock the sheen off high-gloss paint. In most cases, wall paint isn’t glossy and you’ll be able to skip this step. - Wipe down the surface of the wall with clean damp rags.
This will remove any dust or dirt that might be on the wall, allowing you to start with a clean palette. - Scoop approximately a half-gallon of premixed drywall compound into a 5-gallon bucket and add water a little bit at a time.
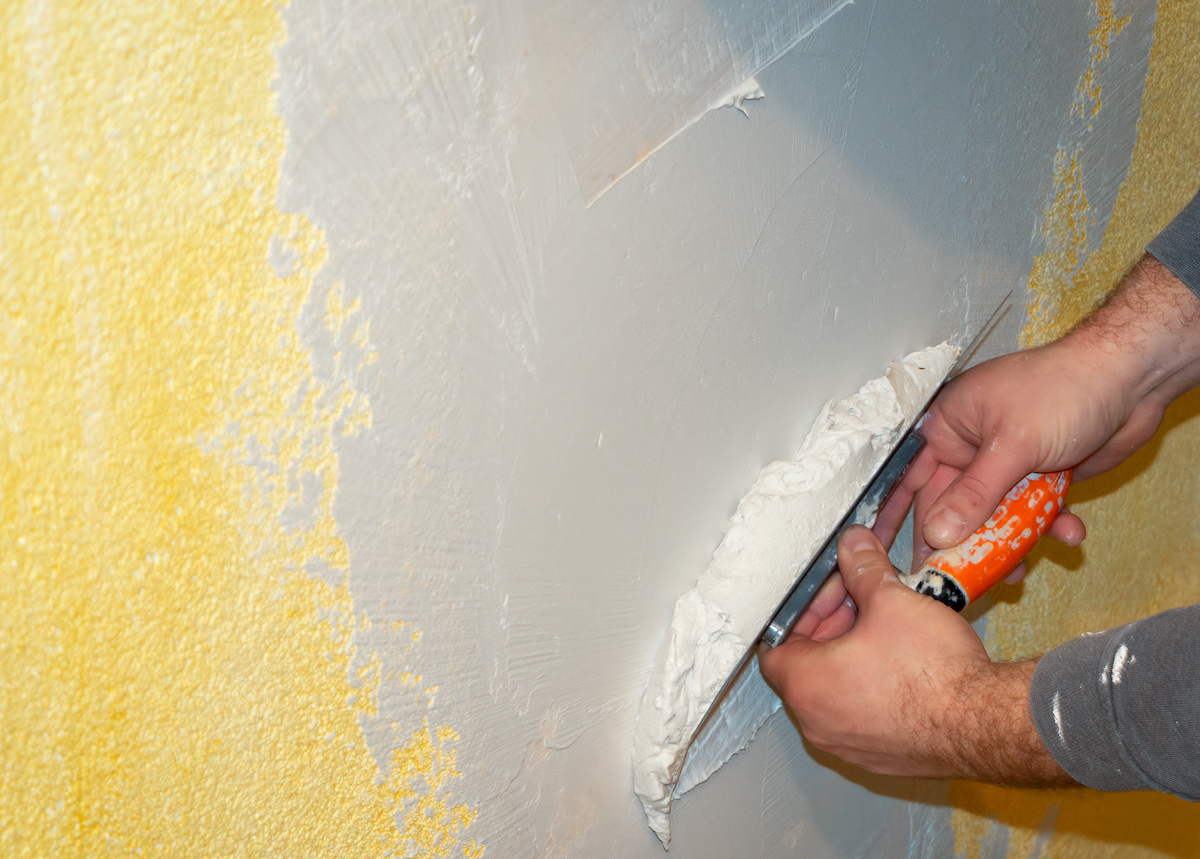
Use a drill, fitted with a paddle bit, to blend the mixture until it reaches pancake batter consistency. Mix until it’s smooth and free of lumps. The actual amount you mix at one time isn’t as important as getting the right consistency. Once you get the hang of applying the compound, you may want to mix larger batches. - Smooth the wet texture with a 10-inch drywall taping knife, starting at the bottom of the wall and lightly pulling upward.
Excess compound will build up on your knife as you go, so it’s a good idea to hold a taping pan in your other hand and scrape the excess into the pan. Skim coating is a learned technique, and you’ll develop the hand movement that works best for you as you go. - Maintain a wet edge.
Just as in painting, you’ll get better results by not letting one swath of compound dry before you roll the next swath. Drywall compound has a tendency to harden and set if dry bits of compound come into contact with wet compound, so work quickly, in no more than two-foot swaths, to keep from skimming wet compound over already dry areas. Note: Do not dump the excess compound you scrape from the wall back into your bucket of fresh compound. Dispose of it in another bucket and use only fresh compound as you skim. - Let the compound dry completely, from 24 to 48 hours and, if necessary, apply a second skim coat.
Dry time will vary depending on the humidity in the room. The second coat is rarely necessary on most textured walls, but if your wall has deep texture, such as valleys and peaks of slap-brush texture, it might take a second coat to cover completely. If applying a second coat, do not sand between coats. - Sand the completed wall smooth with drywall sanding sponges.
Use light pressure and sand in circles. Don’t use a drywall sanding pad because the surface is now 100 percent drywall compound, and the edges of a sanding pad are likely gouge and leave marks that will be visible under paint. Use bright work lights to illuminate the wall as you sand.
