We may earn revenue from the products available on this page and participate in affiliate programs. Learn More ›
Q: Many of the drywall seams on my 40-year-old house are bulging. It doesn’t appear as if the joint tape is pulling away from the seams, because when I tried to remove some of the tape, it was extremely difficult. Also, the drywall appears to be pretty firmly attached. When I press on both sides of the seam, the drywall doesn’t move. Could it be that the seams have always looked this way? Could this just be the result of a poor spackling job when the joint tape and compound were applied in the first place? What should I do to make these seams less visible?
A: With the drywall firmly attached, as you say it is, I can think of only three situations in which the seams would bulge, sag, or buckle.
Sometimes, drywall seams become visible when a house has undergone considerable settling.
In your case, unless your geographical area has had unusually dry or wet conditions in recent years, structural problems are probably not at play, given that your home is relatively young at 40 years of age.
If, however, you notice any other signs of settling—cracks in the foundation, torn drywall joints, or gaps either along the baseboards or at the point where walls meet ceilings—hire a foundation expert to do an inspection.

Tried-and-True Advice
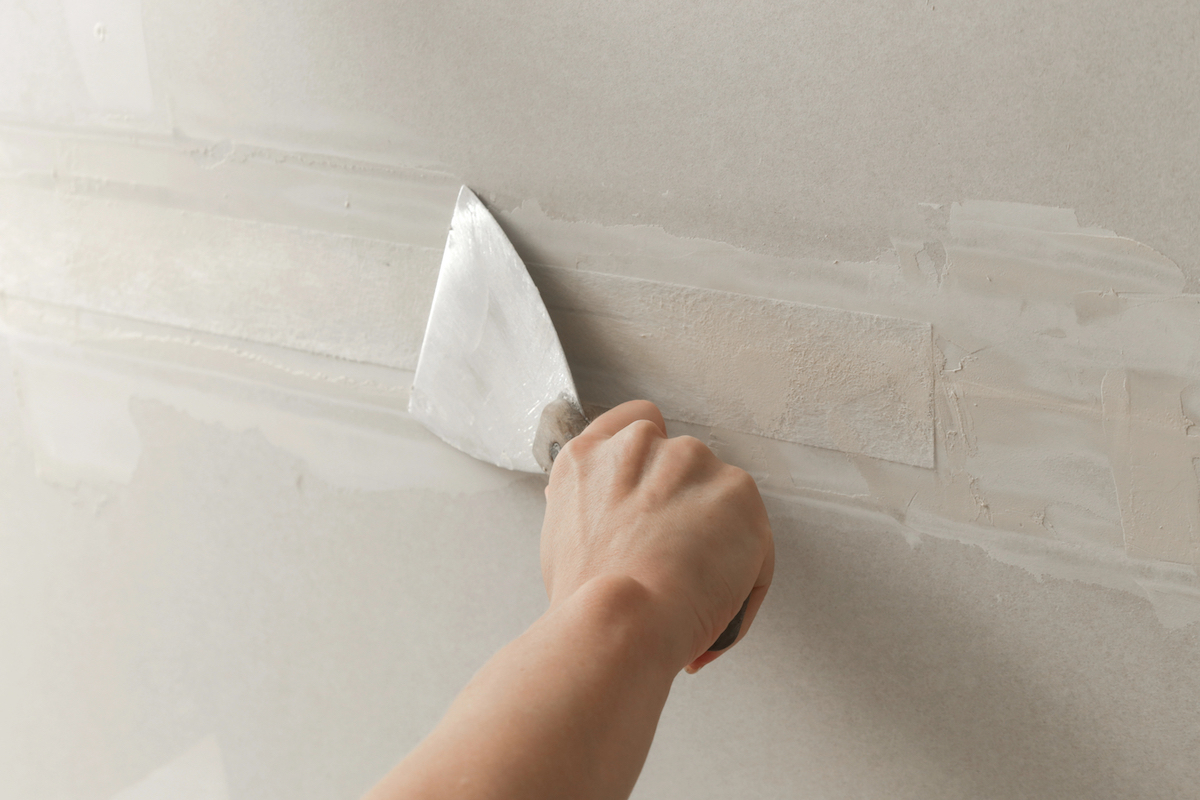
“Bulging drywall seams are definitely an eyesore, but I was able to fix the seams in our older home myself with nothing but joint compound, an extra-wide taping knife, and patience. Using the widest taping knife I could find made feathering the skim coat of joint compound much easier. I also kept my elbow loose and moved my whole body, not just my arm, for a smoother application. Working in paper-thin layers, I applied several coats of compound until my walls were blemish-free.”
—Lauren Landers, Contributing Writer
The most likely culprit is the manner in which your drywall was installed.
For the seam between drywall panels to disappear after painting, that joint between drywall panels must be covered with compound in a specific way—in a series of layers, with each layer wider than the last. Additionally, each layer needs to dry—and, in some cases, should be sanded—before the next layer goes on. For tradesmen, it’s a time-consuming process, one that often requires repeat visits to the job site.
That being the case, it’s not uncommon for a contractor to use fewer layers than would be ideal, leaving the drywall seam insufficiently feathered to the adjacent surfaces. Or an inexperienced do-it-yourselfer may have done the work, in the process making some common mistakes without knowing the error of his ways.
Here’s yet another possible cause: When drywall sheets with uncut edges are butted together, a depression forms along the line where they join. That depression is meant to accommodate joint compound and drywall tape. Trouble arises only when installers opt to use cut drywall. Because the edges of these sheets aren’t tapered, there’s no depression when they’re paired. As a result, the joint compound and drywall tape are applied over the plane of the drywall surface, resulting in a buildup that looks very much like a bulge. Again, the explanation is that either a pro did the work and chose to cut corners, or a DIYer did so unwittingly.
No matter the cause, the solution to bulging drywall seams is almost always the same.
Call in a contractor to apply a skim coat of compound over the entire wall. That coat fills in the recessed areas, creating a flat-looking surface. This isn’t a job for the average person to do over the weekend; it’s specialized work that requires a trained hand. If you’d rather not spend the money, consider repainting the affected walls in a flat paint, as sheens make it easier to spot imperfections.


