We may earn revenue from the products available on this page and participate in affiliate programs. Learn More ›
If you’ve got a pool of water around the base of your toilet, you may need to do a toilet flange replacement of a loose or broken toilet flange (also often called a closet flange). This circular pipe fitting connects the toilet to the sewage pipe and secures the toilet to the floor.
Persistent leaking can damage flooring, cause mold to develop, or even emit wastewater, potentially causing hygiene and health issues for anyone in the household. Luckily, swapping in a new toilet flange is a fairly common plumbing repair that many handy homeowners can manage, saving anywhere from $145 to $165 on hiring a pro.
This guide provides instructions for how to replace a toilet flange.
Tools & Materials
Bobvila.com may earn a commission from purchases made through these links.
Project Overview
Total Time: 2 hours
Skill Level: Intermediate
Estimated Cost: $11 to $25 (depending on how many hand tools you already own)
Before You Begin
Replacing a toilet flange is a relatively easy project, if you’ve successfully completed other DIY projects around the house. It’s important to make sure you replace the broken flange with the right size flange. Also, there’s only one chance with a wax ring. Once you use it, it can’t be reused, so always dry fit the flange before attaching the wax ring.
When working with plumbing, especially a toilet, make sure you have enough time to complete the project. If it’s the only toilet in the home, it’s even more important that you complete the flange replacement quickly. Having a toilet out of service for more than a few hours can be inconvenient.
Also, when replacing toilet flanges, be prepared to seal the drain pipe with rags to prevent unpleasant odors from escaping into your home while measuring and purchasing the replacement toilet flange. There are some toilet flanges that will work with a few different sized toilets, so if you want to purchase one ahead of time, it might be a good idea to choose this type. The one in the Tools & Materials list above works with both 3- and 4-inch pipes.
Step 1: Turn off the water main and drain the toilet.
The first step in how to install a toilet flange starts with turning off the main water supply to the toilet by locating the knob on the wall behind it and turning clockwise. This will prevent water from refilling the tank after each flush, but won’t stop water from leaving the system.
Once the water is turned off, flush the toilet, then wait for the bowl to refill, and flush again, repeating until all the water from both the bowl and reservoir have drained from the toilet.
Note: While the toilet is draining, spread a drop cloth or newspaper over the bathroom floor. Make sure there are several sheets of paper in layers, because this is where you’ll place the toilet once you’ve removed it from the mount.
Step 2: Disconnect the water supply from the toilet.
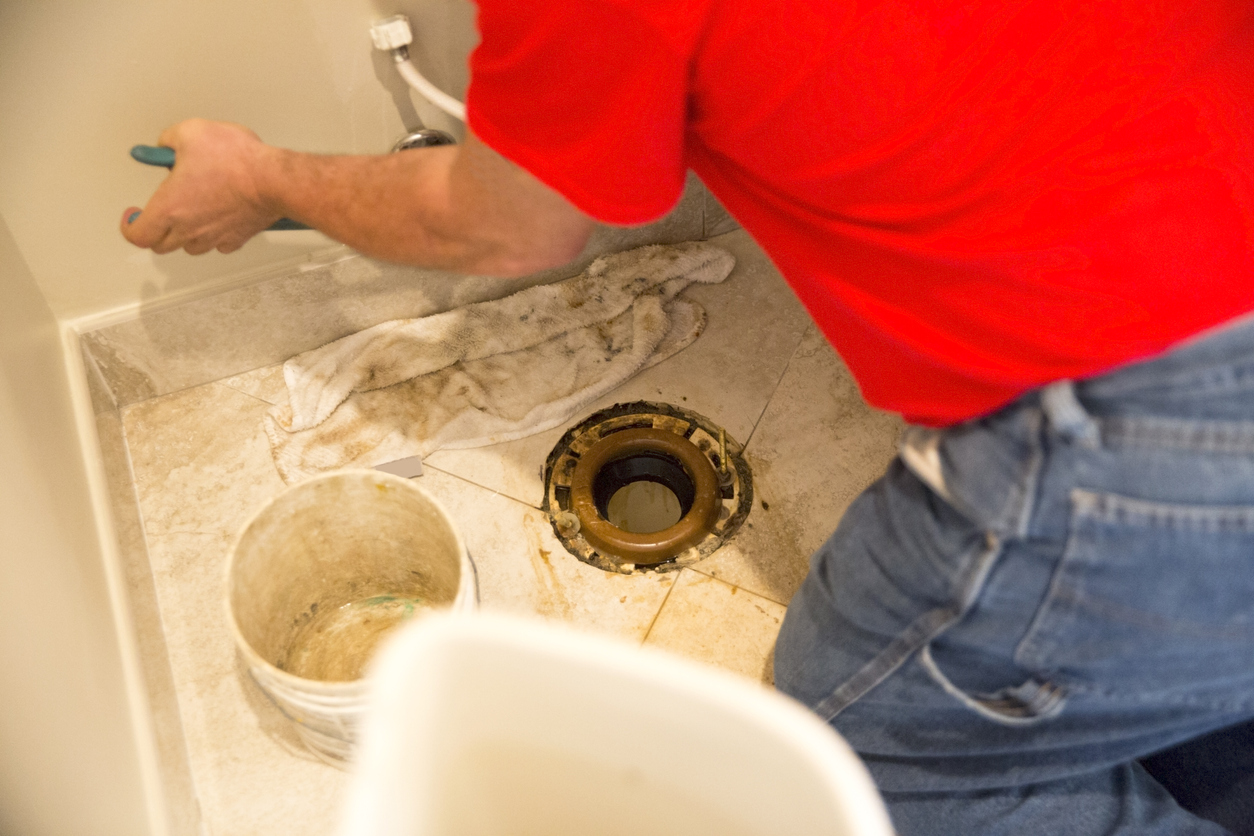
This is a braided pipe or metal hose that runs out from the wall to the toilet, next to the valve. You should be able to twist it off by hand, but if it’s too tight, use an adjustable wrench.
There’s no need to remove the water supply hose from the wall unless you’re either planning to replace it or it’s so long that it might get in the way when replacing the toilet at the end of this project.
Step 3: Unfasten the nuts that hold the toilet to the floor.
Unfasten the two nuts from the bolts that hold the toilet to the flange and floor. Use the adjustable wrench if the nuts don’t loosen easily by hand. Set the nuts aside to reattach the toilet when the flange replacement is complete.
Step 4: Lift the toilet.
Prepare to remove the toilet. Keep in mind that the average commode weighs between 70 and 120 pounds. If you’re not confident in your ability to lift it yourself, ask someone to help lift it. Set it carefully on a drop cloth or newspapers.
Plug the drain pipe with a disposable rag to block unpleasant odors and gasses from releasing into the air.
Pro tip: To avoid injury doing it yourself, straddle the unit, crouch down, and grab from under the bowl. Then engage your core and lift the unit straight up—using your leg muscles, not your back—so that it lifts cleanly off the bolts.
Step 5: Remove the old wax from the toilet flange.
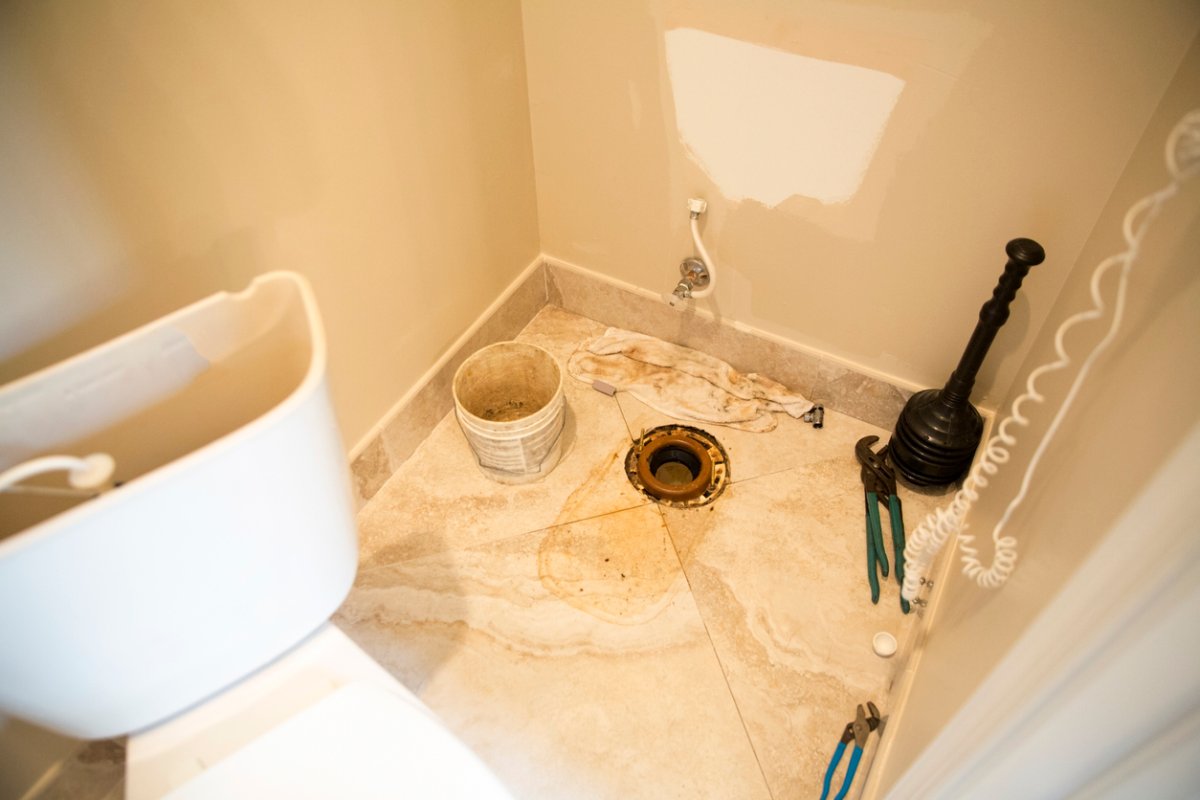
Now that the toilet is removed, you’ll see the outflow or sewage pipe with the flange. Remove the old wax that sealed the toilet to the flange and pipe with a putty knife.
Simply scrape it off and smear it on the drop cloth or newspaper until you can access the top of the flange.
Step 6: Remove screws from the flange.
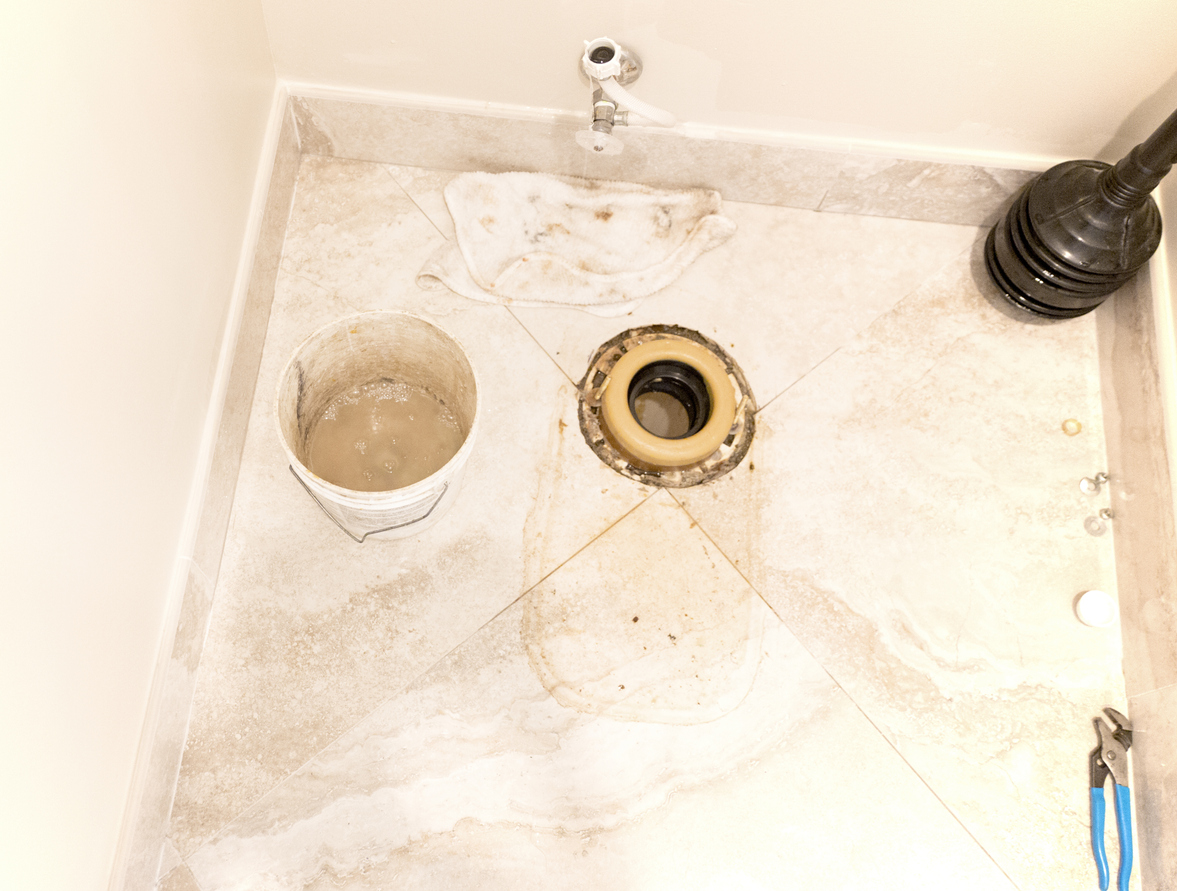
Find the screws (up to four) on the outside of the flange, which will need to come out. Use your multi-head screwdriver fitted with the corresponding screw bit to remove the screws.
Lift the flange off and clean it under a faucet or with disinfecting wipes. Set it aside on the drop cloth or newspaper.
Note: If you have a flange that’s metal or glued to the drain pipe and is not removable by bolts, call a licensed professional to remove it for you.
Step 7: Buy a new toilet flange.
Measure the width of the outflow pipe’s mouth with the tape measure and make note of them. Put the old flange into a plastic bag to keep for reference and either go online or head to your local hardware store, plumbing supply, or home center and buy a flange of corresponding size, type, and shape. Having the old flange with you allows for a head-to-head comparison.
Purchase a correct-size wax seal for the new flange, too. The new flange should come with new bolts and screws; if not, buy those as well, checking for fit.
RELATED: How to Replace the Wax Ring on a Toilet
Step 8: Install the new toilet flange.
Once you’re back in the bathroom, remove the rag from the outflow pipe and place it in a plastic bag for proper disposal. Dry fit the new flange into place over the outflow pipe. Double-check that the new flange is flush against the floor and fitting correctly with no gaps below.
Next, screw the flange into place on the mount, using the new bolts and screws. When done, you’ll have two bolts protruding up from the flange and floor, where the toilet will be remounted.
You’ll then have to install the new wax seal into the toilet. To do this, turn the toilet sideways on the floor and locate the round mouth where the toilet sits atop the flange.
Affix the new wax seal around the mouth by pressing firmly into place without over-handling or misshaping it.
Step 9: Resecure the toilet.
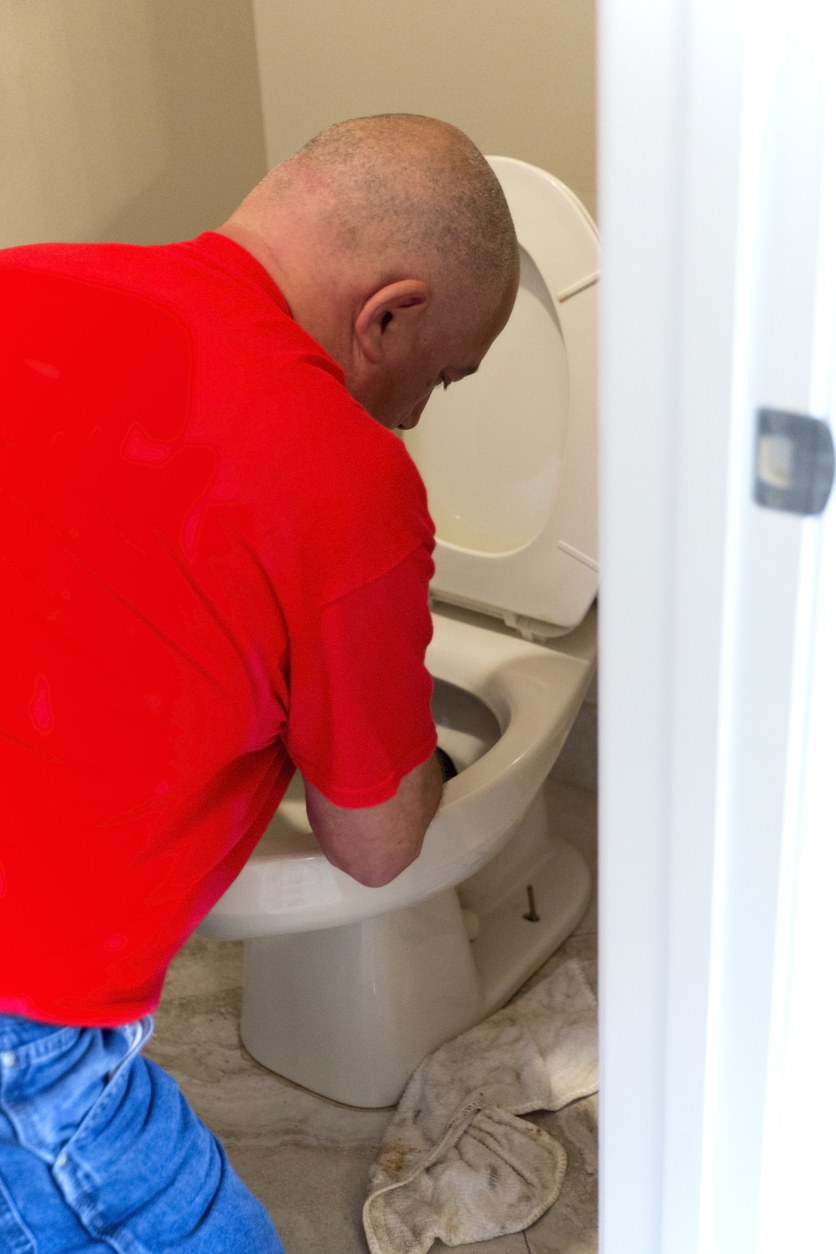
Now it’s time to place the toilet back into position. Here are a few tips to help make it go smoothly.
- Carefully lift the toilet (use your legs, not your back!). Watch for the bolts to meet up with the bolt holes on the toilet base.
- Lower the toilet slowly, as levelly as possible, so it slides over the bolts and returns to its rightful spot.
- Eyeball the base to see if it looks level on all sides. If not, wiggle it until it’s situated equally all around.
- Then, put your weight into it and press the toilet down firmly to engage the wax seal with the flange.
- Replace the nuts back onto the bolts. Use your hand at first, and then tighten with the adjustable wrench to ensure the toilet won’t rock or wiggle in months to come.
RELATED: The Dos and Don’ts of Replacing a Toilet
Step 10: Turn the water valve back on.
Reattach the water supply hose to the inflow valve on the toilet. Make sure you’ve got it affixed tightly so there’ll be no dribbles or leaks later.
Turn the water valve back on and wait for the toilet reservoir tank to fill. Once full, flush it. Wait for the bowl to fill, then flush again. Do this two to three times to ensure proper function. If all works well, you have successfully completed the toilet flange installation project.
After you clean the toilet and put away the tools, the toilet will be ready to use again.
Final Thoughts
If the toilet is flushing correctly, run your hand along the floor around the toilet base. If the floor is dry, great! Clean up and congratulate yourself on doing the job like a pro! By learning how to fix a broken or loose flange, you’ve avoided a hefty service bill and future toilet issues.
