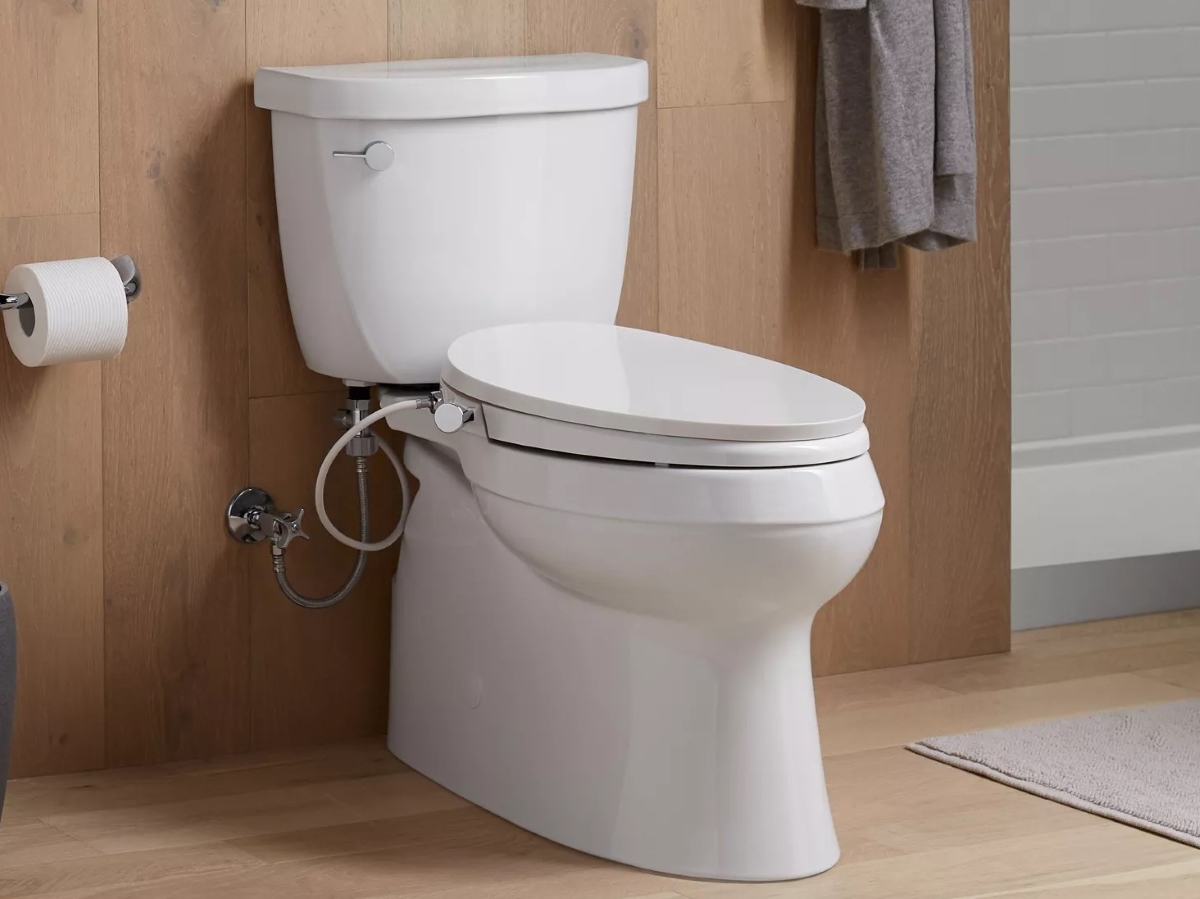
We may earn revenue from the products available on this page and participate in affiliate programs. Learn More ›
Although a porcelain throne can last at least 15 years, the seat attached to it typically does not. The average toilet seat lasts just 5 to 7 years before it cracks, begins to shift noticeably (and uncomfortably) when you’re sitting on it, or becomes hopelessly stained.
Luckily, swapping out an old toilet seat is a relatively easy and inexpensive job that requires a few basic tools most DIYers have in their tool boxes—including protective rubber gloves. In this guide, you’ll see how easy to is to remove a toilet seat and install a new one.
Tools & Materials
Bobvila.com may earn a commission from purchases made through these links.
Project Overview
Working Time: 15 to 30 minutes
Total Time: 15 to 40 minutes
Skill Level: Beginner
Estimated Cost: $20 to $100
Before You Begin
Before you get started replacing the toilet seat, protect yourself from germs and bacteria by giving the seat and the rim around it a good cleaning while wearing nitrile gloves. Make sure you have all of your tools and materials close at hand.
Step 1: Measure the toilet seat.
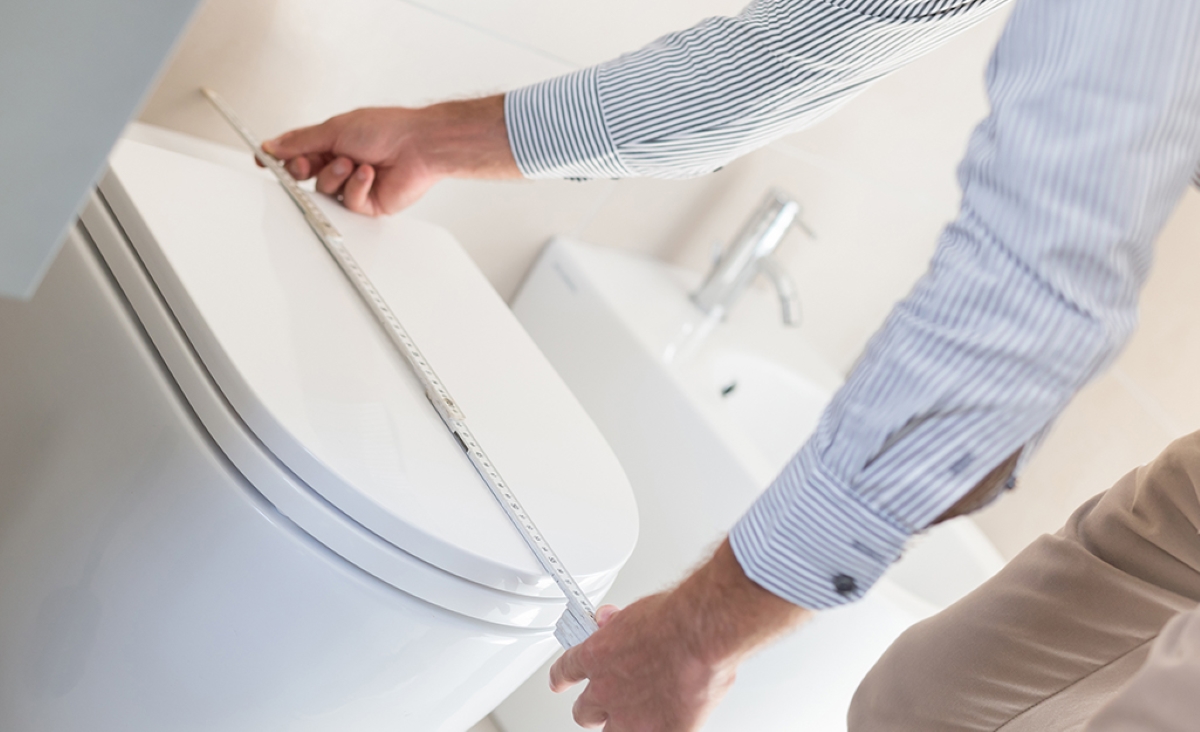
Because toilets come in three different shapes—elongated, compact elongated, and round—you’ll need to know how to measure a toilet seat for replacement to make sure you purchase the right model.
- Measure the distance between the two bolts at the rear of the seat. The standard width is 5½ inches, but it can vary depending on the model.
- Next, measure the width of the seat at its widest point.
- Finally, measure the length of the seat at its longest point (from the center point between the two bolts to the outermost lip).
If you have a standard toilet, a round bowl should have a length of 16½ inches, while elongated bowls will be about 18 inches. A compact elongated seat will fall somewhere in the middle. Once you have the measurements, you can shop for the right size seat.
Step 2: Choose a new toilet seat.
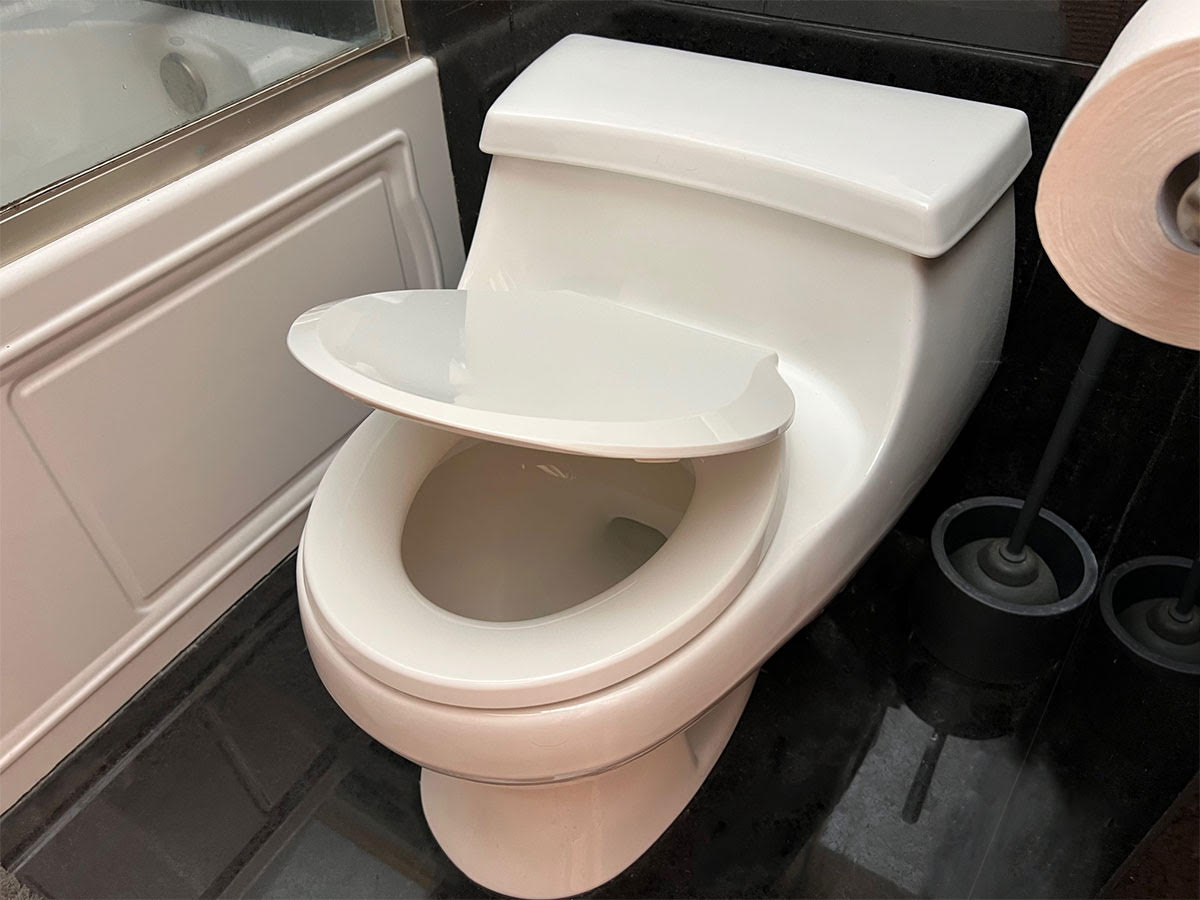
If you are planning to replace a toilet seat, especially if it’s been some time since you last researched them, keep an eye out for these key features:
Quiet closing: Gone are the days of toilet seats banging closed. You can now select a product with hinges designed to let the seat down gently. Consider the Kohler K-20110-0 Brevia Elongated Toilet Seat.
Molded bumpers: The simple, no-nonsense advantages of molded-in-place bumpers? They prevent the seat from damaging the toilet, add stability to the seat, and reduce noise when closing the toilet lid. Kohler’s 20111-0 Brevia Round Toilet Seat is a good choice.
Colors: Toilet seats now come in dozens of colors. One manufacturer, Bemis, offers a color selector tool to help homeowners navigate the field of available options.
Cleaning: The better the seat, the easier it is to remove for cleaning. Look for a model that can be taken off with nothing more than a screwdriver. There are also quick-release seats that allow for easy, tool-free removal so you can clean the seat and the area around the hinges.
Durability: Choose a toilet seat with stainless steel or zinc-plated hinge posts, which will neither snap nor corrode as they hold the toilet seat in place. For the seat itself, although wood is more comfortable, plastic is more common because it’s easier to clean and more durable.
Versatility: For kids, there are “trainer” models that have built-in removable potty seats. The Mayfair 1888SLOW 000 NextStep2 is a good option. For senior citizens and others who might need assistance sitting and standing, consider a toilet seat that features side arms with slip-resistant grips, such as the RMS Raised Toilet Seat.
Comfort: If you cringe at the thought of sitting on an ice-cold toilet seat in the wintertime, consider upgrading to a heated model like the TOTO Heated Seat, named in our list of the best heated toilet seats.
Step 3: Remove your old toilet seat.
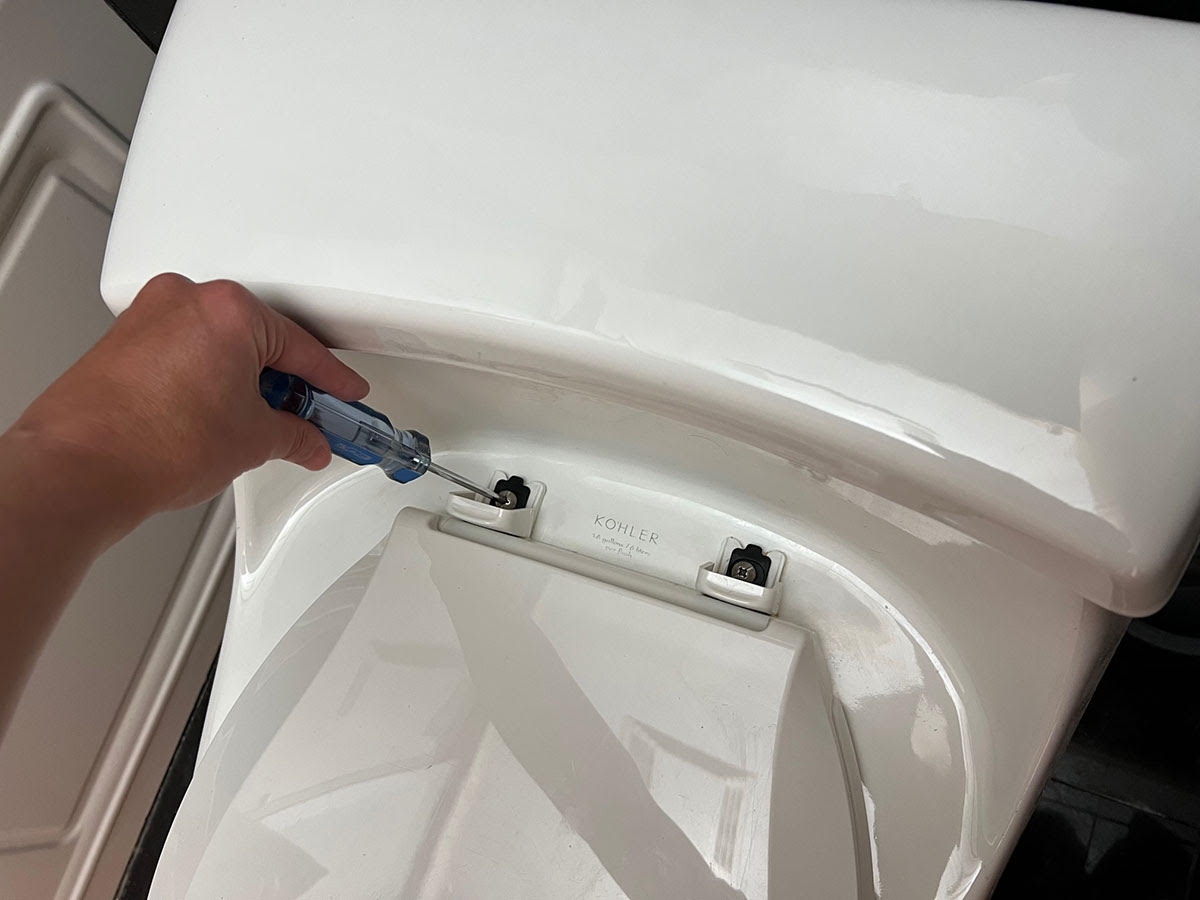
Removing an old toilet seat is a simple, though occasionally physically awkward, matter. Here’s how to go about it:
- Pop open the plastic flaps covering the bolts. A screwdriver may help.
- Check to see if the hinges have corroded.
- If so, spray each nut with penetrating oil and wait 10 minutes.
- Hold the bolt in place with an adjustable wrench while loosening the nut below it with a socket wrench with a deep well socket that can cover the long bolt while still reaching the nut. (Note: These days, many toilet seat hinge bolts can be removed by holding the nut in place with your fingers and unscrewing the bolt with a large slotted screwdriver.)
You may find that the threads on the bolt are so heavily corroded that no amount of penetrating oil will work. If so, you’ll need to use a drill to bore a hole into the bolt. Begin with a 1/16-inch bit and follow up with progressively larger bits. (Be sure to wear safety goggles.) Next, grab your socket wrench or adjustable wrench and twist the nut until the bolt snaps off. Use this method at your own risk because applying too much lateral force to the bolt can potentially crack the bowl.
“I replaced my toilet seat because my old one cracked when the heavy lid slammed down on it a few too many times. Installing a new soft-close model was beyond easy—I unscrewed the old one and screwed on the new one—and the improvement exceeded my expectations. No more slamming lid and no more cracked seat for the foreseeable future.”
—Jenny Stanley, Executive Editor, Service & News, Bob Vila
Step 4: Install the new toilet seat.
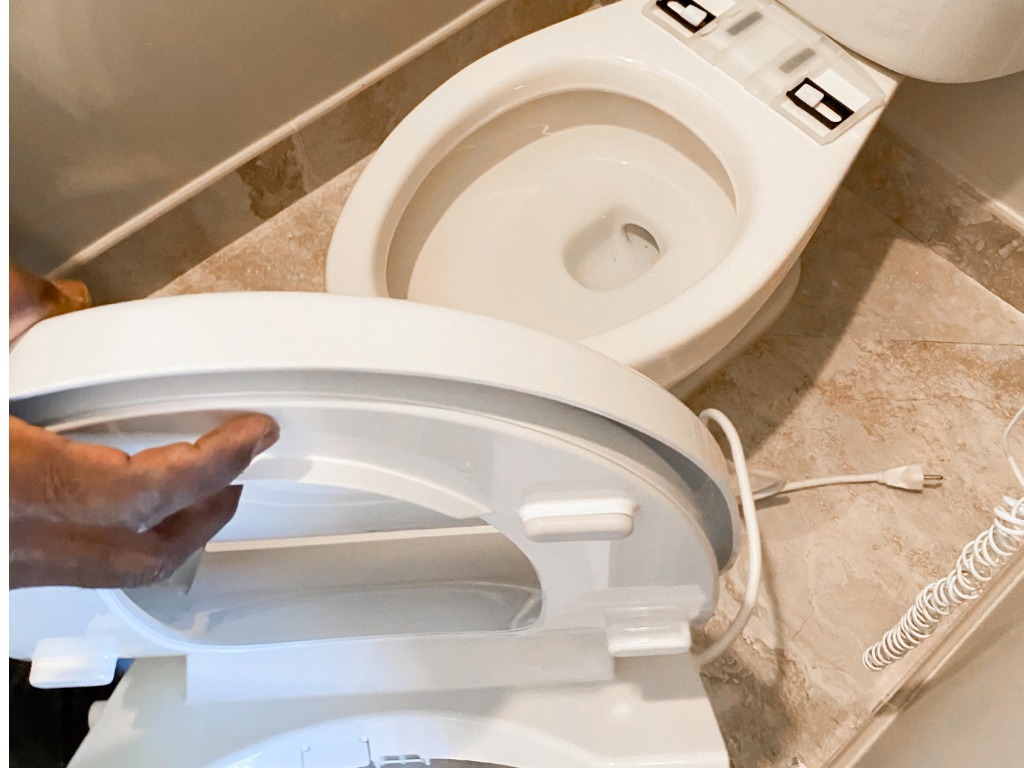
The good news is that today’s toilet seats are so easy to install that removing the old one is the hardest part.
Note: Different toilet seats may require slightly different installation methods. Consult the manufacturer’s instructions for exact steps.
Few tools are required to install a toilet seat; more often than not it’s a simple matter screwing and unscrewing some nuts and bolts. First, slide the bolts through the appropriate holes in the bowl. Then, using an adjustable wrench, tighten the nut situated beneath the mounting deck. The larger or more elongated the nut, the easier your job is going to be. (Again, note that newer toilet seats can often be installed with a large screwdriver and tightened by hand.). Some toilet seat replacement kits may require the use of a tool specially designed for tight spaces.
FAQs
Q: Is it easy to replace a toilet seat?
If you’re wondering how to install a toilet seat, rest assured that replacing a toilet seat is one of the easier DIY tasks you can take on. Many newer toilet seats are attached with plastic hand-tightened bolts that won’t corrode and require at most a large screwdriver for installation.
Q: How long does it take to replace a toilet seat?
If you don’t encounter stubborn nuts and bolts, toilet seat installation should take no more than 15 minutes to complete.
Q: When should I change the seat on my toilet?
While there are no expiration dates on toilet seats, it’s a good idea to change one out if it becomes cracked or stained, if the bolts become badly corroded, or if they become so worn that the toilet shifts easily from left to right when you’re sitting on it.
Q: How do I fix a loose toilet seat?
To fix a loose toilet seat, start by popping open the plastic flaps that cover the bolts. (You may need a small screwdriver to do this.) If the bolts have slots, simply tighten them with a large slotted screwdriver. If the bolts spin without tightening, you may have to use pliers or a socket wrench with a deep socket to grip the nut below. Be sure to tighten each side evenly so the seat doesn’t rock.
