We may earn revenue from the products available on this page and participate in affiliate programs. Learn More ›
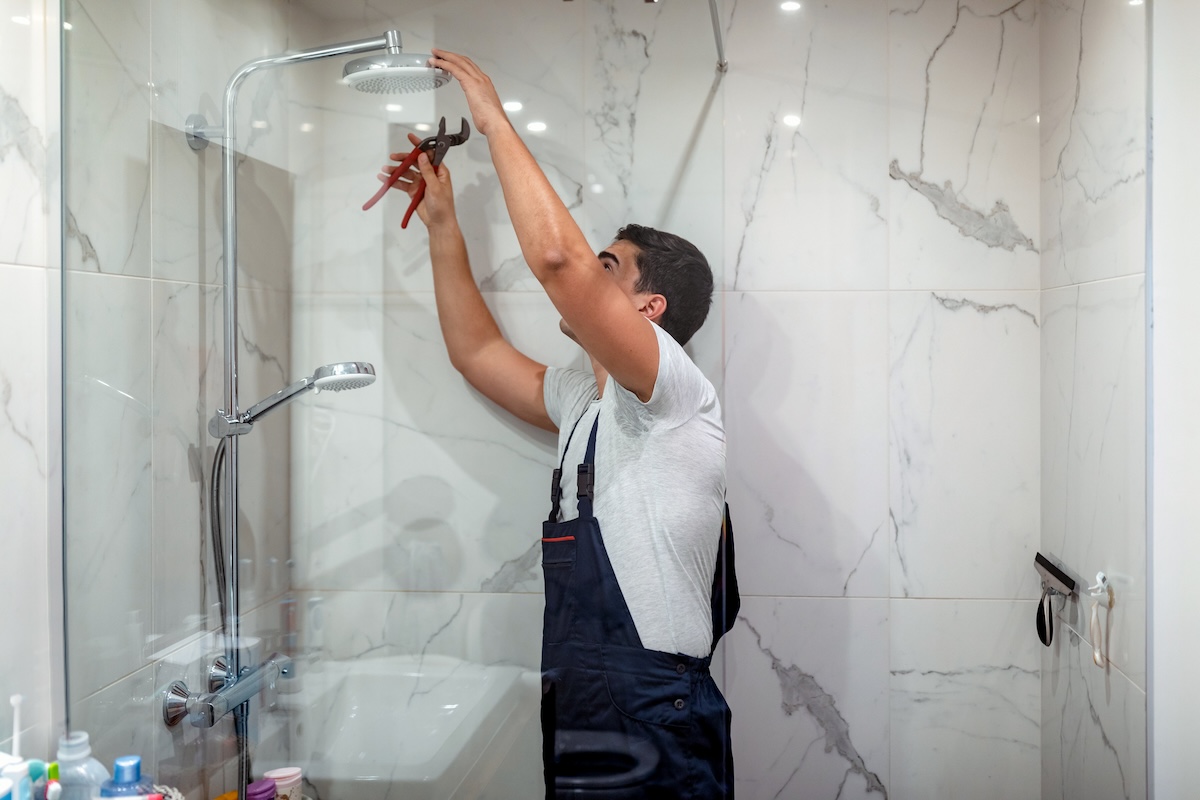
A shower faucet valve controls the flow of water through the shower head as well as the temperature of the water. The most popular type of shower valve in new homes is a pressure-balancing valve, which is designed to maintain a constant ratio of hot and cold water, reducing the risk of accidental scalding.
However, ongoing normal use over time can affect the function of the shower valve, leading to worn-out seals, leaks, slow valve reactions, and temperature fluctuations. Other signs that a shower valve replacement may be needed include excessive limescale buildup, a loose or broken shower handle, and water pressure problems.
While issues can be caused by regular wear and tear, they may also be due to hard water, worn-out seals, worn bearings, water hammering, and aggressive or improper use of the shower valve. If you have a faulty, worn, or leaking shower valve, use this guide to learn how to replace shower valve cartridges and valve assemblies.
Types of Shower Valves
Several types of shower valves are commonly used in new homes, including pressure-balancing valves, thermostatic valves, diverter valves, and transfer valves. In older homes, you may also see a shower mixing valve, though this type is not typically used for renovations, upgrades, or new home construction.
Given that shower valves are not universal, it’s important to learn how to identify the different valve types to find the right replacement.
Pressure-Balancing Valves
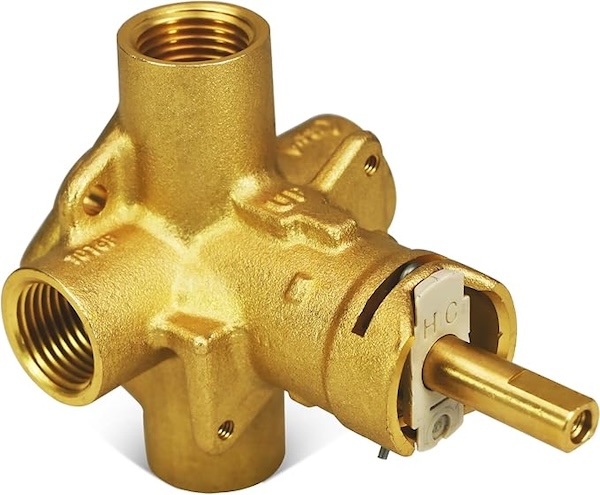
This is one of the most commonly used shower valve types. These valves are made to maintain a consistent ratio of hot and cold water when the user adjusts the shower handle to help avoid accidental scalding. Most pressure-balancing valves have a single handle to control the temperature and flow of water.
Best for: The industry standard for shower valves, pressure-balancing valves, such as this Moen model, are commonly used in both residential and commercial settings to control the water pressure and temperature for showers with a single shower head. These valves are also a good choice if the DIYer is looking to save on the cost of parts, as pressure-balancing valves are typically the most affordable shower valve option.
Thermostatic Valves
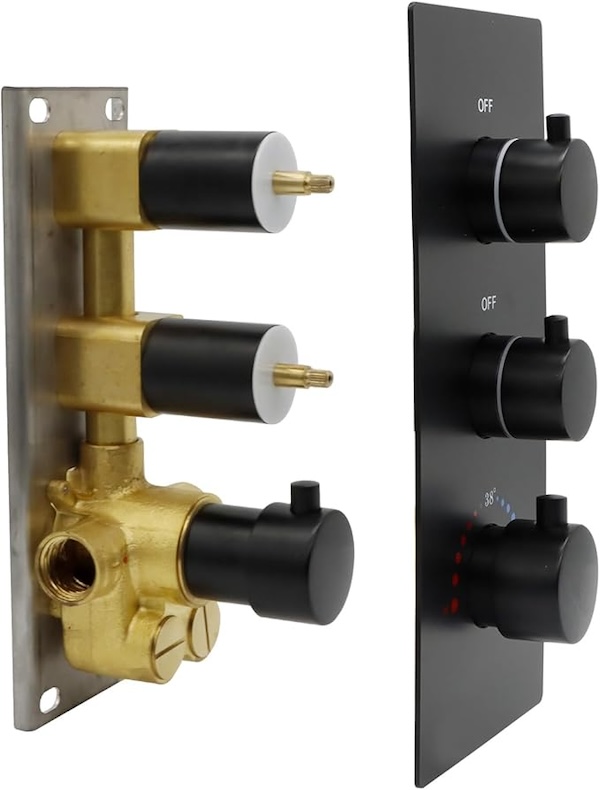
Thermostatic valves tend to be more expensive than pressure-balancing valves because the user can preset the water temperature and then simply wait for the shower to reach the ideal setting. This type of two-handle shower valve will also typically have a volume control feature, allowing the user to set the amount of water coming from each outlet.
Best for: Thermostatic valves can be used for smaller shower systems, but they are most frequently used in large showers with multiple heads and sprayers. With a thermostatic shower valve, such as this Moen product, users can set the water temperature independently of the water pressure for a truly personalized shower experience.
Diverter Valves

These are typically used in bathrooms that have a tub-shower combo. A shower diverter valve can redirect the flow of water through the shower head or the tub faucet. Generally, diverter valves have a pull arm located on the bathtub faucet that can be pulled up to divert the flow of water from the tub faucet to the shower head.
Best for: In a bathroom with a tub-shower combo, a diverter valve is used to switch the direction of the flow from the tub faucet to the shower head. Products like the SR SUN RISE shower system are ideal for tub-shower combo setups.
Transfer Valves

Transfer valves allow water to flow to multiple fixtures—for instance, simultaneously to a handheld shower head and an overhead rain shower head. Newer transfer valve models may even have digital controls with unique programs and features to customize the shower settings.
Best for: To control a shower with multiple faucets or body sprayers, a transfer shower valve, like this Moen product, is necessary. The transfer dial allows the user to direct the flow of water through the specified faucet or body sprayer.
Mixing Shower Valves
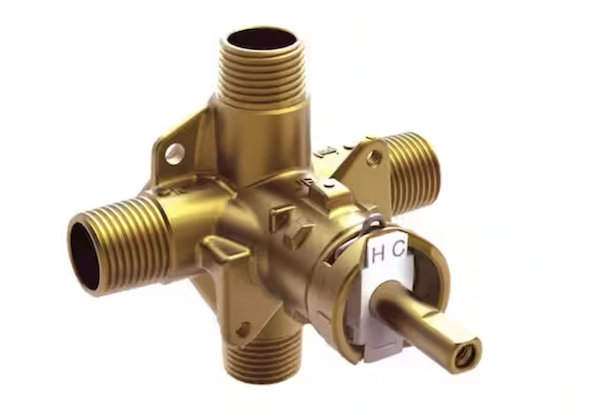
Manual shower valves, also known as mixing shower valves, are one of the older options still in use in some homes. These valves mix the cold and hot water from separate taps before the water exits the shower head. A significant drawback to this design: If a flushing toilet or dishwasher cycle causes a drop in the cold water pressure, the user may be at risk of scalding because this type of valve doesn’t regulate sudden pressure fluctuations or temperature.
Best for: When replacing a traditional mixing valve, DIYers can install a replacement mixing valve, such as this Pfister valve. However, if a mixing valve needs to be replaced, it’s a good opportunity to switch to a pressure-balancing valve or even a thermostatic valve.
Tools & Materials
Bobvila.com may earn a commission from purchases made through these links.
- Screwdriver set
- Hex wrench
- Groove joint pliers
- Needle-nose pliers
- Small hacksaw
- Replacement shower valve
- Pipe cutter
- Copper pipe or PEX pipe
- Copper couplings or PEX couplings
- Solder
- Drywall saw
- Utility knife
- Pipe cleaner
- Flux paste
- Blow torch
Project Overview
Working Time: 1 to 3 hours
Total Time: 2 to 4 hours
Skill Level: Intermediate
Estimated Cost: $50 to $100
Before You Begin
Don’t start a shower valve or shower valve cartridge replacement before gathering the appropriate tools, parts, and replacement shower valve components. Shower valve assemblies and cartridges are not universal, so it’s necessary to determine the size and type of shower valve currently installed to find a suitable replacement.
If you want to change the type of shower valve, be prepared to open up the wall to cut and disconnect the existing shower valve. After cutting the pipes to remove the shower valve, you will need to solder in new fittings before installing a shower valve. If you don’t have experience with soldering, it may be best to hire a plumber to complete this upgrade.
Instructions for Replacing Your Shower Valve
Learning how to replace a shower faucet valve can help save on the total cost of replacing the shower valve while avoiding a time-consuming booking process. DIYers can follow these instructions to replace a shower valve or complete a shower valve handle replacement and restore functionality to the existing shower system.
Step 1: Turn off the water and cover the drain.
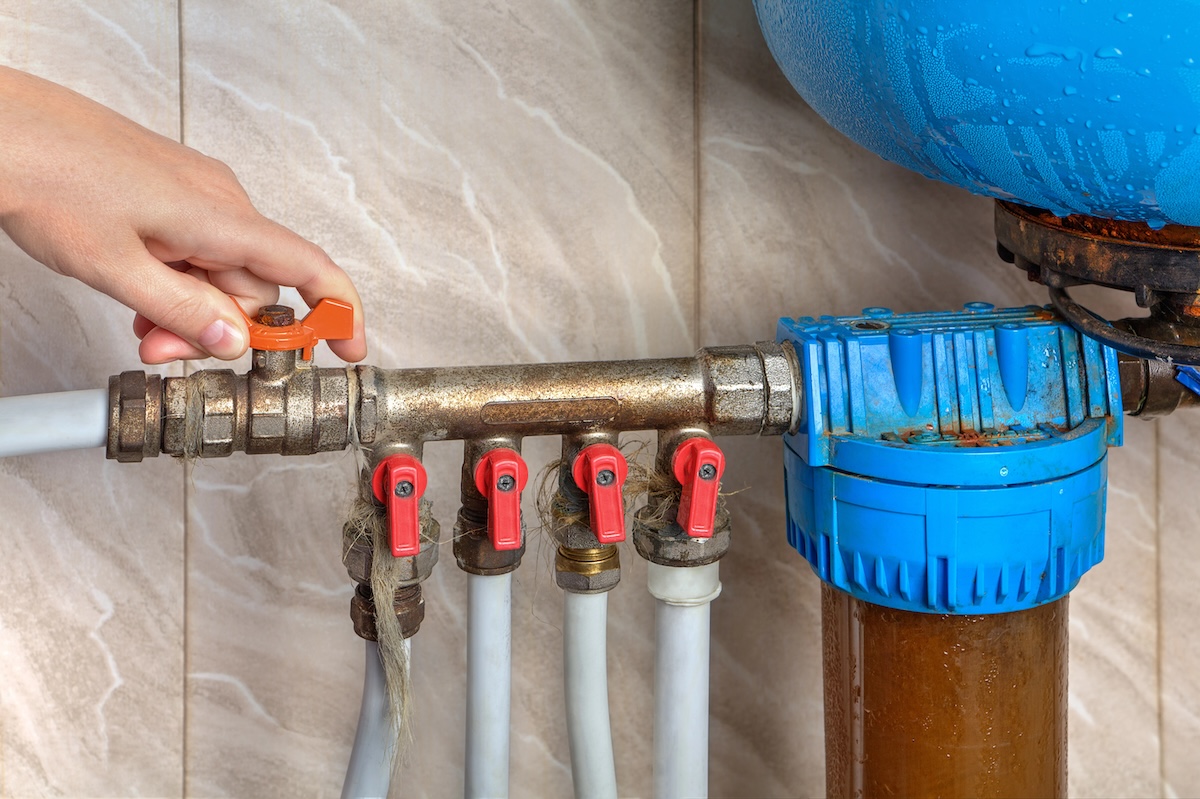
Start the shower valve replacement project by turning off the water to the shower. If there is an isolation valve for the shower, you can use this valve instead of shutting down the water to the whole home. However, if the shower does not have an isolation valve, you will need to cut off the incoming water supply at the main water valve. After turning off the water, open the valve to allow any remaining water to drain.
When the shower valve has finished draining any excess water, place a towel in the bottom of the shower or tub to block the drain. This will prevent any small tools or parts from getting stuck in the drain while you work.
Step 2: Remove the shower handle with a hex key or screwdriver.
The next step is to expose the shower valve by removing the shower handle. Typically, a shower handle is secured with a single set screw located at the bottom of the handle. Check the set screw to determine whether you need a hex key wrench or a screwdriver. If the head of the set screw has a hexagonal shape or socket, use a hex key wrench, but if the fastener has a slotted or cross-shaped head, then a screwdriver will be needed.
Loosen the set screw and remove the shower handle. Put the parts aside in a small bucket or similar container to avoid losing any parts.
Step 3: Remove and clean the trim plate.
Use a screwdriver to loosen the screws holding the trim plate to the shower wall. Set the screws aside, and then remove the trim plate.
If you plan to reuse the current trim plate, take this opportunity to clean any dirt, caked-on debris, or caulk stuck to the edges of the trim plate or the shower wall. Dirt and debris can be cleaned using a microfiber cloth and a bathroom cleaning solution, while caulk is easy enough to remove by peeling it with a utility knife or prying it off with a set of needle-nose pliers.
Step 4: Remove the old valve.
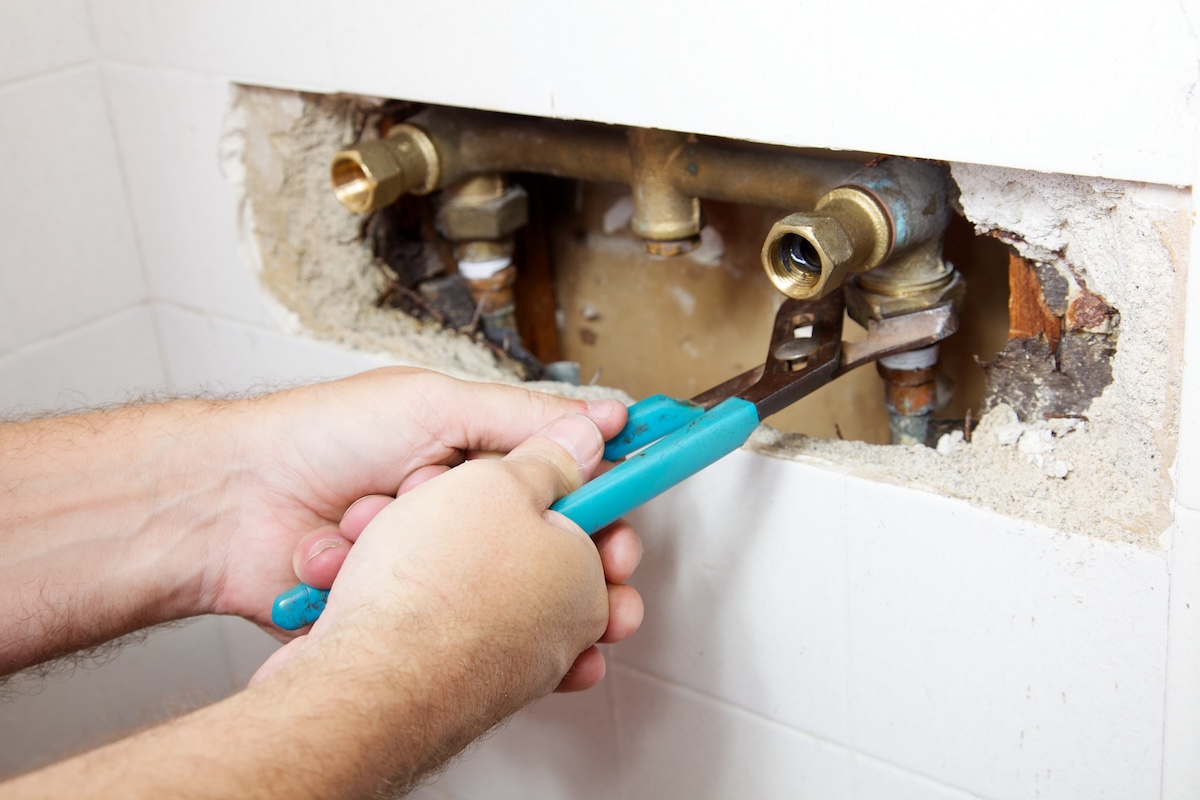
In most cases, you can resolve any issues with the existing valve by replacing the shower valve cartridge. If you are replacing the cartridge instead of the entire shower valve assembly, then you simply use needle-nose pliers to pull out the valve clip, remove any retaining nuts with a hex wrench, and then pull out the old valve cartridge with groove joint pliers.
However, if you are replacing a shower valve assembly, it may be a good idea to call a professional to complete the work. Replacing a shower valve behind the wall is not an easy DIY plumbing job. The DIYer will need to use an angle grinder or a rotary tool to cut the tile around the existing shower valve to make the hole large enough to remove the old shower valve assembly and install the new assembly.
Alternatively, DIYers may be able to replace the shower valve without cutting wall tiles by opening up a hole on the opposite side of the wall using a drywall knife to expose the back of the shower valve. After the shower valve is exposed, use a pipe cutter to cut the pipe going up to the shower, as well as the hot and cold water lines.
Step 5: Install a new valve.
Installing a new shower valve cartridge is as easy as sliding the new cartridge into the existing valve, securing any necessary retaining nuts, and inserting the valve clip to lock the cartridge in place. However, if you are replacing the entire valve assembly, the work to install the valve is significantly more difficult. For those who have no experience with soldering, it’s recommended to hire a plumber to complete this upgrade.
Skilled DIYers with basic plumbing knowledge and experience with soldering and who feel comfortable handling this type of work can follow the instructions below to install a new valve assembly.
For Copper Pipes:
- Take measurements of the existing water lines, using the new valve assembly for reference, in order to solder several copper couplings that will connect the new valve assembly to the cut ends of the copper pipes.
- Clean the pipes and fittings using an emery cloth or wire brush, and then apply flux paste to the connections.
- Pull out a length of solder and hold it to the base of the first fitting.
- Use a blow torch to heat the pipe until the solder turns to liquid. If done correctly, the solder should flow into the gap between the fitting and the pipe, creating a watertight seal.
- Repeat this process with each subsequent fitting to install the new valve assembly.
For PEX Pipes:
- Take measurements of the existing water lines, using the new valve assembly for reference, in order to connect the new valve assembly to the PEX piping using PEX couplings.
- Slide the PEX couplings into position, then use a PEX crimping tool to crimp the coupling around each connection.
- Repeat this process for each subsequent fitting to install the new valve assembly.
Step 6: Turn on the water and test for leaks.
Now that the new shower valve or shower valve cartridge has been installed, turn the water on and look for leaks. If you installed an entire valve assembly, carefully inspect each connection to ensure the installation succeeded without any leaks.
After verifying that the new shower valve is not leaking, replace the trim plate and reinstall the shower handle. Remove the towel from the drain, and then turn the shower on to test the functionality of the new shower valve.
Final Thoughts
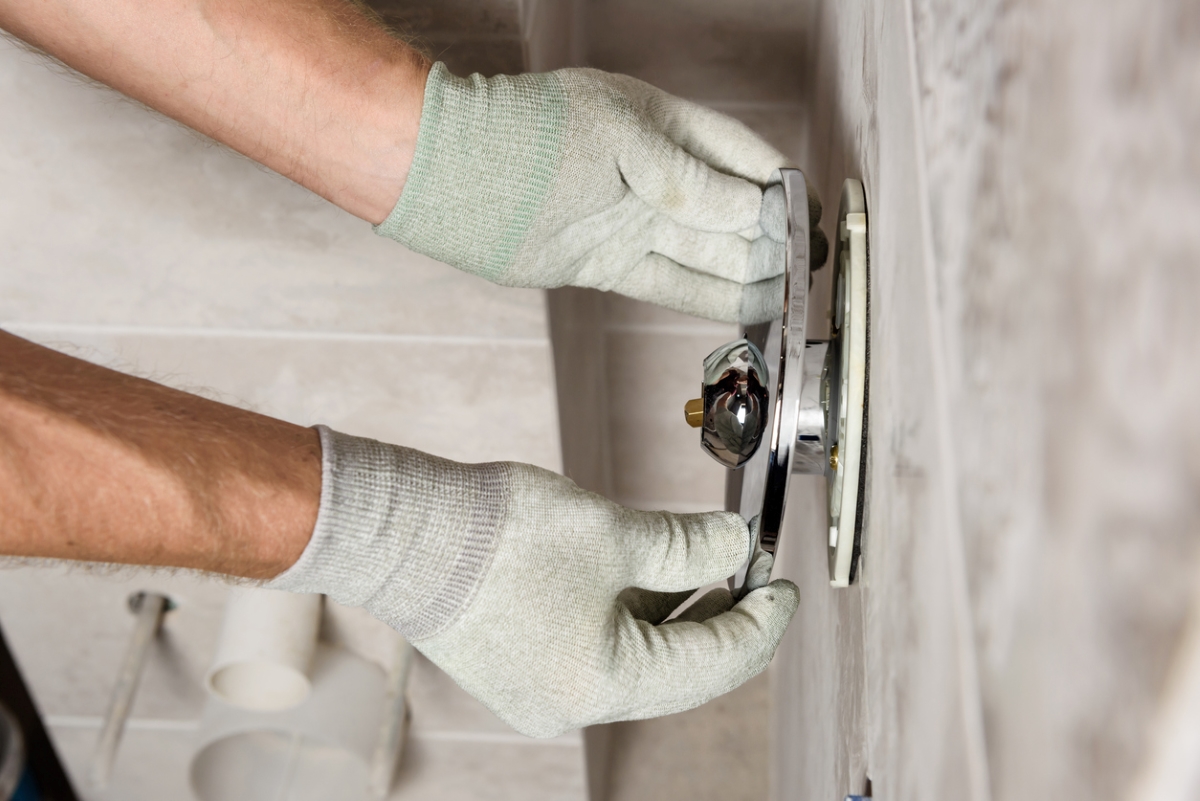
When replacing a shower valve, take some time to inspect the existing shower valve before purchasing a suitable replacement product for this project. To find the right product to replace the leaking shower valve, check the brand and type of shower valve currently installed.
If you can’t find any notable marking to help identify the shower faucet, you may need to take apart the faucet and measure what’s there to ensure you purchase a compatible replacement. Alternatively, you can remove the existing valve and take it to a local home improvement store for help finding a suitable replacement product. However, the water will need to be off during this time, so make sure anyone left at home is aware that the water is supposed to remain off, or you may return to a flooded bathroom.
FAQs
Replacing a shower valve cartridge is relatively easy and can typically be handled by a beginner DIYer with the right tools and directions. However, replacing an entire shower valve assembly is significantly more difficult and should be left to experienced DIYers or a professional plumber.
A shower valve cartridge can be replaced without needing to remove tile. Even a shower valve assembly may be able to be replaced without cutting or removing tile if the DIYer has access to the back of the shower valve assembly through a sheet of drywall.
However, if the back of the shower is inaccessible and the entire shower valve assembly needs to be replaced, tiles will need to be cut or removed to replace the shower valve.
Shower valve replacement costs can vary depending on the type of shower valve, the complexity of the project, and whether just the shower valve cartridge or the entire assembly needs replacing. On average, installing a new shower valve will cost between $125 to $500.

