
We may earn revenue from the products available on this page and participate in affiliate programs. Learn More ›
Restoring a weathered deck is a great project to tackle solo or with a partner, and it returns a noticeable and satisfying aesthetic upgrade. It requires a smaller budget than replacing a deck but provides a major payoff, especially if you’re considering putting your house on the market. If you lack the time, tools, or equipment, or if structural repairs are needed, don’t hesitate to reach out to a skilled deck professional. But if the issue is just cosmetic and you’re ready to tackle the project on your own, these steps will show you how to restore a weathered deck.
- Time required: Several days
- Difficulty: Beginner
- Estimated cost: $60 for stain and deck stripper, plus an extra $300 or more if purchasing a power washer and other equipment
Tools & Materials
Bobvila.com may earn a commission from purchases made through these links.
- Scraper tool
- Coarse sandpaper (60-grit or lower, if available)
- Sanding pole
- Saw or utility knife
- Safety glasses
- Mask
- Work gloves
- Rubber boots
- Bucket
- Measuring cup
- Scrub brush
- Deck stripper
- Pump sprayer
- Hose or power washer
- Electric sander or sanding block (if needed)
- Broom or vacuum
- Synthetic brush
- Replacement boards, nails, or screws (if needed)
- Plastic sheeting
- Painter’s tape
- Bleach
- Powder laundry detergent
- Deck stain and sealer
Before You Begin…
Before you take on this project yourself, it may be wise to get a second opinion to make sure your deck isn’t beyond DIY repair. An expert may be able to see whether you need a new deck or if it just needs to be revamped with cleaning and restaining. Rotting wood or loose boards could indicate a more significant issue that warrants professional attention and repair or replacement.
Measure the area of the deck before purchasing deck stripper or deck stain. This way, you can ensure that you’ll buy the right amount and won’t need to make a last-minute trip to the home improvement store in the middle of the project.
Plan your project for a few days when there’s no forecasted rain, or be prepared for the project to take longer: The deck will need to dry out after cleaning, and the stain will need to sit for a while before getting wet.
Tips for How to Restore a Weathered Deck
- Get a professional opinion on the state of your deck.
- Inspect damage beforehand to assess the level of work required.
- Clean, sand, stain, and seal the deck to give it new life.
Safety Considerations
- Protective gear, such as safety glasses, a mask, rubber boots, and gloves, will keep you safe from hazards associated with using strong cleaning or staining chemicals.
- Ensure you’re up to date on your tetanus shot when working with splintering wood or rusting nails.
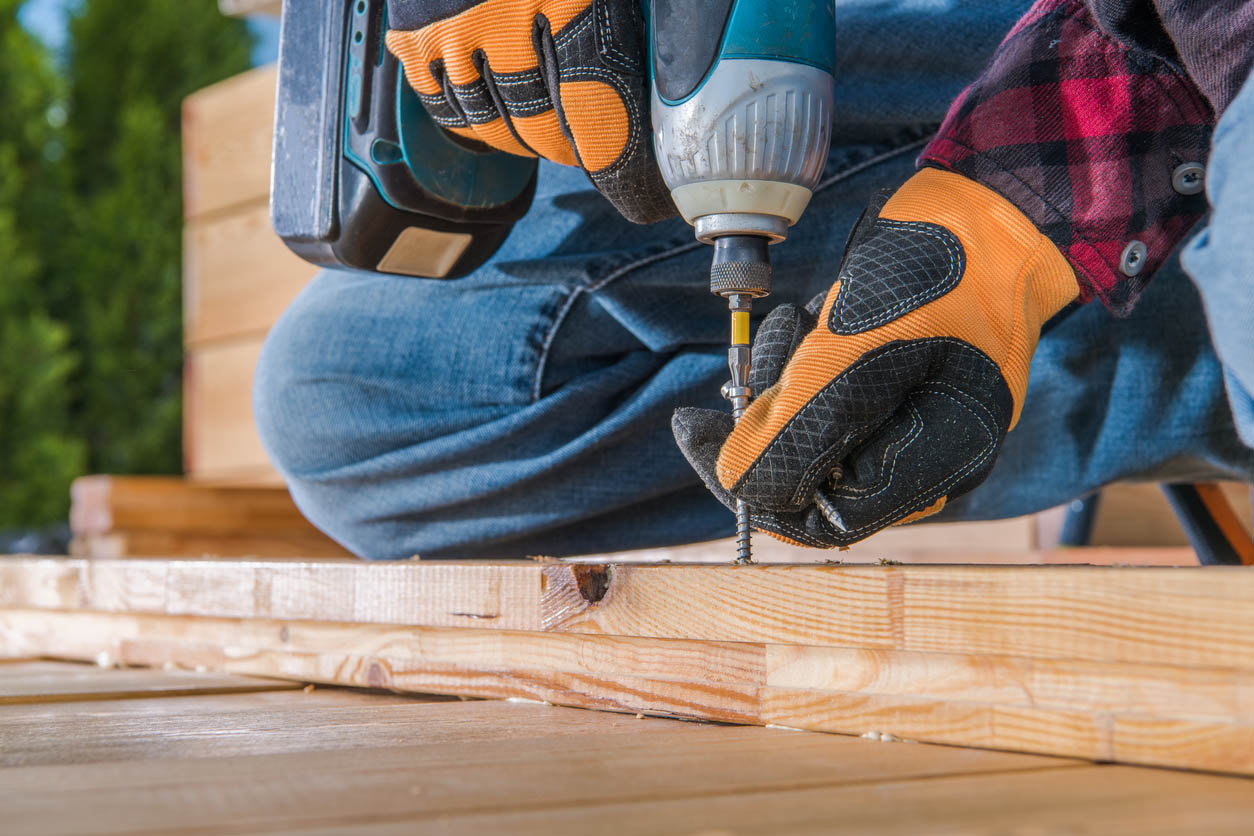
STEP 1: Inspect the deck and repair any damage.
Before buying supplies or jumping right into repair mode, it’s a good idea to carefully inspect your deck to get an idea of the scope of work it will require to restore. Evaluate deck boards, posts, stairs, joists, handrails, and balusters for damage. Any wood rot will need to be replaced, as will any worn-down nails or screws.
STEP 2: Remove any flaking, loose finish.
Use a scraper tool to remove any loose paint or finish from past staining jobs. This will give you a clean canvas and make cleaning and sanding easier. Ensure that you check all railings and boards for flaking finish. If there are any large wood splinters, trim them or sand them down with coarse sandpaper. A sanding pole can make sanding the deck easier than sanding on your hands and knees.
STEP 3: Protect the surrounding area.
Before moving on, protect the surroundings. Tape plastic sheeting over nearby landscaping and house siding to prevent the stain from splashing the house or deck stripper from killing any plants. If you’re not refinishing the rails, protect them with plastic sheeting as well.
STEP 4: Clean an unfinished deck or strip a previously finished deck.
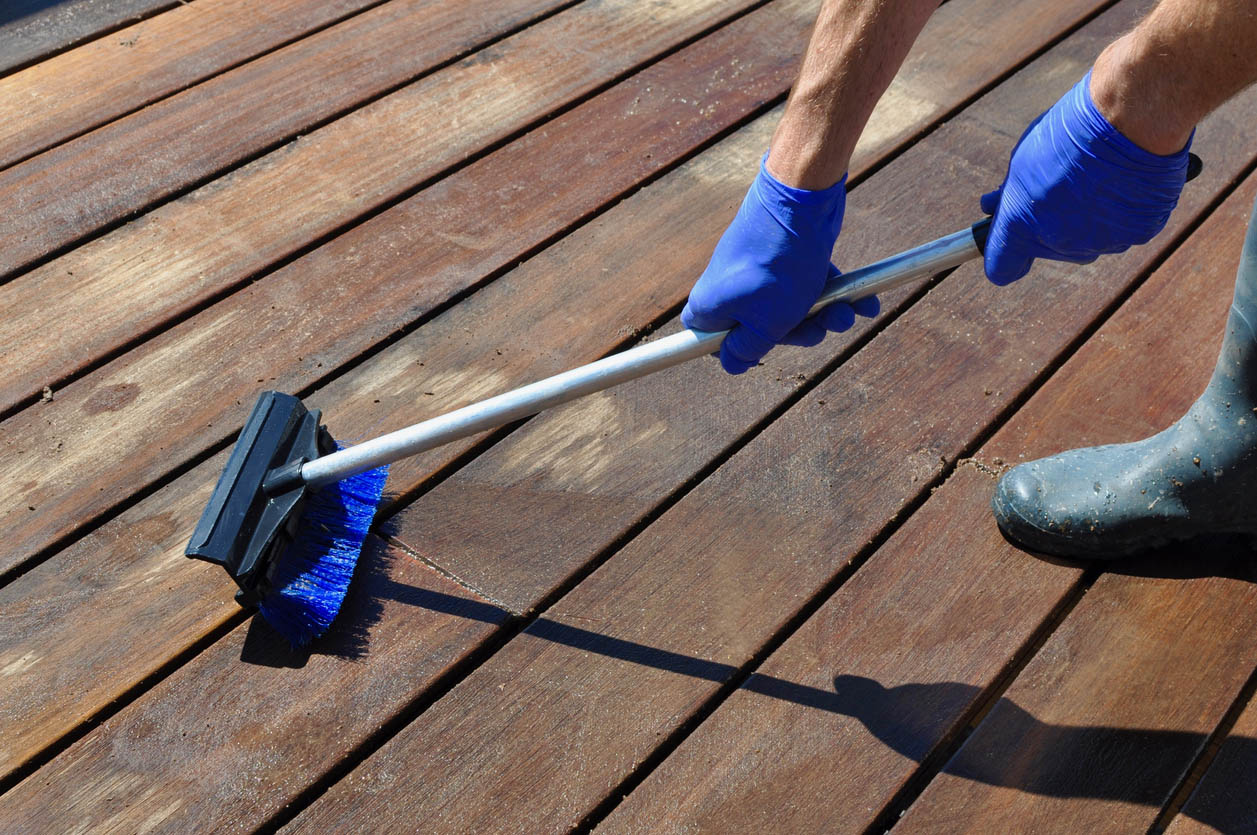
Before you start cleaning or stripping, make sure you are wearing protective gear like safety glasses, a mask, work gloves, and rubber boots. For an unfinished deck, add 1 quart of bleach (sodium hypochlorite) and ⅓ cup of powder laundry detergent to 3 quarts of warm water in a bucket. Apply this mixture to the deck with a scrub brush. Scrub any areas of buildup or grime. Once applied, rinse thoroughly with a hose or power washer and allow to dry completely, at least overnight. The bleach is particularly effective for mildew.
For a previously finished deck, apply deck stripper with a pump sprayer. Follow the manufacturer’s directions to ensure safe, effective application. After stripping the deck, rinse thoroughly with a hose or power washer.
STEP 5: Sand the deck to prepare it for staining.
A smooth surface is essential for an even, long-lasting stain application. Using coarse (60-grit or lower, if available) sandpaper and a sanding pole, sand the deck’s surface. If you’re refinishing the railings, use an electric sander or sanding block. Sweep or vacuum away any dust. Make sure you’re wearing safety glasses and a mask so you don’t inhale any dust.
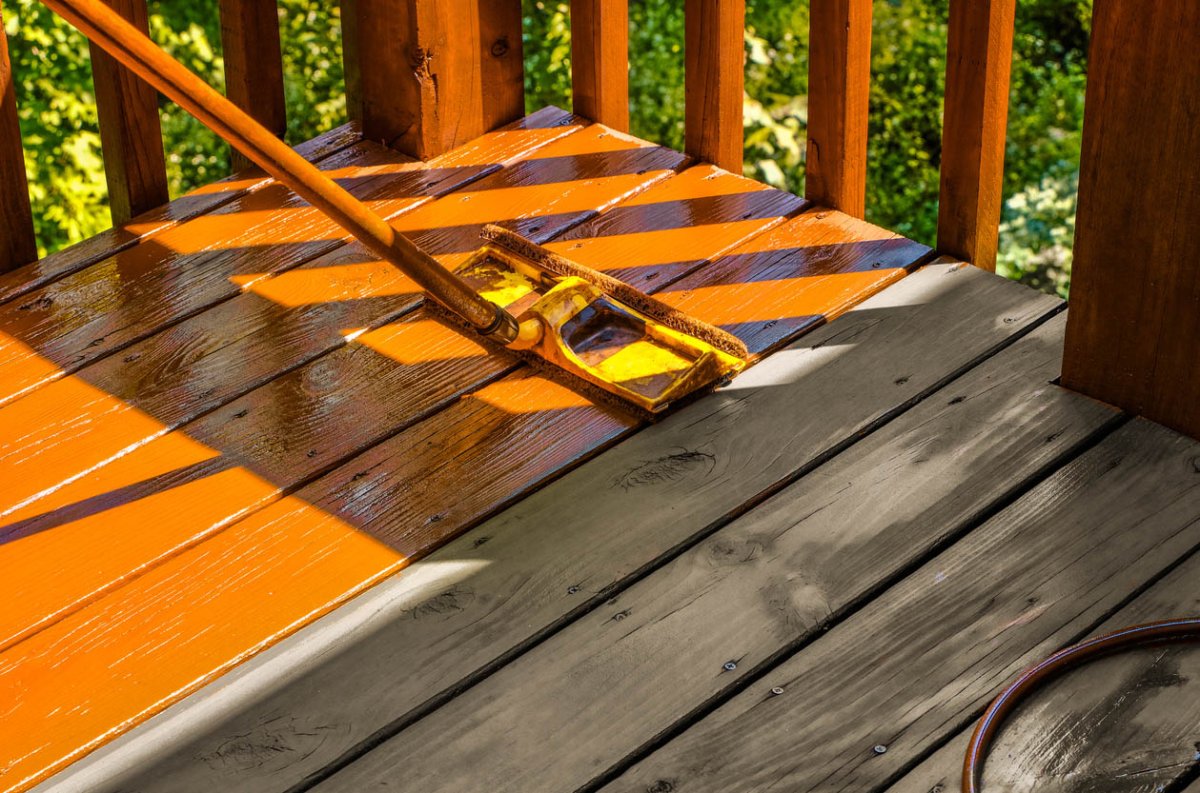
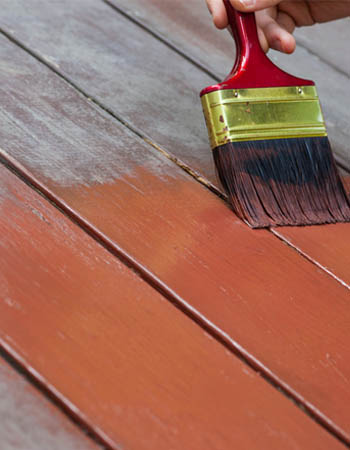
STEP 6: Stain and seal the deck.
Before you begin staining, ensure that the weather forecast doesn’t predict rain: Most stains need time to set before getting wet.
If your deck is newer and the wood still has much of its original color and luster, a transparent stain can add shine without color. For older decks, or if you’re looking to impart a totally new color onto the wood, a semitransparent or colored stain would be a better choice. Apply the stain with a synthetic brush, starting with the railings, and follow the directions for your particular brand. Some varieties of stain will be applied with the grain, while others will be applied cross-grain. Start with a thin coat of stain, as it’s easier to add more but nearly impossible to remove excess stain.
Many stains and sealers come together in one product, which means a one-step application. If your stain does not include a sealant, follow the manufacturer’s instructions and apply a sealant on top of the stain.
Restoring a weathered deck may be a great project for a skilled DIYer. However, if these steps seem outside your skill set, the time commitment is too much, you’re not interested in purchasing tools, or making repairs is beyond your scope of expertise, a deck professional can handle the job for you and ensure it’s done correctly.
