
We may earn revenue from the products available on this page and participate in affiliate programs. Learn More ›
If they’re properly sharpened, power hedge trimmers are a great time saver over manual trimmers for maintaining neat hedges and other landscaping. If your power trimmers are continually getting jammed and are chewing instead of slicing through branches, however, it’s probably time to sharpen the blades.
As is the case with lawn mower blades, knives, and other sharp implements, you can bring trimmers in for professional sharpening, but you can save money by handling this job yourself. Follow the simple steps below on how to sharpen hedge trimmers.
Why It’s Important to Sharpen Hedge Trimmers
Sharpening your hedge trimmers allows you to make quick work of that pruning job, plus it contributes to the health of your plants. “Letting your trimmers go dull is like trying to cut steak with a butter knife,” says Bryan Clayton, a longtime landscaper and CEO of GreenPal, a company that matches homeowners with landscaping services. He says with dull blades, “You’ll end up tearing your hedges rather than cutting them cleanly, which can lead to unhealthy plants prone to disease.”
RELATED: AUDIO: Bob Vila Explains How to Sharpen Hedge Trimmers
Best Power Hedge Trimmer
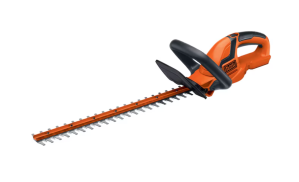
Black+Decker 20V Max Cordless Hedge Trimmer, $64.98 at Lowe’s. This Black+Decker tool can cut through branches 3/4 inch in diameter. It has a padded front handle and enough battery power to trim up to 3,000 square feet.
To discover other top-performing tools in this category, read our tested guide to the best hedge trimmers,
How often should you sharpen your hedge trimmers?
While you don’t need to sharpen your hedge trimmers often, you’ll need to give them a little TLC every now and then. “A good rule of thumb is to sharpen them at the start of the season, then check them every 50 hours of use,” Clayton says. It’s worth the time, he says, since “dull blades make your job harder.”
There are telltale signs that your hedge trimmer has dull blades:
- Frequent jams: If branches and foliage are getting jammed in between the hedge trimmer’s teeth, it’s likely because the blades aren’t sharp enough to cut through the material.
- Ragged cuts: Your hedge trimmer should cut cleanly through twigs and branches. If they’re chewing through them and leaving ragged cuts, then the blades are dull
Types of Hedge Trimmers
Power hedge trimmers come in several types, including gas, corded, and cordless electric models. Whether you own gas hedge trimmers, electric hedge trimmers, or battery-operated hedge trimmers, you’ll use the same process to sharpen the blades.
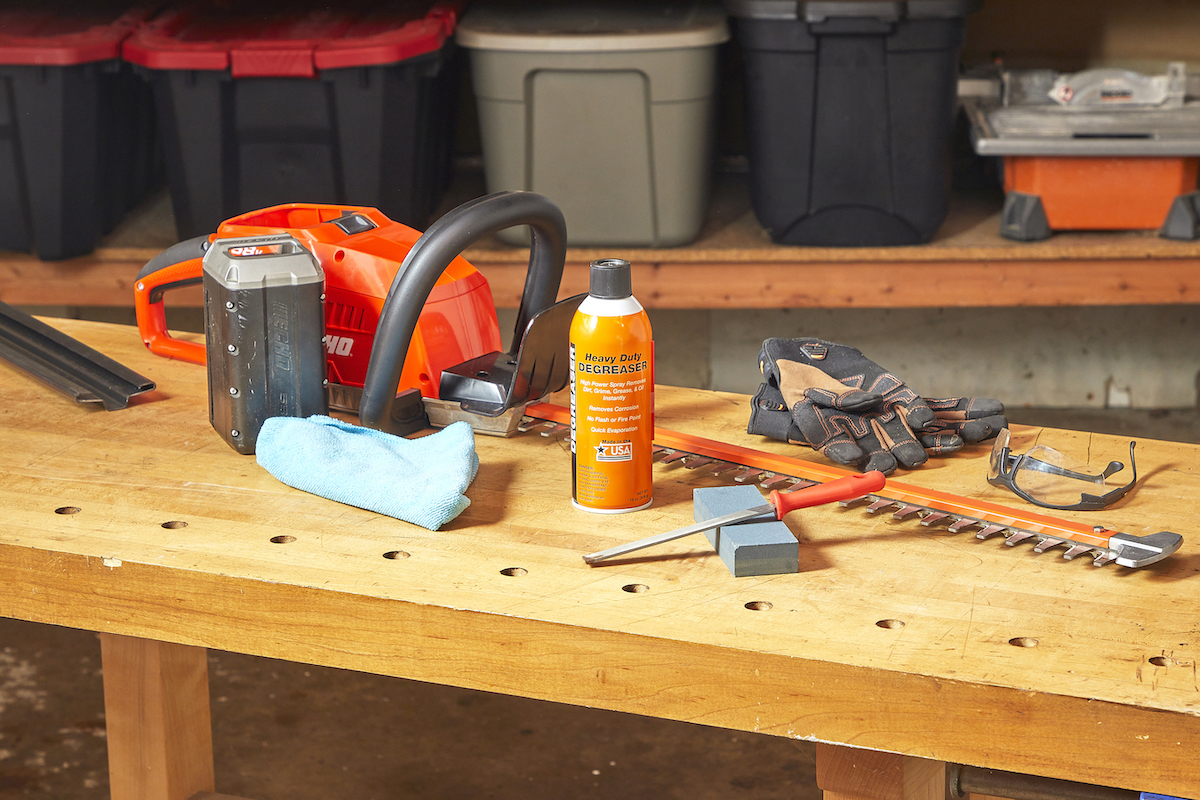
Tools & Materials
Bobvila.com may earn a commission from purchases made through these links.
Project Overview
Working Time: 1 hour
Total Time: 1 hour
Skill Level: Intermediate
Estimated Cost: $10 to $15
Before You Begin
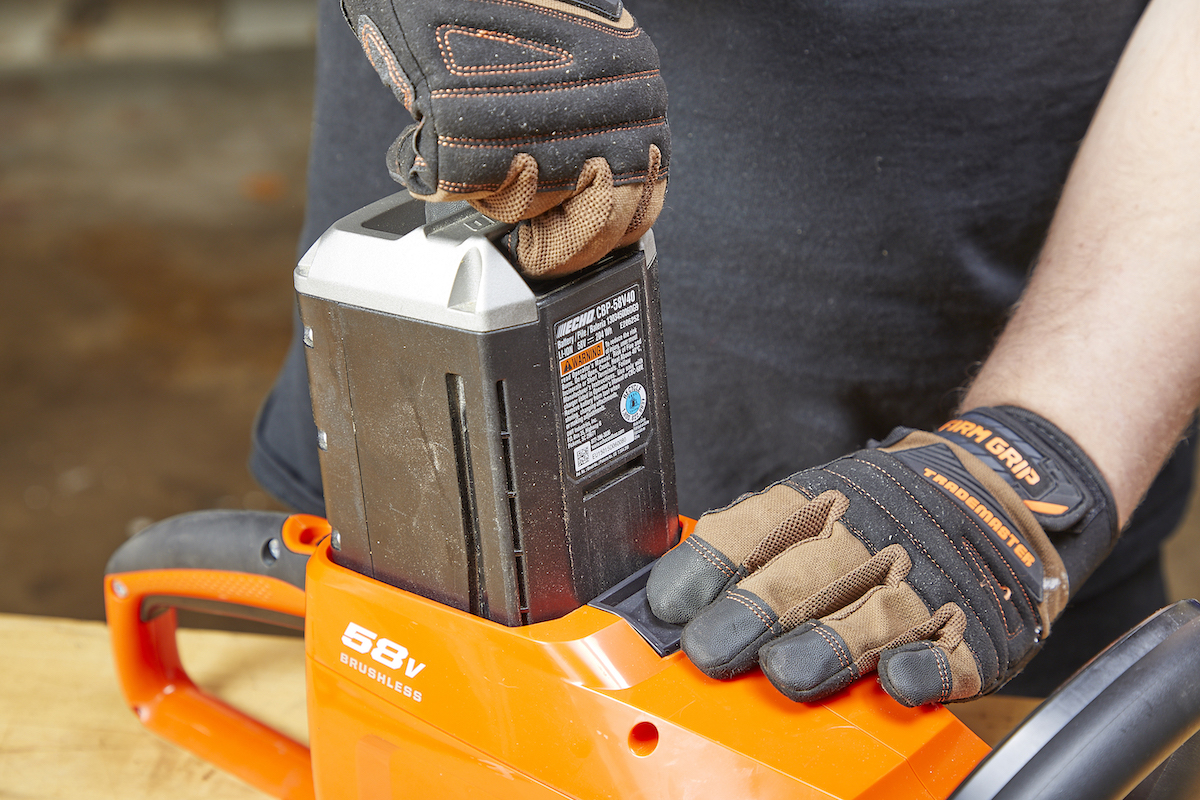
Sharpening a hedge trimmer involves working around blades and filing, which can send metal shavings airborne. Take the required safety precautions before getting started. “Wear gloves and eye protection,” says Clayton. “Always unplug electric trimmers before you start, and for both types, make sure the trimmer is securely clamped down or held in a vise.” If you are maintaining battery-powered hedge trimmers, remove the battery.
How to Sharpen Hedge Trimmers the Right Way
Step 1: Clean the trimmer blades.
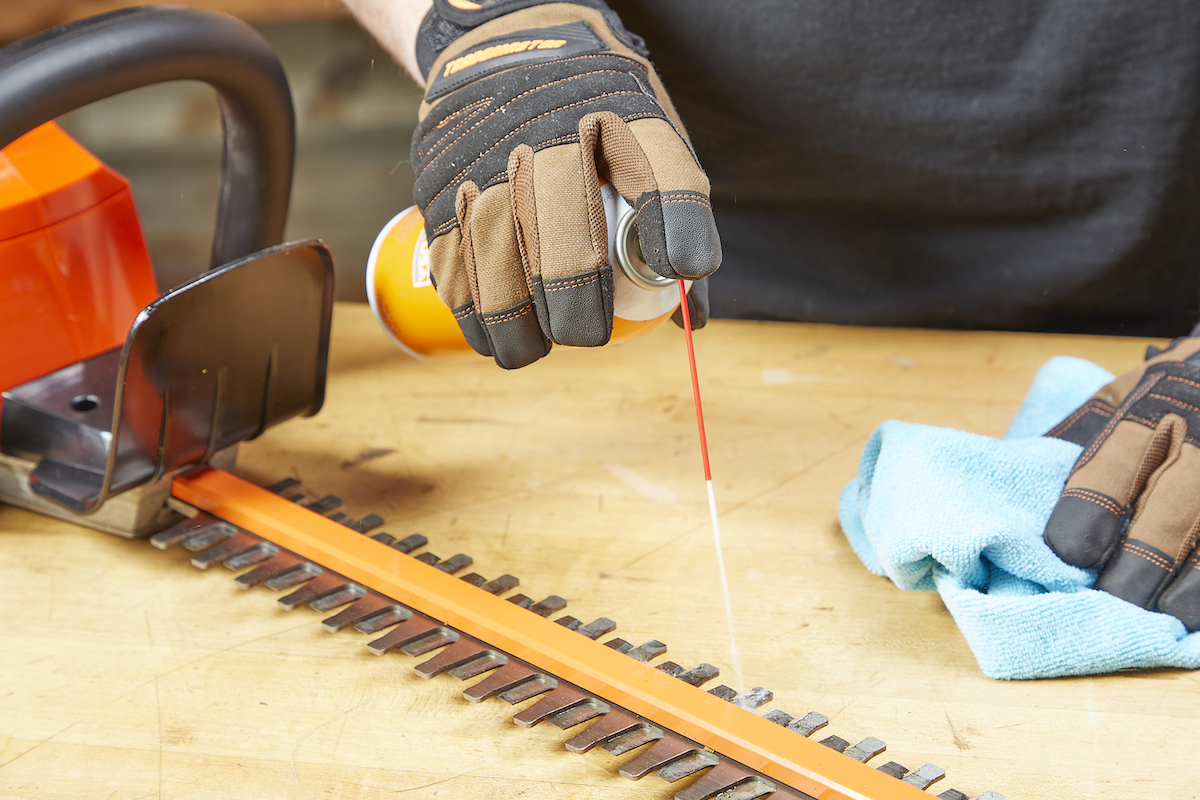
Hedge trimmer blades often end up clogged with sap and pieces of branches and leaves. Start by removing any debris that’s caught in the trimmer’s teeth. Spray the blade with a little WD-40 to break down any sap that’s stuck to the blade. Give it a few minutes for the solvent to work its magic, then use a cloth to wipe the blades clean.
Step 2: Misalign the trimmer blades.
If the blades are aligned over top of each other, you’ll need to misalign them to expose all the edges so you can access each one with the file. Use a flathead screwdriver to reposition the blades so that each one is accessible.
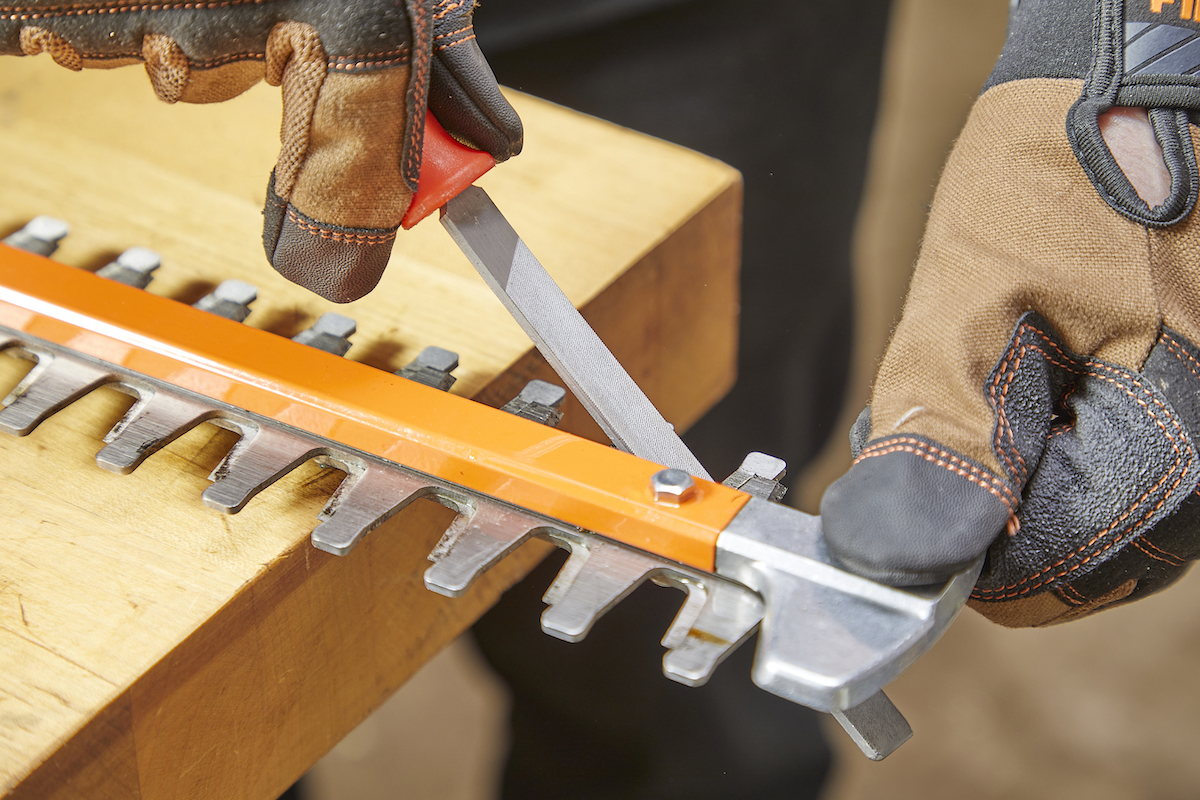
Step 3: Sharpen with a flat file.
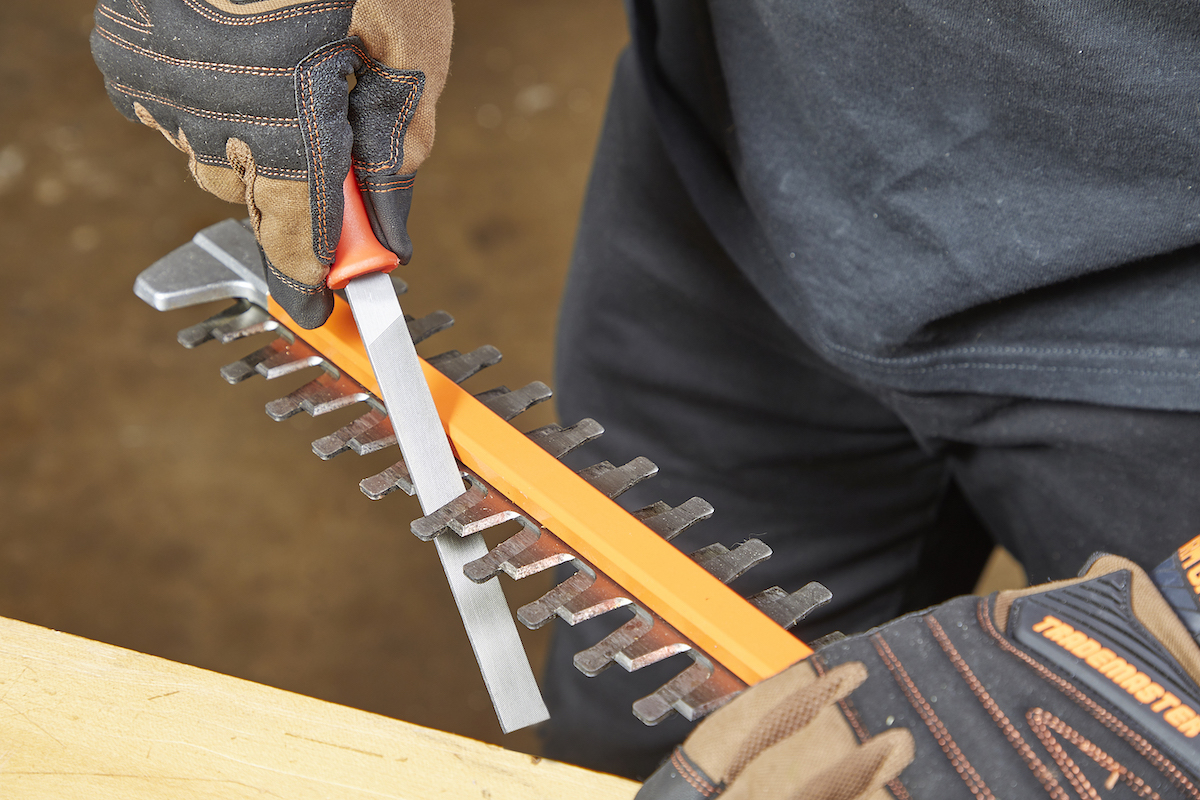
Using your flat file, sharpen each blade individually.
- File in the direction of the cutting edge only. Don’t use a back-and-forth sawing motion, since a flat file is designed to remove material in one direction only.
- Filing using the correct angle is crucial to getting a sharp edge. Check your trimmer’s manual for the proper angle for the specific hedge trimmer.
- File with care. Removing too much metal from the blades can weaken them, making the trimmer unusable.
- Be consistent with the number of strokes you make on each blade to ensure they’re a consistent length when done. “Just focus on sharpening the top edge of each blade, maintaining the original angle, and whatever you do, don’t touch the flat bottom side,” Clayton says. “That’s your guide for keeping the cut accurate.” After sharpening one tooth, move onto the next until you’ve sharpened each one.
Step 4: Use a whetstone to remove burrs.
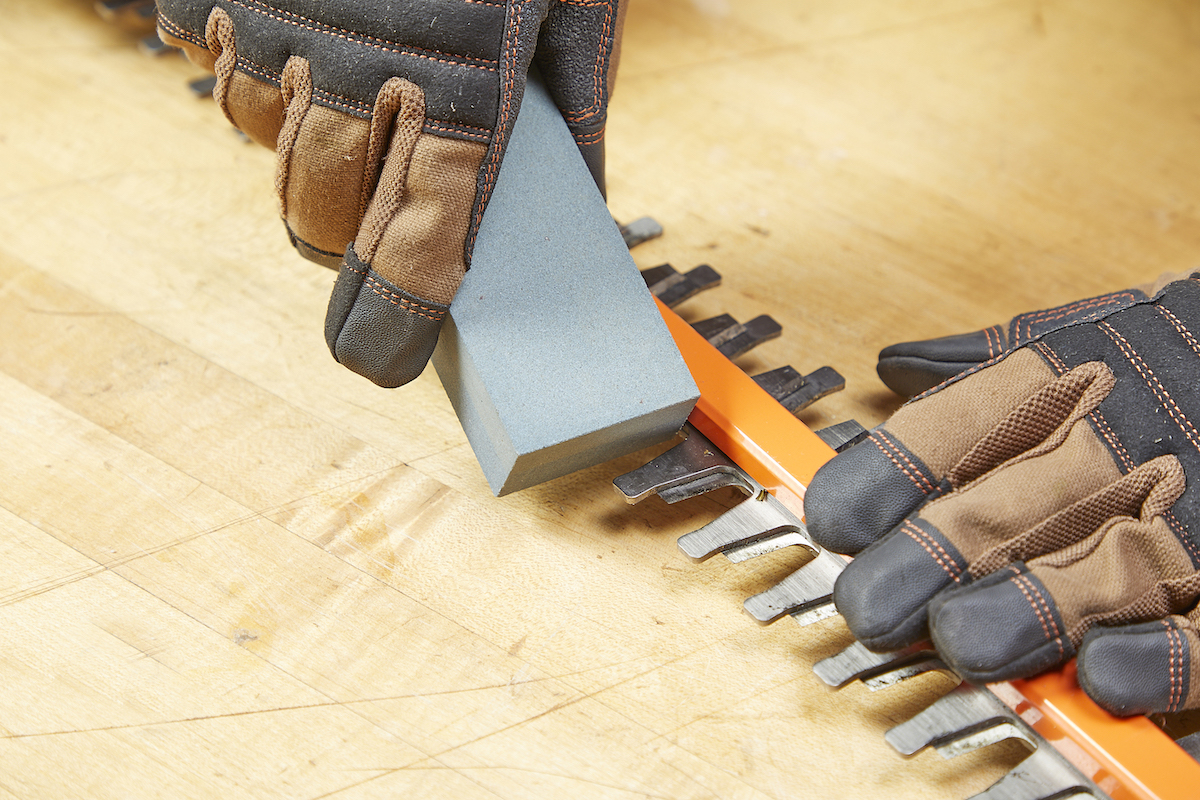
Run a whetstone over the sharpened blades to remove any burrs that formed during sharpening. Remember, the blades cut by sliding against each other like a pair of scissors, so removing burrs that can interfere with this action is crucial.
Step 5: Spray with resin solvent.
Sharpening your hedge trimmers also removes any corrosion protection that was on the blades. Before you put the hedge trimmers back into service, you’ll need to restore that protection by applying a resin solvent to the blades. Spray the solvent onto the blades and wipe off any excess resin.
Final Thoughts
While learning how to sharpen hedge trimmer blades isn’t difficult, there is some risk to doing it yourself. Over-sharpening the blades can weaken them, making your hedge trimmer unusable. “Sharpening hedge trimmers isn’t rocket science, but it does require a steady hand and a bit of know-how,” Clayton says. “If in doubt, taking them to a professional isn’t just playing it safe; it’s ensuring your tools last longer and perform better.”
