We may earn revenue from the products available on this page and participate in affiliate programs. Learn More ›
Shellac is a versatile, nontoxic finish that enhances wood’s natural grain while adding smoothness without the plastic-like qualities of polyurethane or lacquer. Made from flakes of resin secreted by lacs (insects native to Asia) and dissolved in alcohol, most shellacs are clear or amber in color but can be tinted in a range of hues, from golden oak to dark mahogany. It’s readily available at home centers, goes on easily, and dries quickly.
Shellac isn’t an ideal wood finish for all situations. The finish can fade in the sun or dull over time, and it’s highly sensitive to water and high humidity. So while this less-than-durable finish can be repaired and retouched if necessary, it’s usually best applied to decorative wood items that won’t see a lot of wear and tear, rather than high-use furniture like a dining room table.
If you’re considering enhancing the natural beauty of your latest woodworking project, this step-by-step guide on how to shellac wood will get you started. A full, protective shellacking generally requires several thin layers, with a bit of sanding and buffing in between—a project that can often be completed in one afternoon.
Tools & Materials
Bobvila.com may earn a commission from purchases made through these links.
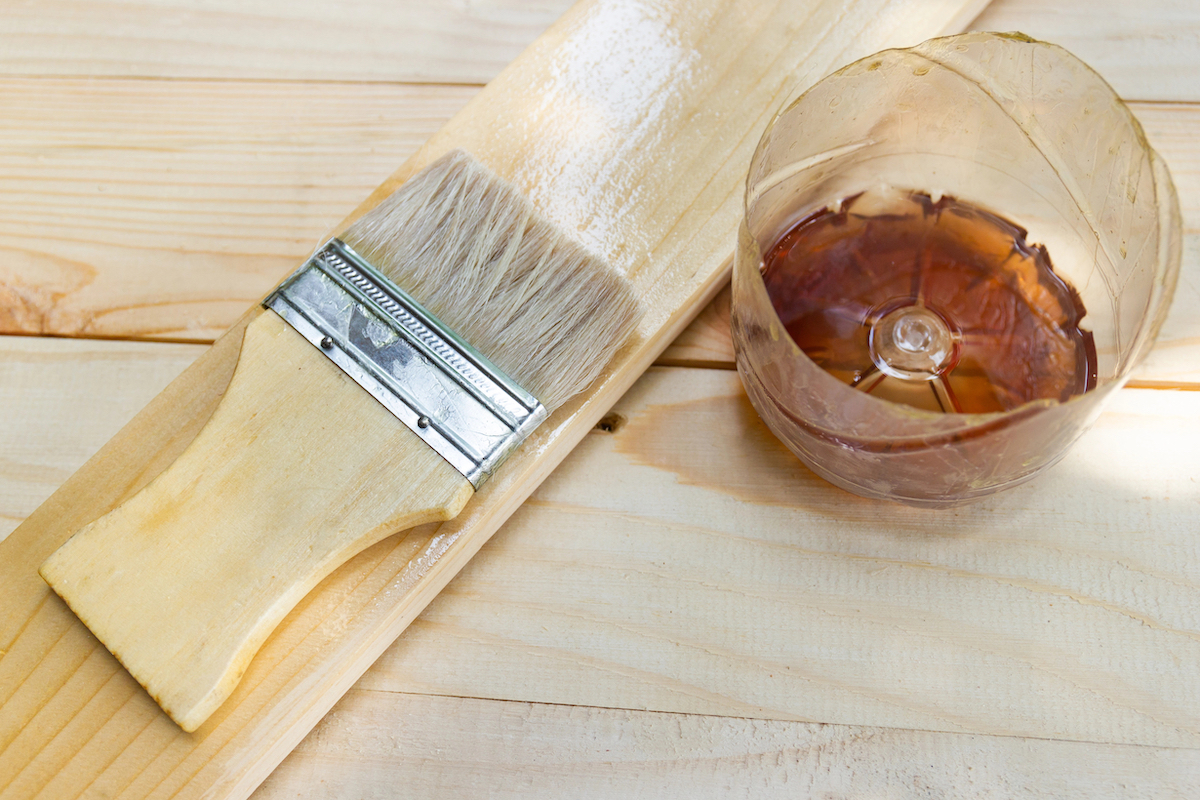
Step 1: Prepare the shellac to the desired consistency.
Shellac is used in various concentrations, or “cuts,” that are mixed with denatured alcohol to determine the thickness of each coat. For a full-finish wood coat, a ratio of 2 pounds of shellac per gallon of alcohol is common and known as a 2-pound cut. A higher alcohol ratio creates a thinner mixture more commonly used as light sealer before staining. A higher shellac ratio produces a thicker blend that can mean fewer coats but can be sticky and difficult to work with.
Shellac can be made from scratch or purchased pre-made. If you’re up for the extra effort of making the mixture yourself, purchase shellac resin flakes and combine with denatured alcohol, using the 2-pound cut ratio as a starting point. You can add more or fewer shellac flakes to determine your own “cut preference” based on how the mixture is performing.
Pre-made shellac is sold by the quart or gallon, and usually has a high shellac ratio (3- or 4-pound cuts) which will result in thick coats. You can always thin out pre-made shellac by adding denatured alcohol. Shellac has a short shelf life, so purchase only as much as you will need for the job.
Step 2: Test the shellac on a piece of scrap wood.
Because shellac dries quickly, allowing no time to smooth out drips, it’s wise to test the consistency you’ll be working with before applying it to your project. Using a dry cotton cloth, rub some shellac onto a scrap piece of wood. If the shellac is too sticky to be wiped on smoothly, try adding a drop or two of mineral oil as a lubricant. (Mineral oil won’t affect the color or overall finish.)
Step 3: Sand the workpiece.
Sand the wood (220-grit sandpaper is appropriate for most projects) and wipe it with a tack cloth to remove any dust. Shellac can be applied with either a cotton cloth rag, a brush, or a combination of both. A good rule of thumb is to use a cloth to shellac wood if you’re covering a large surface area, and a brush for to finish tight edges and corners.
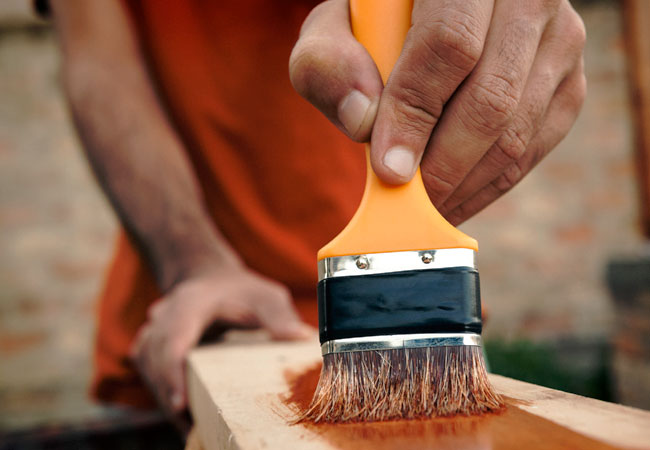
Step 4: Brush or wipe on the first coat of shellac.
Dip your rag into the shellac mixture and coat the wood using broad, even strokes and a generous amount of shellac. Try to avoid pooling or blotches, which will have to be sanded down later. Use the brush to finish tight areas and corners, doing your best to minimize brush strokes. While shellac dries to the touch almost immediately, wait at least 30 minutes before moving on.

Tried-and-True Advice
“When shellacking a piece with intricate carvings or detailed edges, I prefer to use a small artist’s paintbrush to apply the shellac to those areas first before coating the larger surfaces. This prevents pooling in tight spots and makes sure the detailed areas are evenly coated without getting too thick. Also, to make the process easier and to avoid drips, put your project on a lazy Susan or rotating turntable, which will give you to access to all sides without handling the piece, reducing the risk of smudges or uneven coats.”
—Paul Rankin, Contributing Writer
Step 4: Buff with sandpaper to smooth.
Sand any raised wood grain or uneven globs of shellac with 400-grit sandpaper. Alternately, use a piece of superfine (#0000) steel wool to buff between shellac layers.
Wipe away any white dust that accumulates from buffing. Examine the piece at eye level to identify spots where light does not reflect, which would indicate that the wood surface is not properly shellacked, and target those areas on your next coat.
Step 5: Apply more coats of shellac as required until you’re happy with the finished look.
At least three to four layers of shellac are required to achieve an ideal finish. Repeat Steps 3 and 4 until the wood achieves a smooth, even appearance. After the last coat, you can leave the piece un-buffed for a glossy look, or buff one last time before applying a thin layer of non-silicone paste wax with a cloth for a satin finish.
How to Repair a Shellac Finish
If a shellac finish gets damaged, it’s easy to repair: Dab some alcohol on a rag and gently rub in a circular motion to remove the shellac from that area. Then follow the steps outlined above to shellac wood in just that area, sanding in between coatings, and building up until it is even with the rest of the piece, re-coating the entire surface once or twice if necessary. Scratches can also be repaired by using a fine brush to fill in low areas with shellac and then buffing then smooth.
