
We may earn revenue from the products available on this page and participate in affiliate programs. Learn More ›
A backyard pool is an attractive amenity to enjoy during warm months but comes with a great deal of responsibility with regard to maintenance. If you close your pool during the winter months, you will need to shock the pool when it’s time to open it back up again each year, and potentially several times throughout pool season.
Shocking a pool entails adding chlorine or non-chlorine chemicals to the water to keep it balanced and to raise the free chlorine levels. Shock for pools is typically three to five times the normal amount of chlorine. The purpose is to clean the water and destroy harmful bacteria, algae, or chloramines lingering in the pool.
“Everyone is familiar with adding chlorine to a pool for basic sanitation,” explains Crystal Shotko, water care expert at Zagers Pool & Spa. “Chlorine particles attack bacteria and other contaminants in your pool, creating what are called chloramines. This is an inactive compound that resides in your water until it can be oxidized (broken down). That’s where pool shock comes in. Shocking breaks down these particles so that you can free up your chlorine to work effectively again,” Shotko says.
Once you know how and when to shock a pool, you can easily do it yourself. Here’s everything you need to know to keep your pool safe and pristine.
When to Shock a Pool
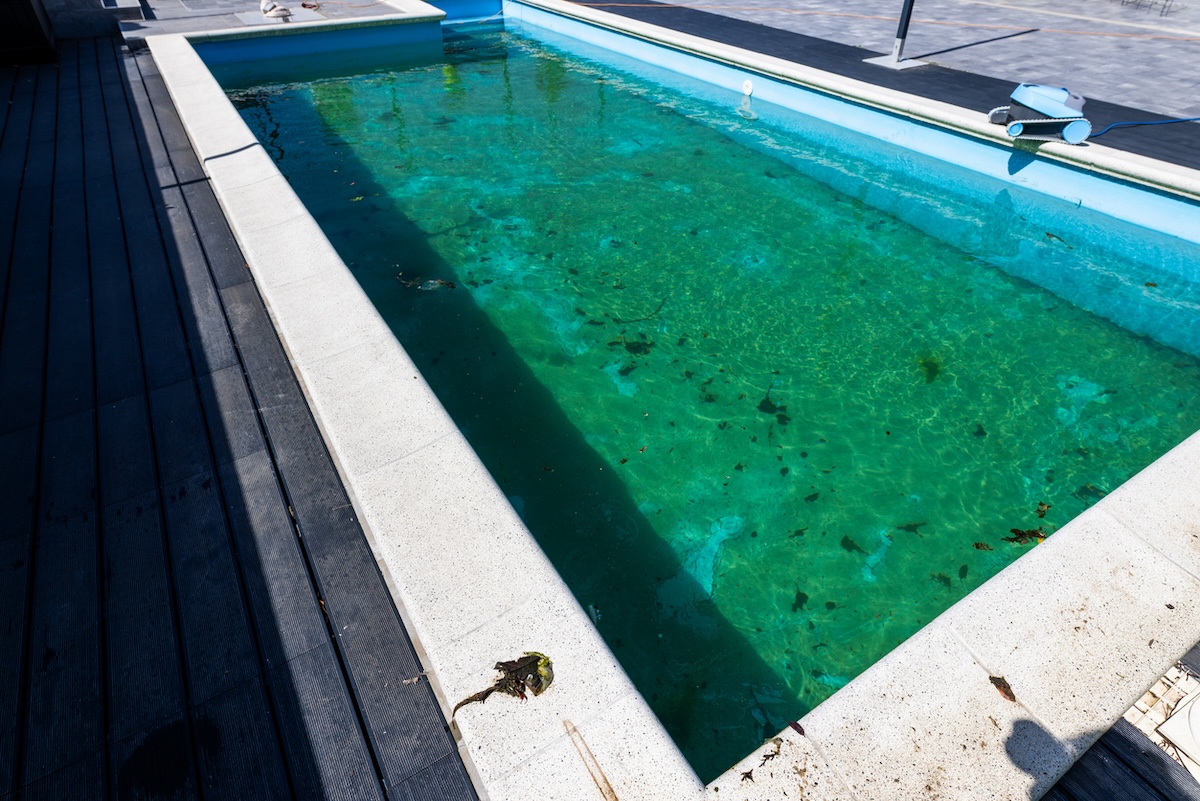
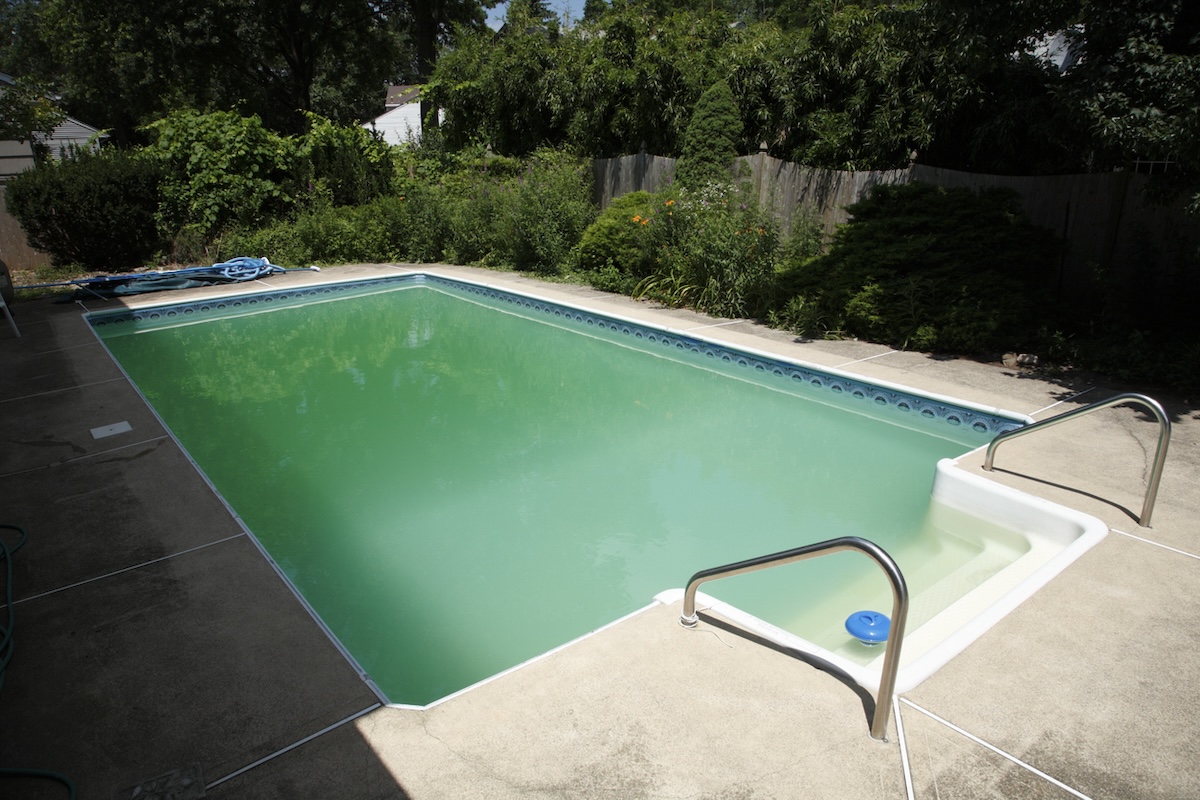
If your pool looks icky green or smells like chlorine, then it’s definitely time for a pool shock treatment. Most people assume that a chlorine-smelling pool means that it’s clean, but that isn’t actually the case.
“This smell comes from chloramines that need to be oxidized. A healthy pool should not have a strong chlorine odor,” explains Shotko. Chloramines form when the chlorine in the pool interacts with sweat, oils, and urine.
Besides clear signs like green water in pools, Shotko recommends shocking the pool when you open and close it for the season. “Shock is also used for basic pool maintenance. Shocking weekly is recommended,” she says.
Of course, there are several factors to keep in mind when determining when to shock a pool. “How frequently you shock your pool depends on how often you use it and the weather,” notes Shotko. “If you swim almost every day, you should shock your pool weekly. If you only swim once a week, you can shock it every other week.”
Other times that it is strongly recommended to add a shock treatment include after heavy usage like a party; after a severe rainstorm; during extremely hot and sunny days; if there is an algae outbreak; if you notice lots of items like leaves, pollen, etc., in the pool; or if someone goes to the bathroom in the pool.
You can also take measurements to know when to add shock. If the free chlorine level measures zero, or chloramines or combined chlorine level rises above 0.5 parts per million (ppm), then it’s time for a shock treatment.
It is best to do the treatment at dusk or in the evening when there is no direct sunlight to burn off the necessary free chlorine. Indeed, shocking the pool during this time ensures that the shock chemicals will work properly.
Types of Swimming Pool Shock
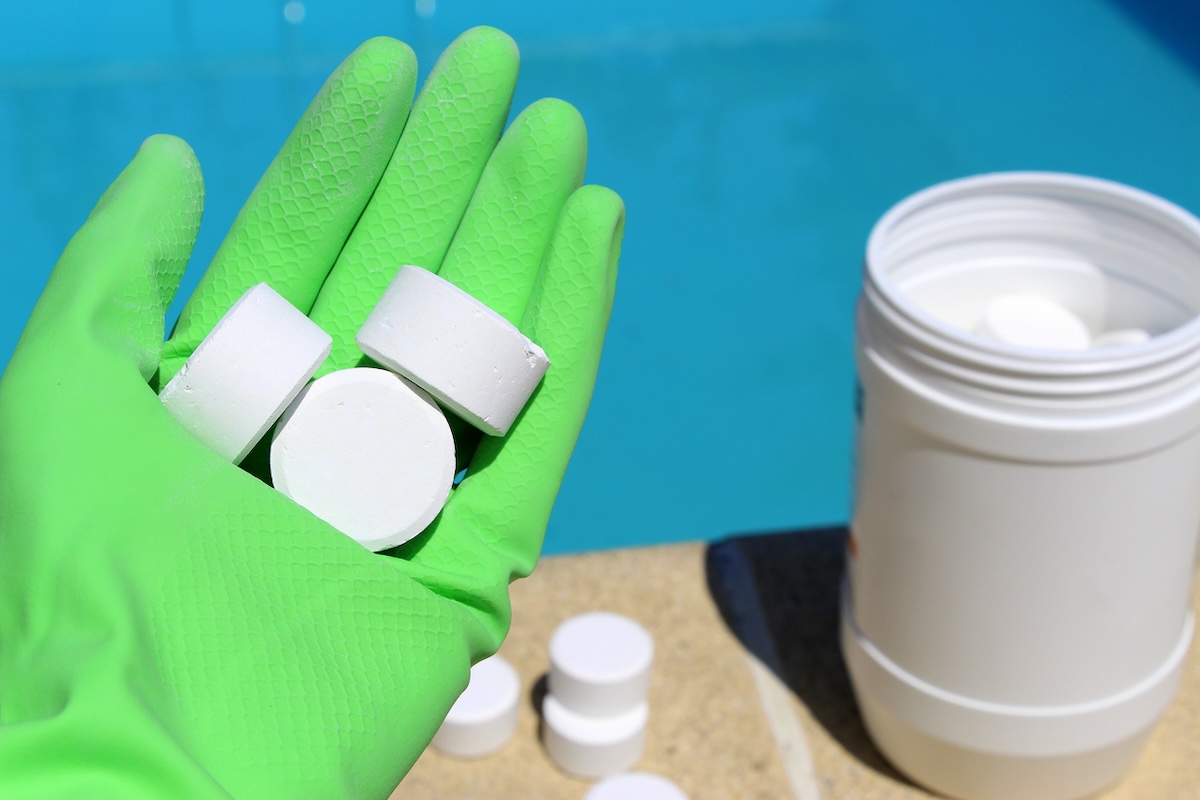
Pool shock comes in liquid, powder, and tablet forms. While some people prefer to scoop powder, others may find it easier to pour liquid into the pool. However, liquid can splash easily, which can stain clothing or even burn skin. Choose the type you are most comfortable using.
In addition, there are different pool shock treatment products based on ingredients:
- Calcium hypochlorite. With a chlorine level between 50 to 80 percent, this is the most commonly used pool shock. It is made for a quick, potent pool water treatment.
- Sodium hypochlorite. Typically used in liquid pool shock treatments, it has a concentrated formula with an average sodium hypochlorite percentage of 12.5, allowing it to treat up to 20,000 gallons of water per gallon of treatment.
- Sodium dichloro-s-triazinetrione. This chlorine pool shock has a lower chlorine level than calcium hypochlorite at a range of 40 to 50 percent. It adds cyanuric acid to the water, which can affect the overall pH balance of the pool.
- Potassium monopersulfate. This chlorine-free product is best as a saltwater pool shock because it helps to remove chloramines. It only works if the pool already has a chlorination system because it won’t work without chlorine.
- Lithium Hypochlorite. Unlike calcium hypochlorite, this chemical doesn’t increase the calcium level of pool water. While it dissolves quickly, it is expensive. It can be added to the pool without dissolving.
- Dichlor. Short for sodium dichloro-s-triazinetrione or dichloroisocyanuric acid, this treatment is safe and easy to use. It consists of 50 to 60 percent chlorine and can be used for both regular chlorine doses and chlorine shock for pools.
- Potassium peroxymonosulfate. This non-chlorine shock is reasonably priced and can be added directly to pool water.
How to Shock a Pool Step by Step
Before getting started, make sure you have all the necessary tools and supplies to shock your pool.
Tools & Materials
Bobvila.com may earn a commission from purchases made through these links.
Project Overview
Working Time: 15 minutes to 2 hours
Total Time: 12 hours
Skill Level: Beginner to Intermediate
Estimated Cost: $20
Before You Begin
Before you shock your pool, first calculate the pool’s volume so you know how much shock to add. A good rule of thumb is 1 pound of shock per 10,000 gallons of water, but refer to the instructions on the package.
Also, inspect the pool to make sure there are no leaks, since that could make it much harder to maintain the proper chemical balance.
Finally, take all necessary safety precautions since pool chlorine shock can harm skin and eyes if not handled properly. Wear gloves, eye protection, long sleeves, and pants.
STEP 1: Carefully read the pool shock instructions.
Each brand of pool shock treatment for pools is different, so take the time to read all the instructions to understand how much of the treatment you need, how to mix it if it needs to be mixed, and any other important information. Be mindful of any warnings and first aid procedures listed on the package.
STEP 2: Clean the pool.
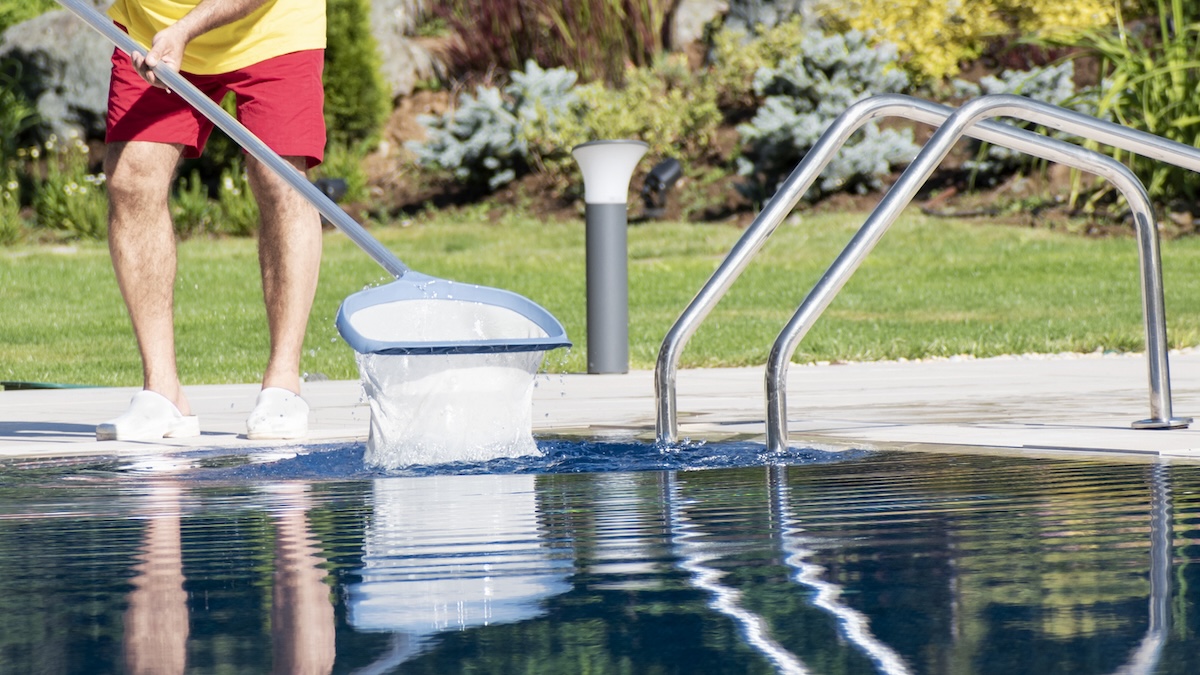
Before adding any chemicals to the pool, clean it thoroughly with a pool vacuum and skimmer. Having leaves and other debris floating around in the pool could reduce the effectiveness of the pool shock treatment.
STEP 3: Test the pool water.
It is critical to check the pH and chemical levels of the pool before shocking it. Use a water test kit or test strips to ensure the chemicals are in proper range. Pool shock will be most effective when the pH level is between 7.2 and 7.6.
Then check the amount of free chlorine and total chlorine in the water. By subtracting the free chlorine from the total chlorine, you will determine the combined chlorine level, which helps figure out how much chlorine should be added when shocking the pool.
STEP 4: Mix powder-based pool shock in a bucket.
While liquid and tablet pool shock can be added directly into the water, most powder or granulated shock needs to be mixed first. Use a 5-gallon bucket to mix the shock treatment with the necessary amount of water indicated in the product instructions. Add the dry ingredient to the water already in the bucket to avoid splashing it on skin and clothing.
STEP 5: Add pool shock to the water.
Now it’s time to add the shock to the pool. While wearing protective gear, pour the chemicals gently around the edges of the pool and avoid any splashing. It’s important to make sure it doesn’t all concentrate in one area of the pool because it could bleach the vinyl liner or other type of pool finish.
STEP 6: Brush the pool.
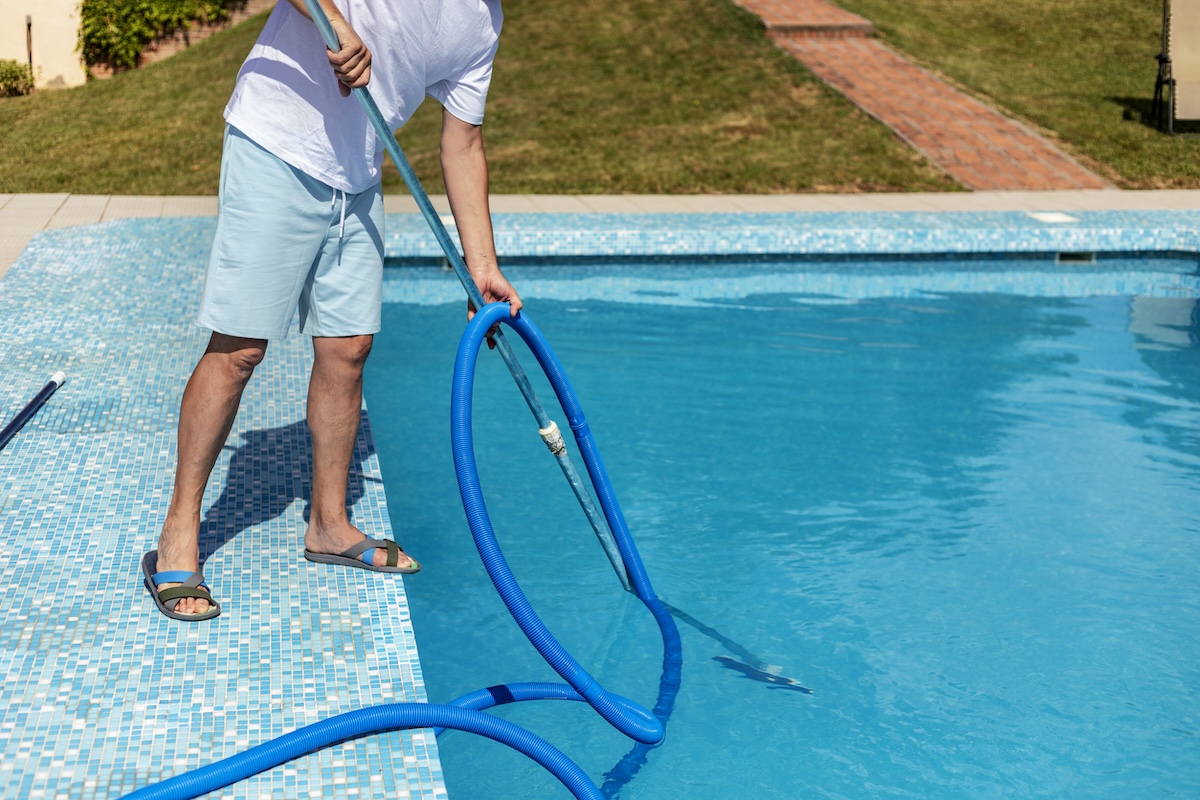
According to Shotko, “Brushing the pool after shocking is important. If your pool has a liner, it can get bleached out from shock laying on the floor of the pool.” Brushing also helps loosen up any algae or other debris along the pool walls and bottom of the pool. Pay special attention to brushing the water line to prevent a permanent line from forming.
STEP 7: Run the filtration system.
Turn on the pool filter to circulate the shock treatment throughout the water. If you are worried about forgetting to turn it on after adding the shock, you can start the filtration system beforehand. It is recommended to run the filtration system for at least 8 hours, preferably overnight.
STEP 8: Test the pool water again.
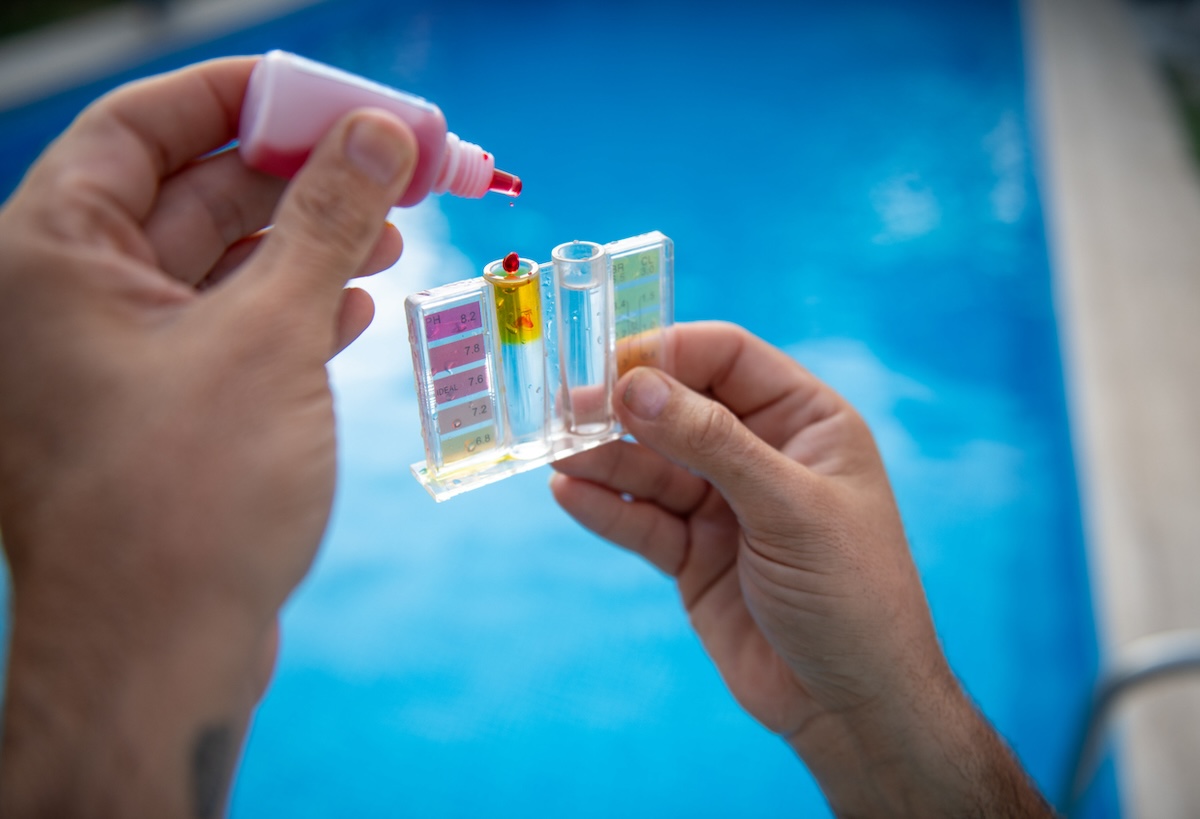
Before jumping in to cool off, test the pool water again after the filtration system has been running for at least 8 hours overnight. It is safe to swim once the chlorine level has reached 1 to 3 ppm and the pH level is between 7 and 7.8. If the levels are not in a safe range, people could experience itchy skin and eyes, rashes, burning skin, swollen eyes, or even pain.
Final Thoughts
Whether you have a chlorine or saltwater pool, you’ll need to know how and when to shock it properly to keep it appealing and safe to swim in. Fortunately, there are a variety of pool shock products available to find the one that’s best for you and your needs.
By following the clearly outlined steps above, maintaining your pool will be a breeze throughout pool season. However, if after a few days following the shock treatment you notice that your pool isn’t clearing up and is still cloudy and/or green, it’s best to call a professional to properly diagnose the problem.
