We may earn revenue from the products available on this page and participate in affiliate programs. Learn More ›
Hostas are a common sight in gardens and landscaping across North America. They’re low-maintenance and fine with partial sun conditions. Although hostas don’t produce the showy flowers common to other favorite garden perennials like roses and hydrangeas, hostas come in a wide variety of colors. Their striking leaves provide a tropical vibe without the demanding requirements.
Hostas can grow pretty much anywhere, whether that’s in Montreal, where winters get mighty chilly, or in the southern U.S. But while these plants require minimal upkeep, at some point you’ll need to divide the plants to maintain plant size and health. You can also split hostas to propagate new plants for a lush under-tree effect—no need to head to your local nursery to buy new hosta plants.
Here’s how to split them.
Tools & Materials
Bobvila.com may earn a commission from purchases made through these links.
Before You Begin

Make sure to don gardening gloves before getting started. These keep hands protected from potential irritants. And you can avoid getting your fingernails dirty.
The ideal time to split hostas is in the early spring or fall. In the spring, watch for hostas as they begin to emerge from the ground. This is the moment to start splitting. In the fall, wait until the weather is cool and humid to start the process, while still giving plants enough time to become established before winter sets in.
Hostas perform best when split every 3 to 5 years or so, but timing depends on the cultivar. It’s essential to wait until a plant has reached maturity before splitting because the process significantly slows down growth. Some large hosta varieties, for example, can take at least 5 years to reach maturity.
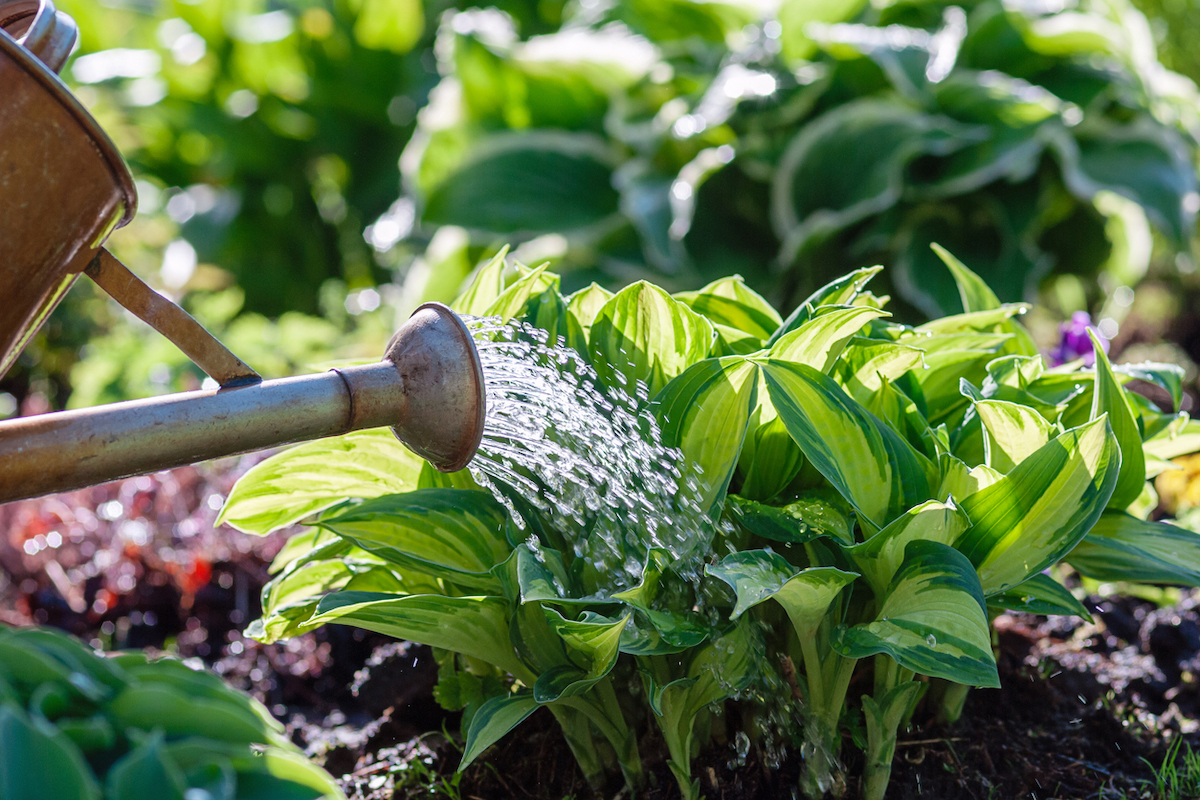
Step 1: Water hostas thoroughly the day before you plan to split them.
Unless there’s lots of rain in the forecast, plan to water your hostas the day before splitting them. Hostas are thirsty plants, so ensuring they’re well-watered before splitting prevents undue stress. It also means that newly separated plants stay on track to thrive right out of the gate. And don’t worry, too much water is rarely an issue with hostas. Keep in mind that water is even more critical for hostas planted in full sun.
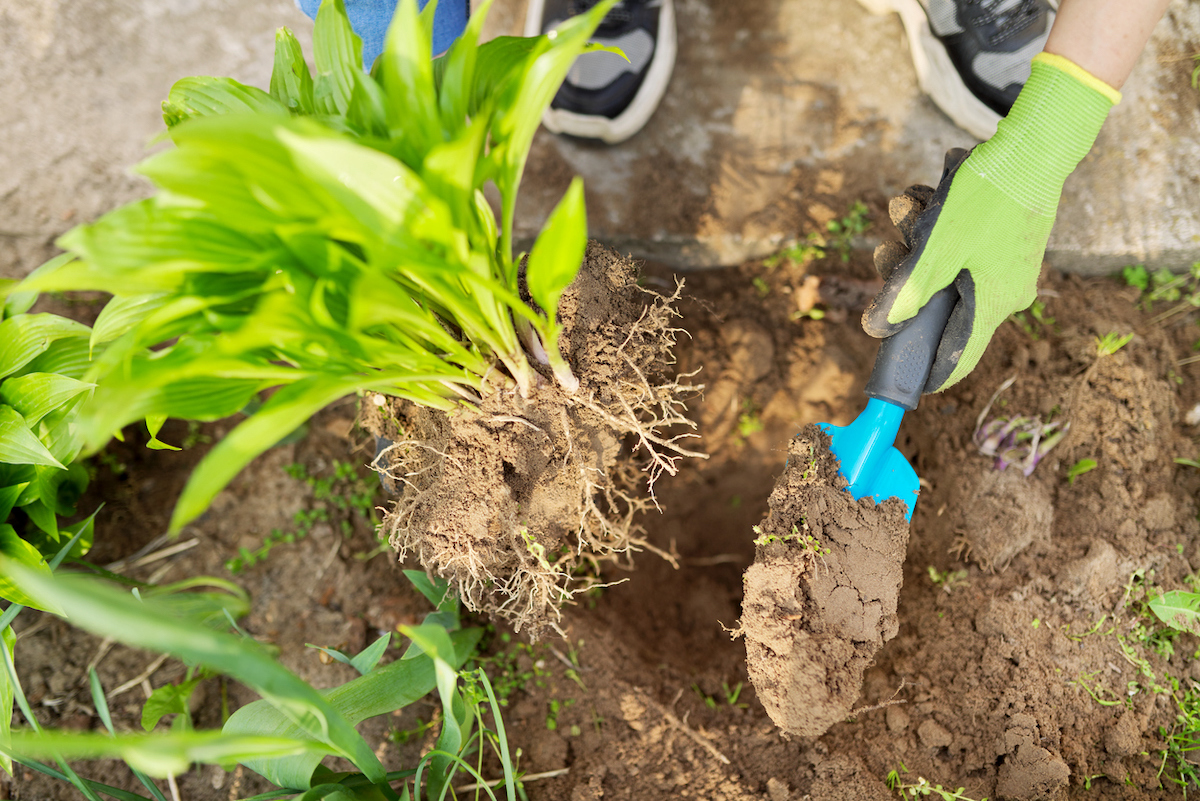
Step 2: Using a shovel like a lever, dig around the roots and lift the plant out of the ground.

To dig up hostas for splitting, use a spade or a shovel. The tool required depends on the size of the plant. Large plants with extensive root systems might require a lot of effort to uproot, so much so that a spade won’t do the trick.
Avoid stabbing into the ground haphazardly. Doing so might harm the plant’s roots. Instead, gently press the spade or shovel into the ground, making sure to dig around and just outside of the roots. Use the gardening tool as a lever to lift the entire hosta plant from the ground.

Tried-and-True Advice
“My absolute favorite tool for dividing plants (and myriad other gardening tasks) is my hori-hori knife. I have one that has a serrated edge that makes it easier to gently saw through root fibers with minimal damage to the plant. It can also be used to dig into soil for planting, and it helps free root-bound plants from pots.”
—Amber Guetebier, Contributing Writer
Step 3: Try to cut as few roots as possible to make the process of splitting more effective.
The plant’s roots can grow pretty deep, so it’s possible that lifting the plant out of the ground will break off some of the roots. Try to dig as deeply as possible. Dig around the plant to avoid removing too much of the root system. Cutting too much of the roots can stress the existing plant and weaken the newly split plants. Don’t rush the process. Being careful now will save you from disappointment later.
Step 4: Loosen the roots and separate the plant into sections.

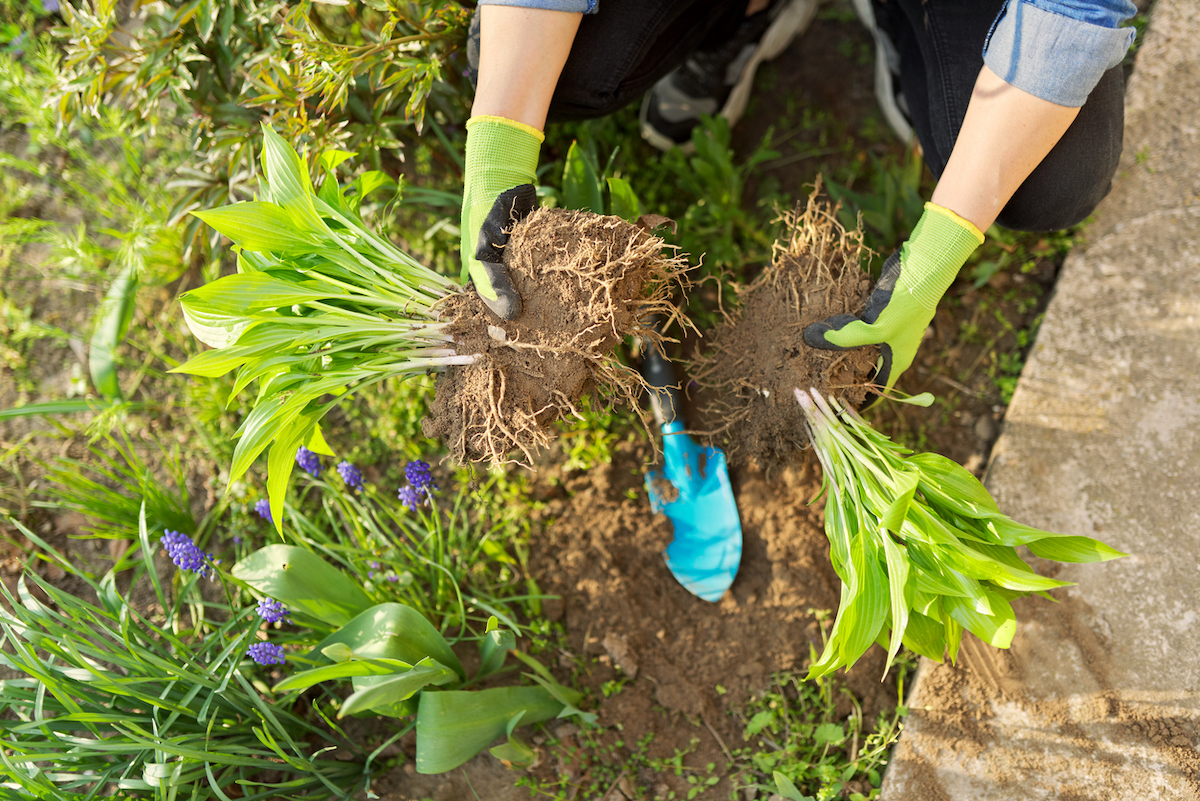
Once you have the entire root ball out of the ground, you can start splitting the plant. Shake off excess dirt so that it’s easier to see what you’re working with. The pieces might come apart easily, but some plants require the use of a sharp knife.
Separate or slice the plant into two or three clumps. Don’t try to separate the plant into lots of mini sections. Splitting the hosta in half or thirds increases the chances that the new plants will survive. After splitting, remove any dead leaves before potting or replanting the divisions.
Step 5: Pot up any divisions you plan to share or plant them in the ground.
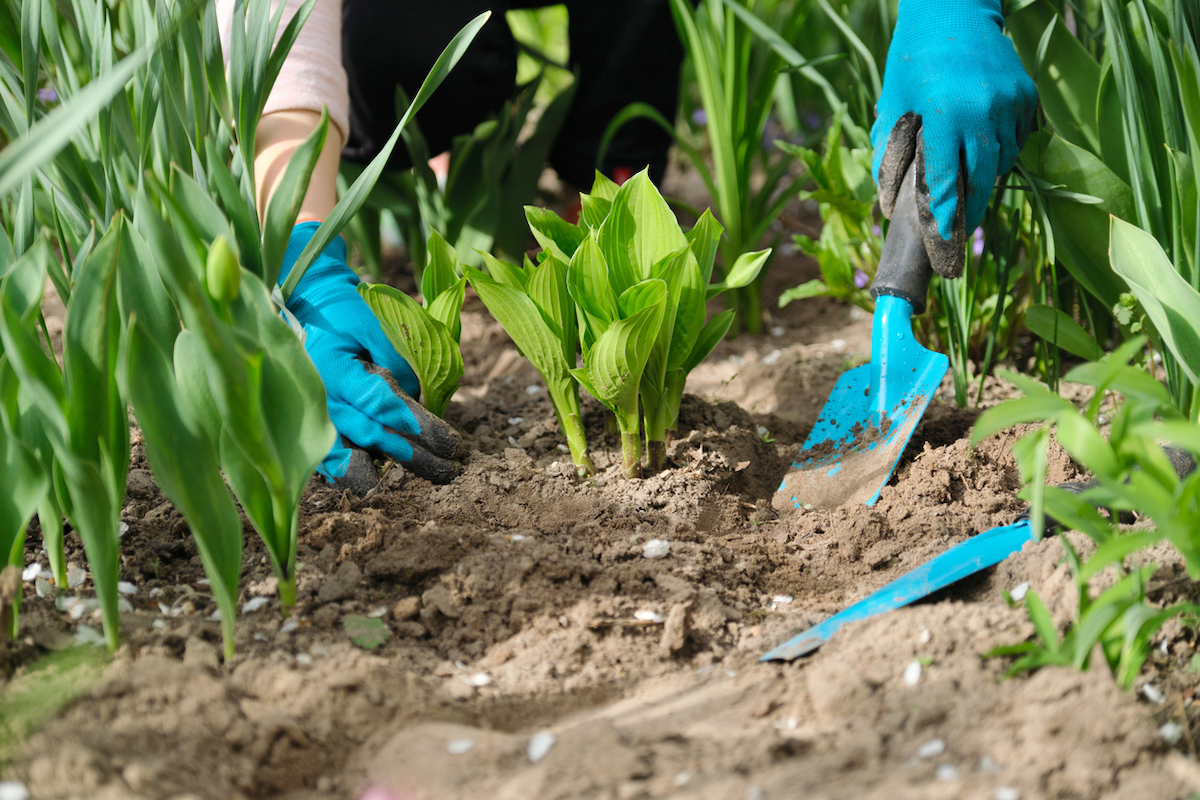
After separating the hosta, take the split sections and plant them in the ground or in a container. Place them at the same depth as before. Make sure the plants get plenty of water so they can establish their roots quickly. You can also share split hostas with family or friends. If you plan to share them soon after digging them up, wrap them in moist newspaper. Otherwise, pot the new hostas until it’s time to give the plants away.
This method for splitting hostas is easy, reliable, and a great way to get free plants for your garden.

