
We may earn revenue from the products available on this page and participate in affiliate programs. Learn More ›
Fireplace season has at long last arrived: Time to gather around the hearth, hunker down, and embrace the warmth of the flickering flames. But before you do, check that you’ve stockpiled enough seasoned firewood—logs that have been dried at least six months—to last the winter, because running out of fuel in the middle of a blizzard is less than ideal. If your stores of wood are lacking, it’s time to get to work: chop-chop! Once you’ve wrangled a steady supply, follow the instructions below to split the logs for better burning. Get ready to channel your inner lumberjack and practice the time-honored tradition of log-splitting to keep the fires burning all winter long.
Tools & Materials
Bobvila.com may earn a commission from purchases made through these links.
Before You Begin
Your first order of business is to collect necessary equipment. To the novice woodcutter, an ax may seem like the best choice of tool for splitting logs, but it’s not. While it’s great for chopping down trees and cutting smaller pieces of wood, the maul—with its wider head and heavier weight—is the expert’s choice for splitting firewood. To deal with gnarly logs riddled with tough fibers and tree branch notches that make splitting more difficult, you should also have a wedge or prying triangle on hand to help.
Next, change into your protective gear (safety goggles, long pants, and sturdy boots) to protect against injury.
How to Split Wood in 7 Steps
Step 1: Position a chopping block.
Wherever you plan to do your work, set up a short chopping block—consisting of either a large, level tree stump or a similarly short and wide chunk of wood—to increase effectiveness and decrease the chances of damaging the maul. The chopping block helps absorb the force of each blow and provides a spot for the blade to drive into when the maul breaks through the wood or you miss your mark.
Step 2: Set up a way to keep the logs in place.

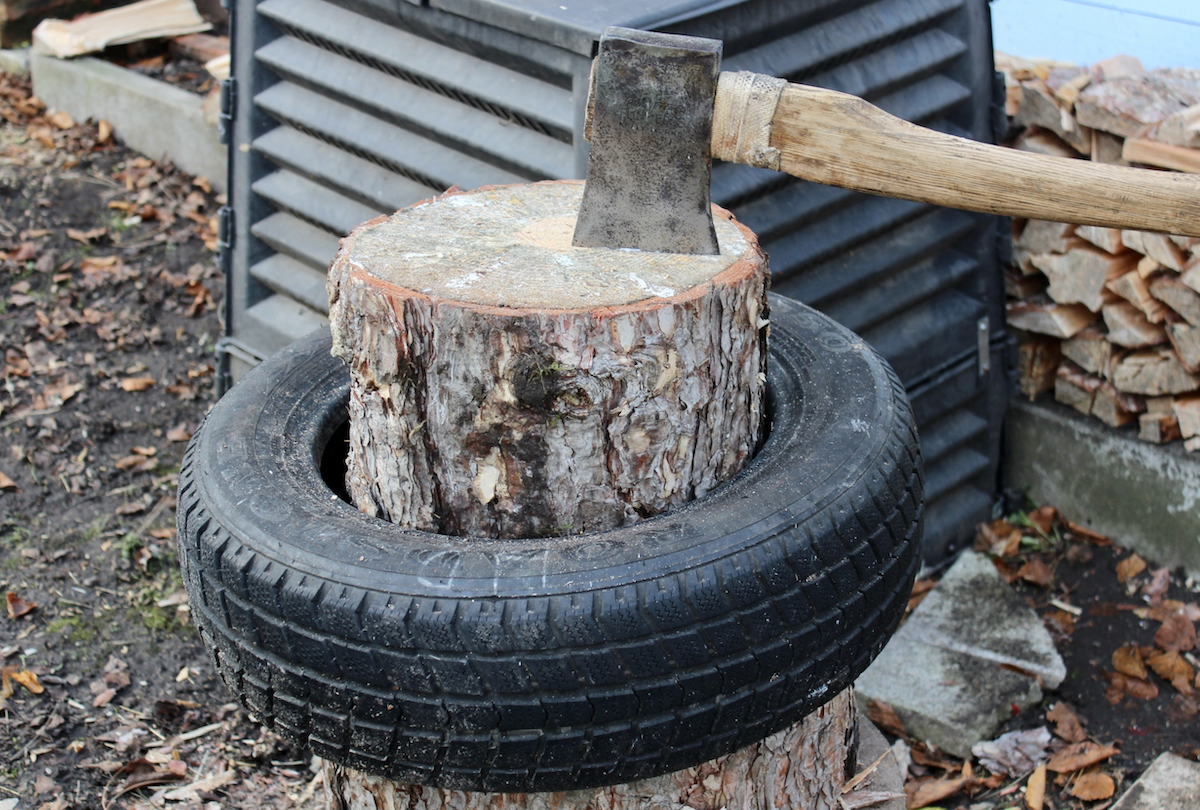
Nothing is more frustrating than having to bend over to replace a log every time you miss, or to pick up sticks once the wood splits. Solve this common problem by placing one large “round” or several smaller logs together inside the opening of a tire (a 15-inch car tire works well), then setting it on top of your chopping block. Not only will this keep your logs in place when you swing, but it will cut down on the number of times you need to reset the log or pick up wood pieces, thereby decreasing the stress on your back.
Step 3: Strike at the log.
Find the weak spots in your log, points where the wood naturally wants to split, and strike at these first for an easier cut. For example, cracks that radiate from the center are an optimal place to start. If there aren’t any weak spots, the best strategy is to aim straight down the middle, using the proper technique described in the next step.

Tried-and-True Advice
“I like splitting firewood. I like the elegance of the motion and the brilliance of an incline plane (the maul) at work.
First thing: Sharp tools work better. Tune up the edge on the maul with a file or angle grinder. Second, I add rotational force to my swing others don’t seem to. Yes, I start with maul on my target, but instead of raising overhead from that position, I move it to the side and let it fall, then, as it falls, it builds kinetic energy and I swing it around the vertical axis of my body so it is both full speed at the top of the swing and I haven’t lifted anything. Then, with eyes on the target, I swing the blade into the wood fiber. For big logs, I start at the edges and work my way in rather than messing with wedges.”
—Mark Clement, Contributing Writer
Step 4: Swing the maul.
And, finally, the swing! Contrary to popular belief, splitting wood is not about brute force; instead, its success hinges on proper placement and the sheer velocity of the swing.
Standing with your feet spread shoulder-width apart, face the “round” and place the splitting maul head on the spot you plan to strike first, with your arms fully extended. Then, step back a half step. Holding the maul horizontally, waist high, bend your elbows and raise the maul over your head. As you bring your arms down, concentrate on driving the head of the maul straight through the log. Let the weight of the tool and the force of gravity do the work for you. Don’t make the common mistake of swinging the maul like a pendulum; instead, come down through the log in a vertical line—no arcing.
Step 5: If need be, insert a splitting wedge.

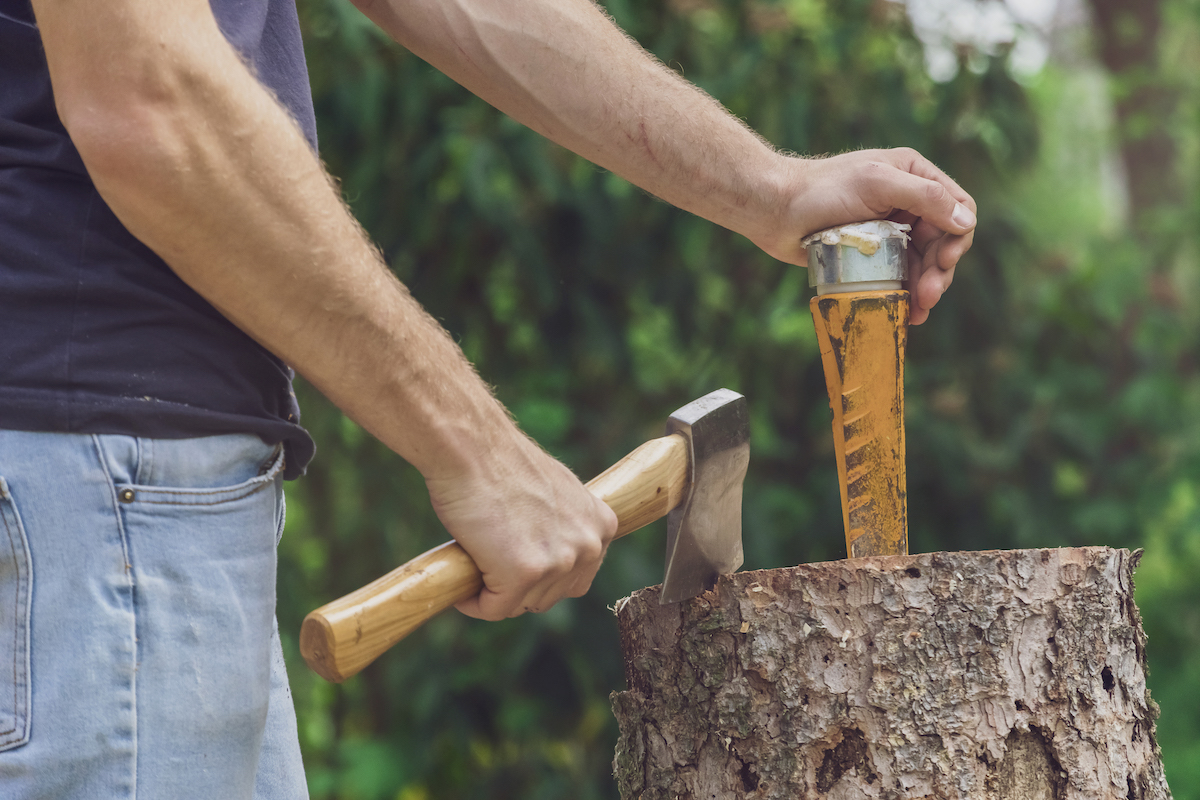
If your log is covered with knots or is too thick to split after a few strikes from the maul, it’s time to insert the splitting wedges. Using a sledgehammer or the flat striking face on the maul, drive the wedge down deep into the crack to increase the size of the split. The added force of a single wedge should do the trick; if not, drive a second wedge into a crack on the opposite side of the log to create another splinter. With any luck, this combination should work.
Step 6: Know when to quit.
When you’re tired, it’s time to stop. That’s when injuries occur. Save some energy for the next day when, given all this practice, you should be well prepared to pick up where you left off. Meanwhile, grab a bundle of your split wood, and head inside. Light a fire in the fireplace, and enjoy the fruits of your labor.
