We may earn revenue from the products available on this page and participate in affiliate programs. Learn More ›
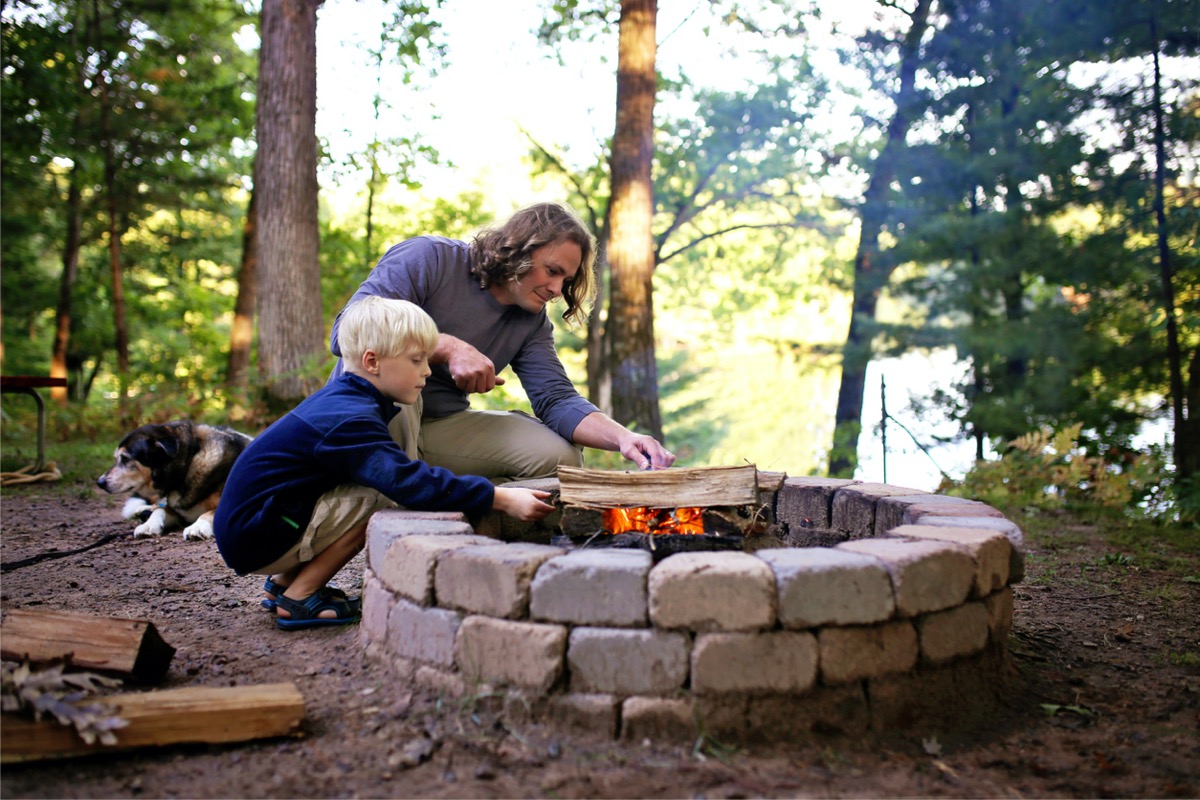
Whether you are trying to get a fire started to cook at a campsite or just want some extra light and warmth as night falls over the backyard, learning how to start a fire in a fire pit is a life skill that can even help in emergencies. To make it easier, you can use fire-starter logs while you’re learning how to start a fire, though the steps below will work with normal fire pit wood as well.
Keep in mind that it isn’t enough to learn how to light a fire pit; you also need to learn how to put out a fire pit properly. If the flames and embers are not fully extinguished in a wood-burning fire pit, the untended flames can spread to the grass, leaves, deck, shed, tent, or even the house. Even if you can’t see flames or embers, fire pits can retain enough residual heat to reignite the wood. “Make sure the ash is completely and 100 percent not hot when you’re done with the fire before you leave it unattended,” says Sean Gold, CEO of TruePrepper, a website dedicated to disaster preparation.
Tools & Materials
Bobvila.com may earn a commission from purchases made through these links.
Before You Begin

Always check local laws to ensure that it’s legal to have a lit fire pit in your yard, and practice good fire pit safety by keeping a bucket of water or a fire extinguisher nearby for emergencies. It takes about 20 minutes for a dying fire to be fully extinguished—a blazing fire takes even longer—so don’t start a fire unless you have enough time to properly monitor and extinguish the flames. You also need to confirm that the fire pit and surrounding areas are completely clear of dry leaves, twigs, or other items that could ignite if they came into contact with flames or a stray spark.
7 Steps to Starting a Fire in a Fire Pit
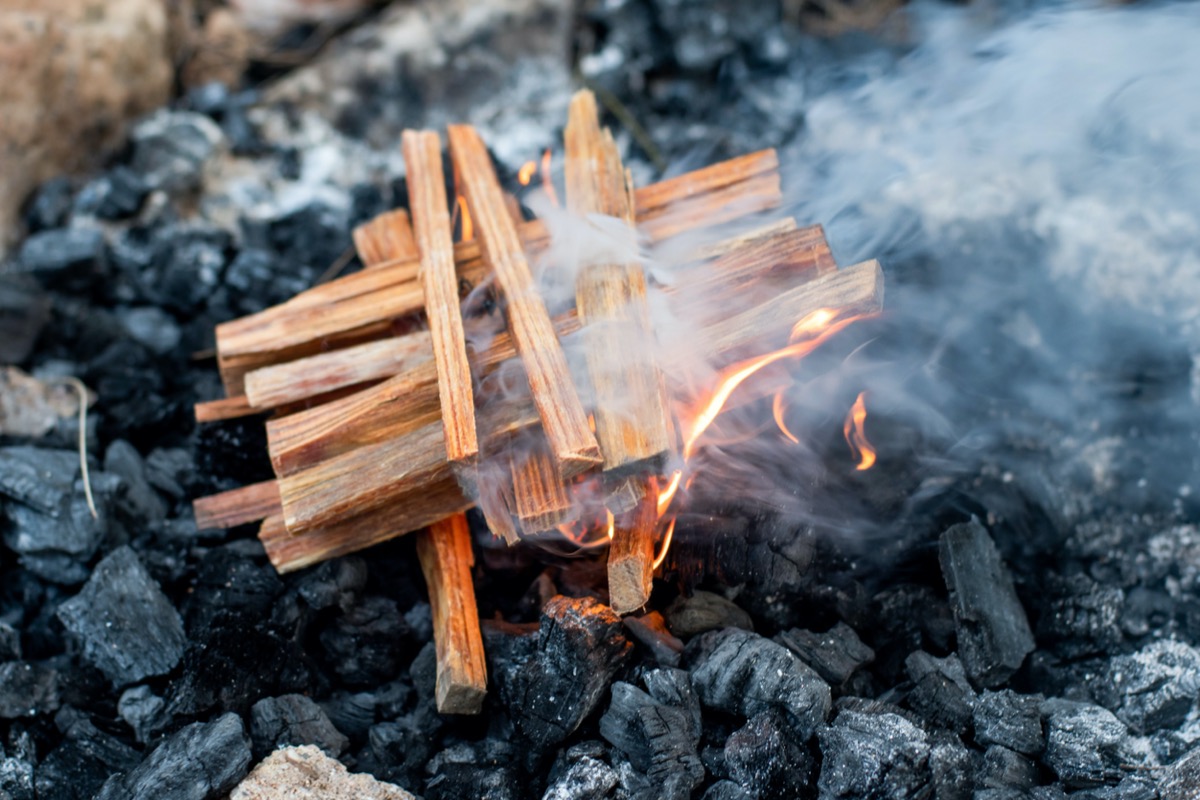
Step 1: Find small, dry materials for tinder.
Large logs are not easy to ignite, so you can’t simply stack the firewood and expect a lighter or match to work. First, you can purchase a fire starter or a bundle of tinder for a fire at home, or you can look for small, dry materials, like dry grass, leaves, or shredded tree bark. “Logs are ideally the diameter of your arm, kindling the size of your finger, and tinder no bigger than spaghetti noodles,” says Gold. “Log length is usually cut to a foot and a half, split to the size you need.” Manufactured fire starters and tinder bundles are designed for straightforward use and are easy to find. The only drawback is that you are paying for material that could be found on the forest floor, or even in your own backyard.
“Logs are ideally the diameter of your arm, kindling the size of your finger, and tinder no bigger than spaghetti noodles.”
—Sean Gold, CEO of TruePrepper
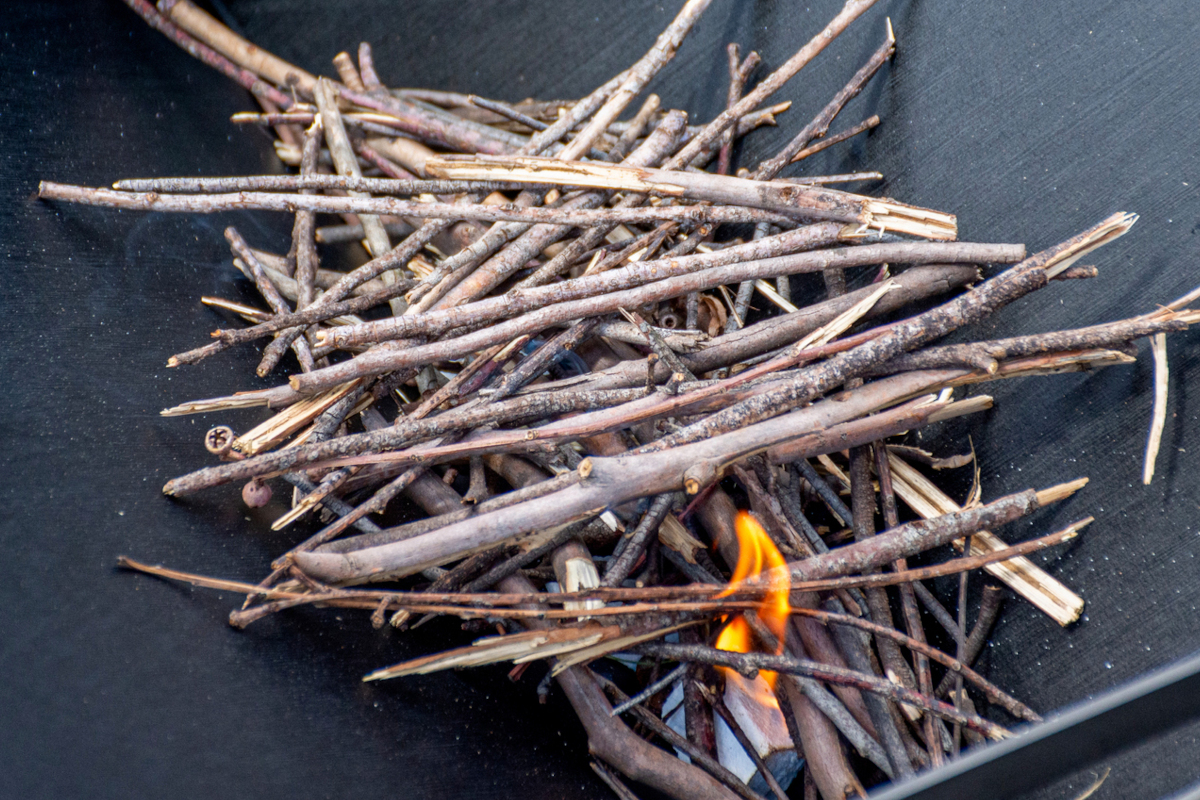
Step 2: Locate dry sticks and twigs for kindling.
Tinder will get the flames started, but unless you have kindling, the tinder will typically die out before larger fire logs can ignite. Kindling can also be purchased in ready-made bundles that are frequently treated with flammable resins to make it easier to start the fire. However, you can also look around the yard, campsite, or forest to find dry sticks and twigs to use as kindling for your fire.
“Don’t use pine cones, leaves, or trash (i.e., crumpled newspaper or magazine pages) to start a fire,” says Leroy Hite, founder and CEO of Cutting Edge Firewood in Atlanta. “While they can create a quick flame, they also create lots of smoke and ash. Bits of burning paper can float away from your fire, putting nearby structures at risk.” If you can’t find any sticks, consider cutting a larger piece of wood into kindling with an axe or knife. The sticks and kindling should be dry, and no chemicals should be added to get the fire going: “Never use gasoline or petroleum-based products, as these products can produce toxic fumes and cause explosions near an open flame,” cautions Hite. “Instead, seek fire starters with all-natural components, such as excelsior fire starters or heart pine.” It may take some patience, but a little extra time is important to stay safe.

Tried-and-True Advice
“Not only can you make your own fire starters, you can do it with materials you might otherwise throw away. I harvest all that excess dryer lint and put it into little paper cups, cupcake liners, or even empty cardboard egg cartons. I melt wax from candle stubs and drizzle it over the dryer lint. Store them somewhere dry so they ignite quickly when you go to start your fire.
If you don’t have candles, I’ve heard of people using old crayons for the wax or even a bit of petroleum jelly smeared inside the cup before adding the lint, but I find that candle wax, especially beeswax, works best for me. Just be sure not to use too much. Other alternatives include using empty toilet paper tubes stuffed with lint and a drizzle of wax.”
—Amber Guetebier, Contributing Writer
Step 3: Build the fire with fuel wood, kindling, and tinder.
Once you’ve gathered your supplies, it’s time to actually build the fire. If you paid attention in science class, then you know that fire cannot burn without an oxidizer. In most cases, that oxidizer will be oxygen, which is why building the fire properly is one of the most important steps in the process. “You want to make sure that the way you stack the wood allows the fire to have plenty of oxygen, but also have the wood near the fire so it burns and doesn’t smolder,” says Hite. “Your wood should have ‘breathing room’ or clearance around the sides of the fire pit for air to flow.” Additionally, if you don’t build the fire correctly, the logs can collapse, which reduces ventilation and can also send sparks flying out of the fire pit. The shape in which you stack the logs will determine how much air the flames can access.
You can choose to build the fire in a cross, teepee, or log-cabin structure. “My favorite structures are the cross-stack/pyramid (with progressively smaller logs) and the lean-to since you can easily control heat concentration, there is plenty of room in the center to put a fire-starting bird’s nest, and they maintain their structure when you add more logs,” Gold says.
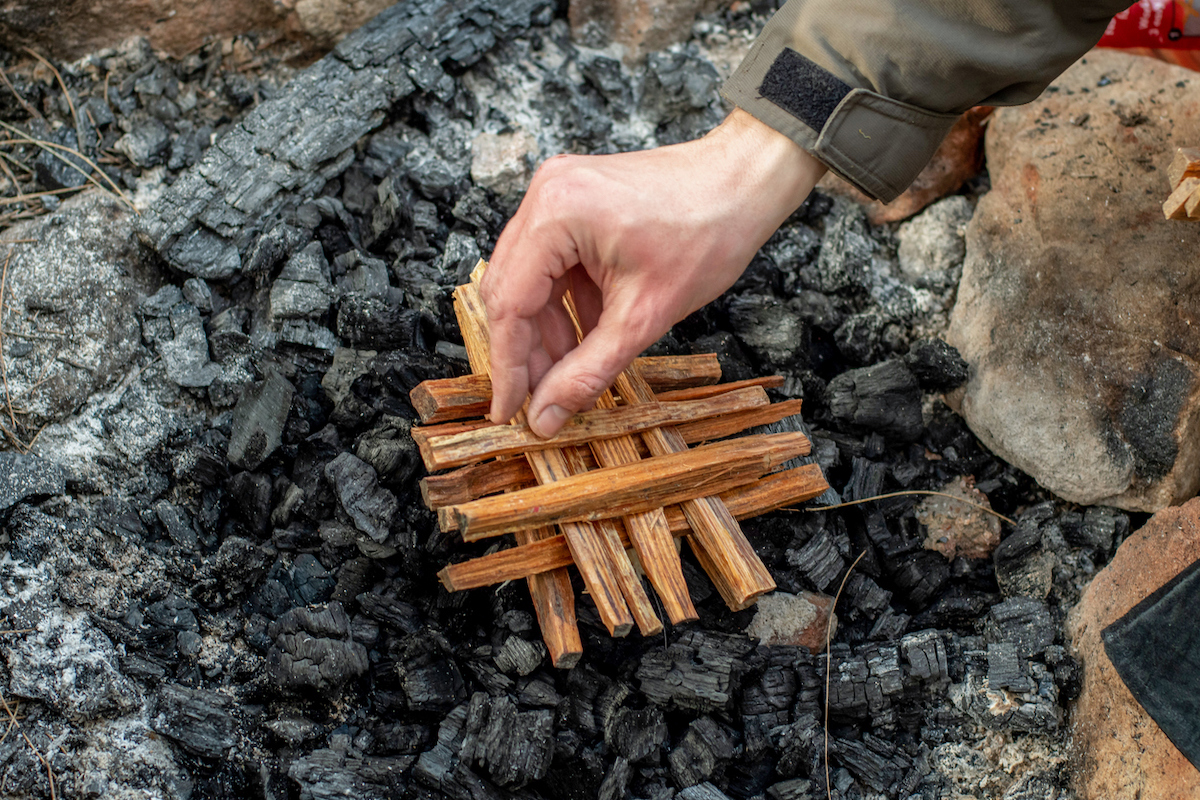
- Cross structure: Position the tinder material in the center of the fire pit, and then place the kindling on top of the tinder in a crisscross pattern. Finally, add the fuel wood logs in a similar crisscross pattern, making sure to leave gaps for ventilation.
- Teepee structure: Place the tinder material in the center of the fire pit and stack pieces of kindling vertically around the tinder, leaning in toward the center like a teepee and with an opening on one side. Repeat the process with fuel wood logs, leaving the same opening in the structure for ventilation.
- Log-cabin structure: As with the other two options, place the tinder material in the center of the fire pit. Next, stack pieces of kindling vertically in a teepee structure around the tinder material. At this point, it should look just like the teepee fire structure. Place two fuel wood logs on either side of the teepee, and then lay two more wood logs perpendicularly across the first two logs on either side of the teepee, the same way logs are stacked to build a log cabin home. Repeat this pattern a few more times to complete the log-cabin fire structure.
Step 4: Ignite the tinder to start the fire.
Once the wood is set up and you are confident in the structure as well as the ventilation, it’s time to light the fire. You can use a lighter, matches, or even a flint-and-steel set as a weatherproof alternative. Whichever method you choose, make sure to ignite the material from several sides for a more even burn. If you are using a flint-and-steel set, you will need to hold the steel close to the tinder pile and strike the flint against the steel to produce sparks.
Step 5: Monitor and maintain the fire.
The flames should grow quickly, but it’s important to always monitor the fire to prevent it from going out and to reduce the risk of the fire spreading. Maintain the fire with a poker or a long stick to move the hot coals and embers formed from the burned tinder and kindling into a pile to increase the heat. You can also blow on the coals (from a safe distance) to help move oxygen down into the fire pit. Use the poker on the fuel logs to break off charred pieces and expose new wood to the fire. Add fuel logs as needed to keep the fire going.
Step 6: Extinguish the fire.
When it’s time to go to sleep, or if you need to pack up the campsite, start putting out the fire. “It is generally best to plan ahead and let the fire burn out by itself,” says Hite. But if you need to leave the fire pit quickly and you are not planning to use the fire pit again for several days, then you can slowly dump a full bucket of water on the fire to douse the flames and coals, and reduce the residual heat. Remember that pouring water onto flames will create smoke and steam that can cause burns, so use caution when pouring and be sure to stand upwind. Use the poker or a stick to move the coals, embers, and ash around to check for signs of steam and listen for any hissing noises. If the fire pit is still steaming or hissing, the fire is not completely extinguished. Fill the bucket and dump it over the pit again until the fire is cool and quiet.
If you do want to use the fire pit again soon, you will need to take your time putting out the fire. Sprinkle water over the fire pit to help douse the embers and cool the ashes, but don’t soak the fire pit. Turn the embers and ashes with a shovel and continue sprinkling water until there is no steam, heat, or noise coming from the fire pit. Alternatively, you can use sand or dirt to put out the flame by starving it of oxygen, but you will need to clean the sand or dirt out of the fire pit to use it again.
Step 7: Clean up the ashes.
The ash, coals, and any remaining pieces of wood need to be cleaned out of the fire pit once the fire is completely extinguished and the fire pit is absolutely cold. Use a shovel to scoop and scrape the material out of the pit and dump it into a garbage bag. While most municipalities allow you to dispose of these ashes in the regular garbage, it’s a good idea to check local guidelines for proper disposal. Alternatively, you can store the ashes in an ash can and use the ashes around the home and in the garden. Cover up the fire pit if it’s in a fixed position, or move the fire pit to a sheltered area out of the wind and rain.
Other Factors to Consider
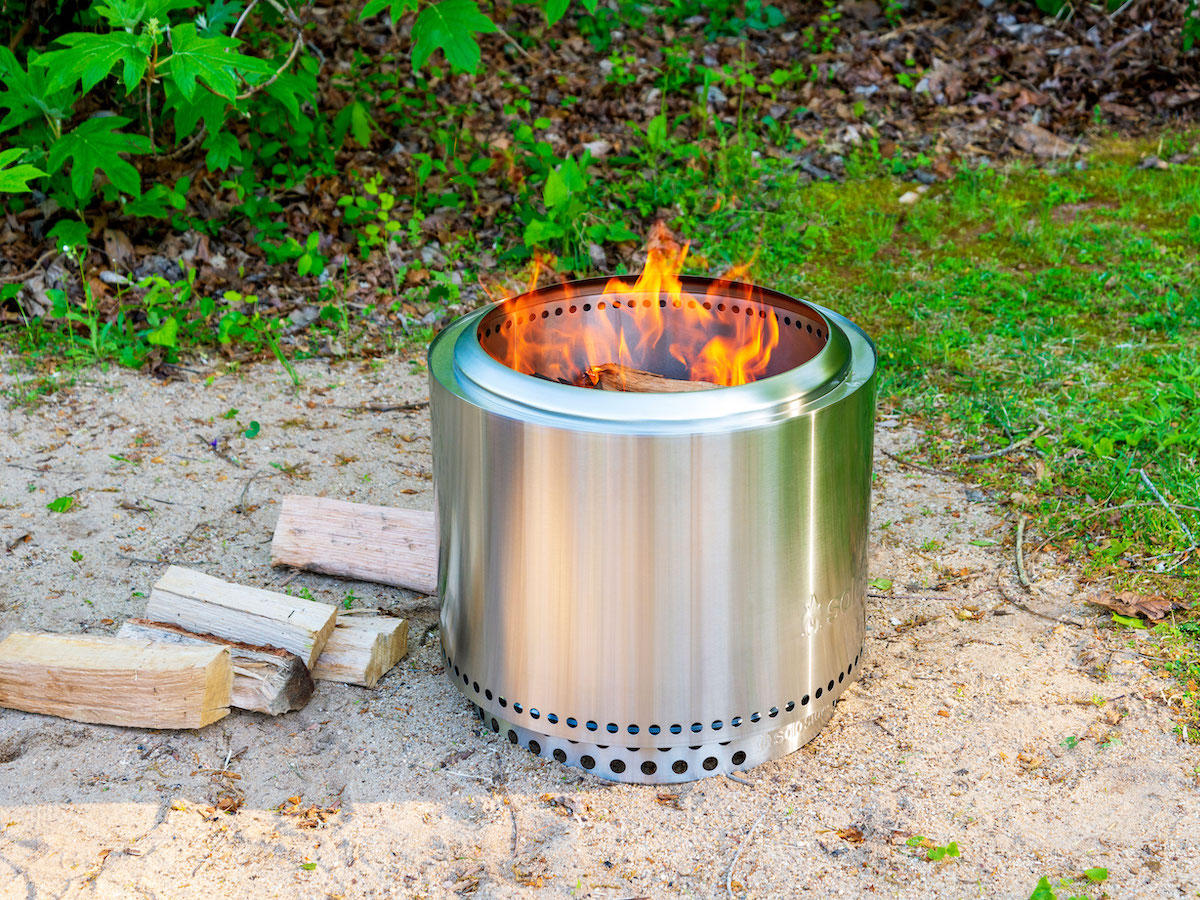
If it’s windy or rainy, you may have to reconsider your plans for a cozy night around the fire pit. “Wind and rain will both work against you in lighting a fire,” says Hite. “In most cases, you won’t be able to light a fire when there’s rain coming down. When it is windy, a deeper fire pit will do better, although if it is really windy and blowing hot ash or coals, it’s best to not have a fire.” Gold agrees and suggests that you use a fire pit that has a windbreak.
Even if it’s not raining on the evening you want to have a fire, consider the condition of your wood, says Richard Campbell, founder of 10Adventures, a company that helps travelers book active, outdoor vacation experiences. “Dry kindling is necessary to light a fire,” he says. After a few days of rain, “the number one mistake people make is gathering their kindling off the ground, which means it is wet and it never lights,” he adds. “When the outside of logs are soaked, [they] will never burn. To get drier wood, get your axe or hatchet and split the wood into much smaller pieces so the drier insides of the logs are exposed to the flames.” Taking these steps will result in fires that are safer, burn longer, and less smoky.
