We may earn revenue from the products available on this page and participate in affiliate programs. Learn More ›
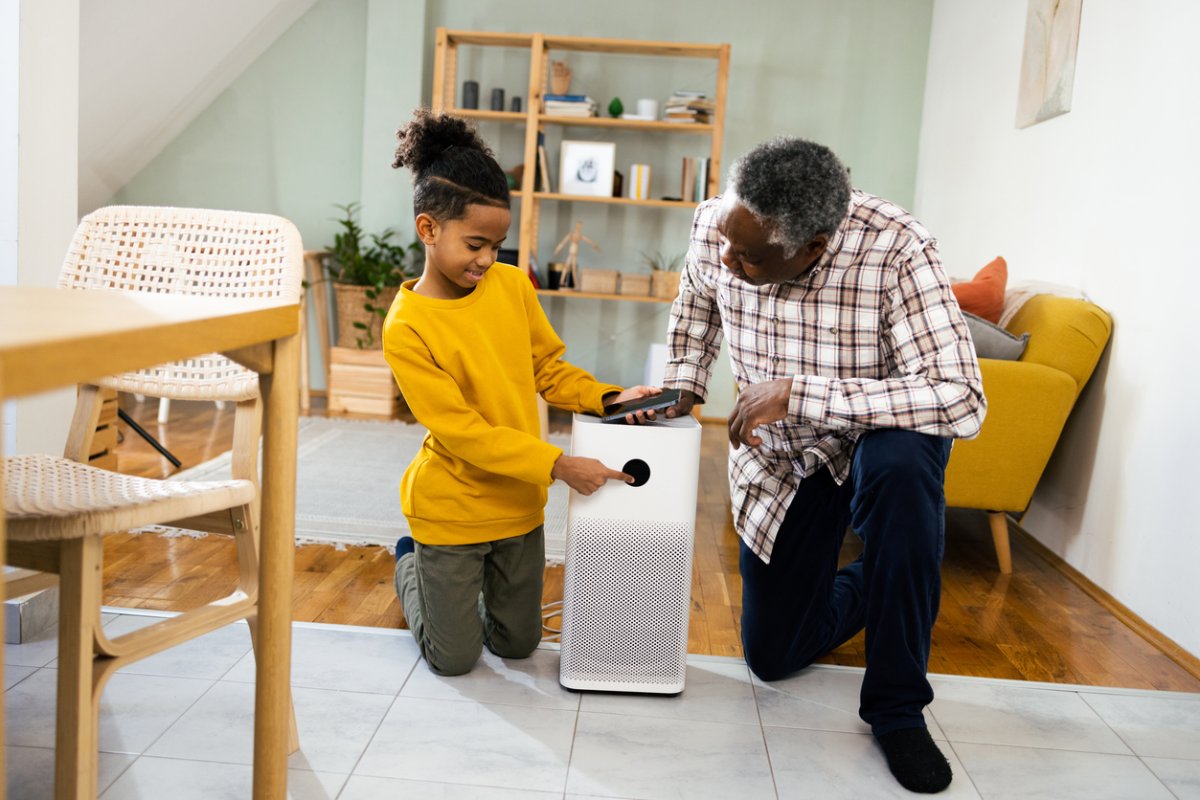
Household pollutants can come from a variety of sources including the materials used in your home’s construction, and mold and mildew caused by poor ventilation. Clean air in the home can protect you from carcinogens, allergens, and harmful particulates. Even if you don’t suspect a problem, it’s a good idea to have some type of air quality monitor in the home. Threats like radon and carbon monoxide are colorless, odorless, and tasteless, and you’ll have no clue that there’s trouble until you’re already in the danger zone. The good news is that it’s fairly easy to conduct indoor air quality testing and monitoring yourself: All you need is a few key tools.
Signs of Poor Indoor Air Quality
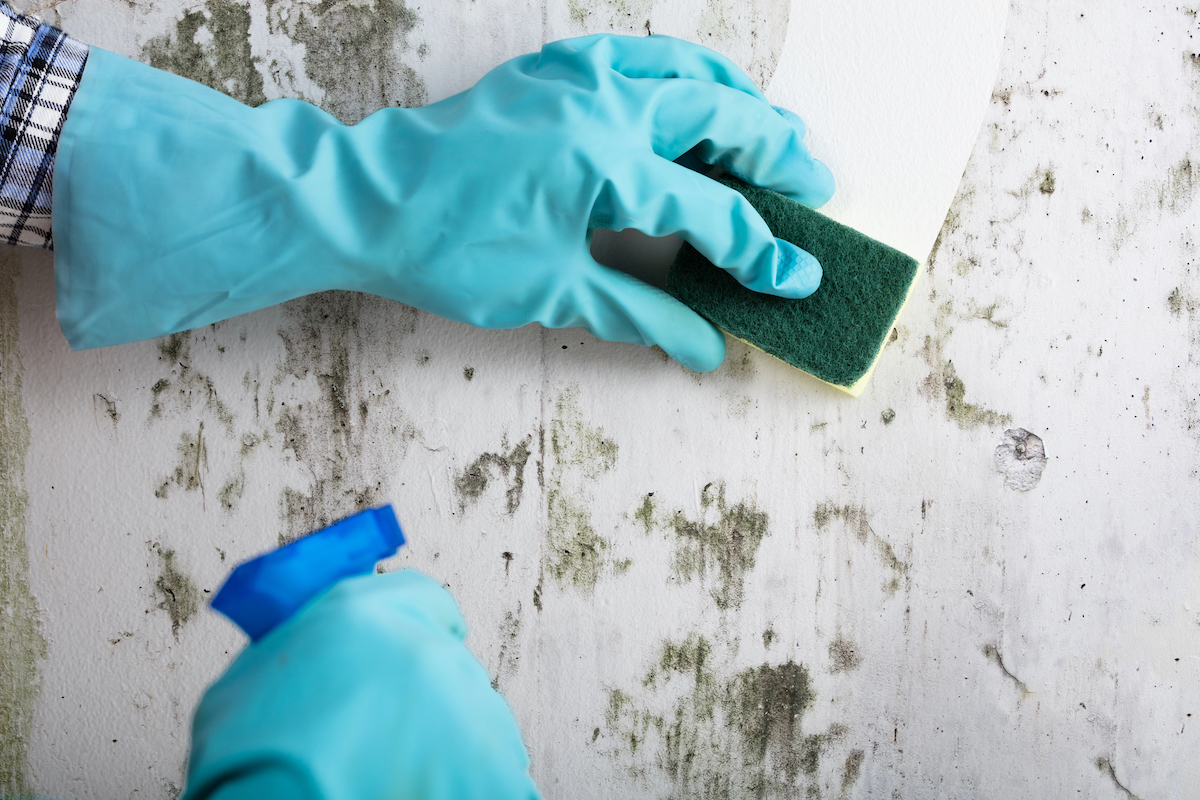
The wide range of pollutants, particulates, and allergens that can affect indoor air make it difficult to create an all-inclusive list of poor indoor air quality indicators. However, there are circumstances and signs that could indicate poor air quality in your home, including:
- Poor ventilation: Condensation on walls or windows, musty-smelling air, or areas where mold collects on walls suggests a ventilation issue.
- Health problems: Respiratory or other health problems that develop after moving into a home and that subside after time spent away from home point toward an environmental issue in the home.
- Unusual odors: If you notice unusual odors after a period of absence from home, pollutants or mold could be permeating the indoor air.
- Older homes: Materials and construction methods used in older homes sometimes include materials known to emit harmful VOCs or pollutants. Outdated construction methods may also contribute to ventilation problems. That doesn’t mean that new homes can’t have issues with indoor air quality—it just means that poor indoor air quality is less likely in newer builds because they have to conform to modern building codes.
Tools & Materials
Bobvila.com may earn a commission from purchases made through these links.
- Indoor air quality monitor
- Radon test or radon detector
- Carbon monoxide detector
- Screwdriver (optional)
- Ruler or tape measure (optional)
- Stud finder (optional)
- Mold test
- Batteries (appropriate for the detector)
Before You Begin
Not every home requires air quality testing for every potential particulate or pollutant. Often, the types of symptoms you experience and the age and location of the home can help you narrow down potential pollutants. Be sure to consult a doctor if you are experiencing health problems that you suspect are related to your home environment. A doctor can help identify and treat health issues related to exposure to mold, radon, and carbon monoxide.
Step 1: Set up an indoor air quality monitor.
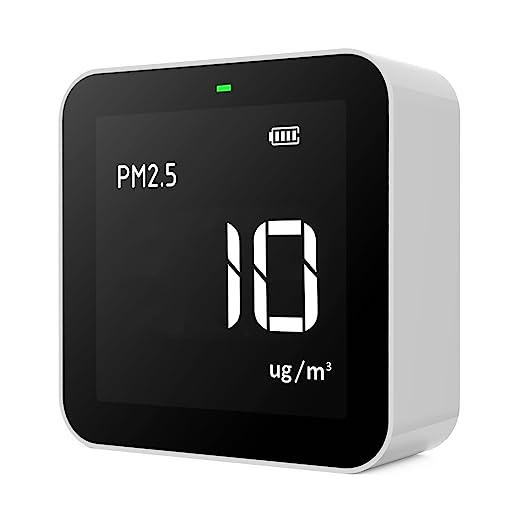
How is air quality measured? Some monitors use electrochemical sensors that detect toxins while others estimate particulate matter (PM) based on the particulates that pass in front of a laser. It depends on the type of monitor you have and what it’s designed to detect.
Air quality testing can detect harmful odorless gasses like carbon monoxide and radon. Depending on the model, they may also detect volatile organic compounds (VOCs) or pollutants such as airborne particulate matter. More advanced indoor air quality monitors may also measure the room’s humidity and temperature.
Choose a monitor that detects the specific pollutants that concern you. For example, if you live in an area with high air pollution, you’re more likely to need a model that detects particulate matter. Those who live in older homes may want to get a model that detects radon and carbon monoxide (though either can be present in newer homes, too).
Our Recommendation: Temptop M10 Air Quality Monitor – Get it at Amazon for $75.99
This portable air quality monitor’s sensors track airborne particulate matter, VOCs, and formaldehyde with a simple display and interface.
Step 2: Test for mold.
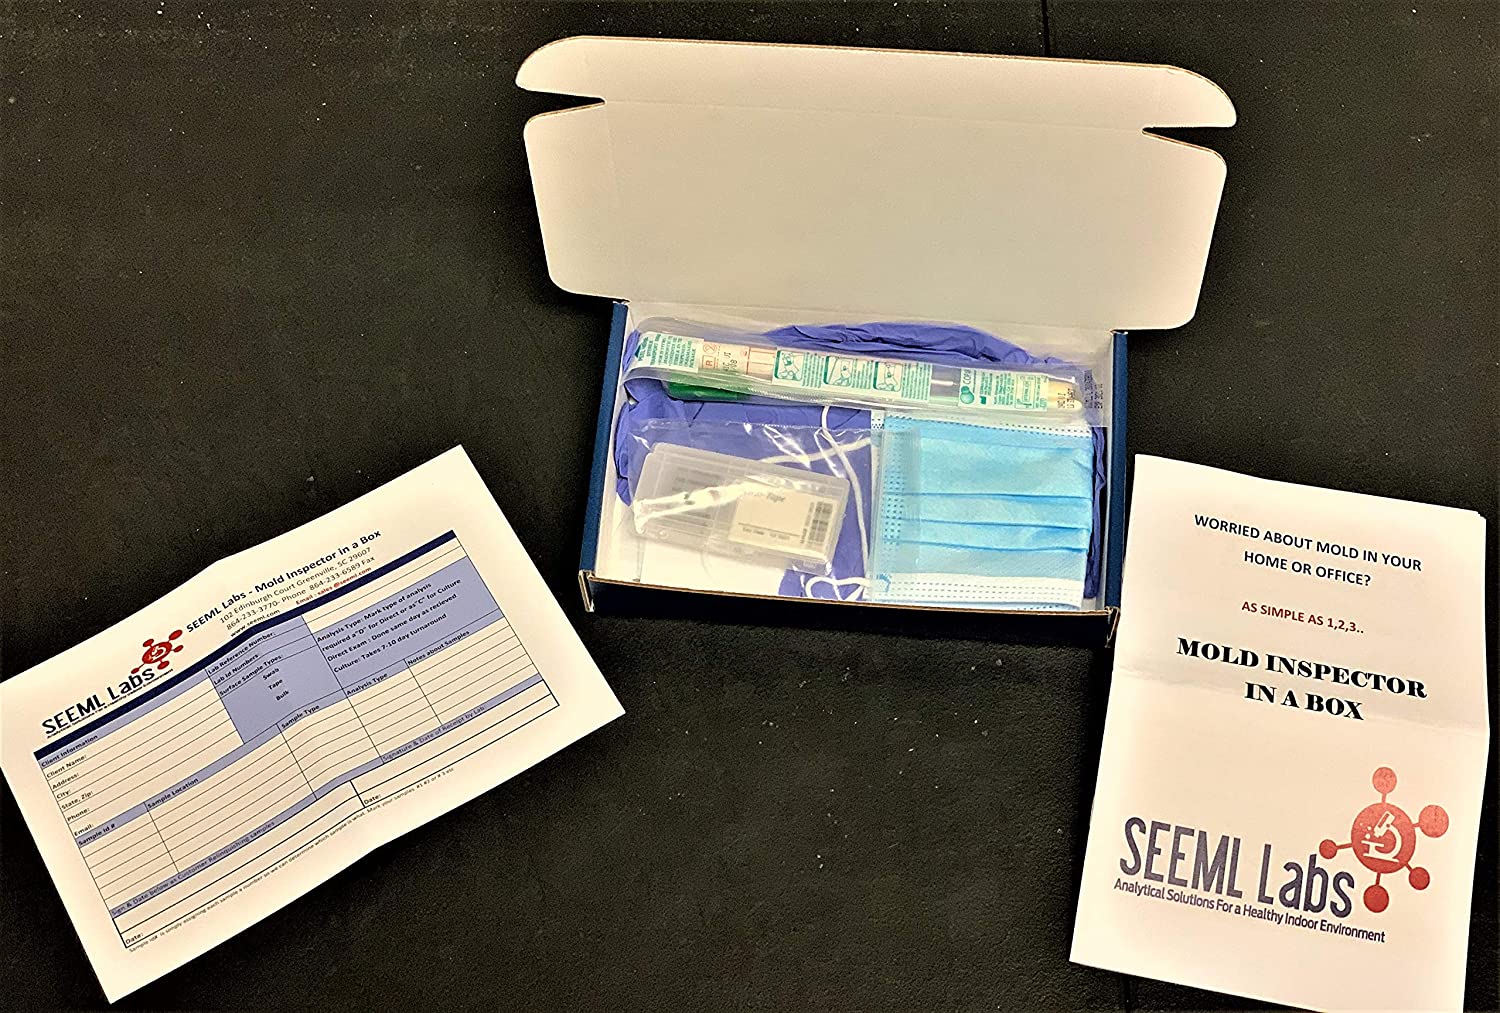
Mold tests come in various formats, including swabs, tape strips, air pumps, and petri dish tests. Swabs and tape strip tests collect potential contaminants from a surface like a counter or tabletop. The results from a swab test come within a few minutes, though you may not know the exact type of mold.
Tape strips, air pumps, and petri dish tests require the collected sample be sent to a lab for analysis. Testing for mold via these methods are more accurate than a simple swab test, it can take anywhere from a few days to a few weeks to get the results. Additionally, petri dish tests can get contaminated from other particles in the air. Tape strips and swabs can also get contaminated by other particles on the tested surface.
Air pumps offer a closed system that’s less likely to get contaminated, though they tend to cost more. Set the mold test up near the home’s ventilation, or in the area where you suspect mold or a contaminant. However, always follow the directions on the test kit for the best results.
Our Recommendation: Seeml Labs DIY Mold 3 Test Kit – Get it at Amazon for $33.
This kit comes with three tests (one swab and two tape strips), which offer same-day (that the results arrive) results from a lab.
Step 3: Perform a radon test at home.
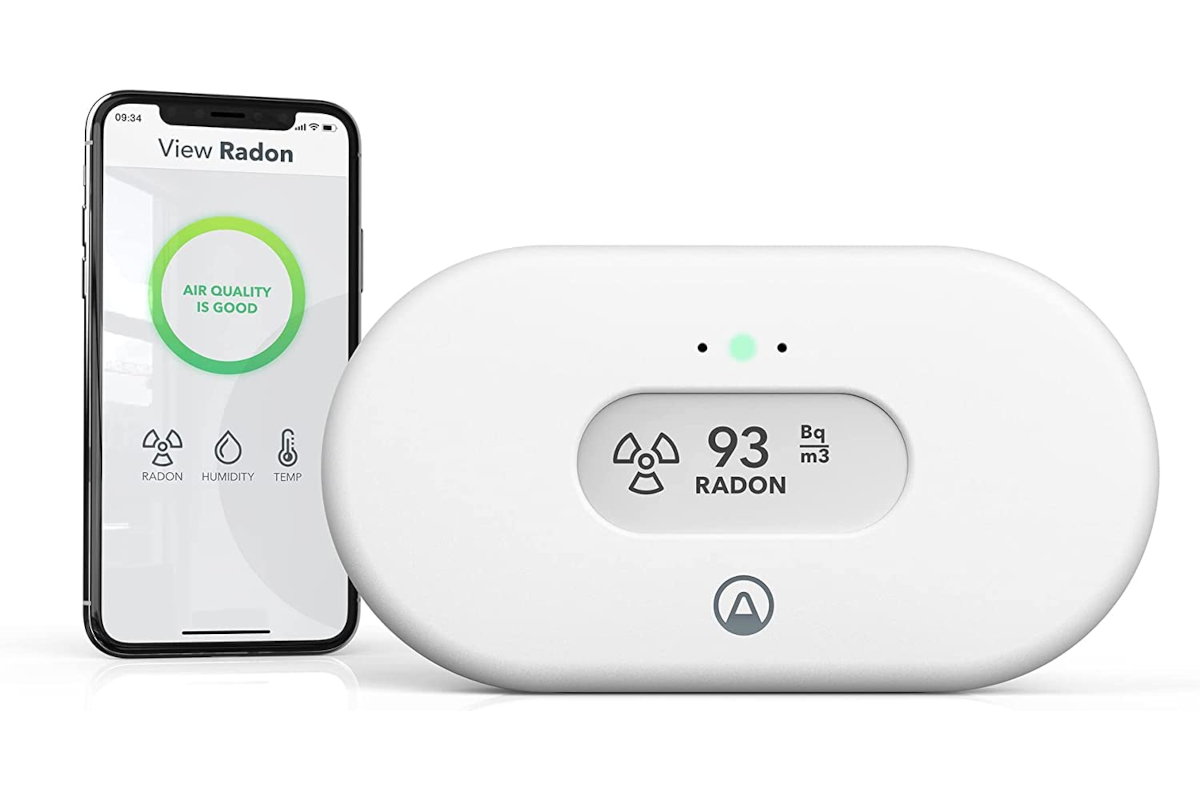
Radon gas naturally occurs as a byproduct of the breakdown of the uranium found in certain rocks and soil. The gas can seep its way into a home through the foundation until it reaches harmful levels.
Radon tests detect levels of the gas over time. Short-term tests take 90 days or less, while long-term tests can take several months. The results from these tests are usually interpreted by a lab. Continuous tests monitor radon levels at all times and alert you if high levels of radon are detected.
Depending on the type of radon test you use, the testing process may require installing detection sheets or other materials in an area suggested by the manufacturer. The key is to follow the instructions on the test.
Our Recommendation: Airthings 2989 View Radon – Get it at Amazon for $159.99
This continuous, battery- or USB-operated radon monitor measures indoor radon levels, temperature, and humidity and integrates with the Airthings mobile app to provide the user remote alerts.
Step 4: Install carbon monoxide detectors on every level of your home.
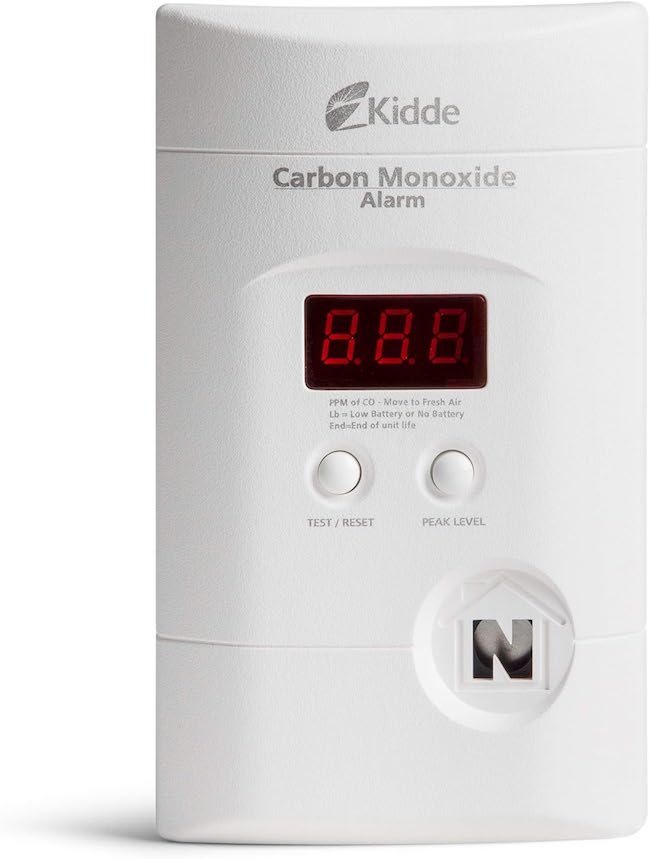
Carbon monoxide (CO) is an odorless, poisonous gas that causes confusion, dizziness, and headaches before it causes a loss of consciousness and death. Many smoke detectors these days are combination smoke and carbon monoxide detectors. It’s critically important to have both types of detectors in your home, so you’ll want to make sure that your home safety plan monitors both smoke and carbon monoxide.
Carbon monoxide detectors should be placed outside bedrooms, and anywhere in the house you’d place a smoke detectors. There should be a carbon monoxide detector on each level of the home and near sleeping areas. Carbon monoxide rises with air, so the detector should be placed about 5 feet off the floor on a wall or on the ceiling. Do not put them near a fireplace or open flame.
Our Recommendation: Kidde Carbon Monoxide Detector – Get it at Amazon for $42.95
Kidde is a reliable, affordable carbon monoxide detector that sounds when CO levels reach unhealthy levels. We like that it has a digital display and multiple power sources, including battery backup, so it will continue functioning during a power outage.
Tips for Improving Indoor Air Quality
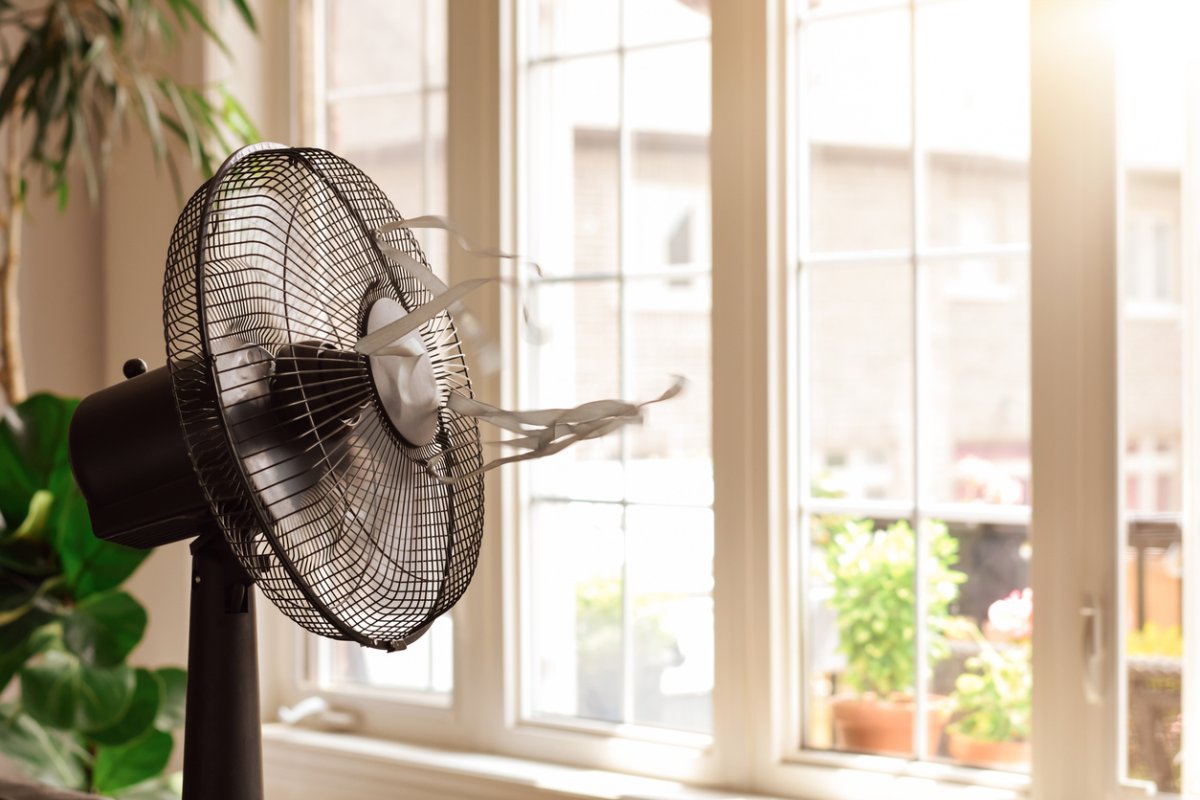
Home air quality monitoring devices will alert you if pollutants reach dangerous levels. However, there are many things you can do to prevent levels from reaching dangerous levels in the first place.
• Check your HVAC system to make sure it’s functioning at peak efficiency.
• Increase the airflow in your home by periodically opening the windows and using fans to circulate the air.
• Stay on top of mold removal and prevention around the home. If you find mold, try scrubbing it with a mold-killing cleaner like bleach or borax. For delicate surfaces, you can use dish soap or diluted white vinegar. Unfortunately, you may not be able to remove mold from porous surfaces, and they may need to be replaced.
Carbon monoxide is incredibly dangerous. If you suspect that there’s carbon monoxide in your home in high or low doses, leave at once. Open windows and doors, and get outside into the fresh air. Contact the proper authorities to get you and the home checked for carbon monoxide poisoning.
Prices in this article are accurate as of November 21, 2024.

