
We may earn revenue from the products available on this page and participate in affiliate programs. Learn More ›
Plants need sunlight, water, and key nutrients to grow. They get two of these from the soil, which is why having a healthy garden bed with rich, well-draining dirt is every gardener’s (and every plant’s) dream. Tilling the ground helps to get plants just what they need, and knowing how to till a garden properly will ensure soil and plant health at the start of the growing season.
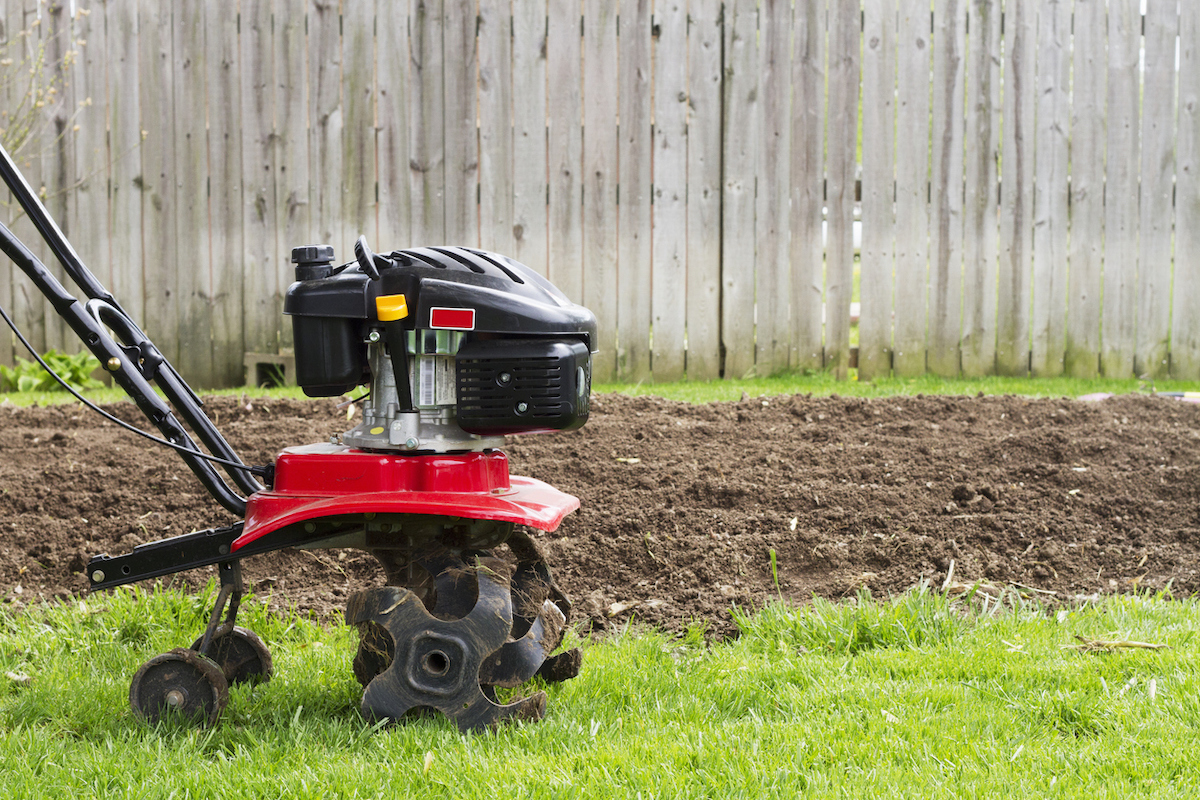
Garden tilling is the act of turning over and breaking up the soil to cultivate a garden. This can aerate the soil to help water and nutrients reach plant roots, thereby improving plant growth. Till the ground to deter weeds and discourage insects or fungi from taking up residence near stressed plants and unhealthy soil. On a basic level, gardeners can till the soil by hand with a shovel or a garden hoe. There are also handheld cultivators, tilling machines, and larger rototillers that help when plowing a garden, at least for the first time.
Tools & Materials
Bobvila.com may earn a commission from purchases made through these links.
Project Overview
Working Time: 2 to 4 hours, depending on size of bed
Total Time: 2 to 4 hours
Skill Level: Beginner
Estimated Cost: $50 to $500
BEFORE YOU BEGIN
Before digging in, consider the soil’s health. If you grew healthy plants in the bed last year, you probably don’t need to till, but simply add some organic matter and turn the soil a few inches down to add nutrients. Farmers and home gardeners often opt for a no-till method or working the soil minimally for some established beds. New and compacted beds can benefit from true tilling. Decide what kind of tiller or cultivator will be required to get the job done. For bigger beds, especially if the soil is compacted or has not previously been planted, a heavier rototiller is usually the preferred tool.
For existing garden beds that just need the soil worked and nutrients added prior to planting, a smaller cultivation tool can work. The amount of time you need to set aside will depend on square footage to till, and what types of tools you plan to use. An electric tiller can effectively till 1,000 square feet of soil in around 2 hours. Add more time if you plan to do it by hand.
For very small jobs, a hand-held cultivation tool can suffice, but most gardeners will prefer to either rent or buy a rototiller with a motor like this highly rated option available at Amazon—the best cordless pick in our guide to the best rototillers—to expedite the process. Without a tiller or cultivator, the question may be how to till a garden without a tiller? It can be a tedious process but it is possible to till soil using only hand tools like a shovel, a rake, and a hoe. A good quality garden fork is also helpful for breaking up large soil clumps and to aerate the soil while disturbing it less.
Before you begin, it is also a good idea to perform a soil test to determine if the soil is missing any vital nutrients. Tilling is an excellent time to work in compost, mulch, and other nutrients.
STEP 1: Mark the area you plan to till.

Before breaking ground, take the time to mark the edges of the area that will be tilled. Knowing the perimeters of the bed will help prevent mistakes like unearthing dormant plants or cutting the roots of nearby plants. It will also help ensure a neat-looking garden bed. After marking, be sure to consider any possible telephone, cable, or other utility lines and call your city (811) to locate lines, especially before you dig garden beds deeply.
The best time to till an established garden is a few weeks before planting in spring, so the soil can settle. Knowing how to till a garden for the first time can take longer, especially in compacted soil. If possible, till a new garden bed in fall, adding some compost to the worked soil that can let those nutrients work through in time for spring planting.
STEP 2: Get familiar with the tools.
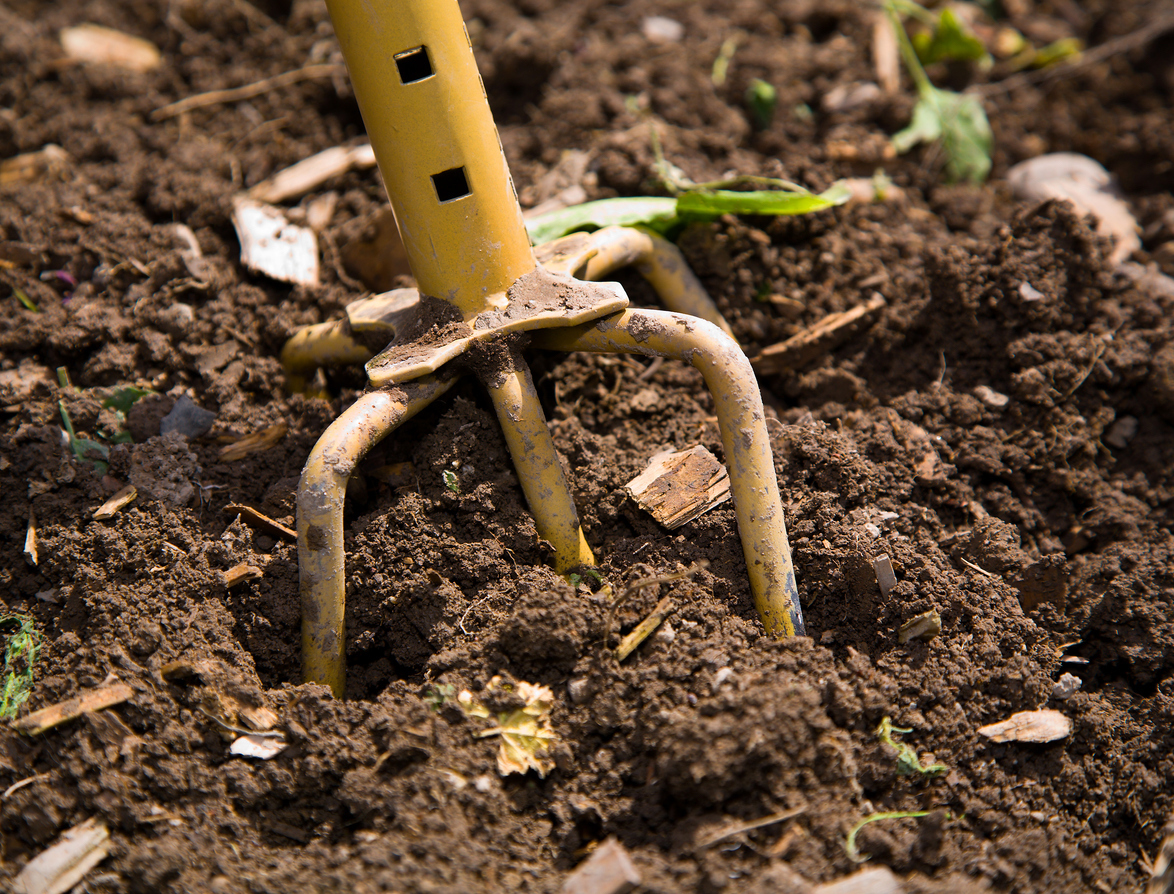
Once you know the size of the bed and condition of the soil, you can choose a handheld or motorized tool to properly break up the soil in a garden bed. Using a rented, heavy-duty rototiller, an electric tiller, or a handheld cultivation tool depends on the state of the soil and the area to till and your budget. Regardless of the tools used, be sure to get familiar with them, read their how-to manuals, and don safety equipment like eye protection and gloves.
STEP 3: Clear the area by removing garden debris.
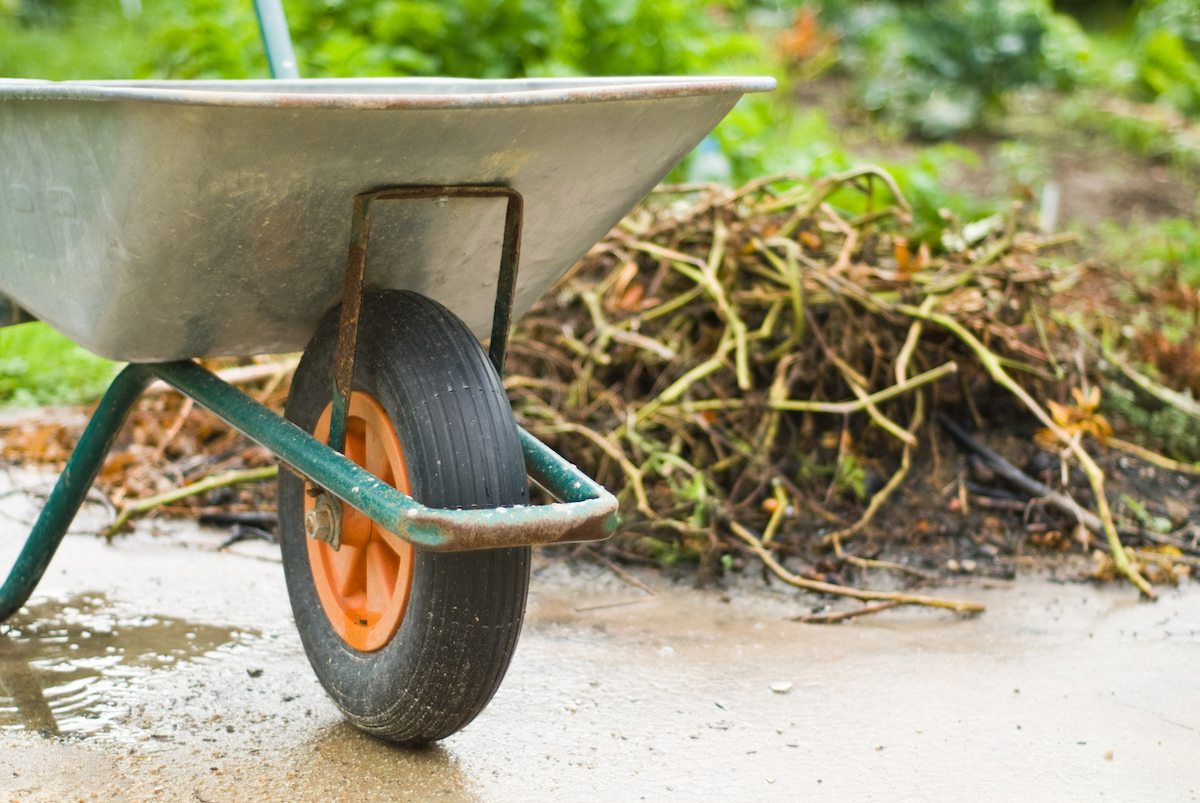
Remove any weeds, grass, large stones, and other garden debris, such as fallen branches or plants, from the area you wish to till. You might need a hoe or shovel to loosen any larger rocks or roots growing in the area.
RELATED: Composting 101: How to Put Kitchen and Yard Waste to Work in Your Garden
STEP 4: Check soil moisture before tilling.

Before beginning, check soil moisture. Wet soil will create a muddy mess that will stick to the tiller blades and generally become too difficult to finish. In addition, tilling soil that is too moist can cause the soil to compact more, which is the opposite effect gardeners want. Check soil moisture by picking up a handful of soil. Squeeze or poke the soil ball. If the ball falls apart, it is OK to till. Soil that stays together or leaves some moisture on your hand is too wet to till. Don’t attempt to till just after heavy rain.
STEP 5: Till the soil.
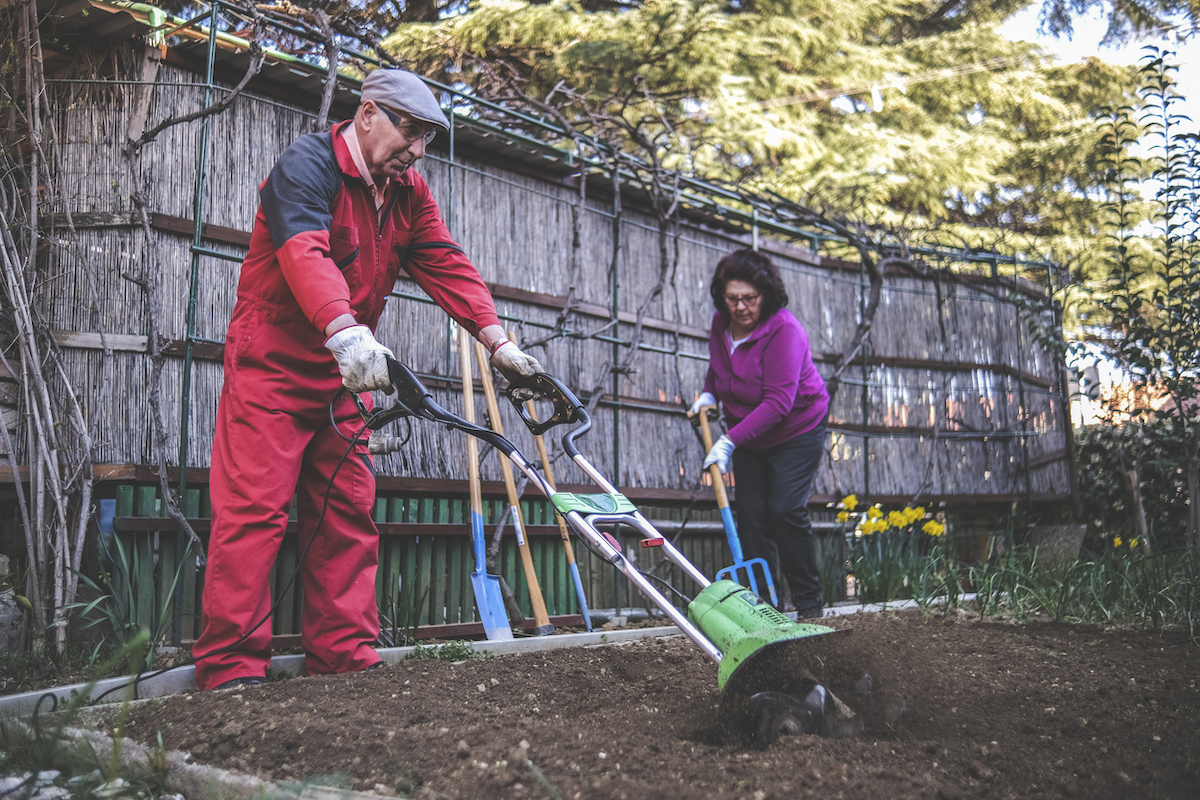
Determine the depth and set a motorized tiller blade accordingly. Keep in mind that relatively loose and healthy soil only needs tilling or turning to a depth of about 3 inches for weed control. A handheld or manual cultivator can loosen healthy soil to a shallow depth. Tilling depth for new and compacted beds might be as deep as 8 to 12 inches. Using either the electric tiller or a hand tool, work the soil evenly.
Working in rows is an effective way to keep track of soil that has been turned. Start at one end and work all the way through to the far end, then return back in the next row, just like mowing a lawn. The soil will likely require more than one pass.
STEP 6: Enrich the soil.
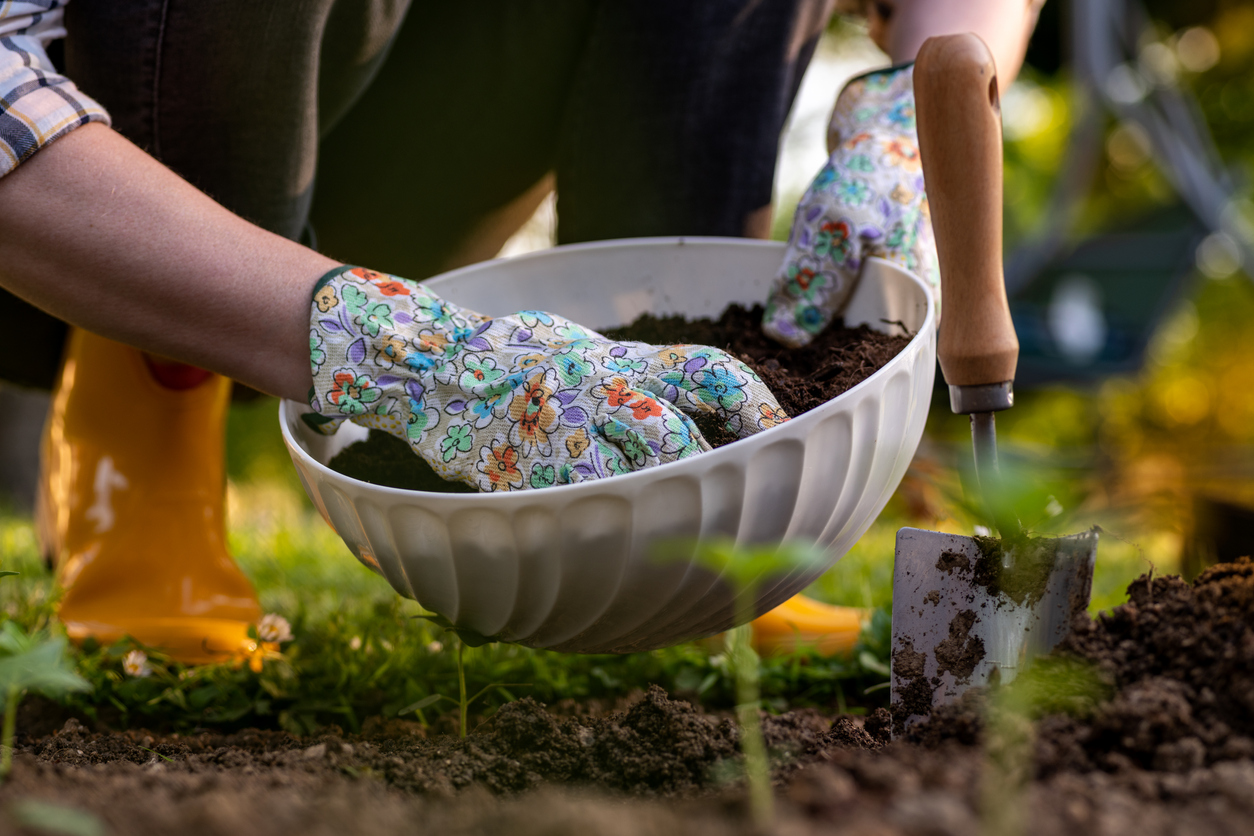
While tilling or aerating soil is a necessary step to improve drainage and give new plants plenty of room to grow, tilling alone won’t increase the nutrient value of the soil. Once the soil has been loosened, add a rich (and local if possible) compost mix to the top of the soil and work it in using the hand tools or the electric tiller. If the soil requires any supplements, they can be added at this time and mixed well into the soil.
STEP 7: Even the soil out.
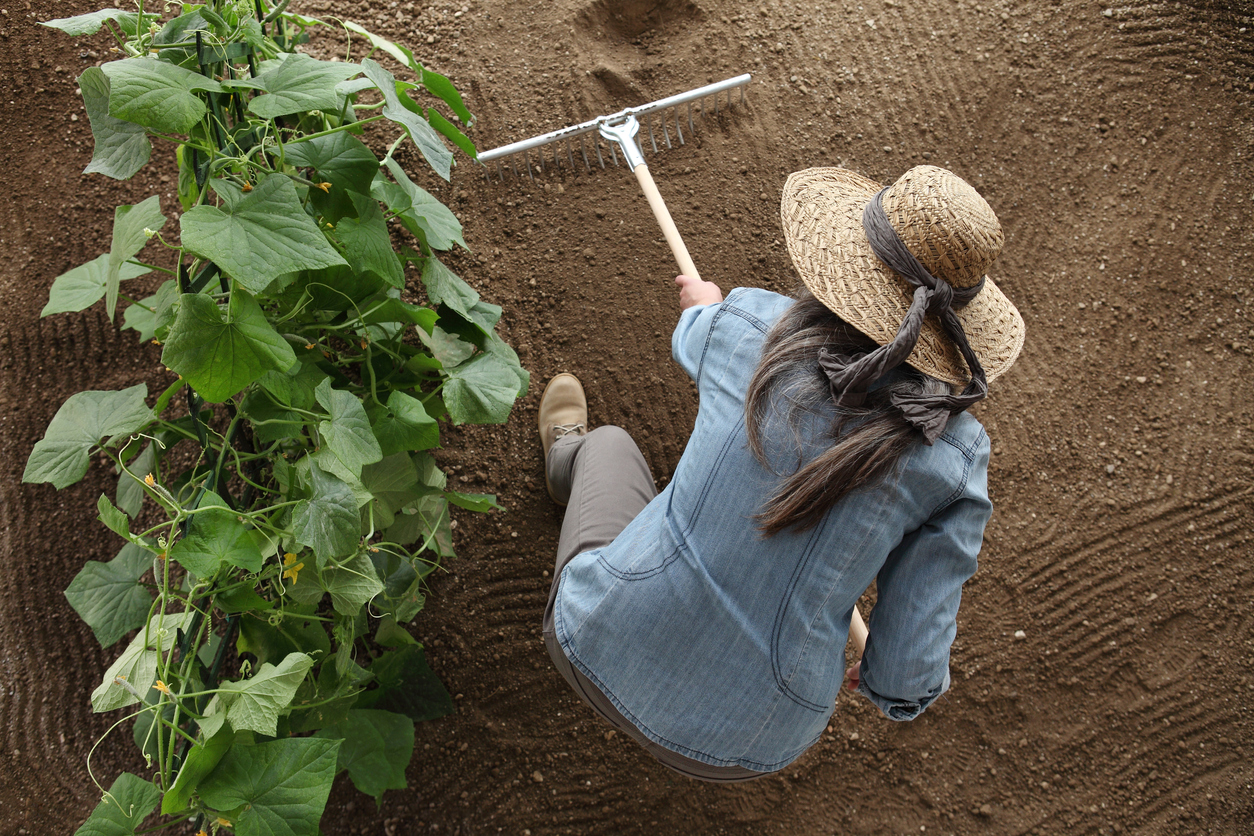
Once the compost has been tilled in, use a heavy garden rake to even out the planting surface. The back (flat) side of a bow rake works well. If the new garden bed will host a vegetable crop, use a hoe or shovel to create planting rows in the freshly tilled soil. Use a metal rake, hoe, or shovel to create planting furrows or raised rows if they are recommended for the plant type.
Avoid walking over the tilled and evened soil as much as possible to keep it loose and ready for seeding or planting.
RELATED: 10 Ways Gardening May Be Making You Sick—and How to Protect Yourself
Final Thoughts
Knowing how to till garden soil, how deep to dig, and the best tool for the job can help new or seasoned gardeners prep their beds for success. This includes becoming familiar with soil type and health, and with the recommended use of the chosen tool, whether motorized or manual.
