
We may earn revenue from the products available on this page and participate in affiliate programs. Learn More ›
The walls in your home take a tremendous amount of abuse from people, pets, and objects brushing up against them day after day. The daily grind can leave the walls looking the worse for wear. Paint chip repairs or peeling paint might also be the reason to refresh a wall’s paint.
While repainting an entire wall or room may not be in the budget or in your schedule, you can freshen up moderately worn-out walls by covering those dings and scuffs in an hour or two with some spackle, a roller, and some touch-up paint. Here’s how.
Tools & Materials
Bobvila.com may earn a commission from purchases made through these links.
Project Overview
Working Time: 1 hour
Total Time: 2 hours
Skill Level: Beginner
Estimated Cost: $10-$50
Before You Begin
Before you proceed with a paint touch-up, take a minute to assess your walls to determine whether a full repainting is in order. While you might need to refresh only a small spot, sometimes you’re better off repainting the entire wall. “Touching up wall paint can be tricky,” says Anthony Kulikowski, owner of a Five Star Painting franchise in South Bend, Indiana.
For example, touching up an older paint job might present challenges in matching the color. “The longer the paint sits, the lower the chances of the touch-up blending in well,” he says. Rather than waste time and money attempting to match old paint, it might be better to simply repaint the entire wall or room.
Kulikowski also says it’s hard to touch up some finishes. “You’re usually better off repainting walls with higher sheen paints like satin, semi-gloss, and gloss, as they usually don’t touch up well.”

STEP 1: Prep and repair.
Begin by laying down a drop cloth to protect the floor from dust and paint. Wipe the wall down with a damp cloth or sponge to remove any dust or dirt that’s stuck on the wall’s surface.
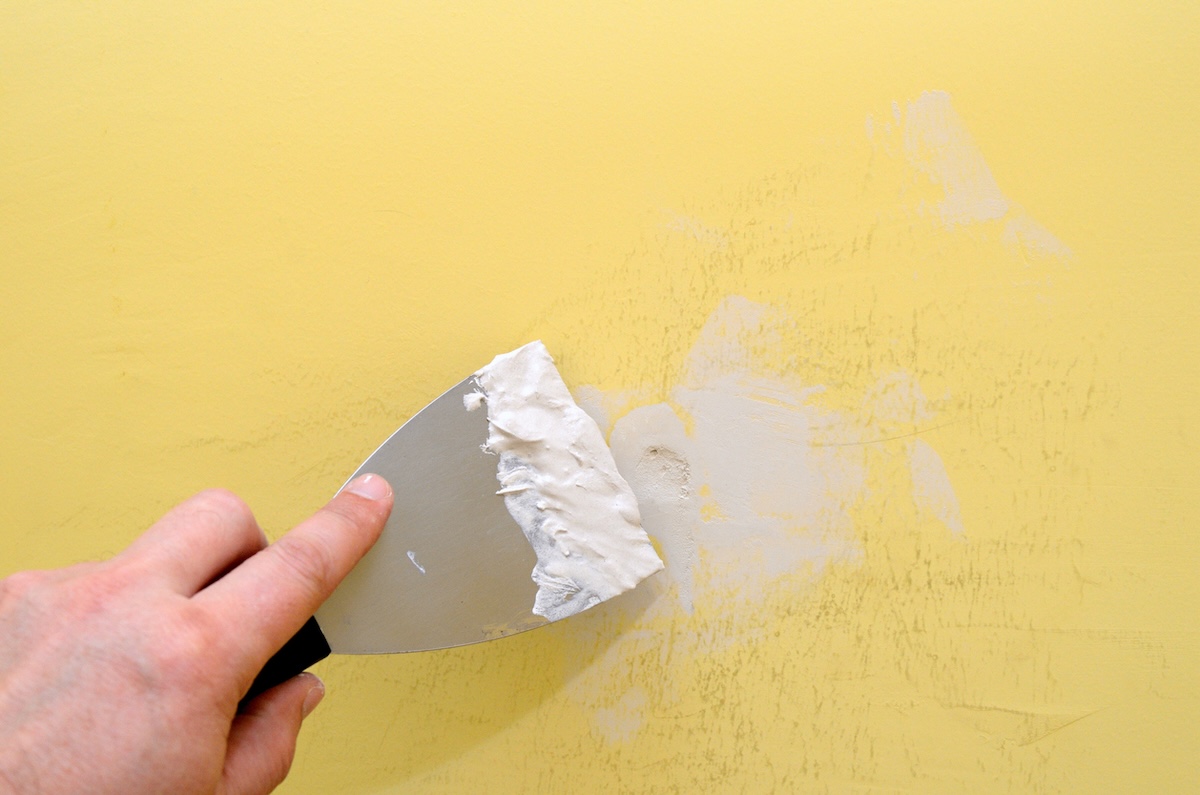
Once the wall is clean, proceed with repairing any dings, dents, or knicks on the wall. Use a spackling compound and a putty knife to fill any cracks or small holes. After giving it about an hour to dry, sand the dry spackling compound with fine sandpaper so that it’s smooth and level with the surrounding wall. If the hole is an inch or more wide, you’ll need to use a drywall patch to repair it.
“Save your paint cans even if empty, so you can get more of the exact same paint when you need to touch up, as the formula will be on the can.”
— Anthony Kulikowski, owner of a Five Star Painting franchise
STEP 2: Match the paint
To ensure effective touch-up painting, you need to perfectly match the wall paint color. Ideally, you’ll have a can of leftover paint you can use for your touch-up jobs. “Matching paint without leftover paint is possible but extremely difficult,” Kulikowski says. “Color matching can be achieved using a fan deck, color chip samples, or an electronic color eye matching tool, but these methods usually get you very close, not always an exact match.”
A more accurate though labor-intensive method is to cut a 2-inch by 2-inch square out of the wall and take it to a local paint store, where they can use the sample to create an exact color match.
Kulikowski warns that even if you’re able to match the color, matching the sheen can be a challenge if you don’t know the brand of paint that’s on the walls as sheens can vary from manufacturer to manufacturer.
STEP 3: Prepare the paint.
If you’re reopening an existing can of paint, check to make sure it’s still good first. “You can use leftover paint as long as it has been stored properly and hasn’t gone bad,” Kulikowski says. Bad paint will be dried out or have a rancid smell.
Kulikowski suggests adding water into older paint if it’s only started to thicken. “Adding a couple of drops of water can help reduce its consistency and make it easier to apply,” he says.
To ready it for application, mix the paint thoroughly either by closing the lid and shaking it or by using a stir stick to ensure you get an even sheen and color when you apply it.

STEP 4: Apply the paint
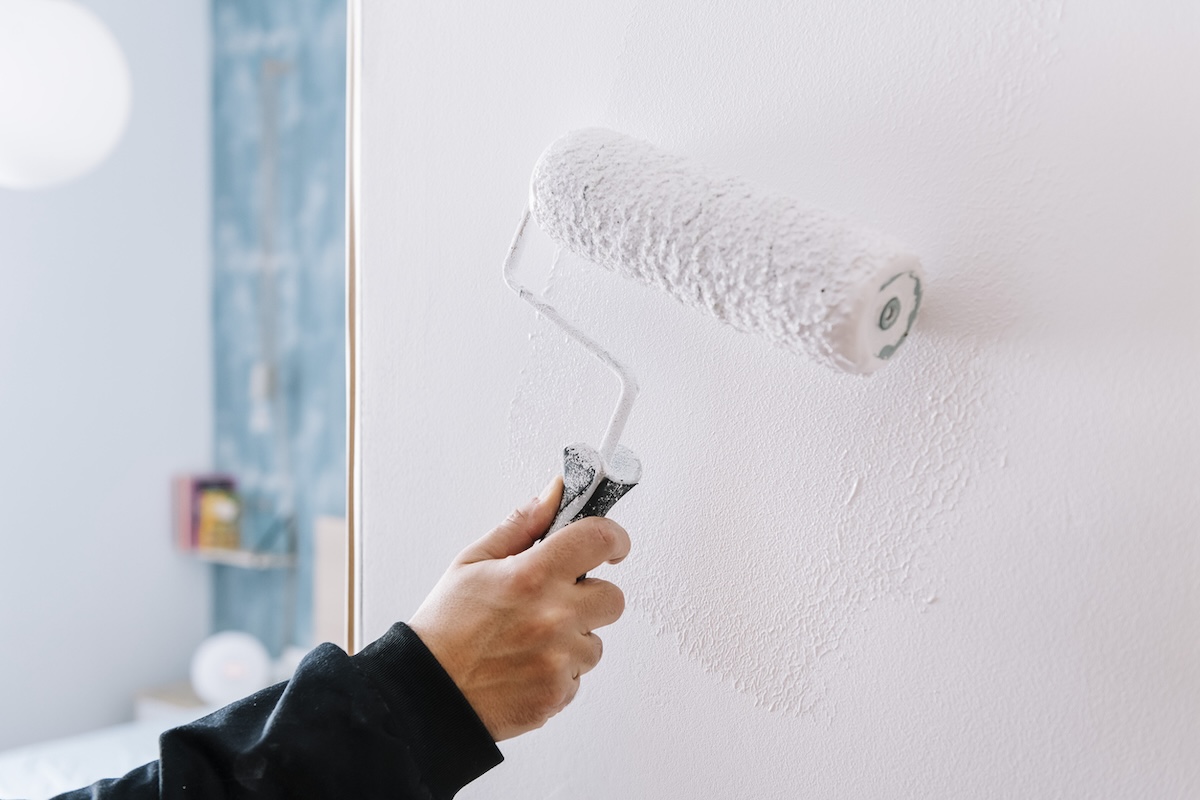
The key to blending the new paint with the old is to use the same method that was used to apply it originally. For wall paint, that’s typically a roller for broad sections of wall and a brush for corners and edging. While you can use a brush for all touch-ups, the tools leave brush strokes that will stand out if the original wall paint was applied with a roller. When choosing a roller, Kulikowski suggests using the same nap that was used to paint the wall originally to get an even blend.
Apply the paint to the wall, extending the paint 6 to 8 inches beyond the touch-up area. Kulikowski advises using a technique known as feathering, which is the process of thinning out the application of the paint as you move from the touch-up outward. “The feathering method helps the touch-up blend better,” he says. “Also, make the touch-up area irregular, avoiding a square shape, as irregular shapes are less noticeable.”
Final Thoughts
If you’re lucky enough to have leftover paint (or at least the leftover paint can) lying around to match the color of your walls, then freshening up old walls with a quick paint touch-up is an easy process you can accomplish with just a few supplies. Even if you don’t have an old paint can to go off of, you can look for help from your local paint store.
Keep in mind that it can be difficult to match the color, especially in cases where the paint on the walls has faded due to age or sun exposure. In those cases, how to touch up paint on walls that need refreshing might require repainting the entire room with a fresh coat.
