
We may earn revenue from the products available on this page and participate in affiliate programs. Learn More ›
Regardless of whether you are preparing steaks, burgers, or chops, grilling with charcoal is a great way to add a smoky flavor to your food that gas grills just can’t replicate. At first glance, charcoal grilling for beginners may seem like too much to handle. You need to worry about how much charcoal to use, lighting a charcoal grill, and whether to have the grill vent open or closed based on the current temperature inside the grill. It’s also recommended to find out more about the various charcoal grill parts and how to turn off a charcoal grill before cooking with this method.
When it comes to the debate between charcoal grilling versus gas grilling, learning how to start a charcoal grill and control the temperature with the vents or dampers is definitely more complex than simply turning a few temperature dials and clicking an ignition switch. However, with this helpful guide, you can discover how to use a charcoal grill while learning a few key charcoal grilling tips in the process.
RELATED: The Best Grills, Tested and Reviewed
Important Charcoal Grill Parts
Before learning the ins and outs of how to use a charcoal grill, it’s important to recognize the main parts of the grill and their function.
- Firebox: The firebox holds the charcoal and flame in the base of the grill.
- Vents: Top, bottom, and sometimes side vents are used to adjust the airflow through the grill and control the grill’s internal temperature.
- Cook chamber: The cook chamber is where the grill grate sits to position the food just above the flame in the firebox below.
- Lid: On a charcoal grill, the lid helps to control the cooking temperature with an adjustable top vent.
5 Types of Charcoal Grills to Know
Take some time to learn more about the various charcoal grill types and get a better understanding of the strengths and weaknesses of each grill to help decide on the best charcoal grill for your home. There are several charcoal grill types to choose from based on size, shape, and construction, including kettle, barrel, ceramic, hibachi, and portable grills.
1. Kettle
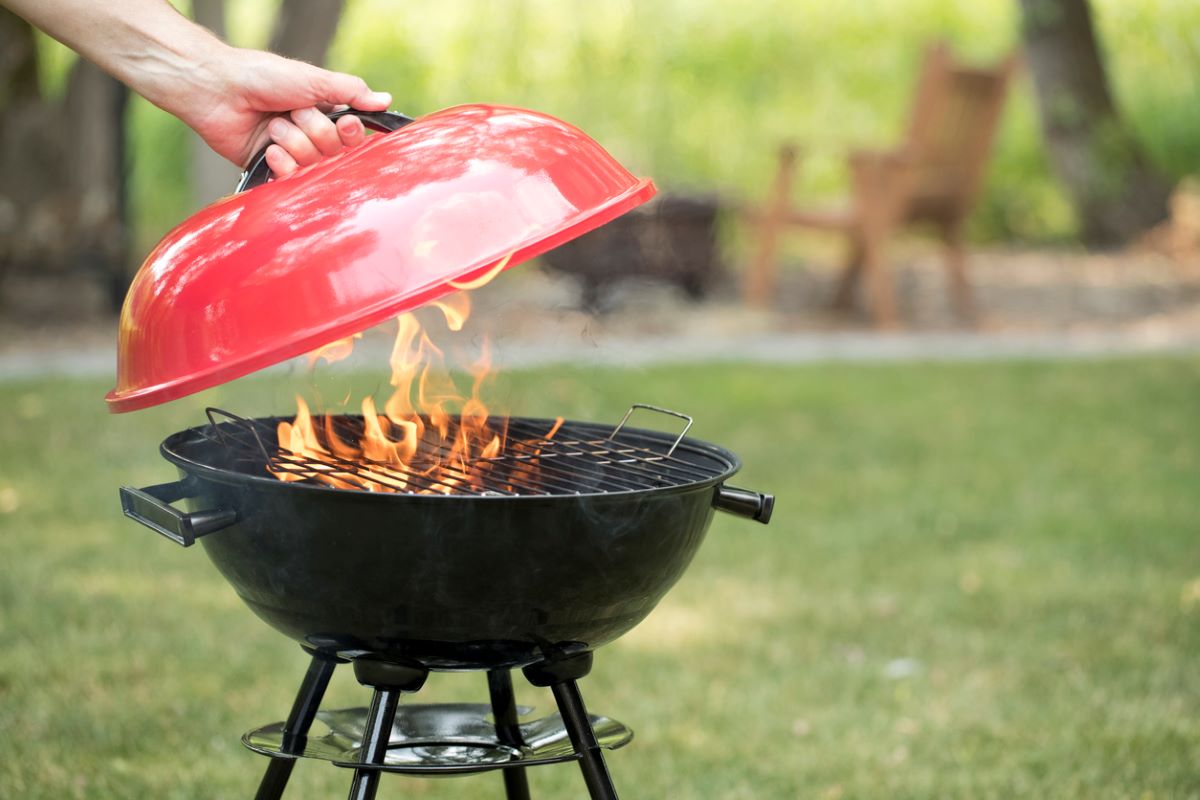
A classic option, kettle grills have a rounded steel chamber that typically sits on three legs for support, though there are also kettle grill models with four legs. This type of grill is a great size for a small family, though it may not be substantial enough if you regularly host backyard barbecues. They usually have vents located in the lid and the bottom of the firebox to control airflow into the grill, allowing you to grill up burgers in just two to six minutes, depending on how you prefer your burgers.
Our Recommendation: Weber Original Kettle Premium Grill on Amazon for $219
The Weber Original Kettle Premium Grill boasts a 363-square-inch cooking surface and an easy-to-clean ash-collection system.
2. Barrel
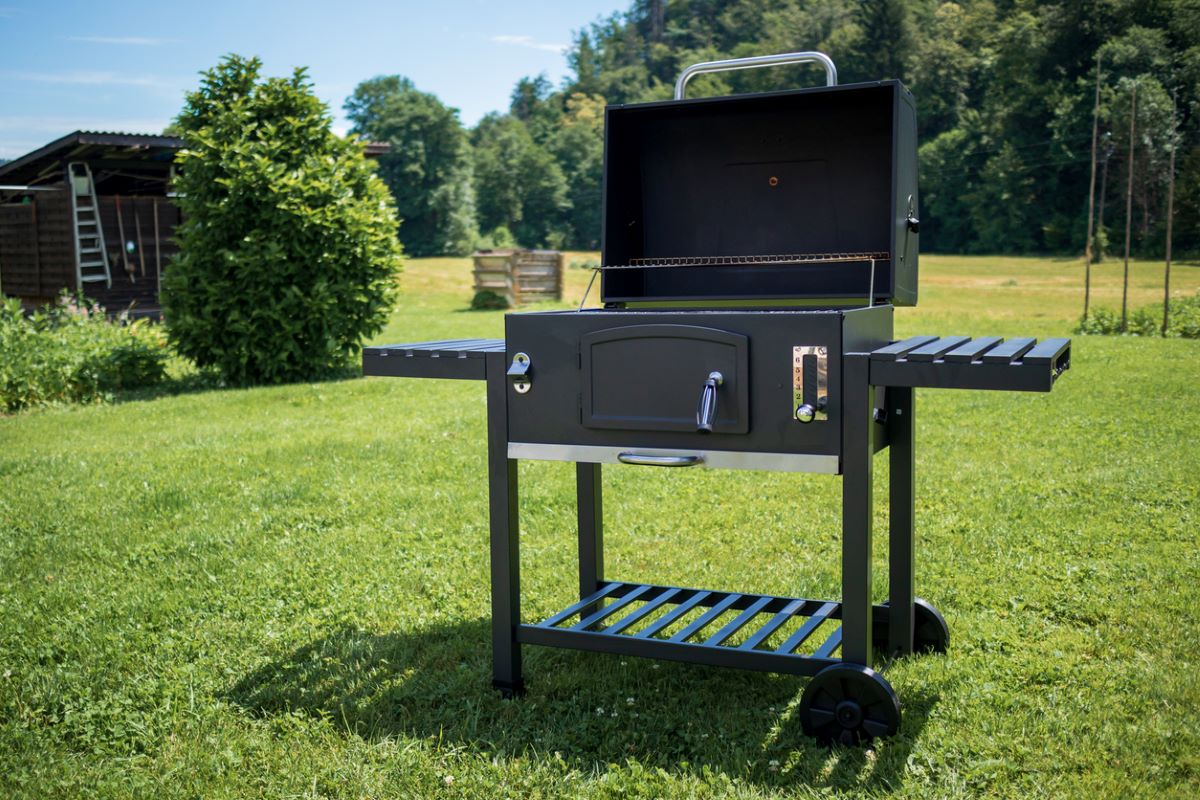
A basic example of this style of grill would look like a steel barrel set on its side and cut cleanly down the middle, with one half used as a lid and the other half making up the main body of the grill. The lid typically has an adjustable vent or damper and may have a built-in temperature gauge. Meanwhile, the main body of the grill houses the firebox, cooking chamber, cooking grate, and an adjustable bottom vent or side vents to control the temperature of the grill.
Our Recommendation: Dyna-Glo Heavy Duty Charcoal Grill on Amazon for $241.63
Take advantage of the convenient ventilation handles on the sides and top of the grill for improved temperature control.
3. Ceramic
As the name indicates, ceramic grills are made of ceramic, which takes longer to heat up but is able to hold and radiate the heat for a longer period of time than a typically steel grill. This makes these grills a great option for smoking food at a low temperature and slow pace. The narrow egg-shape also helps to reduce the direct airflow on the food, so that it stays moist while you grill.
Our Recommendation: Kamado Joe Classic Joe II Grill on Amazon for $1,139.05
Use this versatile Kamado Joe ceramic grill to cook burgers, sear steaks, or even smoke a roast.
4. Hibachi
Hibachi grills are a specialized type of portable charcoal grill that doesn’t rely on a lid or vents to control the heat. They are small and typically made with one or more cast-iron grates suspended over a metal chamber that serves as the firebox. The small size makes these grills easy to load into a car or truck for camping or setting up at a tailgate party.
Our Recommendation: Giantex Charcoal Hibachi Grill on Amazon for $109.99
This cast iron hibachi grill comes with an adjustable cooking grill and a detachable double-sided grill for easy cleaning.
5. Portable
When you want to head to a local park or pack up for a trip, it’s great to have a small, portable charcoal grill that fits easily in the back of a car. Portable charcoal grills tend to have a smaller grilling surface because they are made for portability, so these grills aren’t the right choice for hosting a party or get-together. These grills may also have helpful features, like folding legs, carrying handles, and built-in tabletop stands, allowing it to sit on a table without burning it.
Our Recommendation: Weber Go-Anywhere Charcoal Grill on Amazon for $71
The Weber Go-Anywhere Charcoal Grill is a lightweight option with collapsible legs and a locking lid for easy transportation.
RELATED: The Best Grill Deals of 2024: Traeger, Weber, and More
Charcoal Grill Safety Tips
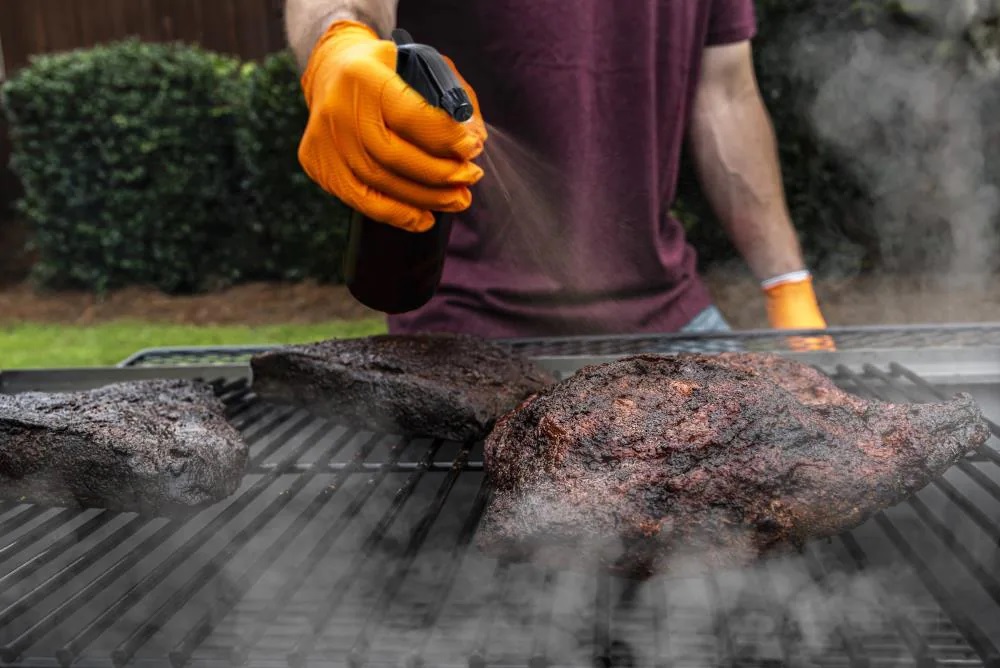
When compared to gas grilling, charcoal grilling is sometimes disparaged for being unhealthy due to the potential health hazards created during the grilling process, like heterocyclic amines and polycyclic aromatic hydrocarbons, which have both been linked to various types of cancer. However, you can reduce the production of these amines and hydrocarbons by keeping the grill clean, lining the interior of the grill with perforated foil, cooking for longer periods at lower temperatures, and using a spray bottle to control fatty flare-ups.
Another safety tip to keep in mind is that you should never use lighter fluid on warm coals because they may already be at the autoignition temperature for lighter fluid. Adding lighter fluid could cause a flame to shoot up from the coals. It’s also important to ensure the coals and ash are completely cool before you clean up. In fact, you might consider waiting at least 48 hours before cleaning them out of the grill. Always remember the following grilling safety tips when cooking with charcoal.
Choosing Charcoal
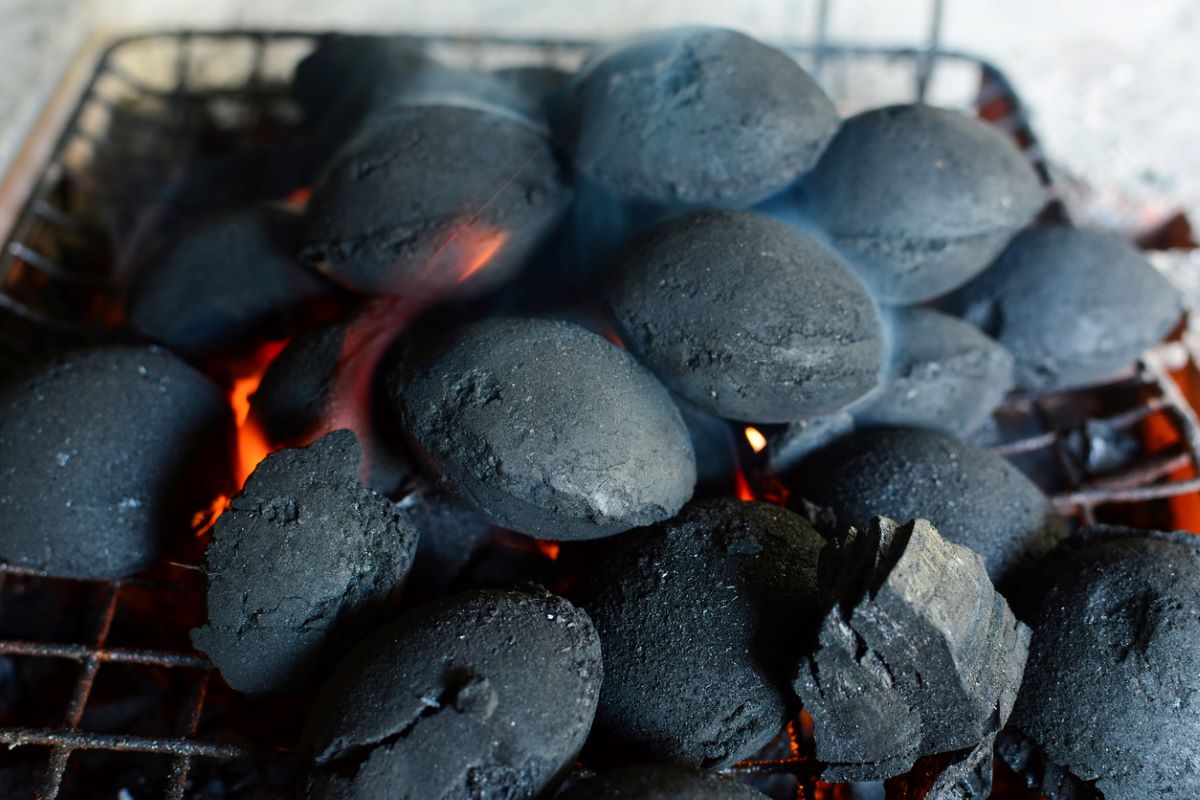
There are two main types of charcoal commonly used in traditional charcoal grills: charcoal briquettes and lump charcoal. The two are differentiated based on their manufacturing processes.
Charcoal Briquettes
Charcoal briquettes have a uniform size and shape because they are manufactured from a ground-up mixture of wood scraps, sawdust, coal dust, borax, and petroleum binders. Charcoal briquettes cost less and burn longer than lump charcoal due to these additives. However, there is also an increased health risk with using this type of charcoal.
Lump Charcoal
This type of charcoal is made by burning wood with very little oxygen, removing all moisture and gasses from the wood in order to leave pure carbon lumps about the size and shape of the original wood. This process is more health-conscious than the manufacturing process for charcoal briquettes because it doesn’t require the use of binders or petroleum-based accelerants. The drawback is that lump charcoal tends to cost more and burns for a shorter period than charcoal briquettes.
RELATED: Solved! This is the Best Time to Buy a Grill
Lighting Methods
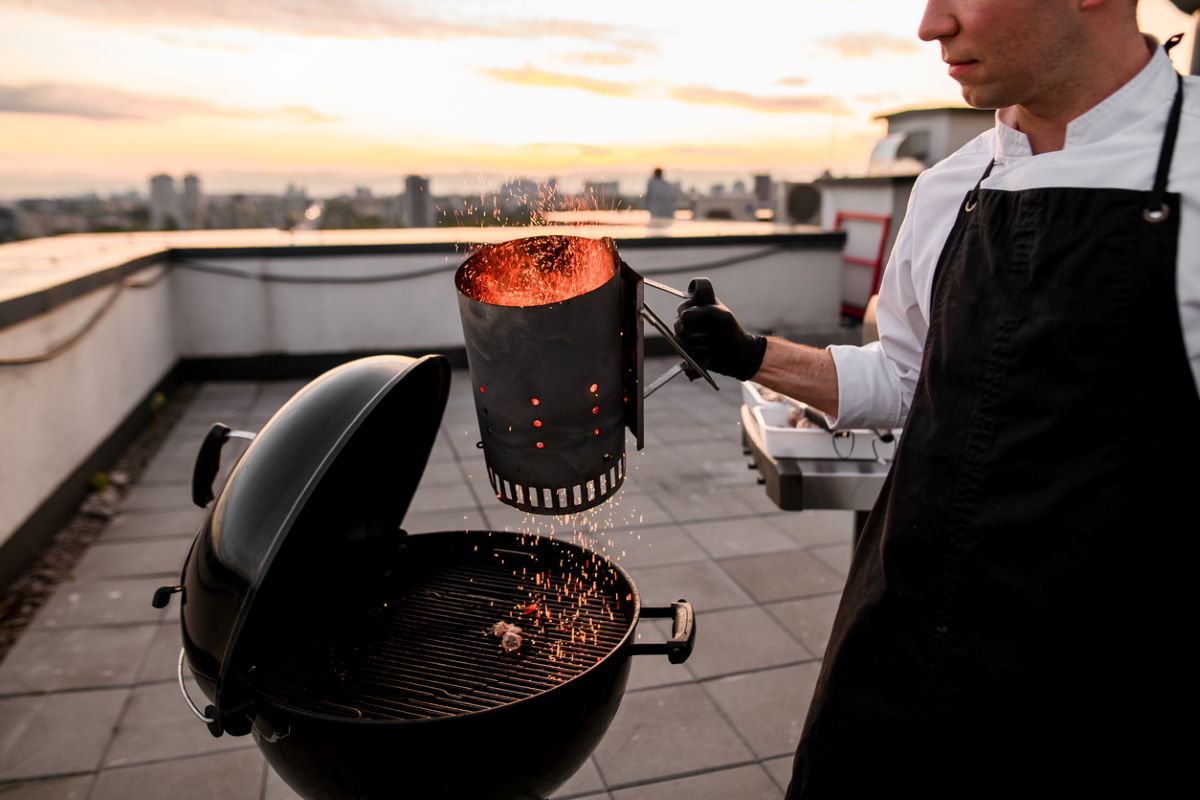
You can light a charcoal grill with lighter fluid, or use a charcoal chimney or electric charcoal starter if you don’t like the idea of applying lighter fluid to your grill. Just make sure the vents are open and stack your charcoal vertically, rather than laying it flat on the bottom of the grill. This will help keep the grill lit.
Charcoal chimney
A charcoal chimney is a device specifically made for igniting charcoal lumps or briquettes. The grate or mesh in the chimney prevents the charcoal from escaping. Apply heat to the coals from the bottom of the chimney using a lighter cube or pre-made combustible product and allow the coals to heat for about 15 minutes or until you believe they are ready. Then, pour the coals from the chimney into the firebox, cover the grill for about 10 minutes, and prepare to start grilling.
Electric charcoal starter
Set the heating element of the electric starter on the center of the charcoal grill, then layer charcoal briquettes or lump charcoal on top and around the heating element. Allow the electric starter to heat the coals until they catch fire, then remove the starter and put it in a safe place until it cools down. Cover the grill and wait about 20 to 30 minutes for the coals to be hot enough before cooking.
Lighter fluid
Arrange the charcoal into a vertical mound or pyramid shape in the firebox of the grill, then apply lighter fluid to the tops, sides, and center of the mound. Use about ¼ cup per pound of charcoal, but make sure to apply the lighter fluid evenly over the entire charcoal pyramid. Wait about 30 seconds for the lighter fluid to soak into the coals, then use a grill lighter or a long match to light the coals. Cover the grill and wait about 15 minutes for the lighter fluid to burn off and the coals to be ready before you start grilling.
RELATED: The Best Smokers
How to Use a Charcoal Grill
Once you have cleaned and prepared your grill, selected a suitable charcoal, and decided on a lighting method, follow these straightforward steps to learn how to use a charcoal grill.
STEP 1: Light the grill.
About three pounds of charcoal is suitable for most grills, though you should base the amount of charcoal on the size of your own grill to avoid overfilling it. Arrange the charcoal as required based on whether you are using a charcoal chimney, lighter fluid, or an electric charcoal starter. With the charcoal in place, check to make sure the vents are open, then light the grill. Wait about 15 to 30 minutes before you start to grill depending on the lighting method.
STEP 2: Rearrange the charcoal for direct or indirect heat.
When you are initially arranging the charcoal, you need to think about which method you are using to light the grill, but after the charcoal is lit, you can rearrange the coals to suit your needs. Indirect heat is when the food sits off to the side of the source of heat, making it great for slow cooking roasts or vegetables. Direct heat is when the food is positioned directly above the source of heat, allowing you to sear the food and trap the juicy flavors. Arrange your coals in the bottom of the firebox according to how you want to grill your food.
STEP 3: Maintain the temperature of the grill.
The temperature is primarily controlled by adjusting the flow of air through the top, bottom, and sometimes sides of the grill with the adjustable vents. Opening the vent in the bottom or sides of the grill allows more oxygen to enter and makes the fire burn hotter. Closing this vent reduces the amount of air entering the grill and lowers the temperature.
The vent at the top of the grill can be opened to allow heat and smoke to escape, reducing the temperature. Closing the top vent traps the smoke and heat inside the grill, gradually increasing the temperature and giving food an excellent smoky flavor.
STEP 4: Add more coals if additional heat is needed.
Sometimes you will underestimate the amount of coals necessary to grill your food or need to add more coals for low and slow heat. You can add additional coals while cooking without sacrificing the quality of the food by lighting the coals before adding them to the firepot.
If you don’t have an easy way to light the coals before adding them, then you can arrange the unlit charcoal in a single layer, spread evenly across the top of the burning coals. This will allow the new charcoal to catch quickly, with minimal internal grill temperature loss.
STEP 5: Put out the charcoal grill.
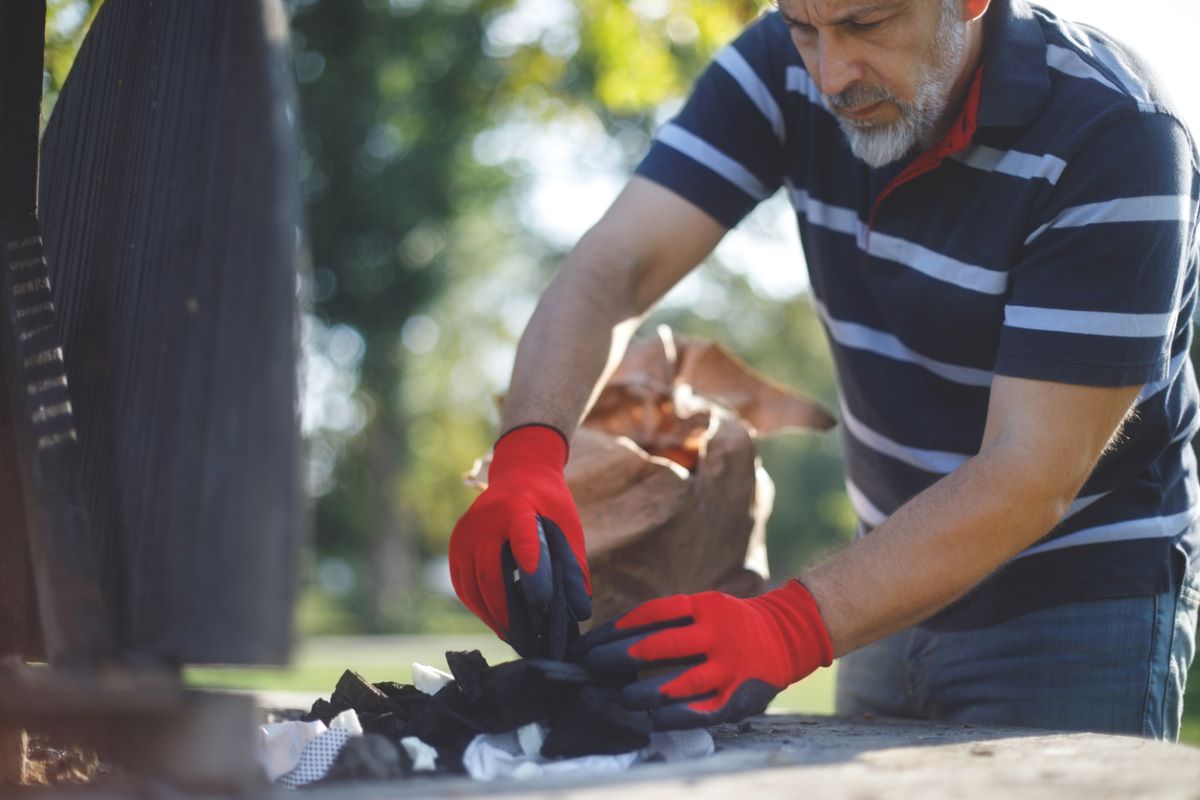
When you are finished grilling, suffocate the hot coals by closing the lid and shutting the vents. This will cut off the source of oxygen, preventing the coals from burning. Be prepared to wait at up to 48 hours for the coals and ash to fully cool down, allowing you to remove the coals and clean out the ash.
If your grill doesn’t have a lid, then an alternative method to put out the grill is to open the bottom or side vents to increase the flow of oxygen and allow the coals to burn down to ash. Just make sure to keep a close eye on the grill until the fire is completely out and do not dump out the ash until it has had time to cool.
Charcoal Grill Maintenance Tips
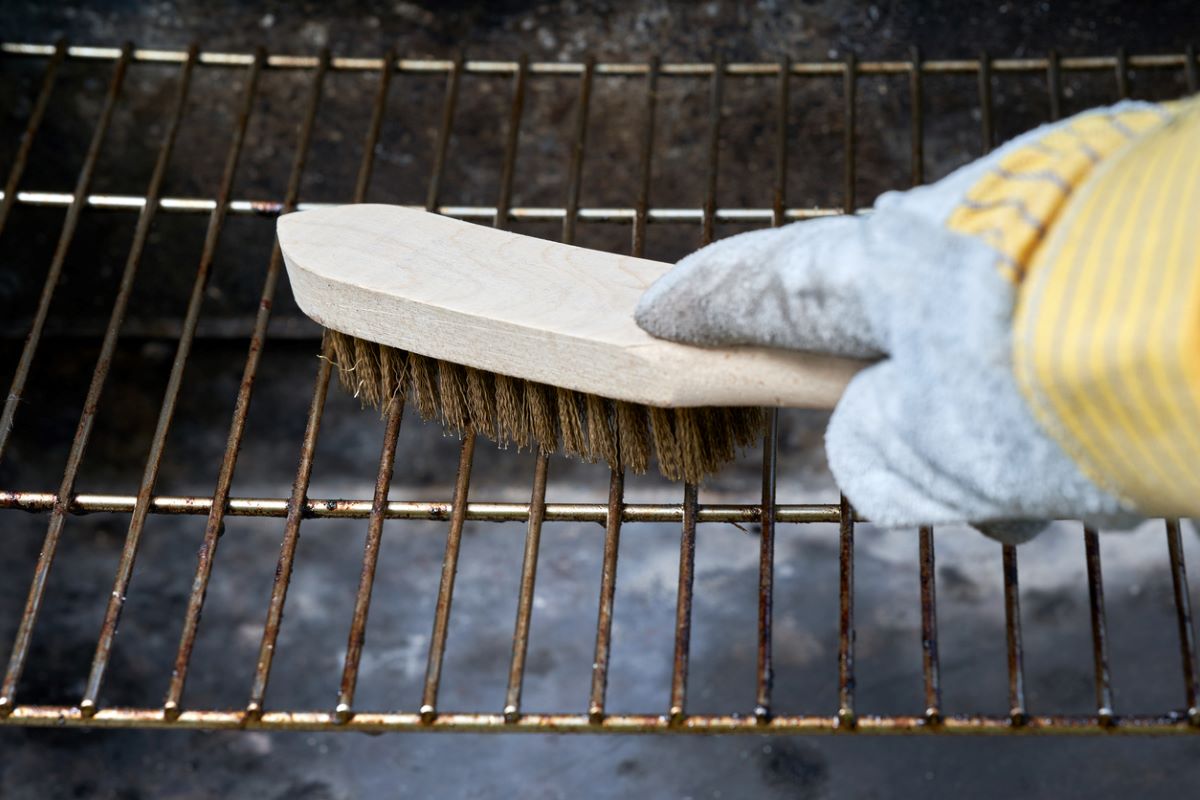
The most important thing you can do to keep your grill in good shape is clean it regularly. A thorough cleaning should be done at least once a season when you put the grill away for the year or before you use it at the beginning of the grilling season. Remove the grill grates, apply a suitable grill cleaner to the inside and outside of the grill, then scrub the grill with a soft-bristle brush to remove any oil, charcoal, or grime that has built up.
Make sure to empty the firebox and ash receptacle once the coals and ashes have fully cooled. Keep in mind that this may take a couple of days, so there is no need to empty the bottom of the grill immediately after grilling. However, you should give the grill grates and cooking chamber a quick clean after each use to remove stuck-on food, sauces, and fat.
RELATED: The 13 Best Grill Brands
Final Thoughts
Sitting out in the yard under the warm sun with the smoky smell of a charcoal grill is a great way to spend your leisure time. However, to get the most out of your grilling experience, it’s important to take the time to learn the various types of grills, charcoal types, and even grill lighting methods. Additionally, it’s recommended to research the potential health hazards that have been linked to charcoal grilling, so you can make an informed decision about what you are eating and feeding to your family and friends.
The prices listed here are accurate as of publication on August 31, 2022.
