We may earn revenue from the products available on this page and participate in affiliate programs. Learn More ›
During the colder months, nothing beats warming the house with a crackling fire. But while wood-burning fireplaces should give you long-lasting and evenly burning flames, one simple mistake can fill your living room with smoke—or even spark a dangerous house fire. Here’s the proper technique for how to use a fireplace, with safety precautions every homeowner should know.
Tools & Materials
Bobvila.com may earn a commission from purchases made through these links.
- Smoke detector
- Carbon monoxide detector
- Batteries
- Fire extinguisher
- Flashlight
- Hardwood or softwood kindling
STEP 1: Stay Safe
Before bringing out the lighter, it’s vital to understand safety precautions for using a fireplace. First, always double-check that your fire extinguisher, smoke detector, and carbon monoxide detector are each in working order (check those batteries!). Remove anything flammable within three feet of the fireplace in case stray sparks escape the hearth, and use a fireplace screen as well. Make sure the flue isn’t blocked by obstructions like an animal’s nest, especially if this is your first time using the fireplace. If the system hasn’t been recently inspected, hire a chimney sweep certified by the Chimney Safety Institute of America (CSIA) to do the job.
STEP 2: Gather the Kindling
Gather kindling in a variety of sizes (small, medium, and large) for the proper fire-building technique that is outlined below. To emit less smoke and soot, make sure the wood is dry, well-seasoned, and split a minimum of six months ago. You can choose either hardwood or softwood for the fire; while hardwoods like oak or maple burn longer and create more sustained heat, softwoods like cedar or pine start fires easier because they ignite quickly. Whatever you don’t use can return to the firewood rack, best stored outdoors in an elevated and covered location.
Note: Never burn trash, plastic, painted materials, or anything with chemical treatment like scraps of pressure-treated wood—these materials can release harmful chemicals into your home.

STEP 3: Open the Damper
The damper is a movable plate inside the flue. When opened, it allows the smoke and ash to travel safely up the chimney. If you start a fire with a closed damper, however, the smoke will have no escape route and circle back into the house.
Adjust the damper as needed with the handle located inside of the chimney. It will move either front to back, left to right, or in a clockwise or counterclockwise rotation. Check to make sure you opened it properly by sticking your head in the flue and looking upwards, using a flashlight if necessary. You should see up the flue without any obstructions if the damper is open; a closed damper will block your view entirely.
STEP 4: Prime the Flue
Now, gauge the temperature. If you feel a rush of cold air (which usually occurs if the chimney is built on the outside of the house), then you need to prime the flue—in order words, you need to preheat it. Otherwise, the cold draft may cause smoke to blow into the room. Light a roll of newspaper and hold it against the open damper to send warm air into the flue. The draft should reverse after a few minutes, making your fireplace ready for action.
STEP 5: Build the Fire
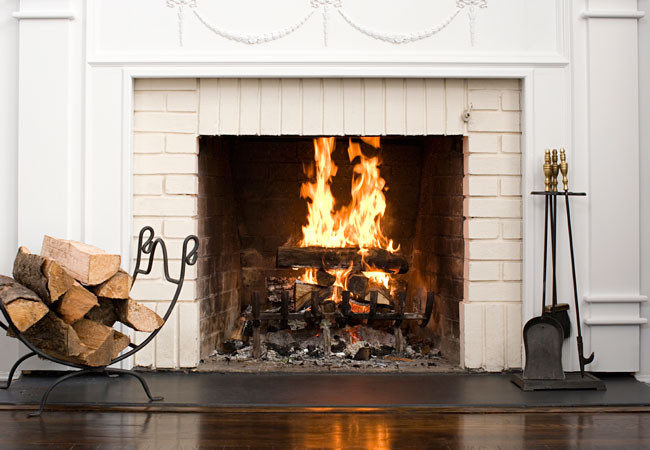
While there are multiple ways to build a fire, the CSIA recommends the top-down method, which produces less smoke and requires less tending. Start by donning thick fireplace gloves and grabbing a metal poker. Position large pieces of wood in the bottom of the fireplace in one row, perpendicular to the opening of the fireplace. Next, take mid-sized pieces of wood, and stack four or five rows on top of the base layer in alternating directions. Make sure the stack takes up no more than half the height of your fireplace. Now add your smallest pieces of wood, making sure these pieces are very dry. The tiniest bits (which can take the form of wood shavings or bunched-up newspapers) should be at the very top.
Light the top of the stack with a single match. The fire should travel down, igniting the pieces underneath without prompting. Let the fire burn for as long as you’d like. Don’t close the damper until the fire is completely out and all the embers have stopped burning.
STEP 6: Clean the Ashes
The CSIA says you can leave a bed of ashes between one to two inches in the fireplace as an insulating layer, which helps the next fire to burn. But when you need to dispose of ashes, proceed with caution. Coals may take several hours or several days to completely cool, and ash could still be burning during that time. Using a metal shovel, scoop ashes into a metal container with a tight-fitting lid. Store the container outdoors away from the house, and not in garages or on decks.

