We may earn revenue from the products available on this page and participate in affiliate programs. Learn More ›
At some point in the never-ending list of do-it-yourself projects, nearly every handy homeowner encounters a stripped screw, and this small obstacle can turn even the most straightforward home improvement project into a drawn-out affair. Stripped screws commonly occur when you’re dealing with worn or weathered fasteners, such as those found on door hinges, cabinet hinges, and door strike plates. And, once you’ve managed to damage or warp a screw head, it’s almost impossible to get that screw out with a common Phillips-head or flat-blade (slotted) screwdriver. Even worse, the odds of removing the screw decrease each time the screwdriver slips in the slots. Enter a seasoned DIYer’s go-to tool: a screw extractor.
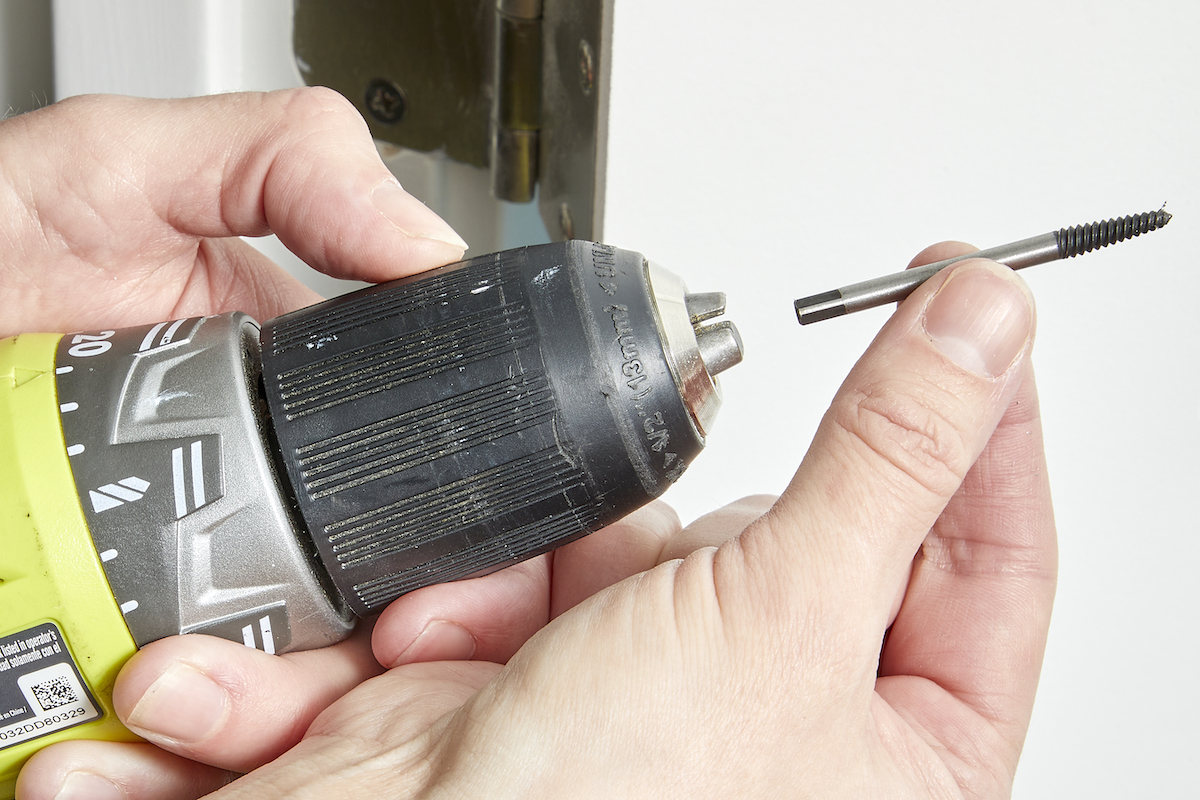
While the specific design of this inexpensive implement varies, it most commonly takes the form of a tapered drill bit with a reversed thread. When you put it to use, the extractor penetrates a hole punched or drilled in the top of the screw and its reversed threads grab hold so that the screw can be twisted out. A selection of screw extractors can be found in most hardware stores, whether brick and mortar or online, available in many different sizes to accommodate a wide assortment of screw sizes. Once you’ve snagged one as an immediate fix (and future repair tool), read on for the guidelines on how to use a screw extractor and save the day.
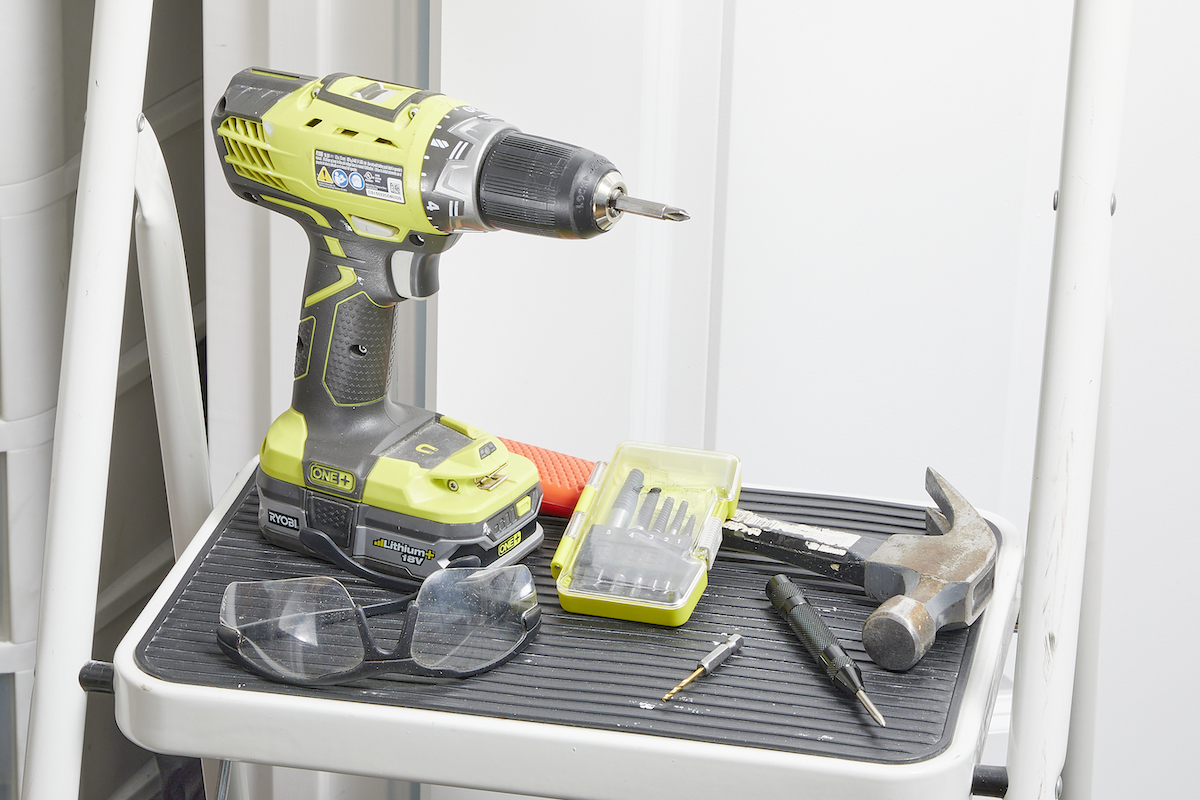
Tools & Materials
Bobvila.com may earn a commission from purchases made through these links.
Step 1: Don safety gear.
Using a screw extractor entails drilling, striking, and cutting screws, all of which can potentially send small shards of metal flying. To prevent eye injury, wear safety glasses.
Step 2: Punch the stripped screw.
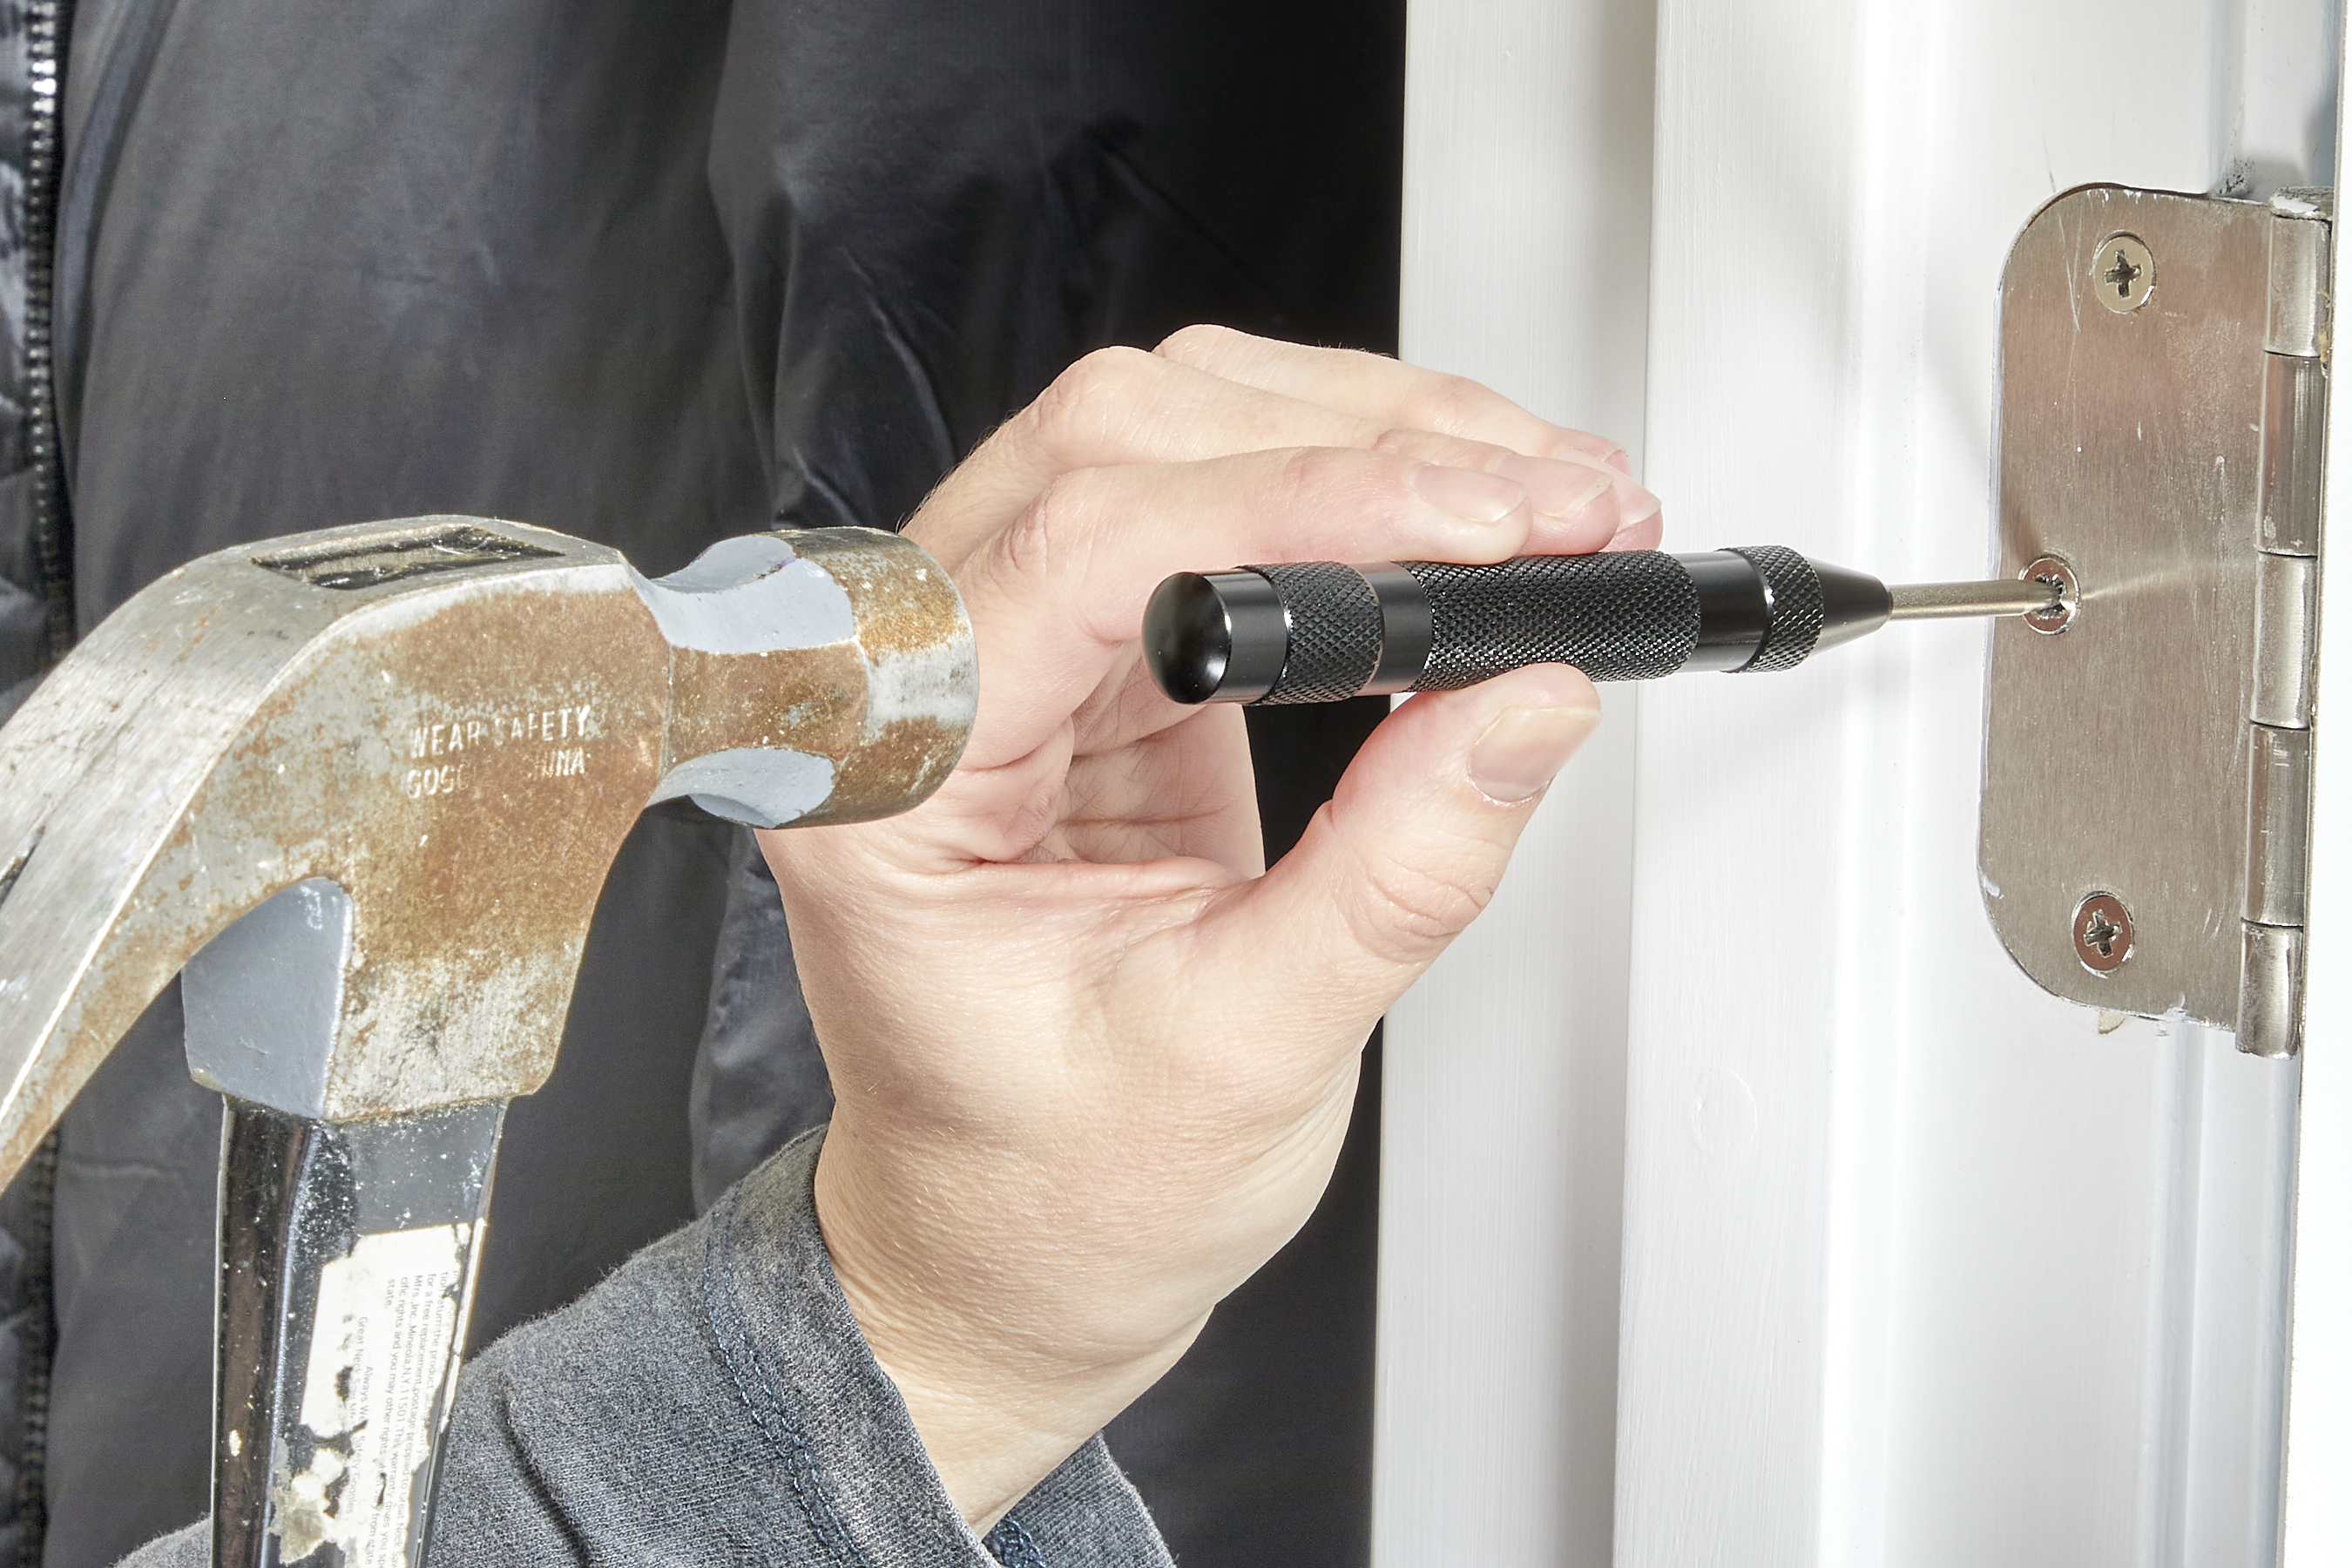
Align the center punch with the center of the stripped or broken screw, and lightly strike it with a hammer. You want to create a small indentation in the center of the screw to help guide the drill bit.
Step 3: Oil the screw.
Select a drill bit that is smaller in diameter than the screw or fastener, and secure it to the power drill. Apply a small drop of thread cutting oil to the head of the broken screw for easier drilling. If the stripped screw is rusted or affixed to metal, place a small drop of penetrating oil on the threads to help loosen its grip.
Step 4: Drill into the punched spot on the screw head.
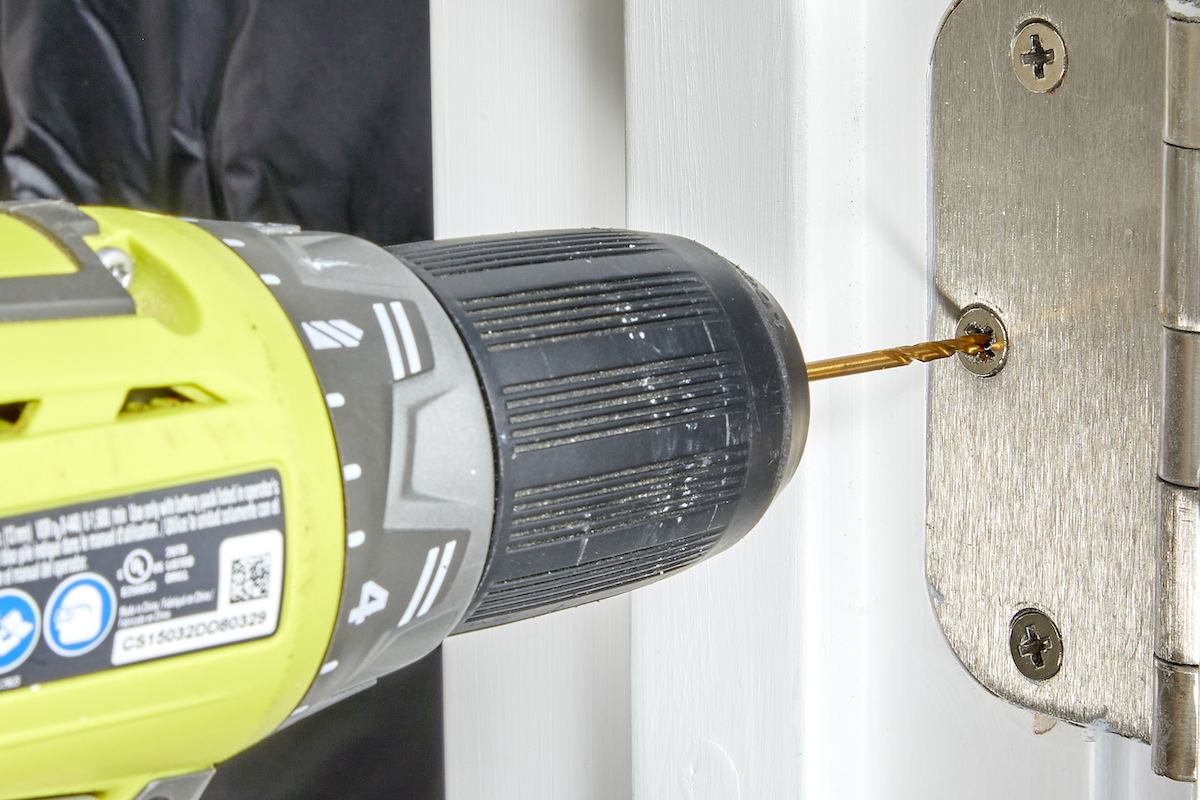
Align the drill bit with the punched spot on the screw head. Drill slowly and carefully, making sure to keep the drill and bit aligned straight with the screw.
Drill about 1/8 to 1/4 inch into the screw head; the depth will depend on the size of the screw extractor you’re using.
Step 5: Insert the screw extractor.
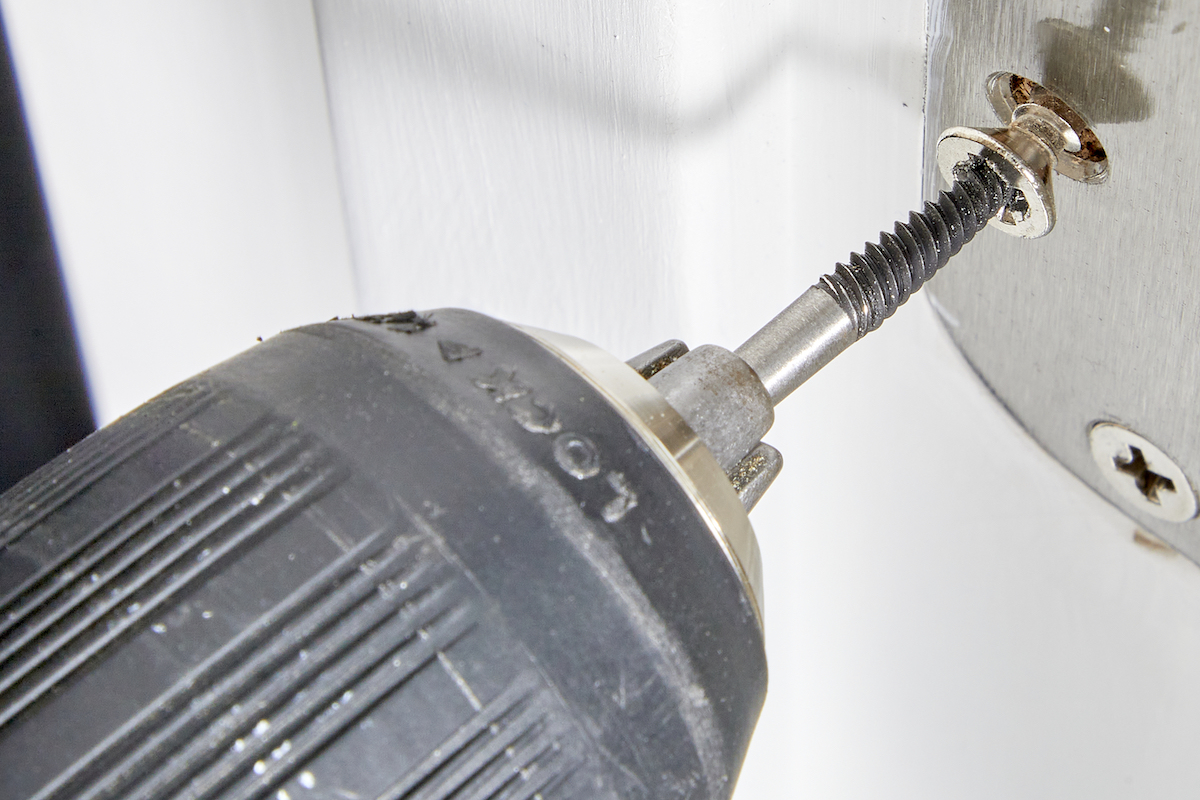
Finally, insert the tip of your handy screw extractor into the bored hole. How to use a screw extractor will depend on the particular model you’ve chosen, but you’ll likely employ either a wrench or drill to turn the tool counterclockwise. As you turn the screw extractor, its threads will draw it in until it bites into the hole. Once you feel the extractor take hold, continue turning counterclockwise and pull to completely remove the stripped or broken screw.
