We may earn revenue from the products available on this page and participate in affiliate programs. Learn More ›
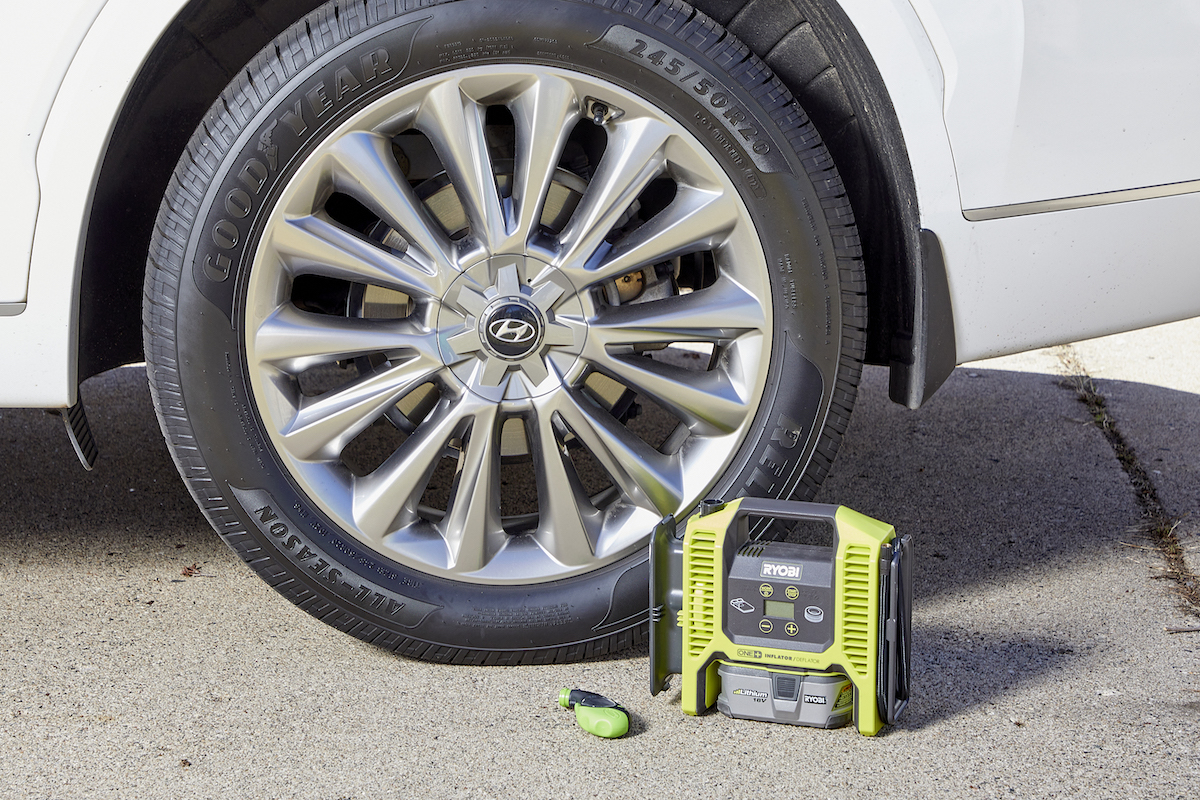
Driving is a luxury that many people across the country enjoy, but if proper care isn’t taken to maintain a vehicle, it can result in rapid wear, part failure, and poor control. Tires are one of the features of a car that can sometimes be overlooked, but it’s important to ensure that you know how to use a gauge to check tire pressure. Underinflated tires increase braking distance, reduce steering control, and accelerate tire wear, which can result in complete tire failure. Overinflated tires are not as hazardous, but they can still increase tire wear, affect the wear pattern of the treads, and reduce control. To ensure that your tires are not under- or overinflated, it’s necessary to understand how to use a tire pressure gauge.
Tools & Materials
Bobvila.com may earn a commission from purchases made through these links.
Before You Begin
It’s best to check the tire pressure when the tires are cold, such as first thing in the morning or after the vehicle has been parked in the shade for several hours. This helps to increase the accuracy of the readings. In order to test tire pressure, you’ll need to purchase a viable tool such as the Rhino USA tire pressure gauge, a favorite in our researched guide to the best tire pressure gauges.
Step 1: Check the manufacturer’s recommended PSI.
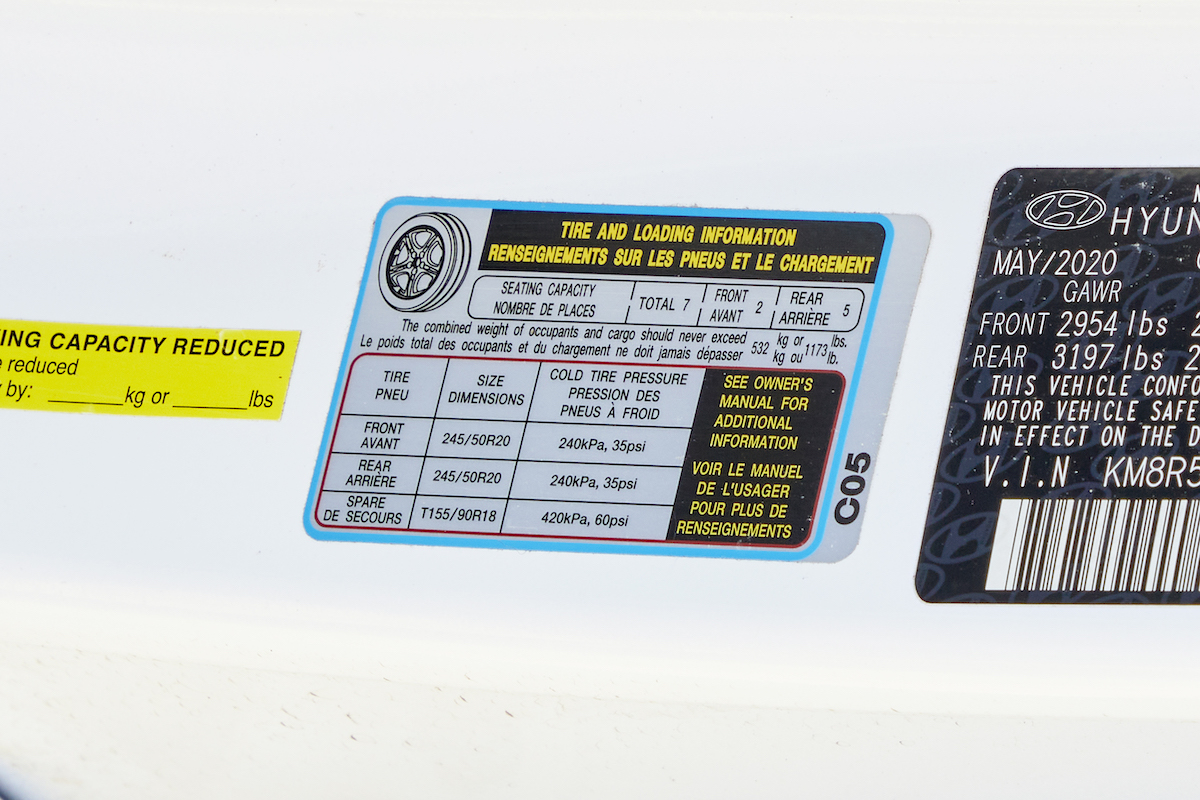
Learning how to use a low-pressure tire gauge is relatively simple, though you will need to find the manufacturer’s recommended PSI before you can begin. While it may seem like the first thing to do is take out the tire pressure gauge, that wouldn’t get you very far unless you already knew the manufacturer’s recommended PSI for the tires. Given that most people don’t typically memorize this information, it’s a good idea to check and verify before using the tire pressure gauge.
Tire and loading information is commonly included in the owner’s manual, though you may also be able to find it on a sticker on the driver’s side door, near the trunk lid, inside the fuel door, or even inside the console. Look for a two-digit number, like 35, followed by PSI, which means pounds per square inch.
RELATED: The Best Jump Starters With Air Compressors, Tested
Step 2: Locate the tire valve and remove the cap.
Each tire has a valve used to inflate or deflate it, depending on the suggested PSI and the current tire pressure. The tire valve is typically a small, black tube about an inch long with a threaded cap. It can commonly be found on the inside of the rubber wheel, protruding through a gap in the hubcap. Locate this valve, then remove the threaded cap so that the tire pressure gauge can fit over the top of the valve. Make sure to keep track of the tire valve cap because it’s very small and easy to lose.
Step 3: Press the gauge into the tire valve.
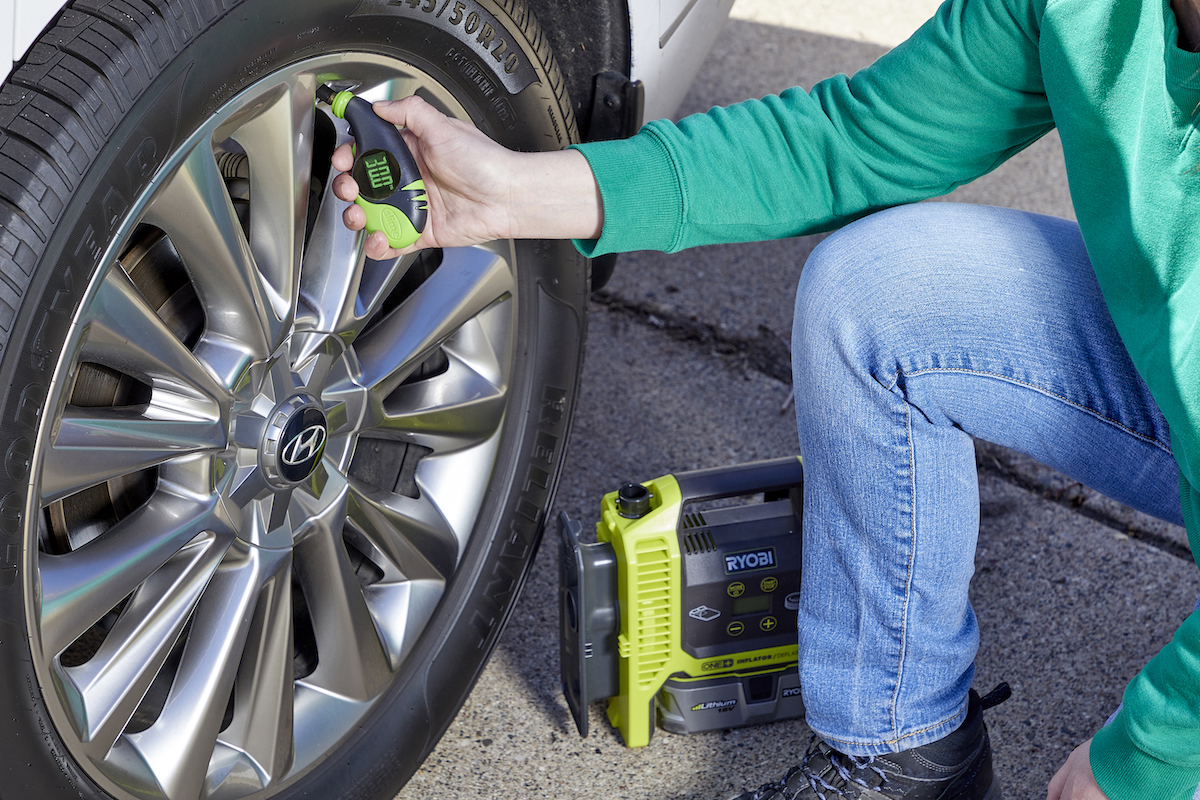
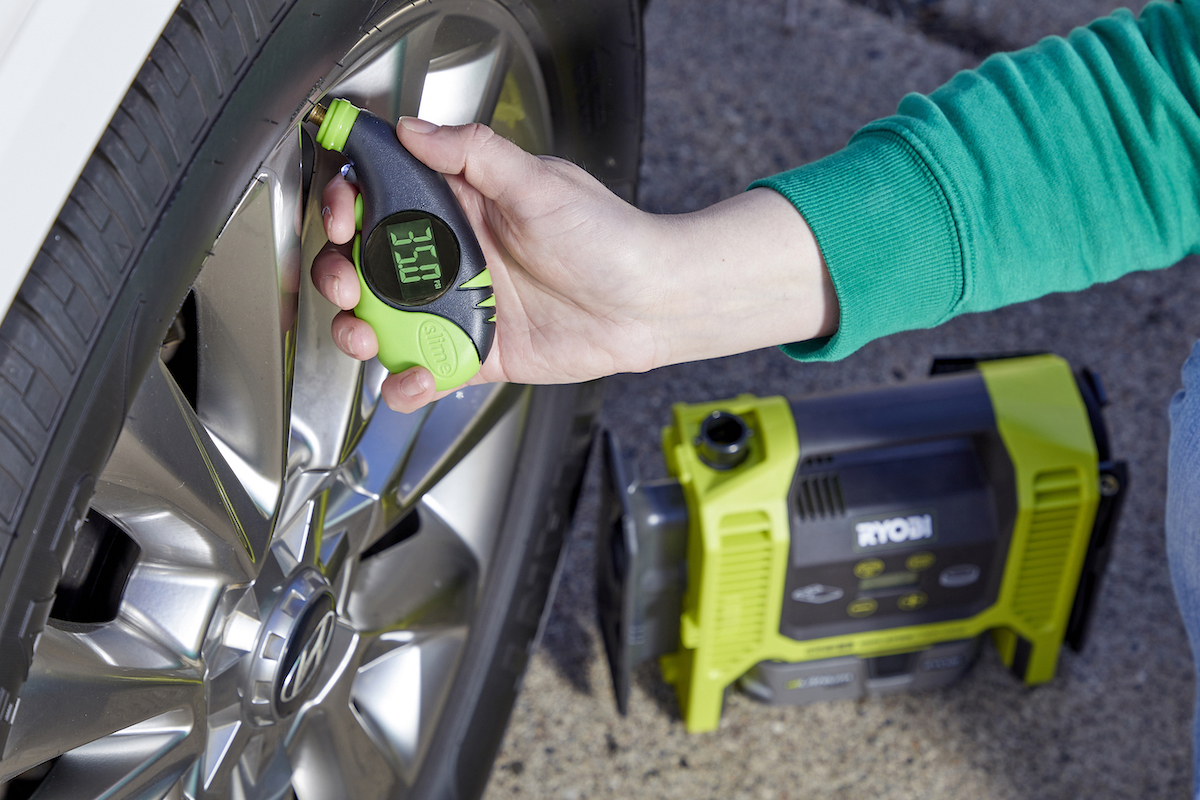
The next step to learning how to use a tire pressure gauge is to simply press the gauge down onto the tire valve after the threaded cap has been removed. Each tire valve contains a spring-loaded valve core that automatically seals itself using air pressure from inside the tire. By pressing the gauge against the valve core, the gauge opens the valve to the internal air pressure of the tire and allows the gauge to act as the seal while simultaneously measuring the tire’s PSI rating.
Step 4: Check the reading on the tire pressure gauge.
The tire pressure gauge should be held firmly against the open tire valve so that no air is escaping. If the tire pressure gauge is making a hissing sound, you need to adjust the angle of the gauge inside the tire valve until it is silent. This indicates that the tire pressure gauge is measuring the full tire pressure instead of getting a partial reading due to escaping air. To check the reading on the tire pressure gauge, simply read the slide ruler for manual pen gauges, the dial for dial pressure gauges, or the digital screen for digital pressure gauges. The ruler, dial, or screen should display the current tire pressure in PSI.
Step 5: Fill the tires to the recommended PSI.
After taking the tire pressure measurement, write down the current pressure for each tire so that you don’t forget and need to check again. If the pressure within each tire is too high, you can easily drain some air by holding the tire pressure gauge against the tire valve at an angle, listening for the hiss of escaping air. Periodically check the tire pressure to ensure that you don’t drain too much air and stop once you reach the desired PSI.
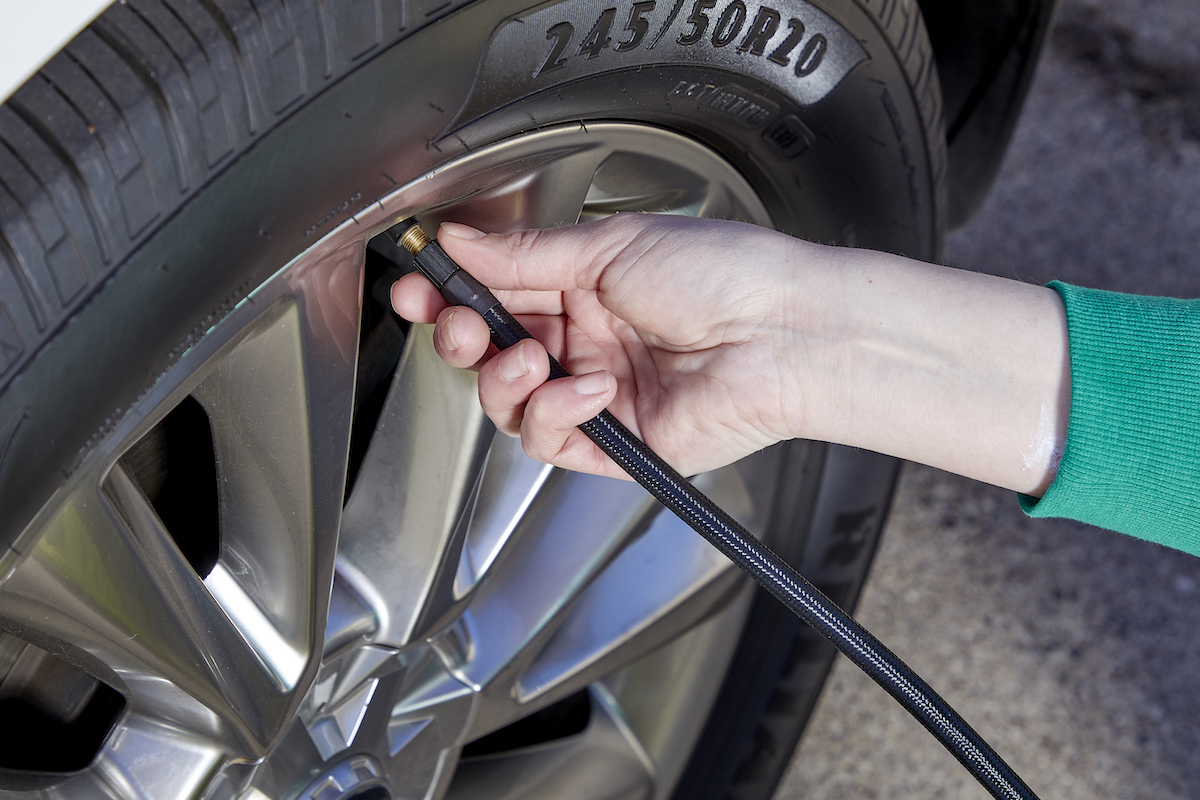
If the pressure within the tire is too low, connect an air compressor such as the Makita portable inflator—a favorite in our tested guide to the best tire inflators—to the tire valve to inflate it. After inflating the tire, use the tire pressure gauge to check the PSI and make sure it is now at the correct level according to the manufacturer’s recommendations.
It’s advised to check the tire pressure on your vehicle at least once per month to ensure that you are safe while driving and not doing any unexpected damage to your tires.
Final Thoughts
Effectively using a tire pressure gauge is a necessary skill for a driver to have in order to be certain that their vehicle is properly maintained. Additionally, by checking the tire pressure of the vehicle, drivers can ensure that they are getting the most out of each tire, instead of accidentally causing premature wear and tear due to overinflated or underinflated tires. Also, keep in mind that you can deflate a car tire with only a tire pressure gauge, but to fill the tire you will need access to an air compressor or tire inflator.

