
We may earn revenue from the products available on this page and participate in affiliate programs. Learn More ›
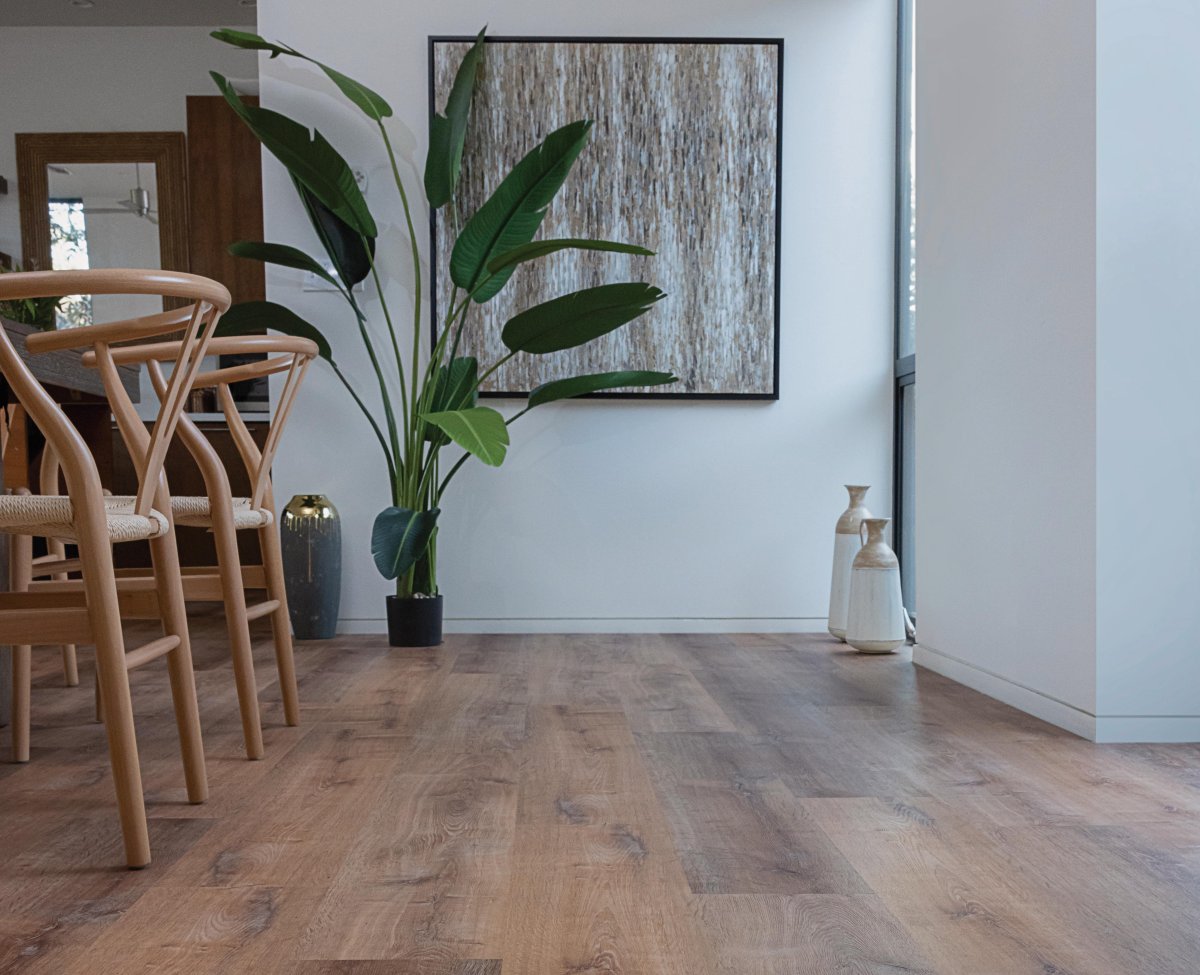
Vinyl plank flooring is a durable and affordable alternative to hardwood flooring. Most vinyl plank flooring is water-resistant or waterproof; some styles even have anti-microbial treatments, making them excellent choices for kitchens and bathrooms. Thanks to a scratch-resistant top coating, vinyl plank can also hold up very well to high-traffic areas.
For handy homeowners, vinyl plank is a dream: At around $3 per square foot, it is more affordable than solid hardwood flooring (around $7 a square foot) and engineered hardwood flooring (around $5 per square foot). Many consumers choose to install vinyl plank themselves and save the cost of professional installation—and because it has pre-attached underlayment and simple click-and-lock installation, laying new vinyl flooring is a DIY-friendly project. This step-by-step guide will walk you through the straightforward process of installing vinyl plank flooring, such as Lifeproof vinyl plank flooring, which is exclusive to The Home Depot.
Cost to Install Vinyl Plank Flooring
When it comes to quality flooring choices, vinyl plank flooring is one of the least expensive to install. You’ll typically spend between $2 and $7 per square foot on vinyl plank flooring, depending on quality, according to Angi.
Generally speaking, the higher the price, the higher the quality of the flooring. Less expensive options might be thin or a peel-and-stick version with thin 2- to 3-mil wear layers.
Higher-quality, more expensive flooring may have waterproof linings with thicker 12- to 22-mil wear layers, built-in underlayments, and anti-mold and anti-mildew treatments. You may see these products, such as Lifeproof vinyl plank flooring, available at The Home Depot, labeled as luxury vinyl plank flooring (LVP). Installing LVP isn’t any more difficult than other vinyl flooring products.
Underlayment for Vinyl Plank Flooring
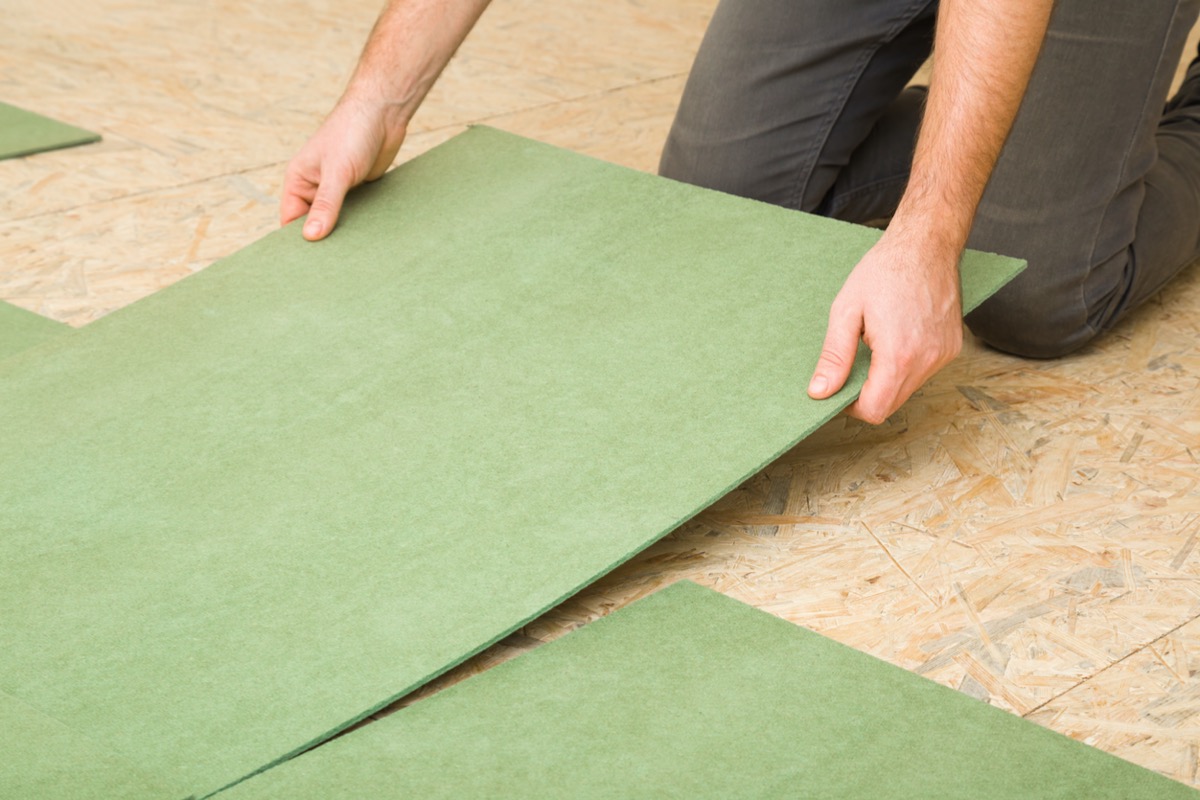
Underlayment acts as a buffer between floating vinyl plank flooring and the subfloor. It adds cushioning to the floor that makes walking on it more comfortable, and creates a moisture barrier that prevents mold and mildew growth under your floor. Underlayment reduces noise and can also cover minor imperfections in the subfloor.
Underlayment comes in rolls that look like carpeting, which you roll out to cover the floor prior to installing the flooring. If you choose a vinyl plank flooring product with a pre-attached underlayment, like Lifeproof luxury vinyl plank flooring, you can skip installing underlayment before installing the flooring.
Note: Underlayment is used for floating vinyl plank flooring that does not have built-in underlayment. Don’t use underlayment if you’re installing peel-and-stick vinyl flooring.
Subfloor Considerations
Regardless of the cost, style, and quality of the vinyl plank flooring, you have to start with a smooth, flat subfloor surface if you want the flooring to look perfect when it’s installed.
Keep in mind that if the subfloor has warps, cracks, missing chunks, or (most commonly) uneven seams, the vinyl plank flooring will show it. It might bounce, wear unevenly, or show humps in the floor. Make the necessary repairs in the subfloor prior to installing the vinyl plank.
Tools & Materials
Bobvila.com may earn a commission from purchases made through these links.
- Scribe tool
- Wood screws
- Roller (for peel-and-stick installation)
- Tapping block (for LVP installation)
- Mallet
- Floor patching compound
- Underlayment material
- Underlayment tape
- Lifeproof vinyl plank flooring (add 10% for mistakes and undesirable pieces)
Before You Begin
As with any type of hard plank flooring, vinyl plank flooring can shrink and swell with changes in humidity. Take vinyl plank flooring out of the box and place it in the room where you plan to install it at least 2 days prior to installation to give it time to acclimate to the temperature and humidity of the room. Failing to do so could cause gaps to form between planks, or cause planks to buckle between the seams.
Guide to Installing Vinyl Plank Flooring
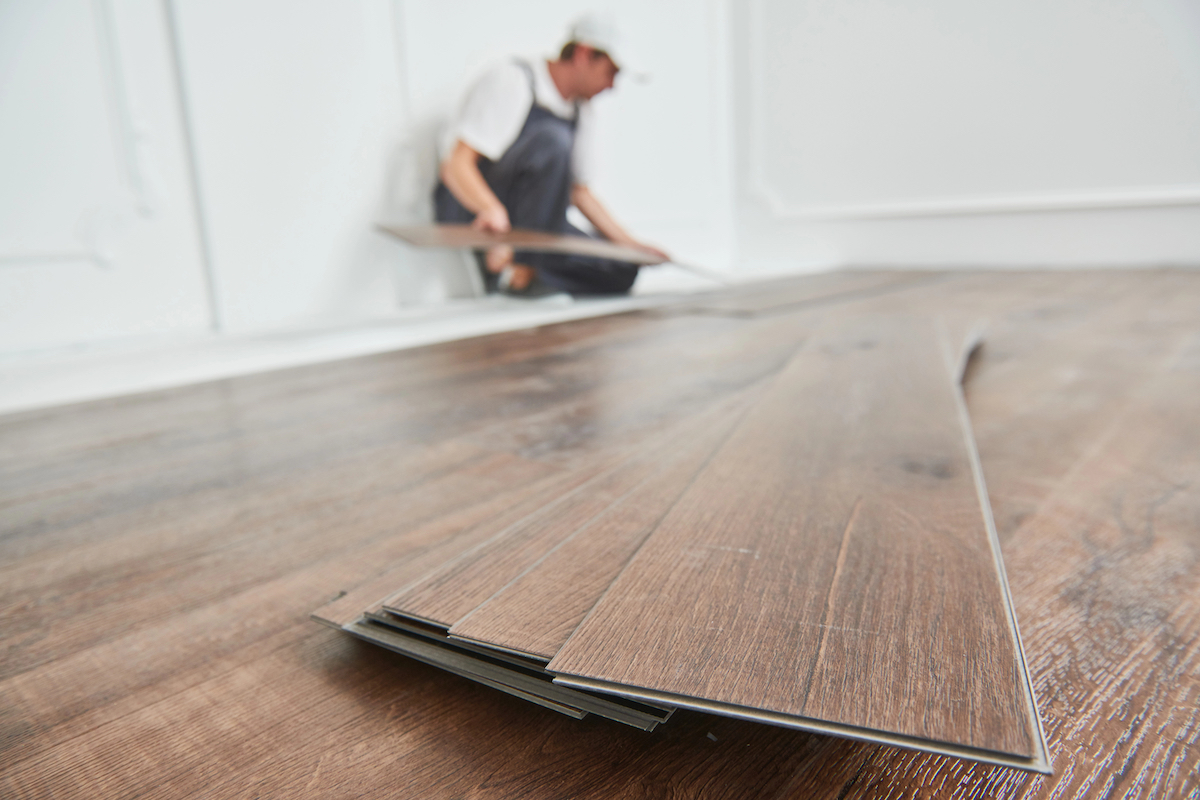
While installing vinyl plank flooring requires some specialized tools and techniques, it’s a DIY-friendly job. The following steps and tips will help you successfully complete the project.
Step 1: Inspect the subfloor, and make repairs if necessary.
If you’re installing vinyl plank flooring over a wood or concrete subfloor, first make sure the floor is level, flat, and smooth. Otherwise you can end up with visible imperfections in the new flooring.
- Sand down any imperfections on the wood or concrete subfloor using coarse 40- to 60-grit sandpaper. Use sandpaper specifically designed for concrete or wood, depending on the type of subfloor you’re working with.
- If the damage is more extensive, you’ll need to make repairs. For concrete, repair cracks using concrete patch. Level depressions using leveling compound.
- If you’re laying vinyl plank flooring over a wood subfloor, you’ll need to replace any damaged sections of the subfloor before laying the new flooring.
- Mark out a section that includes the damaged area and is supported on all sides by floor joists.
- Cut out the damaged area using a circular saw, setting the saw to a depth such that you don’t cut into the joists.
- Pry out the damaged section with a pry bar and replace it with a new piece of subfloor.
Step 2: Remove the baseboards.
Score the caulk line of the baseboards with a utility knife, and then insert a putty knife behind the baseboard. Tap the knife with a hammer to gently pull the baseboard away from the wall. Next, slip a pry bar behind the baseboard to remove the baseboard from the wall.
As you work along the length of each wall, be careful not to damage the trim, if you plan to reinstall the baseboards after you install the vinyl plank flooring.
Pro tip: Number each baseboard as you remove it, so you know where they all go when it’s time to reinstall them.
Step 3: Install new underlayment, if necessary.
If the vinyl plank flooring you’re installing doesn’t have underlayment adhered to its underside, you’ll have to lay a roll of underlayment. (You’ll find some good options in our guide to the best underlayments for vinyl plank flooring.) Remember that peel-and-stick floors do not require underlayment.
- Start against one wall and roll out the underlayment to the other side. Use a utility knife to cut the underlayment to fit, cutting holes for vents or other obstacles on the floor.
- Roll the next strip of underlayment, butting it up against the first strip. Take care not to overlap the seams. Instead, tape the seams together with underlayment or house wrap tape.
- Continue each strip of underlayment until you’ve covered the entire floor.
Step 4: Measure the room.
Before you start laying the vinyl plank, you need to measure the room to make sure you don’t end up with small slivers of flooring to install when you reach the opposite wall.
Choose which direction you plan to run the flooring, then measure the length of the room that’s perpendicular to the direction of the flooring. Divide that measurement by the width of one vinyl plank.
For example, if the room is 107 inches long, and the vinyl flooring is 5.5 inches wide, divide 107 by 5.5 inches: 107 / 5.5 = 19.45 inches.
The decimal amount in your calculation represents how wide the final plank will be at the other side of the room (in percentage). Do some quick math to ensure that this percentage won’t be less than 2 inches.
The decimal value (.45) represents 45 percent of the 5.5 inches, which is roughly 2.5 inches (5.5 x .45), a suitable width for the final row of planks.
Should the width be less than 2 inches, cut the first plank slightly thinner to achieve a wider final row.
Step 5: Set the first plank.
Begin by setting the first tongue-in-groove plank of vinyl flooring in the corner of the room so that the grooved edge faces away from the wall. Use the spacers included with the flooring to create a 1/4-inch gap between the wall and the plank to allow for expansion.
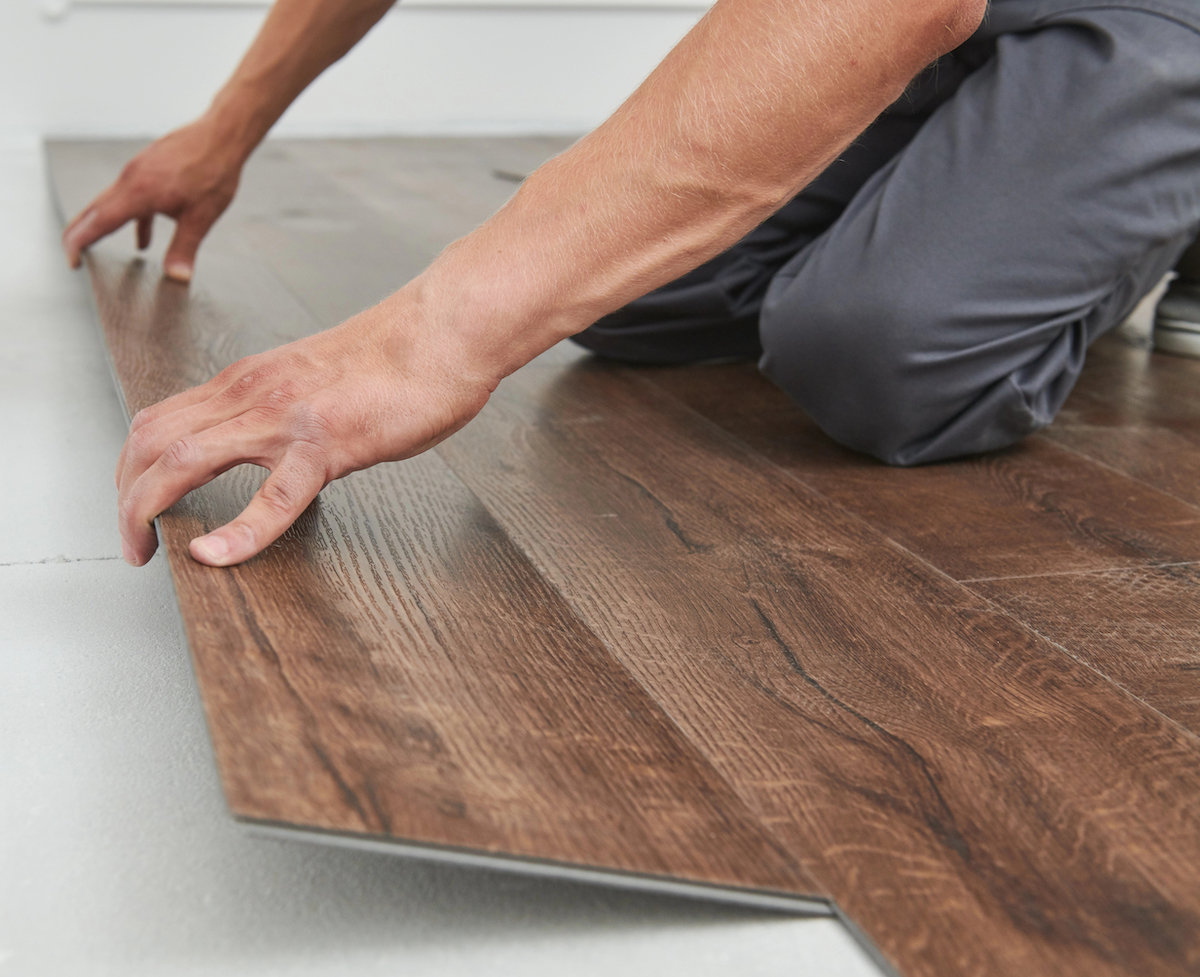
Step 6: Install the first row of vinyl plank flooring.
For click-lock vinyl plank flooring, connect the second plank to the first one by lifting the second plank at an angle and connecting the tongue to the groove in the first plank. Drop the second plank to the floor to lock them together, then use the tapping block and mallet to tap each piece securely in place. Use the spacers as you go to maintain a 1/4-inch buffer between the wall and the flooring. Continue snapping planks together until you’ve reached the end of the row.
For peel-and-stick vinyl plank flooring, remove the backing and hold the plank so that only the edge is touching the previous row. Adjust its positioning before laying the plank flat and pressing it in place. Use the roller to flatten the adhesive against the substrate.
Pro tip: Vinyl plank flooring often has repeating patterns on the planks. Before installing the flooring, sort the planks by pattern. As you install the flooring, rotate through each plank pattern to avoid ending up with identical planks side by side.
Step 7: Install additional rows.
Cut a plank to a length that’s at least 6 inches shorter than the first board by scoring and snapping it, or by using a circular saw or miter saw. By cutting the first board in the second row shorter, you will stagger the seams between each row, creating a more natural look.
Start a second row by attaching the long seam of the first plank in the second row to the first plank in the first row, using the tapping block and mallet to lock them firmly into place. Use the tape measure or scribes to measure and cut holes for vents, pipes, toilet drains, and other obstacles.
Make sure to stagger the seams randomly as you start each row. When you’re all done, the seams should neither line up nor have a perfect pattern like a brick wall.
Pro tip: Keep the flooring off-cuts, so you can use them to start or finish rows. Using different lengths helps create staggered seams while reducing waste.
Final Thoughts
Installing vinyl plank flooring has its pros and cons, but it’s a fairly straightforward way to make a significant impact on a room. As long as the subfloor underneath is in good shape, a vinyl plank floor can provide a fresh and luxurious feel for any space. By following the steps and tips above, DIYers can install vinyl plank flooring of any type.
FAQs
It depends on the size of the room and condition of the existing floor, but most vinyl plank flooring projects take less than a day. Once the first course is in, the workflow increases and DIYers can cover ground quickly.
Yes, it’s possible to paint vinyl flooring. Sanding the glossy finish off the top, then priming the floor with latex paint should provide a proper substrate for latex paint. Just be sure to coat the finished product with a clear, durable sealer.
When installing plank flooring, whether it be vinyl or wood, there are three rules to consider.
First, you can follow the flow of the planks in the hallways and connecting rooms to keep the spaces from feeling choppy.
Second, for south-facing walls (in the northern hemisphere), it makes sense to install the planks north to south, as the sun’s rays pouring through the windows can complement the texture.
Finally, if neither of those scenarios apply, simply install the planks along the longest walls.
Vinyl plank flooring products are much better than they used to be. Today’s products are less prone to warping, splitting, separating, or wearing than products made 25 years ago. However, improper installation or poor quality substrates and underlayment can still cause the same issues.
Older peel-and-stick floors are prone to separating due to excessive moisture, poor installation, unsatisfactory substrates, and age. New vinyl plank floors might separate with excess heat or cold, which causes the planks to expand or contract.
