
We may earn revenue from the products available on this page and participate in affiliate programs. Learn More ›
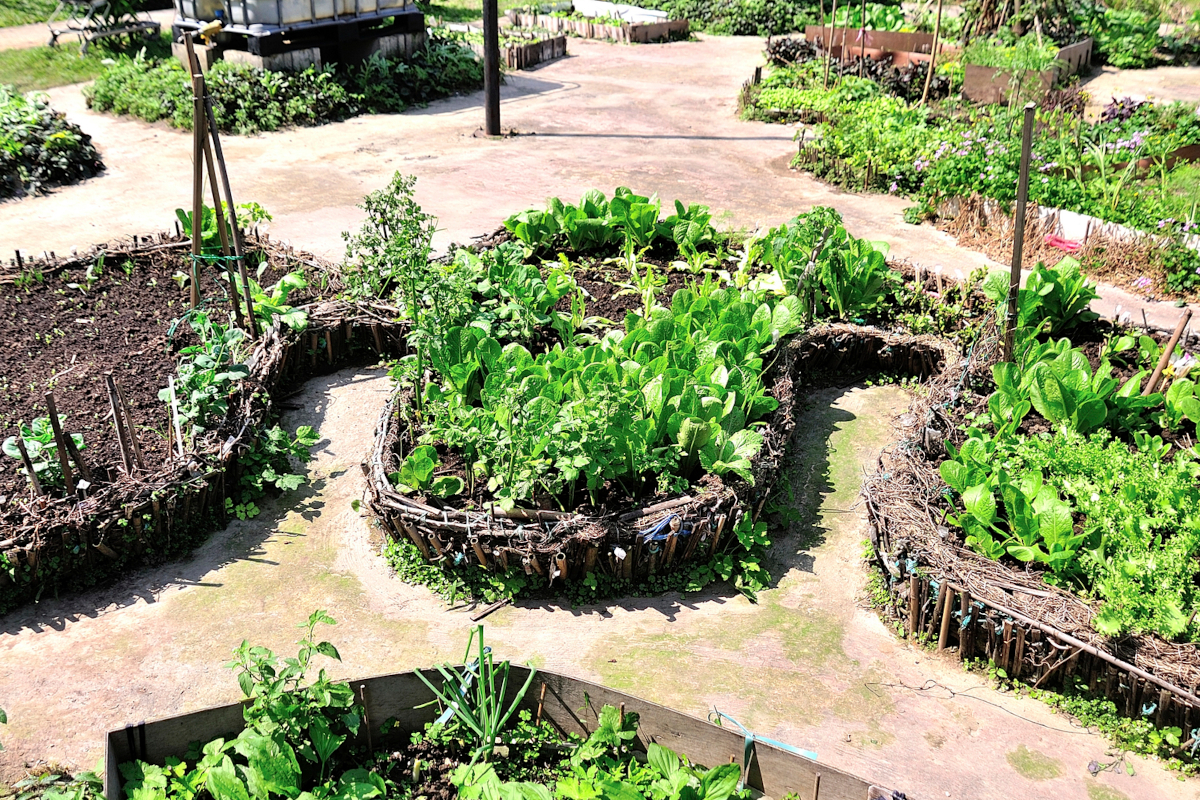
Shaped like an old-fashioned skeleton-key lock, keyhole gardens were developed to help folks with less-than-super soil grow nutritious produce. They were first established in the 1990s for residents of Lesotho, a small nation in southern Africa subject to frequent droughts and soil erosion. Keyhole gardening proved successful in providing a reliable source of food for the people of Lesotho, and the concept has spread across the globe.
A small garden built with the keyhole design offers easy access to weeds and harvests. This small garden also is sustainable because it includes a compost cage in the middle. As it breaks down, the compost leaches organic matter and nutrition out the bottom into the soil, says Matt Bochat, county extension agent for agriculture and natural resources in Victoria County, Texas.
Read on to learn more about how these small, smart gardens work—and get tips from Bochat on starting and maintaining your own keyhole garden.
What is Keyhole Gardening?
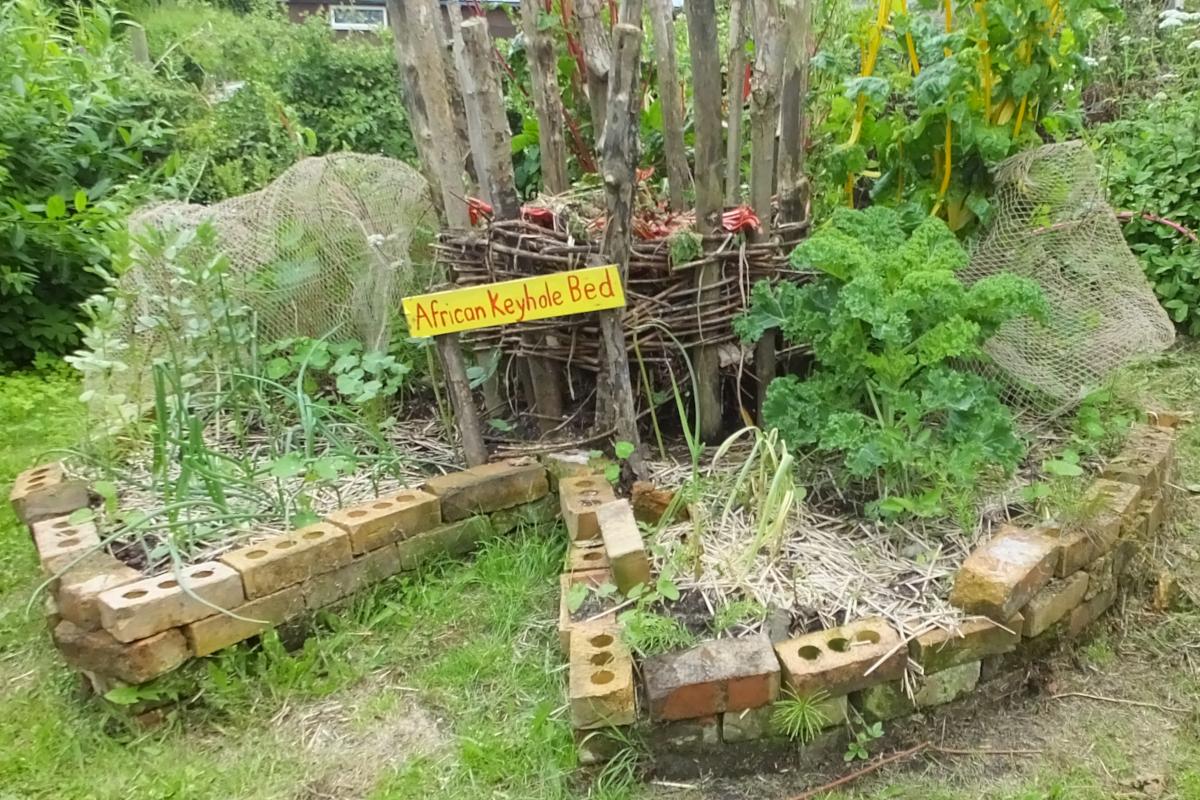
Also called a composting garden bed, a keyhole garden is considered a type of permaculture (permanent agriculture) because it’s sustainable and regenerative. The traditional keyhole garden is a raised circular garden bed with a wedge-shaped cutout that allows easy access to the center of the garden, where a simple cage serves as a compost pile within the garden. The cage is filled with yard and kitchen waste, which decomposes and releases vital nutrients into the rest of the raised garden.
Rainfall and watering of the garden bed/compost help leach the nutrients from the compost and spread them through the soil, helping plants thrive without the need for added commercial fertilizers. Because the soil is highly nutritious, you can grow more plants in the space than you can in a traditional garden.
The reason the garden is raised is twofold: It promotes adequate drainage, so the soil remains moist, but not soggy, creating an optimal growing environment. Second, tending to plants or harvesting food or flowers requires less bending and stooping.
Benefits of Keyhole Gardens
Combining composting with a garden bed makes good sense, and there are plenty of other keyhole gardening benefits to consider. According to Bochat, the top benefits are:
- Good production in little space, which is a plus for those with small yards or small sunny areas in their yards.
- There is little to no need to add fertilizers.
- It provides an outlet for composting green and certain food wastes.
- It’s an aesthetically pleasing way to add edible gardens to a landscape.
Keyhole raised garden beds are good solutions for growing edibles where soil is otherwise poor, since gardeners can fill the bed with a high-quality soil mix and then continue to replace nutrients through the compost component. In addition, when compared to a traditional garden, a keyhole garden can be a more ergonomic and convenient choice for gardeners because of its raised height.
How to Build a Keyhole Garden
Before you begin your keyhole garden design, select a spot and prep the soil that will form the base layer. This is relatively simple; there’s no need to till deeply or level the ground completely. Then you will design the garden and build its walls, as well as a compost bin for the center, before filling the bed with soil.
Pro tip: Scour your yard and shed for materials you can repurpose into a compost bin or walls.
Tools & Materials
Bobvila.com may earn a commission from purchases made through these links.
- Metal stake or rebar remnant
- Thin rope or string
- Chicken wire or wire mesh/fencing
- Wall materials (repurposed if possible)
Step 1: Choose and prep the location.
Choose a location that gets at least 6 hours of sun a day during your growing season to give vegetables the light they will need to grow. Be sure to plan for space and access around the outer sides of the keyhole garden so you will be able to reach all of the plants. Avoid picking a spot near large trees or near roots from trees, which will compete for garden bed water.
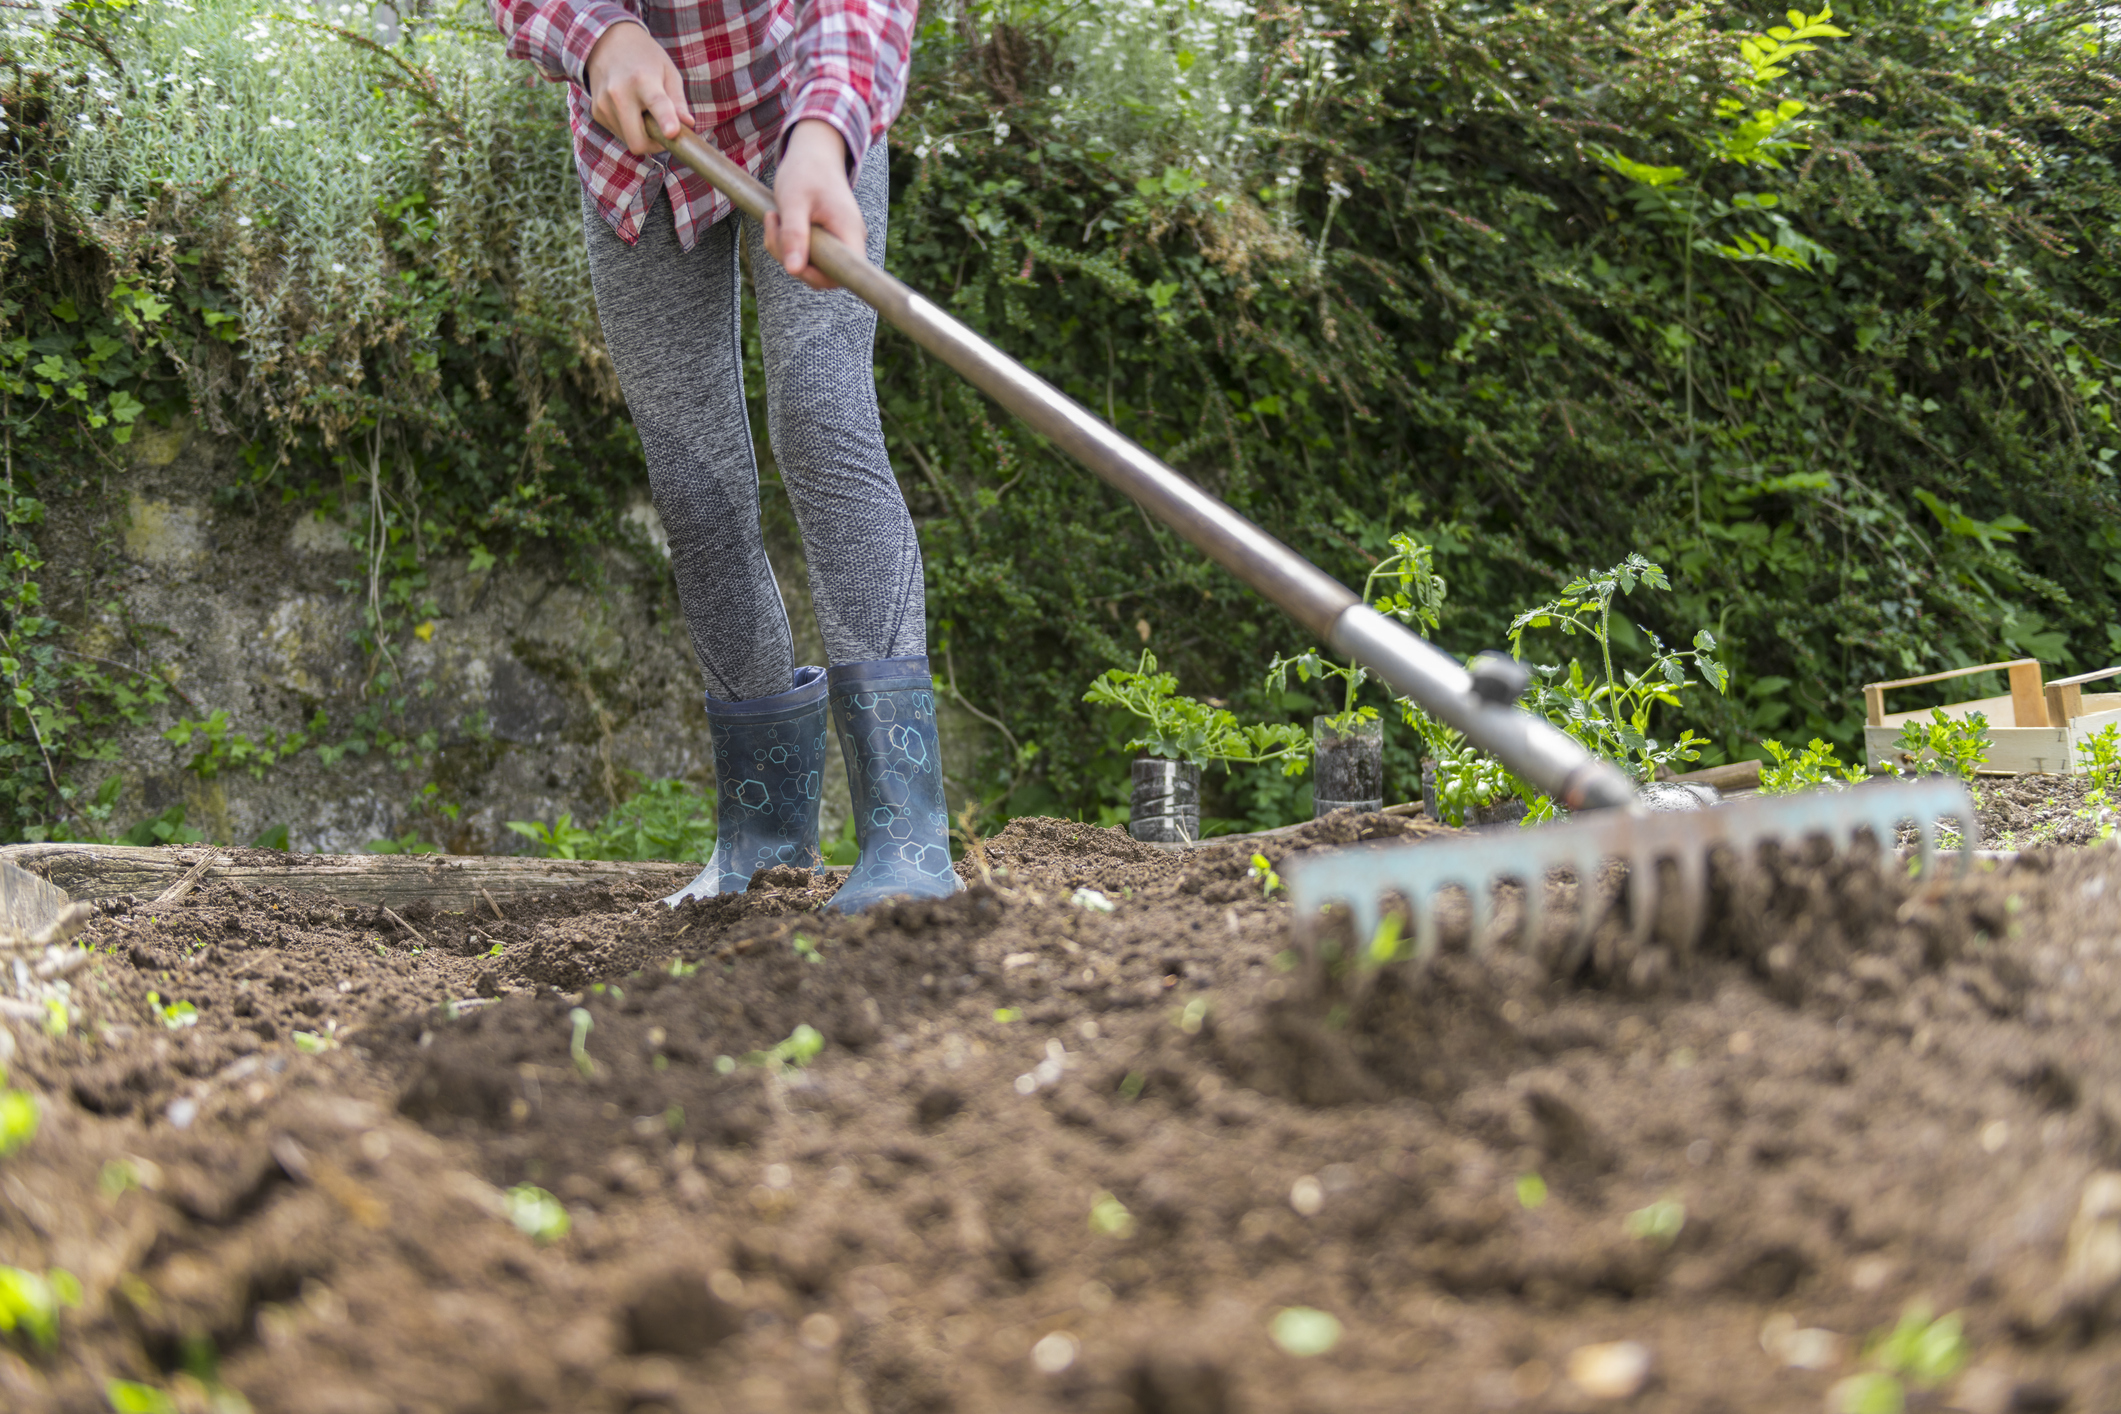
You also might want to consider location in terms of convenience to the kitchen, since you will carry food scraps from the kitchen or harvest produce for meals. Finally, consider water access for days when you have to water the garden bed. Since this ground will support your bed, you might want to loosen it with a broadfork or hoe and remove weeds and obstructions.
Step 2: Design your garden.
Although most keyhole garden dimensions reach about 6 to 8 feet in diameter, the size you choose is based on your location and how well you will be able to reach plants from the cut in the circle or an outside wall. Bochat recommends starting small and then adding to it “if you have the space and energy.”
While the original keyhole garden shape is circular with a wedge-shaped cutout, there are no set rules. You can construct your own keyhole garden bed in any shape you like—circular, oval, square, or octagon—just be sure to include a compost cage in the center and a cut-out path to the compost bin. Typically, a 24-inch opening along the perimeter wall that narrows slightly as it reaches the center of the garden works well.
Mark the chosen location with old logs or other materials for a draft design, or use spray paint to mark it. If you want a perfectly centered keyhole, tie string or thin rope to a stake driven into the center, and mark a circle around the stake (3 feet out from the center for a 6-foot-wide keyhole garden). Then, mark your keyhole cutout.
Most keyhole gardens have heights of 2 to 3 feet. “Height is a personal preference,” says Bochat. “The higher you build it, the less your back has to work, but also the higher you build it, the sturdier you would need the structure to be,” he says.
Step 3: Make the compost basket.
Composting is the method by which accumulated organic matter decomposes. It’s the ultimate recycling process; as food and yard wastes break down, they are transformed into dark rich compost, a fertile soil conditioner. Put on work gloves and fashion a round basket that will sit at the soil level to hold your compost. A typical basket size is about 1½ feet in diameter.
Although chicken wire is the easiest type of basket to roll up and wire shut, a piece of metal fencing or mesh will work, too. Some gardeners fashion compost baskets from bamboo stakes or other small sticks. Just be sure that the basket has air flow, can be watered, and rises at least 1 foot higher than the height of the bed walls. You can place the basket in the bed before filling or when partially full of soil.
Step 4: Build the garden walls.
Stacked stones are traditionally used to create keyhole garden beds, but bricks, concrete blocks, rocks, recycled bricks or pavers, and other materials can be used as long as the wall is sturdy enough to support the soil. “Materials really can be anything,” says Bochat. “I suggest utilizing what you have laying around,” he says. Bochat has seen keyhole gardens made from rock, wood, pipe, or other materials. “Don’t feel like you have to go out and spend a bunch of money on materials,” he says.
How you stack the walls will depend on the materials used. If stacking concrete blocks or stones, make sure the second layer overlaps the gaps between those in the first layer. Remember Bochat’s advice about height to ensure that walls are sturdy enough to hold up to the weight of the soil inside and withstand gardening activity around the outside of the bed.
Keyhole Garden Kits
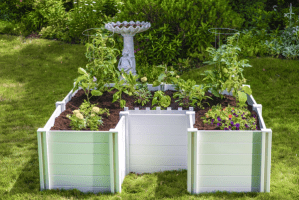
Those who don’t want to construct their own keyhole gardens from stones or bricks can buy ready-to-assemble kits at DIY centers and online retailers. Vita’s vinyl keyhole composting garden bed is $359.99, and measures 6 feet by 6 feet. This 3-foot by 5-foot cedar garden from Gardener’s Supply Company.
Step 5: Fill the garden.
Before filling the composting garden bed with soil, Bochat says it is “very important to line the bottom with some type of weed barrier.” He used old cardboard cut into strips and then laid weed barrier cloth over the cardboard. Choose cloth rather than plastic weed barrier to ensure your bed drains through into the ground.
If you have lots of rocks or pieces of wood, you can lay them in the bottom layer to ensure drainage. It’s also a good idea to layer the area beneath the compost basket with several inches of small rocks to improve the drainage of water and nutrients out of the basket. Secure the compost basket in the center by driving long yard staples into the bottom or 2×4 remnants down the sides.
Organic materials like wood or leaves on the bottom of the growing area will decompose over time, enriching the lower layer of soil. Then fill the bed with a loose soil or mix. “The type of soil you use depends on a variety of factors,” says Bochat. Opt for the best soil for your intended crop. You can purchase bags of garden soil or make your own optimal growing blend by combining equal amounts of sand, topsoil, and compost or manure. Make sure any mix is loose and has enough nutrients to support plants until the composting pile starts to add them. “Soil is the building block of any successful garden venture,” says Bochat.
Grade the soil slightly to slope down away from the compost cage so water runs to the outside edges. The soil level at the outside wall should be about 2 inches lower than the soil around the compost cage.
Step 6: Plant your produce.
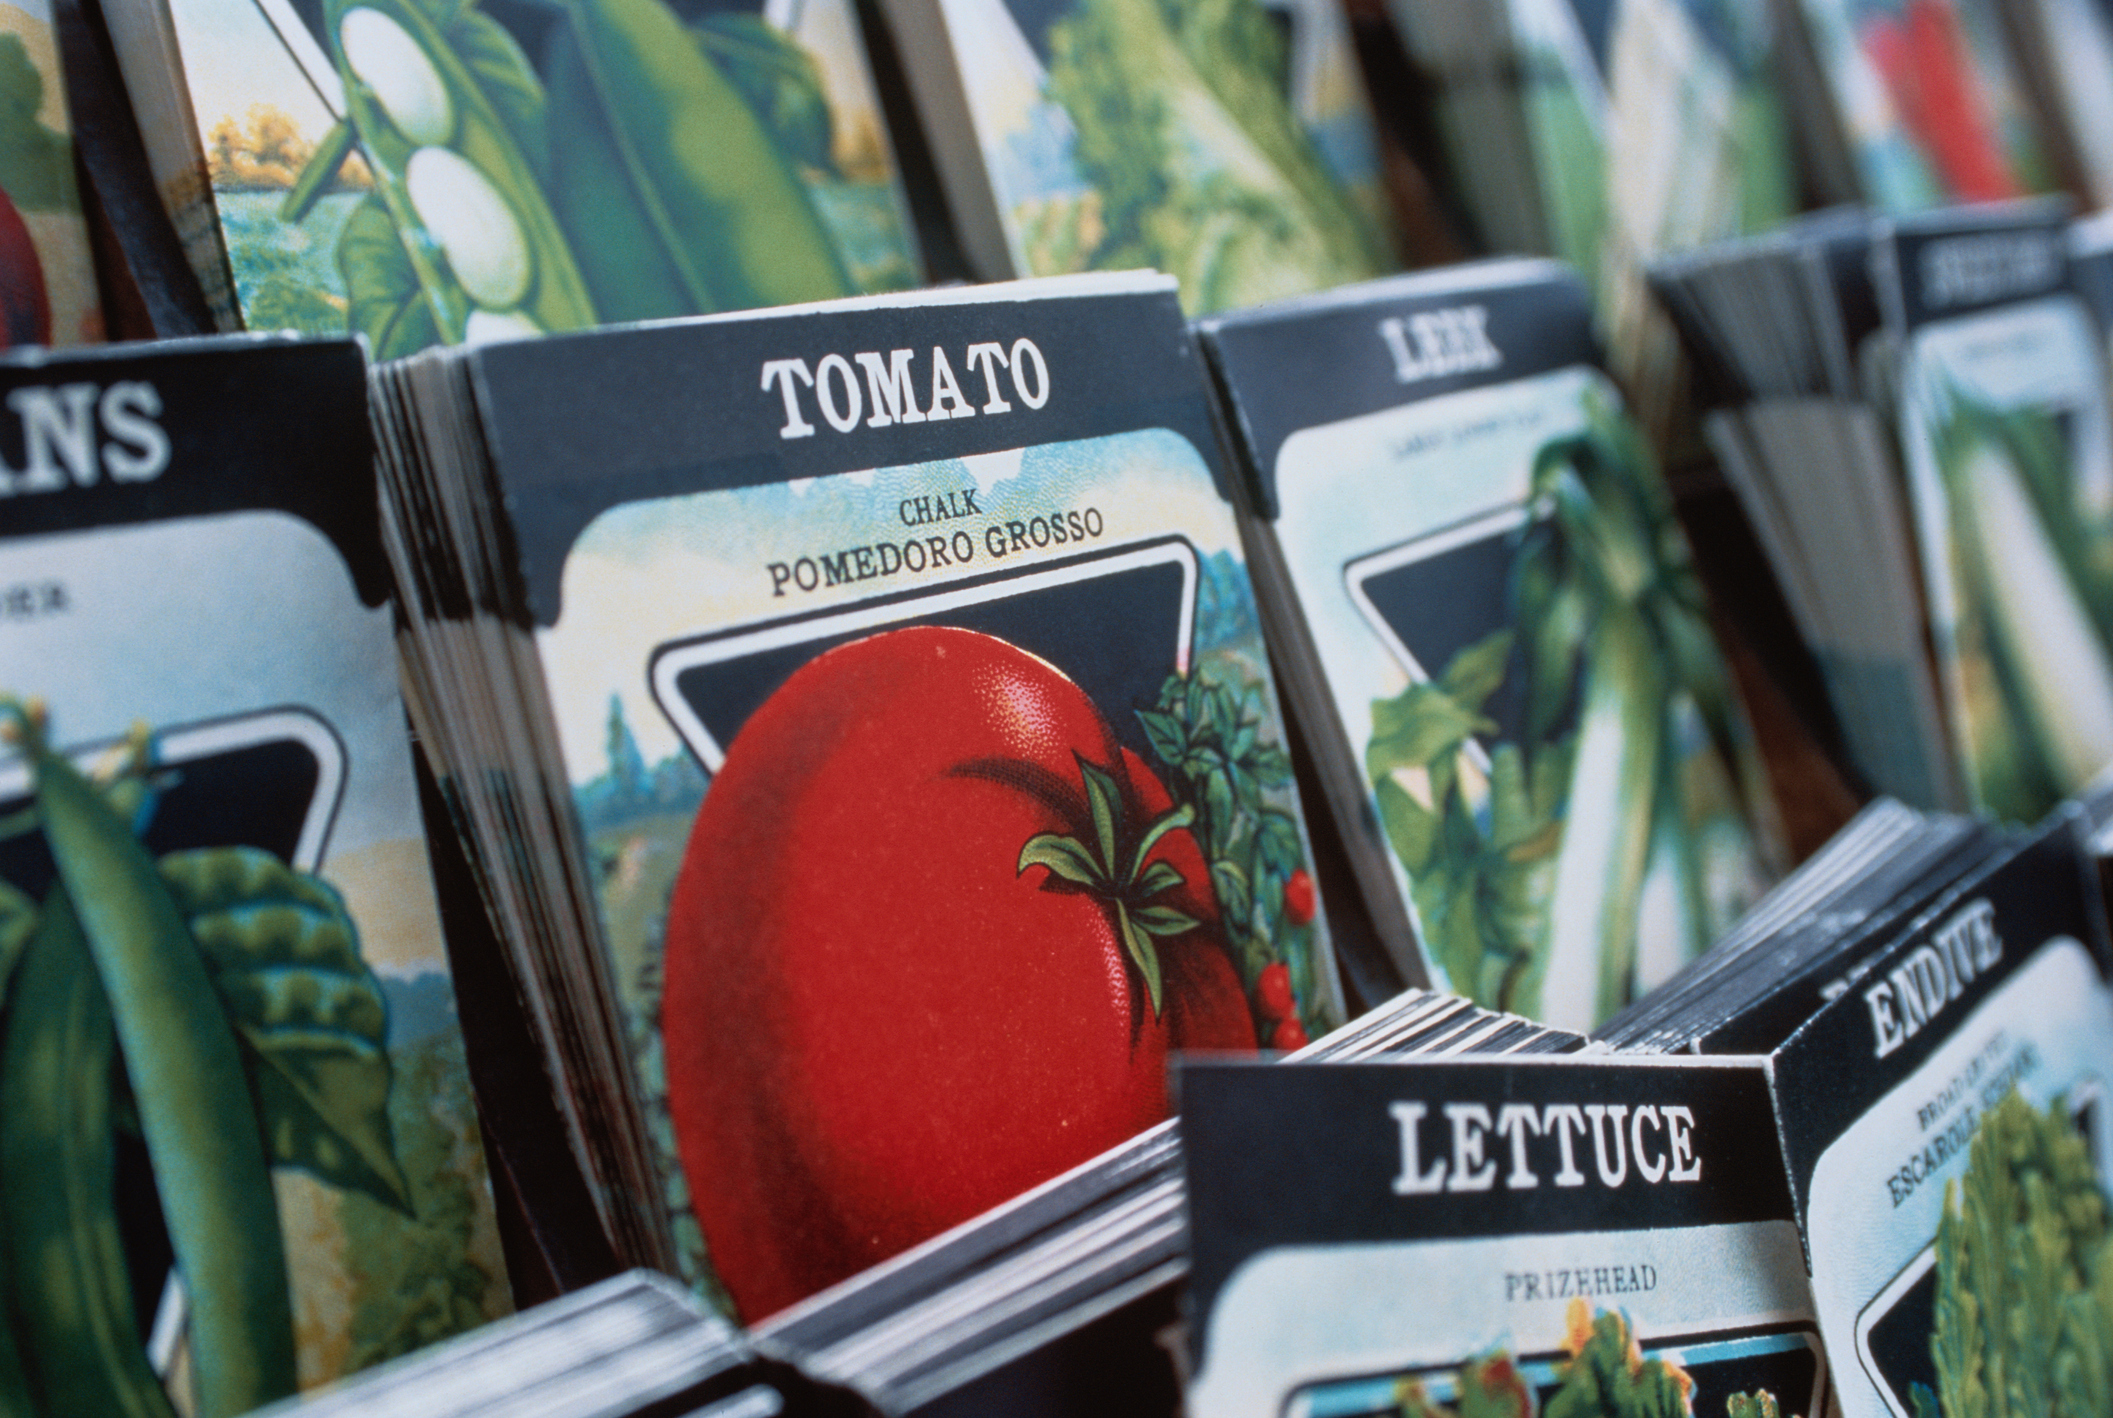
What you choose to plant in your keyhole composting garden bed depends on what your family likes to eat and what grows well in your climate. Good choices for keyhole gardens include lettuce, strawberries, tomatoes, carrots, kale, onions, spinach, herbs, and tomatoes.
Although the design and ongoing “feeding” or keyhole garden soil allows you to pack more edibles or flowers into a small space, you might want to consider plants’ mature spread and size. Large indeterminate tomatoes or pole beans can reach too high to harvest if planted in a 3-foot-high bed. Cucumbers, pole beans, and other climbing plants might need support. Feel free to use a leftover piece of fencing, trellis, or stakes and string to support them.
Likewise, opt for crops that don’t have very deep roots, especially for shorter keyhole gardens. Feel free to place some flowers between edible plants for color and to help bring pollinators to the keyhole garden.
Step 7: Add organic mulch around plants and feed your compost basket.
After planting, add about a 2-inch-deep layer of mulch around the plants with a fine organic material (straw, small pieces of shredded wood or nut shells) to help retain water and keep plant roots cooled. Begin adding food wastes (but no proteins, which attract rodents) and yard waste as soon as your compost basket is in place.
Tips for Growing a Keyhole Garden
Keyhole gardening is sustainable, and these gardens will provide their own nutrients for years when constructed and used properly. As you add fresh scraps from your kitchen to the compost cage, you’ll be constantly replenishing the compost, which will settle as it decomposes. Although it can be an easy way to grow food and flowers, there are a few tips for using and maintaining your keyhole garden each year.
Bochat suggests “taking down any barriers or stakes and cleaning out dead foliage” after the growing season ends. “This foliage can also be composted,” says Bochat. If you like, you can shovel out the compost as well, but it’s fine to leave it in and let it break down even when the garden is empty. “Some of the materials take quite a bit of time” to break down, he says.
Each year, add a little soil, since it will compact over time. “Other than that, it’s mostly maintenance-free,” says Bochat. Some of the additional tips below will help ensure keyhole gardening success:
- When watering your keyhole garden, be sure to water it in the center, directly in the compost cage. This allows the water to filter down through the compost and then seep outward, carrying nutrients to the soil every time you water.
- Rotate crops annually to help prevent insects and diseases specific to certain plants. Some plants contribute various nutrients to the soil—peas, for instance, add nitrogen—so rotate the location of your plants every year to maintain a healthy soil balance throughout the entire garden.
- Examine the garden in the spring and make any necessary repairs, such as replacing loose stones.
