
We may earn revenue from the products available on this page and participate in affiliate programs. Learn More ›
If you’ve ever spotted mold creeping up your walls, you might be tempted to just paint over it and call it a day. After all, a fresh coat of paint can make almost anything look better. But the problem is that paint won’t kill mold, and covering it up doesn’t make it go away. Mold can continue to grow underneath the paint, leading to bigger issues like peeling, discoloration, and potential health risks.
Instead of simply masking the problem, it’s important to treat the mold at its source. This means identifying the cause, whether it’s excess moisture, poor ventilation, or a leak, and properly removing the mold before even thinking about painting. In this article, we’ll walk you through how to safely treat mold and the right way to repaint a previously moldy surface.
What Happens if You Paint Over Mold?
Painting over mold won’t stop it from growing or prevent future problems. While it might seem like a quick fix to cover up stains, it doesn’t address the root cause. Over time, mold under paint will continue to spread, leading to bubbling, peeling, and discoloration. Paige NeJame, owner of South Shore CertaPro Painters, explains, “Paint is porous to some degree, and mold can continue to grow underneath the paint coating.” This means the mold isn’t just hidden—it’s still active and can resurface.
Some homeowners try to use paint to cover mold to avoid the cost of proper remediation, especially when selling a house. But as NeJame points out, “In a short time, the mold could reappear.” Not only does this create a cosmetic issue, but it also leaves the next owner to deal with potential health risks and costly repairs. Instead of covering up mold on the walls, it’s important to remove it properly before painting to ensure a long-lasting and safe solution.
Health Risks of Mold
Mold isn’t just an eyesore, it can also pose serious health risks for both humans and pets. This fungus thrives in damp environments and spreads through airborne spores, which can lead to respiratory issues when inhaled.
Symptoms of Mold Exposure
According to the Centers for Disease Control and Prevention (CDC), mold exposure can trigger various health problems, especially for those with allergies, asthma, or weakened immune systems. Common symptoms include:
- Stuffy nose and sore throat
- Wheezing and persistent coughing
- Burning or irritated eyes
- Skin rashes and allergic reactions
Individuals with mold allergies or chronic lung conditions, such as COPD or asthma, are at even greater risk. Some molds, like black mold, produce mycotoxins that can cause more severe health effects, even in healthy individuals.
How To Properly Paint Over Mold
Before treating the mold, it’s crucial to identify and address the source of moisture causing the mold growth, whether it’s a leaky pipe, poor ventilation, or excess humidity. Fixing the moisture issue is essential to prevent mold from returning after cleaning.
Step 1: Remove the mold.
Before painting, it’s crucial to eliminate the mold completely to prevent regrowth.
- Wear protective gear: Use gloves, eye protection, and a respirator mask to avoid inhaling mold spores.
- Choose an effective treatment: Vinegar penetrates deeper than bleach, making it a better option for killing mold at the root. Spray undiluted vinegar onto the affected area, let it sit for at least an hour, then scrub with a brush. If using a store-bought fungicide, follow the manufacturer’s instructions.
- Know when to call a pro: If mold covers more than 10 square feet or stems from contaminated water, the EPA recommends professional remediation. It’s also best to leave the job to a pro if anyone in the home has allergies, asthma, or a weakened immune system.
Step 2: Fully clean and dry the surface.
Even after removing the mold, lingering spores or moisture can lead to regrowth. Properly cleaning and drying the surface is key to a long-lasting paint job.
- Scrub away residue: Use soap and water or a mild detergent to remove any remaining mold stains, then wipe down the area with clean water.
- Dry the surface completely: Mold thrives in moisture, so ensure the area is fully dry before painting. Open windows, run fans, or use a dehumidifier to speed up drying.
- Check for moisture issues: If the area stays damp, address any leaks, condensation, or ventilation problems before continuing.
Once the surface is clean, dry, and mold-free, you can move on to priming and painting.
Step 3: Coat walls with a mold-resistant primer.
After removing mold and ensuring the surface is clean and dry, the next step is to apply a high-quality, mold-resistant paint primer. While primers won’t kill mold, they help prevent future growth and block stains from showing through.
NeJame says “most good-quality exterior-grade and some interior latex paints have a mold inhibitor in the product,” and recommends looking for primers with these features for lasting protection.
For best results:
- Choose a moisture-resistant primer designed for humid areas like bathrooms, basements, and kitchens.
- Look for mold-inhibiting primers, which create a protective barrier against future mold growth.
- Ensure the surface is completely dry before applying primer to prevent trapping moisture beneath the paint.
If mold was present due to persistent humidity, address the underlying issue first. Running a dehumidifier, using a bathroom fan, or improving ventilation can help keep moisture levels in check.
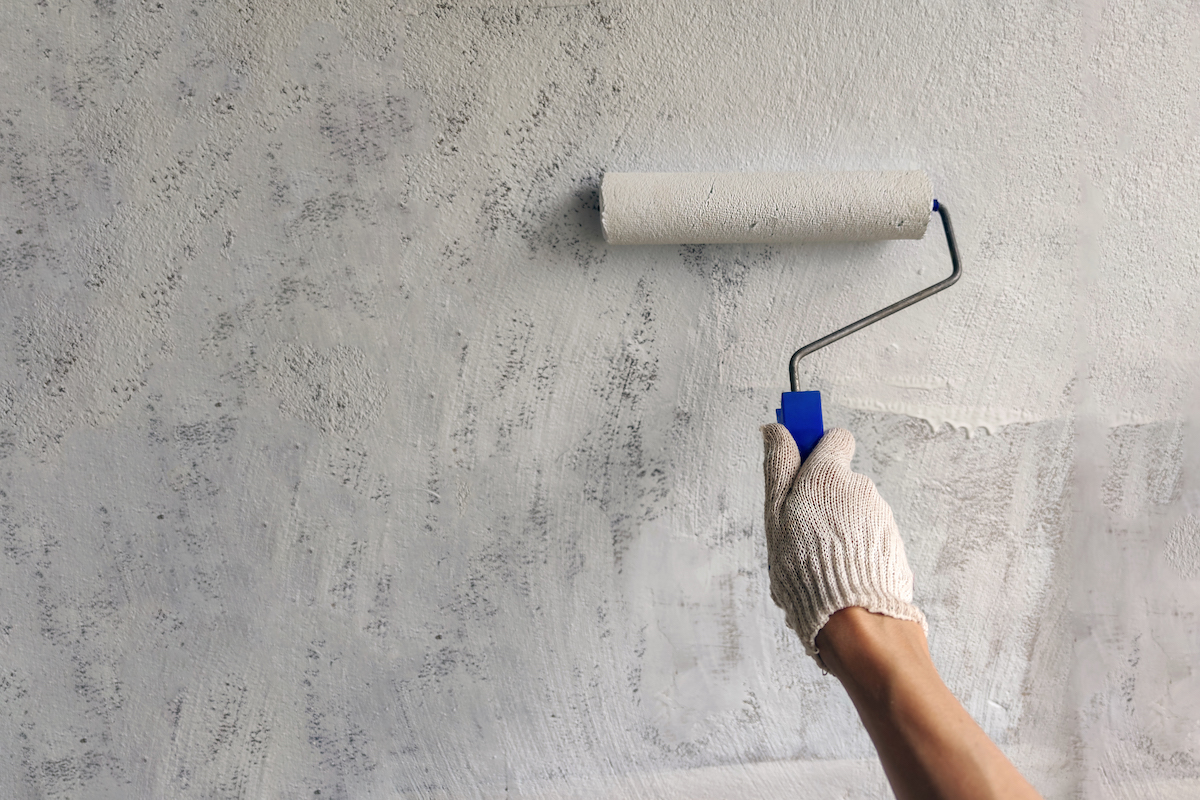
Step 4: Paint the walls with a mold-resistant paint.
Once the primer is dry, selecting the right type of paint and finish is key to keeping mold at bay. Some paints contain mold inhibitors, while certain finishes help repel moisture more effectively than others.
NeJame advises, “Do not use an oil paint as it sometimes has an ingredient on which the mold feeds.” Instead, opt for mold-resistant paint that’s specifically designed for high-humidity areas.
- Use mold-resistant paint in humid areas: Many high-quality interior latex paints include additives to help prevent mold regrowth.
- Avoid oil-based paints, as some contain ingredients that mold can feed on.
- Select a moisture-resistant finish:
- Semi-gloss or satin: Great for bathrooms, kitchens, and basements because they repel water and are easy to clean.
- Glossy finishes: Provide even better moisture resistance in high-humidity environments.
- Flat or matte paints: These absorb moisture and should be avoided in mold-prone areas.
For outdoor mold prevention, shady, damp areas of a home’s exterior can also benefit from mold-resistant exterior paint. NeJame adds, “In shady areas where mold tends to grow, a mold-resistant paint will inhibit the growth longer.” Trimming trees or shrubs that block sunlight can further reduce the risk of mold growth.
By choosing the right primer, paint, and finish, homeowners can help protect their walls from future mold problems while maintaining a fresh, clean look.
Tips for Keeping Mold Away After Painting
Once you’ve treated and painted over mold, it’s important to take steps to ensure it doesn’t return. Here are some practical tips for keeping mold gone for good:
- Control humidity: Use a dehumidifier in areas prone to moisture, like basements and bathrooms, to maintain a balanced humidity level (ideally between 30-50%).
- Improve ventilation: Install or use exhaust fans in bathrooms, kitchens, and laundry rooms to promote airflow and reduce moisture.
- Fix leaks promptly: Check for any leaks in pipes, roofs, or windows and repair them as soon as possible to avoid excess moisture accumulation.
- Keep surfaces dry: Wipe down surfaces after water exposure, especially in high-humidity situations, like after showering or cooking.
- Clean regularly: Wash walls, ceilings, and floors regularly with mold-killing products to prevent mold spores from taking hold.
- Trim trees and shrubs: If you’re dealing with outdoor mold, trim back any trees or bushes that block sunlight and keep areas in shade and damp.
These steps won’t just help keep mold from growing again, but they’ll also create a healthier environment for your home.
FAQs
To remove mold from wood, start by cleaning the surface with a mixture of water and vinegar or a commercial mold remover. Use a scrub brush to gently scrub the affected areas, ensuring the wood is completely dry afterward.
For larger or persistent mold infestations, you might need to sand the surface. Be sure to wear protective gear, like a mask and gloves, to avoid inhaling mold spores.
Mold-resistant paint and primers can help prevent mold growth by creating a barrier that resists moisture. However, they don’t kill existing mold, so it’s essential to remove mold before applying these products. While these paints and primers can reduce the likelihood of mold growth, proper ventilation and humidity control are key to long-term success.
If mold covers more than 10 square feet, if it’s caused by contaminated water or sewage, or if anyone in the household has allergies, asthma, or a weakened immune system, it’s best to call a professional mold remediator. Professionals have the tools and expertise to handle large or hazardous mold infestations safely.
Kilz is a popular primer known for its mold and mildew resistance, but it should not be used as a replacement for proper mold removal. You must first remove the mold from the surface before applying Kilz. While Kilz can help prevent future mold growth by creating a moisture-resistant barrier, it won’t kill the mold that’s already there.
