We may earn revenue from the products available on this page and participate in affiliate programs. Learn More ›
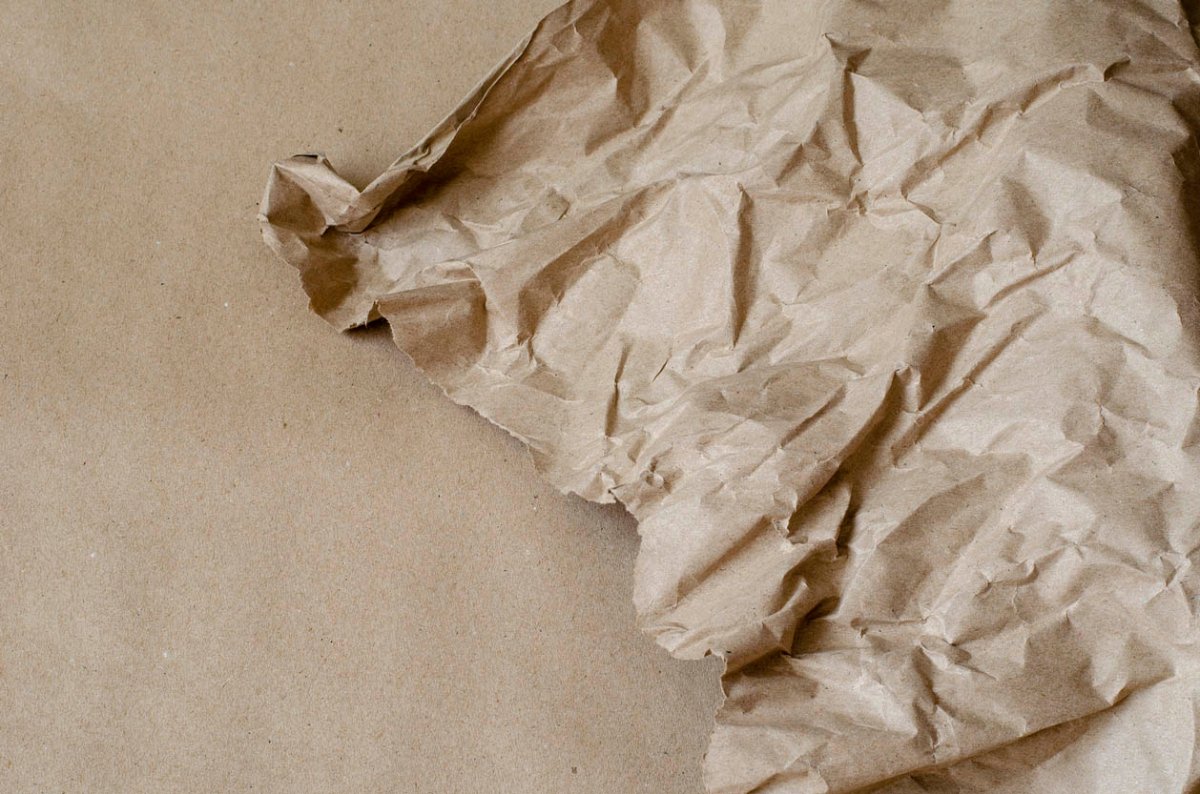
That humble brown kraft paper typically used for grocery bags has recently gained a surprising—and strikingly beautiful—new purpose as residential flooring. For as little as $100 in materials and supplies, and about a week of your time, you can create a durable floor with rich color and an impressive marbleized quality. Keep in mind: There are no shortcuts for this lengthy hands-on project, which requires proper planning and execution. But if you’re ready to tackle it, keep reading for all the info you’ll need, from planning and prep to finishing touches, to achieve lustrous, long-lasting paper bag flooring.
Steps for Installing Paper Bag Flooring
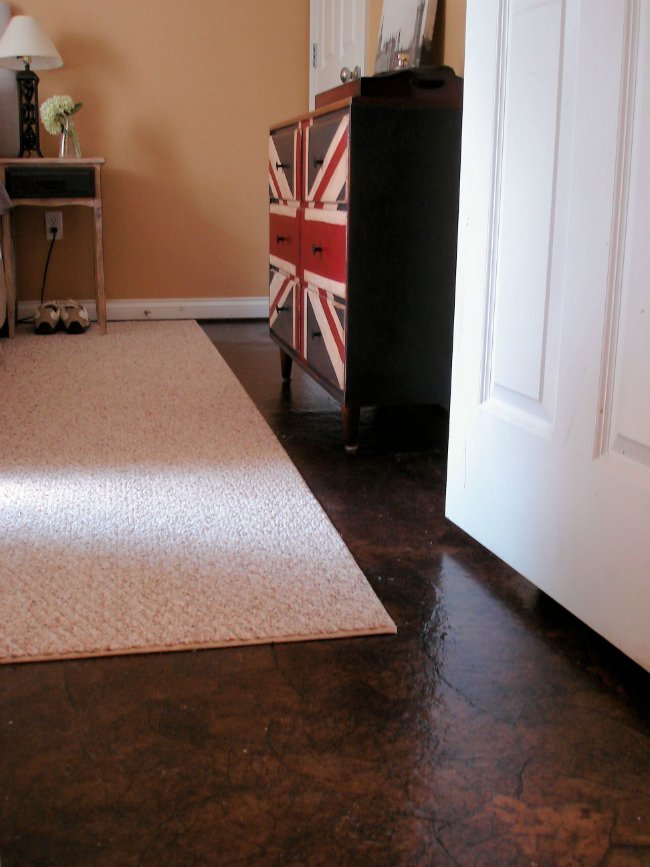
To give your floor a fabulous makeover, start by planning and purchasing your materials , move on to prepping the surface, and then follow the step-by-step instructions for the job.
Design Your Floor
One great thing about paper bag flooring is its versatility. Cut the brown paper bags into even strips or blocks and it can mimic wood planks or tile or—as in this tutorial—tear it into irregular shapes for a floor that resembles marble. The stain you choose and the method of applying it will enhance these similarities to the real thing.
Consider the Surface
The key to success with a paper bag floor is to start with the right subfloor. Craft paper adheres best to—and lasts longest on—a plywood subfloor. Cement or vinyl surfaces aren’t as well suited, but if properly prepped you can obtain good results.
Also think about the location and purpose of the room you hope to be reflooring. Kraft paper flooring doesn’t hold up too well in very moist environments. So steer clear of the bathroom or a below-grade space to increase your chances of good-looking, long-wearing results.
Lay in Supplies
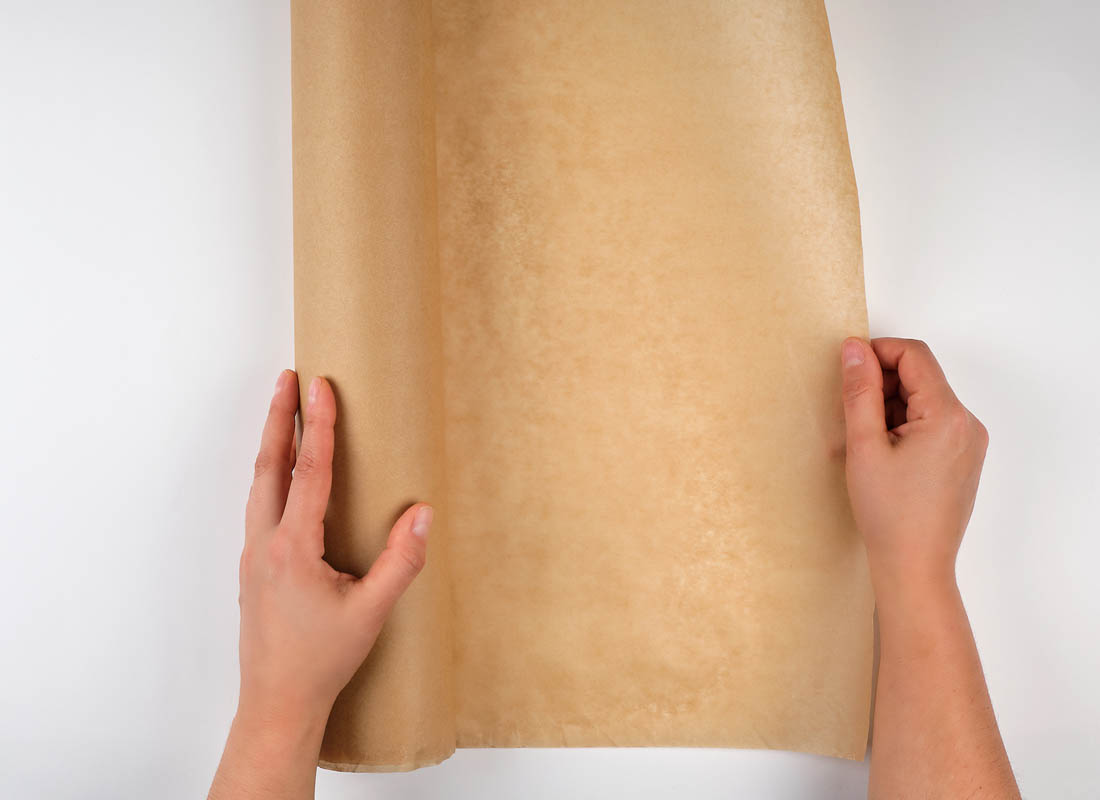
The three main materials for a paper bag flooring project are brown kraft paper (view example on Amazon), all-purpose white glue such as Elmer’s Glue All, and water-based polyurethane. To enhance the color and luster of your final product, you’ll want to apply a stain.
The amount of these supplies will depend on the size of your floor, but suffice to say you’ll need plenty! One DIYer, for example, used 300 square feet of paper, 1.5 gallons of glue, and 2 gallons of polyurethane to cover 180 square feet—and claimed this was twice as much as originally anticipated. These supplies aren’t pricey, so it’s wise to purchase more than you need rather than risk running out in the middle of the job.
In addition to materials, you’ll need a large bucket, a pair of scissors, paint brushes, a mop handle or universal extension pole, lambswool (for stain) and foam (for polyurethane) applicator pads, and work gloves.
Paper Bag Floor Preparation
As with most home improvement projects, preparation is key. In this case, the subfloor must be clean and smooth for proper adhesion of paper and glue
- Pull up any existing carpet, pad, and staples.
- Sand the entire subfloor to remove aberrations.
- Hammer in any protruding nails.
- Fill and seal holes and any gaps between planks of plywood. Fail to correct out these imperfections and spaces and they’ll show in the end.
- If covering a vinyl subfloor, clean it well with TSP and rinse.
- If covering a cement subfloor, patch any cracked, chipped, or low or areas and let dry fully.
- Vacuum any remaining dust this prep work will likely cause.
Do a Test Run
Before starting on your floor, practice the paper application technique. A test run can save the time and help avoid the frustration of faulty paper adhesion, uneven staining, or foggy polyurethane. Run through the steps below on a few pieces of scrap wood until you get the hang of it. Your technique should be fairly well finessed by the time you take on your floor, so you can move through the project with confidence.
Paper Bag Flooring Application
It’s time to actualize all your planning and prep! Follow this step-by-step guidance to create a paper bag floor that resembles natural stone.
STEP 1: Tear and crumple the paper.
Rip pieces of kraft paper off the roll into random shapes about 6 to 8 inches in size. Pieces of this size will yield an elegant marble look; avoid smaller pieces, which would appear more like pebbles in the final result. Next, firmly crumple each piece into a wad.
STEP 2: Mix the glue and brush it on
Mix three parts water to one part white school glue in a bucket. Don flexible work gloves and dip a paintbrush into the glue mixture. Starting in the corner opposite and across from the doorway, brush the glue over a small section of the floor.
STEP 3: Apply the paper.
Grab about five paper wads, dipping each into the glue mixture and squeezing out the excess. Then begin to lay down the pieces of paper, overlapping them for an organic look. Flatten each wad against the floor with the paintbrush to smooth the wrinkles somewhat. Repeat this process until the floor is covered in paper.
STEP 4: Let dry and fix imperfections.
Let the floor dry overnight. The next day, check your work carefully for any raised edges and flatten them down with a paintbrush and glue mixture.

Add a Little Color
The faux-marbling magic happens when you bring in a rich color and glossy finish to your paper bag floor. Be sure to ventilate the room by opening windows and before applying stain and polyurethane.
STEP 1: Apply the stain
Add the oil-based stain of your choice to a paint tray. Start at the edges of the floor nearest the trim and baseboard, “cutting in” with a chip brush. For streak-free results on the rest of the floor, attach a lambswool applicator pad to the end of a mop handle or universal extension pole. Dip the pad into the stain, blot the excess, and apply in large, sweeping strokes. Let the stain dry completely at a moderate temperature for at least 48 hours.
STEP 2: Seal with polyurethane
Once the stain is dry, pour water-based, floor-grade polyurethane into a paint tray. Affix a foam floor applicator pad to the pole. Dip the pad into the polyurethane, blot excess, and apply it with similar motions. Let dry, and apply additional coats as recommended by the polyurethane manufacturer, letting dry between coats. For a showroom quality look, sand the surface after the first and before the last coat.
Paper Bag Flooring Care and Longevity
Hardy paper bag flooring holds up fairly well to normal amounts of foot traffic. Adventurous DIYers like Rachael of The Lovely Crafty Home and Ashley of Domestic Imperfection both share impressive success, proving that this flooring feat can last for years if proper application and maintenance are followed. Dirt can fade and degrade the floor, making regular cleaning vital.
- Vacuum and/or mop the floor at least once a week. A homemade cleaner like a 50-50 solution of vinegar and water will banish grime.
- Deter dings by affixing felt feet onto all furniture legs. Alternatively, experiment with laying down rugs or mats strategically to protect your floors from scratches.
By protecting your new floor from everyday wear and tear, you can extend its lifespan and enjoy it for years to come!
Brown Paper Bag Floor Pros and Cons
Paper Bag Floor Advantages
Putting in a paper bag floor is a fairly simple DIY project that doesn’t require any special skill, tools, or equipment. A variety of effects can be achieved, depending on how the paper is prepared and the stain applied: wood, tile, slate, marble. Plus, the price can’t be beat: It can cost as little as $100 to refloor an average-sized room.
- Laying a paper bag floor is a simple DIY project requiring no special skills or equipment.
- An average size room can be covered for about $100 in materials and tools.
- The material is versatile enough to be used for several “faux” effects.
Paper Bag Floor Disadvantages
Failure to prep the subfloor—especially sealing holes, cracks, chips, and gaps between plywood planks—will show through on the end result. Putting down a paper bag floor is a time-consuming project, so DIYers should plan to devote about a week to it. The surface should not be walked on while the various applications are drying. Although DIYers report that their paper bag floors have held up to heavy traffic for several years, the floors are not as durable as such surfaces as wood, laminate, and linoleum. Ample coats of polyurethane can help extend longevity.
- Skimping on prep will lead to less-than-stellar results.
- It will take about a week to finish the project.
- A paper bag floor isn’t as durable as some other options.
FAQ About Paper Bag Flooring
Can you put wallpaper on the floor?
Yes, with proper prep and technique, you can get great results with a wallpaper floor! Though it’s not the best choice for high traffic areas like kitchens and hallways, it can be beautiful and wear fairly well in a bedroom. Precise measuring is also key so that the pattern will line up exactly.
Can you do a paper bag floor on concrete?
Yes, as long as you prep the surface properly you can use this technique on concrete floors. Fill any cracks and chips in the concrete subfloor, and level if necessary. Sand the entire floor and sweep or vacuum well to pick up dust before applying glue.
Can you do paper bag floor over linoleum?
Several DIYers have reported success applying kraft paper over linoleum. The key, again, is in prep, making sure to clean and degrease the surface before applying glue.
Final Thoughts
If you have big dreams and a small budget for a floor redo, you can create a whole new look for about $100 in materials and supplies. Just make sure to give yourself a week to complete the task—if you walk on the floor before the various applications dry, your hard work could be for naught. But with planning, persistence, and patience, your stunning new floor will be in the bag!
