We may earn revenue from the products available on this page and participate in affiliate programs. Learn More ›
Hanging a picture is about as DIY as many homeowners get. But although it may seem easy, hanging a picture properly is much more than a haphazard task. Here are five favorite tips for taking a one-hole approach to hanging a picture on the wall.
1. Don’t eyeball it!
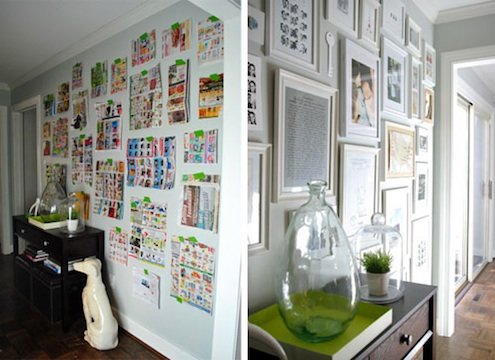
If you’re hanging multiple pieces of artwork, you need to figure out how they’ll work together before you start making holes. My recommendation is to make a template. Use newsprint or butcher paper to create true-scale templates of your frames, then use painter’s tape to figure out the best arrangement. Young House Love has a great walkthrough of the technique.
2. Don’t use nails—well, not JUST nails.
I know every one of you has hung a picture using a simple brad nail. I’ll even admit there are several in my own home hung this way. But they are the pictures most likely to fall off the wall or require regular straightening. A single nail hammered into drywall is not stable enough to support much weight, so invest in the right hardware. My go-to options are self-tapping threaded anchors and screws, which provide a wider balance point without using wire. I’ve also used steel, hooked wire hangers to great success.

3. Use math—really!
If you purposefully stagger art so nobody can tell that your frames are not straight, fear not. A little math will enable to hang series of perfectly spaced art works. I shared my favorite technique on the ReadyMade blog. You can just plug your dimensions into the calculator and be good to go (no fancy equations required).

4. The best-ever picture hanging tip.
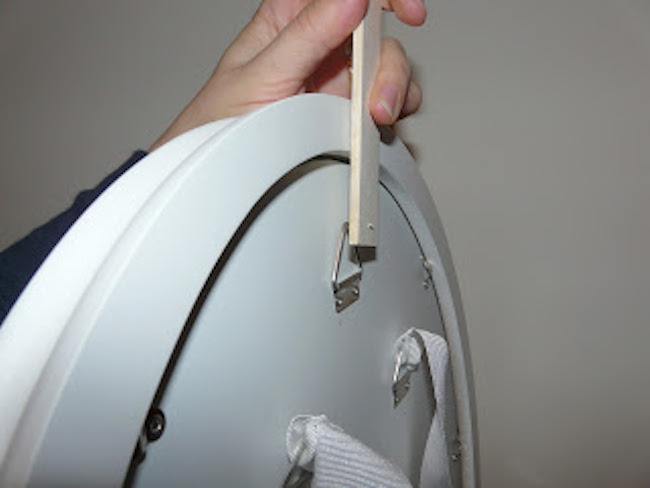
Kristen from Celebrate Everyday with Me dubs this trick “the best ever”, and I think she might be right. I’ve seen all kinds of methods for marking a hole on the wall before drilling, but this one tip renders the rest unnecessary. The idea is to create a portable hanger on which to suspend your picture, so that measuring and marking drill holes becomes significantly easier. So brilliant, you should make two!

5. Use a sticky note to capture dust.
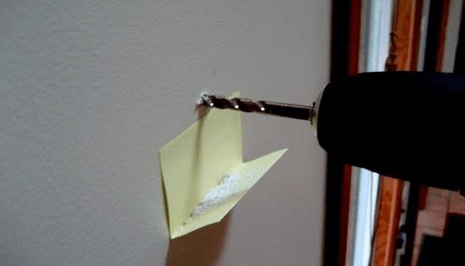
Since hanging artwork is usually a task done in a finished room, it can create drywall, plaster, or concrete dust on your carpet, floors, or furniture. So just use this little tip: Add a simple, folded Post-It underneath your marked hole to collect most of the dust made from your pilot hole. Genius, right?

