We may earn revenue from the products available on this page and participate in affiliate programs. Learn More ›
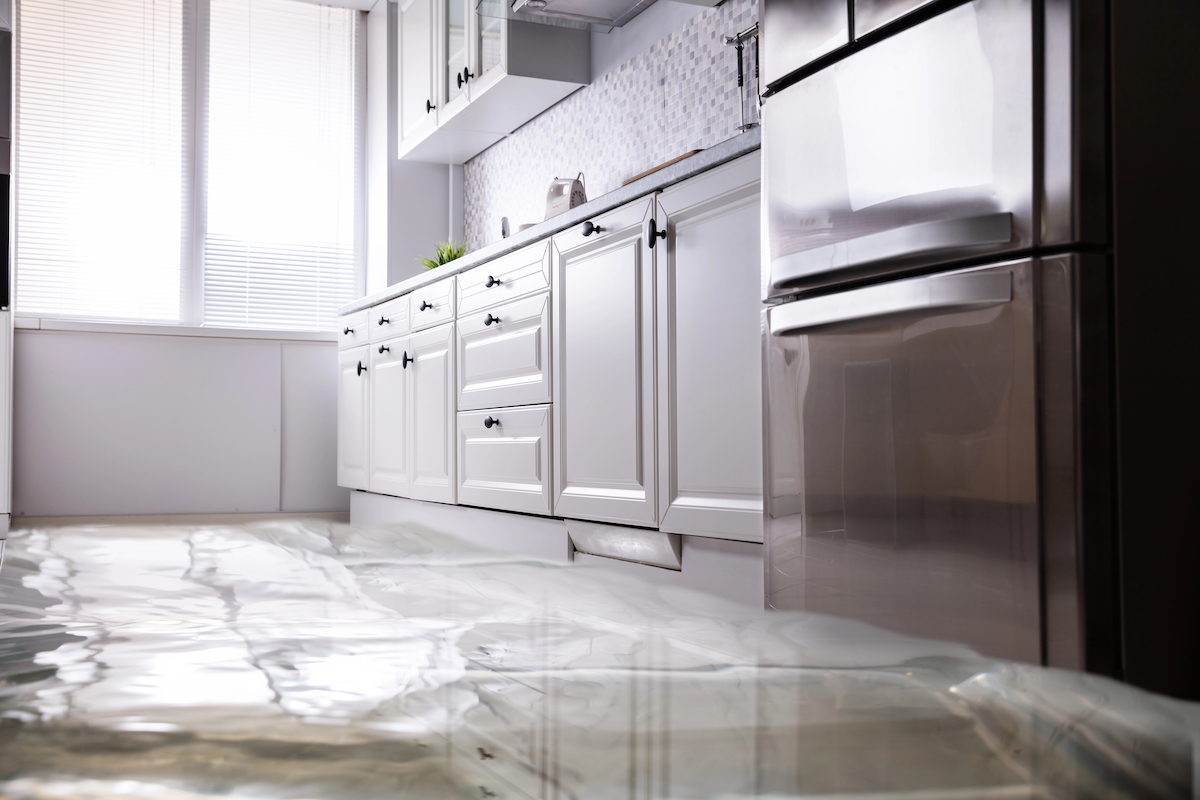
When a puddle of water appears inside the refrigerator or on the floor near the appliance, it could be due to any number of issues. The good news is that the most likely scenarios are those you can easily remedy yourself, without calling for professional repair. Let’s run through the likeliest possibilities, and some DIY solutions for a refrigerator leaking water.
Possible Reasons Why Your Fridge Is Leaking

The first thing to do when a refrigerator has water leaking on the floor is to clean up the water. The next thing to do is to try to identify the cause with some troubleshooting (having your owner’s manual handy will help). Here are common reasons why a fridge leaks and the easiest way to fix each problem.
Fridge on the fritz?
Talk to a repair pro in your area and get a free, no-commitment estimate today.
1. The door seal is dirty or broken.
The seal around a refrigerator—the rubber that lines the entire door opening—is an important barrier to humidity and warmth. It keeps the cold and dry air inside and the hot, moist air out. A leveled refrigerator door will close and almost pucker to seal. If the door seal is damaged or if there are food crumbs in it, you won’t get a tight seal. This leads to extra condensation in the unit and to the refrigerator leaking water inside or even onto the floor.
Solution: Clean or replace the seal.
“Check the gasket for cracks or gaps,” says Heather Rubalcava, customer support manager for appliance brand Whynter. An intact seal also helps the unit run more efficiently, and maintaining it could extend the life of your refrigerator. KitchenAid recommends inspecting the door seal once a year to look for dirt or damage. If you live with kids, you might want to inspect it more often.
- Open the refrigerator and/or freezer doors and inspect the entire rubber seal, as well as any corner gaskets.
- Test the seal by closing the door on a dollar bill or other paper. If you can pull the paper through easily with the door closed, the refrigerator might have a weak seal.
- If the seal looks dirty, wipe it down well with a soft cloth dipped in soapy water.
- Close the door and make sure it seals tightly, so it resists a little when you try to reopen it.
- If the seal is still weak or if you spot cracks in the rubber. “Replace it if necessary to prevent warm air from entering,” says Rubalcava. Your user manual should include a part number.
- Wait to remove the old seal until you are ready to install the new one.
- If you aren’t confident about replacing the seal, call in a professional to replace it.
2. Your refrigerator might not be level.
If you’ve just purchased a refrigerator, moved into a new home, or recently remodeled your kitchen floors, you moved the refrigerator. Moving the appliance might have caused it to start leaking water. If your brand new refrigerator is leaking water, looks unlevel, rocks, makes rattling noises, or has doors that need extra help closing, it might need to be leveled.
An unlevel appliance affects the systems and refrigerants that work together to keep refrigerators cold. Moisture could accumulate, or frost can build up on the evaporator coils, and it can leak out.
Solution: Level the refrigerator.
Follow these steps to level your refrigerator:
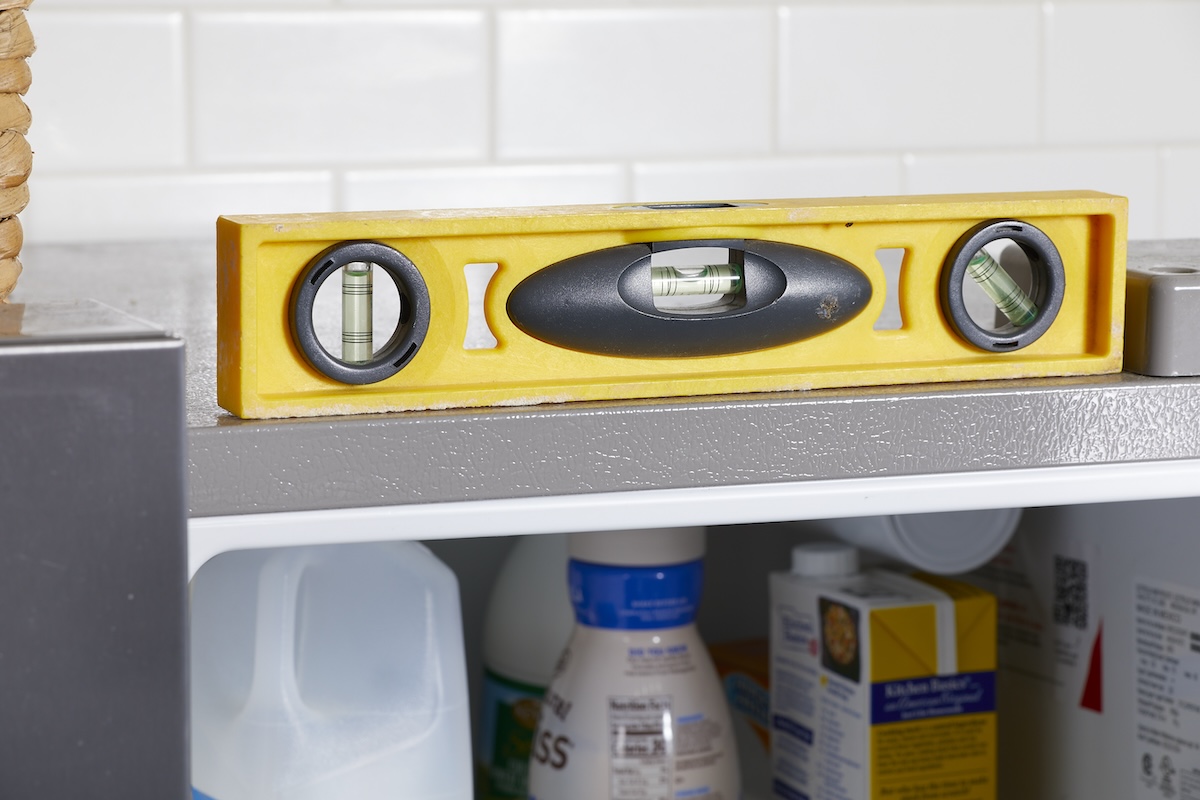
- Place a level on top of your fridge (not on an inside shelf, which might be uneven on its own) to confirm that it’s even from left to right and front to back (unless your owner’s manual calls for a slightly higher front).
- To adjust the side level, remove the grill from the bottom front of the fridge and turn the legs or rollers according to the instructions provided in your owner’s manual.
- Depending on the refrigerator model, this adjustment may require a wrench or screwdriver.
- Place the level from front to back and check the level again (per your owner’s manual).
- If the back legs or rollers also need to be adjusted, ask a friend to help since that will involve unplugging the appliance and pulling it away from the wall.
- If the floor is uneven, you might need plastic shims in addition to adjusting the legs or rollers. Leveling refrigerators and refrigerator doors on uneven surfaces can get trickier. Tuck a shim under the leg and gently tap it closes the gap between the floor and the leg. Check the level again and if that side is still low, tap the shim in more in tiny increments or find a slightly thicker shim.
3. The defrost drain is blocked.
Fortunately, having to defrost a refrigerator is a task that owners of newer refrigerators won’t have to perform. However, a blocked defrost drain—which could be caused by a food particle, a stack of frozen dinners, ice, or some combination—can cause your appliance to work overtime. According to Whirlpool, the defrost drain is the most common tube to have a blockage. That can lead to water pooling inside the compartment. If not addressed, the water can leak through the door’s bottom seal and cause water from the refrigerator to leak onto the floor.
Solution: Unblock the defrost drain.
Stop the leak by unclogging the defrost drain. On most refrigerators, the drain is accessible at the inside back of the freezer.
- Open the freezer and make sure that nothing is blocking the drain along the back wall.
- If it’s obstructed by items in an overpacked freezer, move things around until air can flow freely, and then give it a day or two to see if the issue resolves.
- If puddles persist, something smaller (like crumbs or ice) might be the cause.
- Transfer your food from the fridge and freezer to a mini fridge or chest freezer and unplug your refrigerator.
- Remove the plastic plate that’s over the drain hole (your appliance manual may have tips for this) and use a turkey baster or funnel to flush warm water down the defrost drain.
- This should clear the drain of debris and allow your unit to function normally once more.
- Help prevent future blockages in an overcrowded freezer by organizing its contents.
4. There’s a problem with your water supply line.
A refrigerator water leak might start with either the plastic water supply line inside the refrigerator or the main supply line from the wall. One clue that this is the cause: Water is pooling inside the refrigerator, along with halted or limited ice production, or if water flow is slowing when commanded at the fridge door. According to Wesley Sirios, Frontdoor virtual appliance expert, “Ice complaints are the most common issues with refrigerator brands today.” These include no ice or not enough ice, which could indicate a blocked line to the dispensers. Frequent opening and closing can cause lines to freeze.
Solution: Look for ice in water lines.
- First, move your perishables to a cooler or another freezer while you inspect the plastic line to the ice maker.
- According to LG, your first step should be to check the setting for your freezer temperature. If set below 0 degrees Fahrenheit, raise the temperature and see if this stops the problem.
- Inspect the inside supply line for blockages from ice or debris.
- Turn off your icemaker, then unplug the refrigerator and turn off the water supply line (clockwise) that enters the back of the fridge. The valve is either underneath the nearest sink or in the basement.
- Pull the refrigerator from the wall and look for a transparent type of clog in the plastic line that connects to your ice maker and water dispenser inside or along the back of the unit.
- Either leave the refrigerator off for about an hour or two so that a small ice clog can thaw or carefully use a hair dryer or heat gun to thaw the ice in the water line before turning the supply back on and checking water flow and leakage.
- Check the line for any signs of damage or kinks before returning perishable items. If you see cracks, refer to your user’s manual to determine how to replace the line or call a pro to do the repair.
5. The main water supply line is cracked or loose.
Water under the refrigerator and water coming from the back could indicate a loose connection or other issue with the main water supply line at the back of the refrigerator. Again, low (or no) water pressure to the icemaker/water dispenser could be a clue, as is water pooling on the floor under and water flowing toward the back of the unit.
Solution: Inspect the main water supply line.
The cause of water leaking could be an issue with the main water supply line. This fix requires unplugging your refrigerator and pulling it away from the wall to get to the line and connections at the back, so you may need to ask a friend to help. Follow these steps to fix it.
- Unplug your refrigerator and pull it away from the wall to get to the line and connections at the back.
- Look for water from the refrigerator dripping or collecting along the exterior of the hose.
- Frigidaire suggests using a dry paper towel to wipe the line, the connection into the refrigerator, and the main water connection and valve to determine if they are wet.
- Check all of the connections to ensure the tubing is firmly inserted into the fittings and that there are no kinks.
- Check for loose fittings and tighten them, as well as all connections.
- If you cannot find the solution or fix the problem, contact an appliance repair professional.
6. The drain pan needs replacing.
If it still looks like your fridge is leaking water from the underside, the drain pan might be the cause. This oft-forgotten refrigerator part catches and holds liquid from normal condensation. Though the water typically evaporates as the unit cycles, a crack in the drain pan could cause water running into it to leak out.
Excess humidity also can cause extra water to build up inside of a refrigerator. Eventually, the water drains down to the pan. The pan could fill up, causing a leaking fridge.
Solution: Check the drain pan.
It’s helpful to refer to your refrigerator model’s instructions or diagrams before looking for the pan. For example, GE Appliances notes that drip pans on models from 1987 forward do not have easily accessible drip pans.
- If your model has a removable drain pan, look under your fridge and remove the kickplate or grille, using a screwdriver if necessary.
- Pull out the plastic drain pan housed there. Most are located under the refrigerator at the front or back. Refer to your refrigerator owner’s manual for a diagram of the pan and instructions for its removal.
- A completely empty drain pan could indicate a crack, since they should always have some water inside.
- If the pan seems overly full, especially if you live in a humid environment, look for water inside the refrigerator.
- If humidity appears to be the problem, check and replace the door seal if necessary, and look for ice build-up on vents. Try not to open the door as often on humid days, and consider placing a dehumidifier near the refrigerator.
- Check for cracks in the plastic pan; reinstall if it has no leaks. Replace it with the appropriate manufacturer part if it is damaged.
- In models with inaccessible pans (that might require removing a condenser to reach, for example), contact an appliance repair professional.
7. The water dispenser is broken.
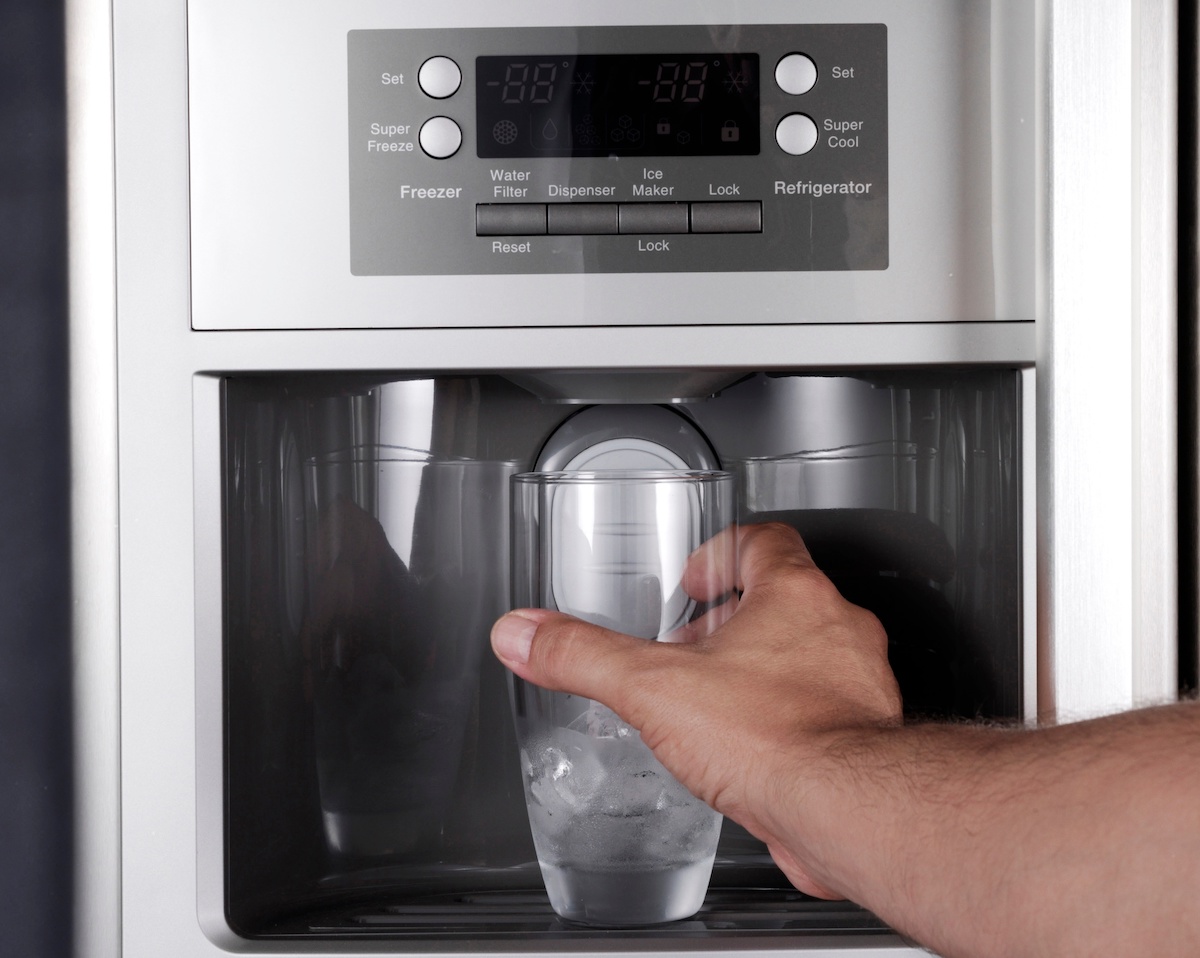
If the water dispenser on the door of your refrigerator is dripping or water pools at the bottom of it, the problem might be in the lines. Air in the line or a blockage can affect water flow to the ice and water dispensers. The water dispenser also will drip if the inlet water valve is not shutting as it should.
Solution: Inspect the dispenser and filter system.
If you have already checked the water lines supplying the dispenser, try these steps to determine the cause:
- Check the water pressure of your home at the kitchen faucet. If it is too low, the dispenser will drip. If that is temporary, the dripping should stop. Chronically low water pressure could require a fix by a plumber.
- Try to find where the leak begins, such as droplets forming at the tip of the dispenser. If the valve appears to malfunction or if it is loose, it might need to be replaced.
- Also check the ice dispenser to see if frost or ice are clogging the chute. Look for damage on the dispenser door.
- Look for any damage to the controls or switches that send signals to the dispenser. Although the fix likely requires an appliance professional, you can at least look for possible damage.
- Try dispensing a few quarts of water to help clear air from lines and then see if the leak continues. While dispensing, note the water flow.
- KitchenAid recommends removing the system’s filter and running water without it to see if the flow increases noticeably. If it does, replace the filter, which could be clogged or installed wrong.
8. Excess frost is building up.
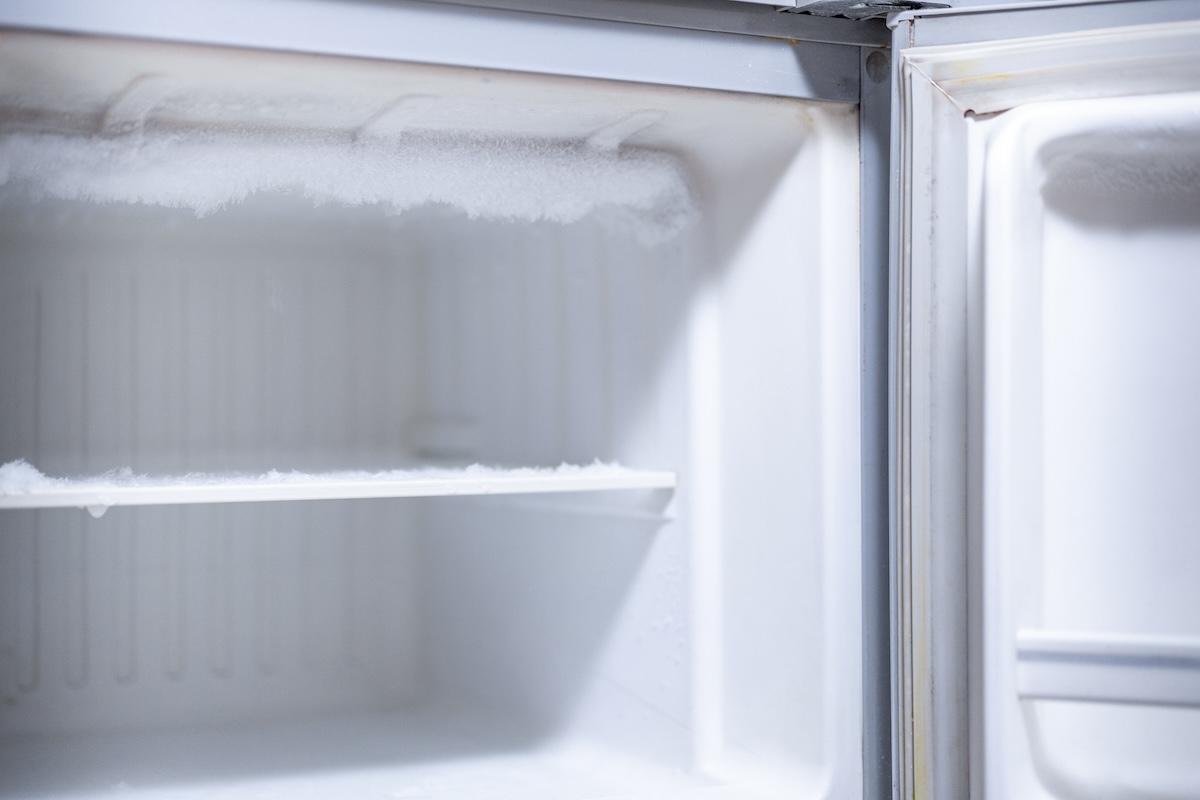
According to GE Appliances, almost all refrigerators manufactured today have an automatic defrost system. This system produces some of the drainage discussed in the causes of a refrigerator leaking water that are outlined above. If the defroster is not working as it should or you have a model with manual defrost or partial automatic defrost, you might need to address the frost built up in the compartment.
Solution: Defrost the appliance.
You might need to defrost your freezer. If manual defrost is required, GE Appliances suggests doing so when frost has built up to ¼ inch to ½ inch of thickness. Check your product manual for instructions on using any built-in defrost functions and for troubleshooting or correcting frost buildup. In general, here are the steps commonly used to fix this issue.
- Turn the temperature control dial to its coldest setting about 6 hours before you plan to defrost it. This ensures that frozen food is as cold as possible before you remove it.
- Unplug the freezer or disconnect its power.
- Remove the frozen food, and insulate it with newspaper and a blanket, or store it in a cooler or cold area.
- You may have to remove the drain cover and empty the drain pan before beginning. See these tips from Amana for defrosting models with or without a drain system.
- Place an uncovered pan of hot water in the freezer to speed defrosting. Avoid using ice picks, knives, or other sharp tools to chip away ice.
- Use paper towels or a sponge to wipe down the walls as ice melts.
Leave it to the pros
Appliance specialists in your area are available to assist—connect and get a free repair estimate today!
Final Thoughts
If you see water pooling in or near your refrigerator, the fix could be as simple not lingering in front of open refrigerator doors, or opening the refrigerator less frequently. Other causes relate to clogged water supplies, clogged defrost drains, or damaged or clogged parts like water dispensers or the door seal.
Always begin by referring to the manufacturer’s literature for your refrigerator model; most owner’s manuals include some troubleshooting advice. Tackle the solutions above that you’re comfortable addressing. And though smart refrigerators might seem too high-tech to fix on your own, Sirios says owners can correct most problems. “All the manufacturers offer toll-free numbers, where an owner can reach support agents ready to help,” says Sirios. If it is too difficult to determine the cause or too overwhelming to move and unplug your refrigerator, call an appliance repair professional. Depending on the cause and age of the unit, it might even be time to replace your refrigerator.