We may earn revenue from the products available on this page and participate in affiliate programs. Learn More ›
Holiday entertaining is getting underway, and gracious hosts everywhere are busy cleaning, shopping, decorating, crafting, and cooking up all sorts of incredible edibles for family and friends. With all that planning and hard work going into creating delicious dishes for guests, the last thing you need is a fridge on the fritz. Fortunately, most common fridge ailments are easily treatable by the handy homeowner. Armed with just a little bit of know-how and some readily available parts, you can deal with many maladies before they become dining disasters. Here are a few typical problems and some DIY solutions that can help keep your hardworking refrigerator in tip-top shape.
How to Troubleshoot Refrigerators for Common Problems
We ask a lot from our refrigerators. We open and close the doors multiple times a day and still expect the appliance to maintain a constant, even temperature no matter how much food is stored inside or how much time we spend standing in front of an open door, pondering what’s for dinner. Keeping your fridge in tip-top shape means devoting a little bit of time to routine maintenance and being on the lookout for potential problems before they occur. But when problems do strike, many issues can be easily addressed without calling in a repair technician—saving you both time and money!
The first step in troubleshooting: Consult the manufacturer’s manual. Most manuals have a list of common problems and potential solutions. Some of the most common problems can be solved with a little cleaning, vacuuming, tightening, or leveling. You may want to perform a quarterly inspection to look for common problems, such as puddling water inside or outside the fridge, a buildup of dirt or dust on the coils or fan, excessive noise or vibration, frequent cycling, and problems with the freezer or ice maker. Here are some typical fridge problems along with their solutions.
PROBLEM 1: Puddling Water
The situation: You’ve found a puddle of water on the floor in front of or under the fridge.
Possible solution: Tighten and/or replace any faulty tubing.
Start by identifying the source of your refrigerator leak. The most common troublemaker, and the first place to check, would be the water supply to the refrigerator’s ice maker and/or water dispenser. Look for the water supply shut-off valve, either in the basement or under the sink closest to the refrigerator. Once the water has been shut off, replace any cracked, worn, or brittle tubing according to the instructions that come with the part.
Alternatively, you may need to replace the water inlet valve, which is a solenoid-operated device that connects your household water supply line to your refrigerator. This valve can usually be found at the rear of the fridge, near the bottom. First, carefully inspect its supply connections for leaks, then tighten or replace the connectors; while you’re back there, check the valve body for any cracks and replace if necessary.
PROBLEM 2: Excessive Noise
The situation: Noise, noise, noise! Your fridge is making grinding and scraping sounds.
Possible solution: Check and clean out your appliance’s fan motors, located at the condenser and evaporator.
Most modern frost-free refrigerators operate with a fan-cooled condenser coil, which is located near the compressor, at the bottom rear of the fridge. To investigate whether or not that fan is functioning properly, first disconnect all power to the fridge and remove the rear access panel. Look for any obstructions or debris that could be preventing the fan from moving freely. If any fan blades are damaged, or if the motor shows visible wear, these components will need to be replaced. Also, check the rubber mounting grommets for signs of wear, and replace if necessary.
If the noise seems to be coming from the freezer, however, the evaporator fan motor may be the one to blame. Located in the freezer compartment, this motor pulls air over the evaporator coils when the compressor is running. Again, disconnect all power to the fridge and remove the evaporator fan cover from the freezer. As with the condenser fan, if any of the fan blades are loose or damaged, or if the motor shaft doesn’t turn freely, these parts will need to be replaced. Also, check the evaporator fan motor grommet, which isolates the motor from the mounting bracket; regular wear and tear can cause the grommet to detach, leading to increased vibration and noise.

PROBLEM 3: Frequent Cycling
The situation: The fridge cycles on and off more frequently—or worse, it won’t start at all anymore.
Possible solution: Dust out your fridge’s coils.
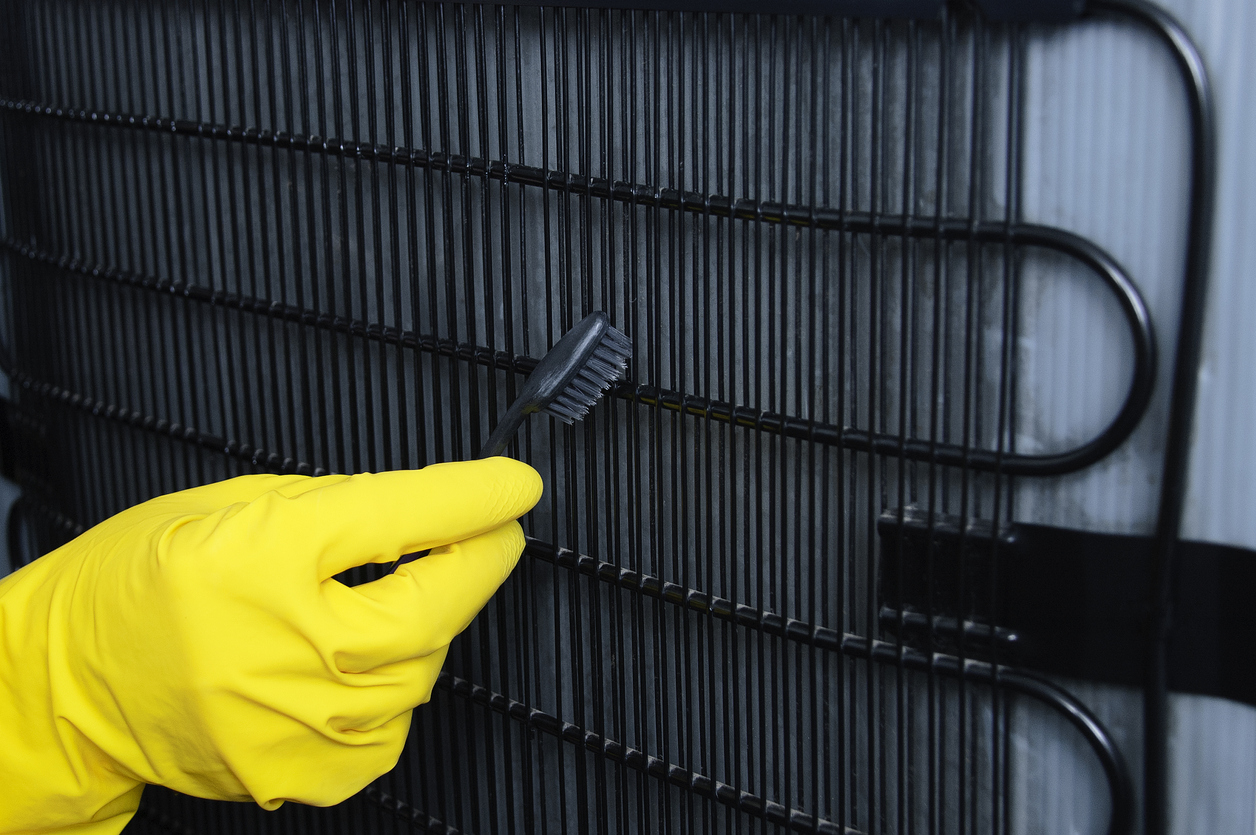
Frequent cycling often indicates dirty condenser coils and dirty fan blades. Especially if you share a house with animals, dust, debris, and fur can accumulate along the condenser fan blades and on the coils. In extreme cases, this condition will trip an overload relay and prevent the fridge from turning on at all. But the fix is an easy one: Turn off the power to the unit, and remove the rear access panel. Carefully vacuum the coils, fan blades, and motor with the brush attachment of your vacuum. To help prevent future dust buildup, cut a section of lightweight filter material—or, in a pinch, stretch a piece of old pantyhose—and fit it inside the vent panel beneath the door to trap debris before it reaches the coils.
PROBLEM 4: Frost or Ice Buildup
The situation: You’re constructing a mini glacier inside your freezer.
Possible solution: Seal up any gaps.
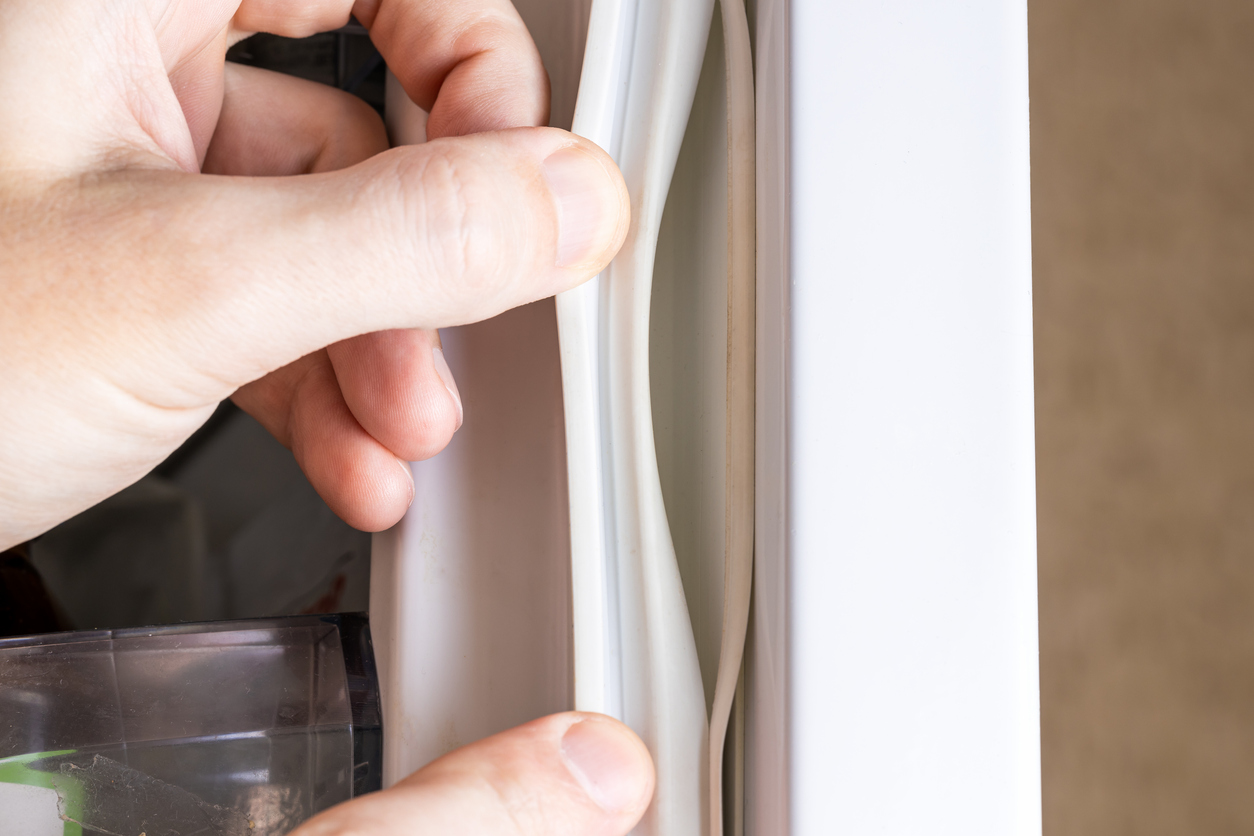
Ice and moisture buildup inside the freezer or refrigerator compartment typically results from damaged door gaskets or torn seals. A leaking gasket or seal will allow cold air to constantly seep out of the unit and allow excess moisture to enter, creating a layer of frost—one that eventually turns into an ice dam. To see if you have a leak on your hands, stick a high-powered flashlight inside the freezer with the beam pointed at the door and shut it inside. Kill the lights in the kitchen. If you see any light leaking around the door, replace the defective gasket. Clean the gaskets regularly to help keep them pliable and working properly.
If you can’t find any problems with the gaskets, check the door hinges next. If the hinges have become worn out or the lubricating grease has dried out, the doors may not close completely, allowing moist room air to seep into the fridge. A common indicator of a faulty hinge is a thumping or scraping noise when the door is opened or closed. Lubricate stiff hinges with food-safe grease, and replace any worn or damaged hinges altogether.

PROBLEM 5: Ice Maker Not Producing Ice
The situation: Your ice maker just doesn’t work.
Possible solution: Flip the functionality back into gear.
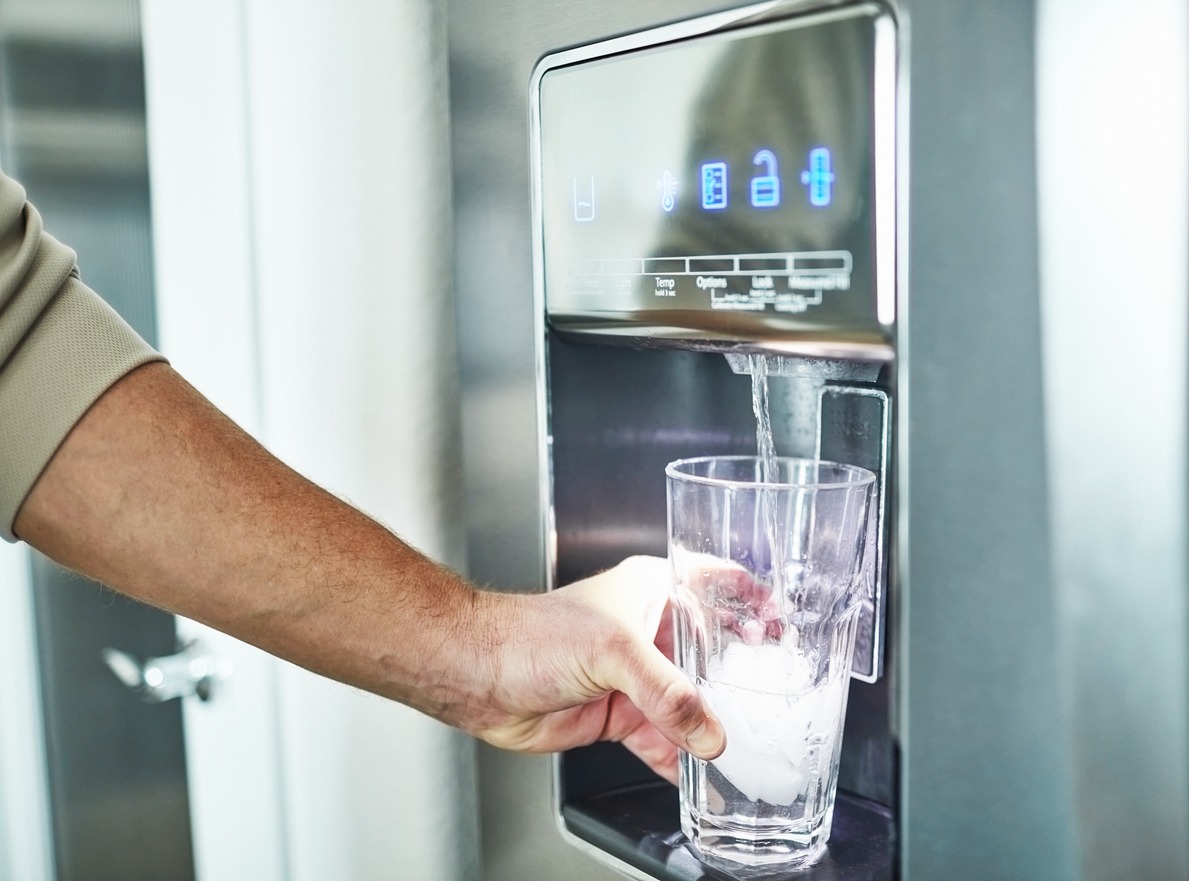
Yes! It can be that simple. Check to see if the wire along the side of the ice maker assembly is raised, which indicates the unit is turned off. Typically, there is a red lever that lowers the wire into the “on” position. (If there is no lever, gently pull down on the wire itself to turn the unit on.) Another problem may be a blockage or leak in the water supply system. Inspect the fill tube and the fill cup area at the back of the ice maker to make sure nothing is blocking the water supply. Sometimes a buildup of ice (caused by faulty door gaskets) can block the fill tube; you can defrost it using a hair dryer.
You should also inspect the inlet valve and water supply tubing for leaks or damage. Finally, check to see if your ice maker is equipped with a filter. Many newer models include a carbon filter that removes debris or contaminants from the local water supply. Over time, the filter can become clogged, thereby reducing the water flow to the ice maker. Most manufacturers recommend checking and replacing the filter every 6 months, or more frequently if necessary.
PROBLEM 6: Excess Moisture Inside the Fridge
The situation: You found a spill inside your refrigerator, but nothing seems to have leaked.
Possible solution: Clean and clear out the drain tube.
Many fridges have a drain tube that routes excess moisture to a drain pan underneath the fridge; there, the evaporator fan then blows over it to disperse the moisture. If the drain tube becomes blocked by food spills or other debris, that moisture could end up inside your fridge rather than where it’s supposed to go. Turn off the power to the refrigerator and look for the drain plug, which should be located near the back or bottom of the main fridge compartment. Next, use a turkey baster to force a 50-50 solution of bleach and warm water (or, if you prefer, white vinegar and warm water) into the drain tube. Repeat this process several times, and then remove and clean the drain pan.

PROBLEM 7: Door Does Not Close or Seal
The situation: Your door seals don’t make full contact with the edges of the fridge.
Possible solution: Inspect and clean the door seals regularly, wiping them down with a damp cloth. Replace any torn or damaged seals. Make sure the fridge is level so the door closes properly.
In order for your refrigerator to do its job and keep food from spoiling, the doors need to be closed. Every time you open the fridge door, the interior temperature rises, forcing the motor to work overtime to reduce the temperature to optimal levels. The same is true of the door seals: The fridge works properly only when the door seals are tight and in full contact with the body of the fridge. Liquid spills, food particles, debris, or dust can build up in the creases of the seals and prevent your fridge doors from closing properly. You should regularly wipe down the seals with a clean, damp cloth to make sure they can do their job.
Another reason the doors may not close properly is that the fridge isn’t level. Use a standard level to make sure the fridge is level front to back and side to side; adjust the leveling legs on the bottom of the appliance as needed.
PROBLEM 8: Light Isn’t Working or Constantly Stays On
The situation: The light doesn’t come on…or it stays on all the time.
Possible solution: Check the fridge’s power source; check and change the bulb if necessary; check that the door is sealing completely; check the door switch.
When a fridge light doesn’t work, the most common reason is a power outage or a burned-out bulb. Check for a general power outage or a tripped circuit breaker first, then check that your fridge is plugged in. If you suspect a bad bulb, unplug the fridge and remove the bulb. Gently shake it. If you hear a rattling noise, the filament is damaged and you need a new bulb. (Most fridges have either a 25- or 40-watt bulb, available at your local hardware store or home center.) Check the socket when you remove the bulb. Wipe dirty contacts with a clean, damp cloth, and make sure the contacts are clean and dry before replacing the bulb.
For a bulb that stays on all the time, check to make sure that the doors are sealing properly. If the doors don’t seal all the way, the light will stay on. You may also want to examine the door switch and make sure that it is clean and moving freely. Most door switches are plunger-type mechanisms and should move in and out easily. If the door switch is stuck, clean it with a soft cloth and warm sudsy water.

Know When to Call In a Professional
These fixes are great to keep in your back pocket, but certain problems do not lend themselves to a DIY approach—especially issues involving the coolant or electrical systems. Call in reinforcements if:
- the condenser coils are cracked or damaged
- you feel an oily residue on the floor of the freezer compartment
- you hear a slight hissing noise and the fridge is not cooling effectively
- the unit continues to cycle frequently even after you have cleaned the condenser coils
- the outer shell of the unit is sweating
- the fridge breaker keeps tripping in your main electrical panel
- the unit is leaking and you can’t locate the source of the leak
FAQs About Refrigerator Troubleshooting
Refrigerators are typically extremely reliable and deliver years of trouble-free service. To get the most from your fridge, however, you should spend a little bit of time with the owner’s manual to make sure you understand what basic maintenance to perform—and how often—and learn about possible solutions to some common problems. Always consult the manufacturer’s recommendations before performing any troubleshooting or DIY repairs!
Q. How do I level my refrigerator?
Refrigerators must be level to work properly. You should follow the instructions in your owner’s manual to learn how to level your specific model, but here are the general steps:
- Remove the front grille or kickplate (you may need a screwdriver for this).
- Locate the leveling legs or adjustable rollers.
- Use a builder’s level to make sure the fridge is level side to side and front to back. Some manufacturers recommend that the front of the fridge be 1/4 inch higher than the rear; check your owner’s manual.
- Adjust the leveling legs or rollers to level the fridge; you may need to use a wrench or screwdriver. (Turn clockwise to raise the fridge; turn counterclockwise to lower.)
Note: If your floors are extremely uneven and you are unable to adjust the leveling legs enough, you may need to use plastic or wooden shims underneath the legs to get the fridge level.
Q. How cold should my refrigerator be?
The optimal temperature for the fridge compartment is 37 degrees Fahrenheit; the freezer compartment should be set at 0 degrees Fahrenheit. Always keep your fridge set below 40 degrees Fahrenheit to ensure food safety. It is best to check the temperature with an outboard appliance thermometer.
Q. Does my refrigerator need annual maintenance?
You should read your owner’s manual and perform routine maintenance on your refrigerator as recommended. Annual maintenance includes inspecting and cleaning the coils and fan, replacing water filters, and checking that the fridge is still level. Regular quarterly or monthly maintenance tasks include checking the temperature with an appliance thermometer, cleaning the door seals, and vacuuming the front grille plate.
Q. Where can I find the wiring diagram for my refrigerator?
Most refrigerators have a wiring diagram located on the actual appliance. Some common locations include inside the refrigerator section of the control panel, to the right or left side of the condenser, or behind the front grille. Your owner’s manual may also include a copy of the wiring diagram. If you cannot locate it, visit the manufacturer’s website or call customer service.

Final Thoughts
Your refrigerator is one of the hardest-working appliances in your home, but it’s also one of the most reliable. Typically, a fridge will last 10 to 15 years, but you can extend the lifespan considerably—up to 20 years, in some cases—by performing routine cleaning and maintenance, and taking care of small issues before they become big problems. Regularly checking and cleaning the seals, inspecting and checking the water supply and hoses, changing the filters, keeping the vents clear, and vacuuming the coils and fan will maximize both the performance and lifespan of this vital appliance.


