We may earn revenue from the products available on this page and participate in affiliate programs. Learn More ›
You can paint it, tile it, or cover it in wallpaper, but the day may eventually come when you’ll want to remove or redo your kitchen backsplash. While the splatter guard is traditionally installed as a permanent wall treatment, renters or homeowners seeking a band-aid backsplash before committing to a more costly or large-scale kitchen renovation often seek out temporary alternatives to the coveted kitchen feature.
A removable backsplash is an ideal solution: You can install and enjoy it now but painlessly detach it at a later date without dinging, discoloring, or otherwise damaging the wall behind it. Although the materials and installation techniques for these bold removable backsplashes are unconventional, the results are as beautiful as any you’d get from a permanent backsplash option. Scroll down to get inspired by them, then recreate one for your own kitchen.
Go Back to the Drawing Board
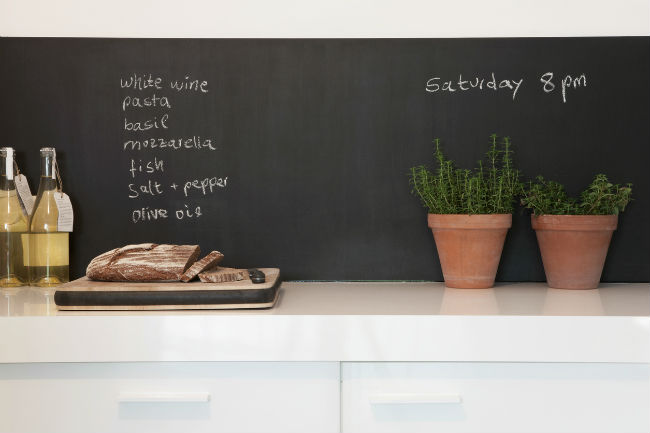
What better way to fuel the creative appetites of little ones or grown-ups with big imaginations than with a chalkboard kitchen backsplash? With this removable, roll-on chalkboard paper from NuWallpaper (available at Home Depot), you can skip the messy ordeal of slathering chalk paint onto the walls by brush or roller. Instead, simply cut, peel, and stick a few sheets of the self-adhesive vinyl wall treatment to your kitchen walls. Because excessive moisture could cause damage to the paper, save this for the backsplash area underneath cabinets that aren’t directly behind the sink. Or, go ahead and roll on behind the sink! Since the paper comes in 18-foot-long sheets (nearly 31 square feet total) you likely have some to spare if you need to redo a section because dish duty got rowdy.

Stick ’em Up
Stuck with boring square tile? Consider each its own blank canvas. Vinyl decals cut can create the pattern your display is missing. Jill at Snugglebug University cut hers out with a machine (her handy Silhouette Cameo), but readers can achieve similar designs with steady hands and a pair of scissors or even a variety of punches to create this removable backsplash.
While the process of aligning each piece precisely may seem tedious, you can’t beat this solution for how economical it is: One roll of self-adhesive vinyl in black, or any other hue you like, can transform your existing tile backsplash with enough material leftover to tackle another in the house.

Roll With It
If placing individual vinyl stick-ons sounds like too much work to you, consider finding a patterned temporary wallpaper that you can roll on by the sheet. Already designed as a renter-friendly option for wall coverings, this class of wallpaper goes on easily over primed or painted walls and other flat surfaces—the perfect makings for an easy-to-apply and easy-to-remove backsplash. It’s not hard to find a repeating pattern that closely resembles a tiled wall, as Naomi from Plaster and Disaster has done. Read about her adventure in choosing, peeling, smoothing, and trimming two rolls to fit her kitchen backsplash in full, and you’ll feel well equipped to tackle the project yourself.

Fake Tile with Finger-Painting
Though it looks convincingly like an installation of pricy Morrocan tile, this removable backsplash takes only pre-cut wood tiles and Unicorn SPiT gel stain (available individually or in kits on Amazon). Yes, in fact, that beautifully imperfect variegation commonly found in glass tiles can be replicated by blending a trio of bright hues with your fingers, just as Designer and TV host Mark Montano does here. Like others before him, he recommends first laying out and gluing all pieces to a cut piece of plywood and then mounting that panel to your wall with a more temporary means, like double-sided tape or even several 3M command strips. Before it goes on the wall, though, one final coat of Famowood Glaze Coat Epoxy Resin (also available on Amazon) achieves the high-gloss look of glass tile.
Get Hooked
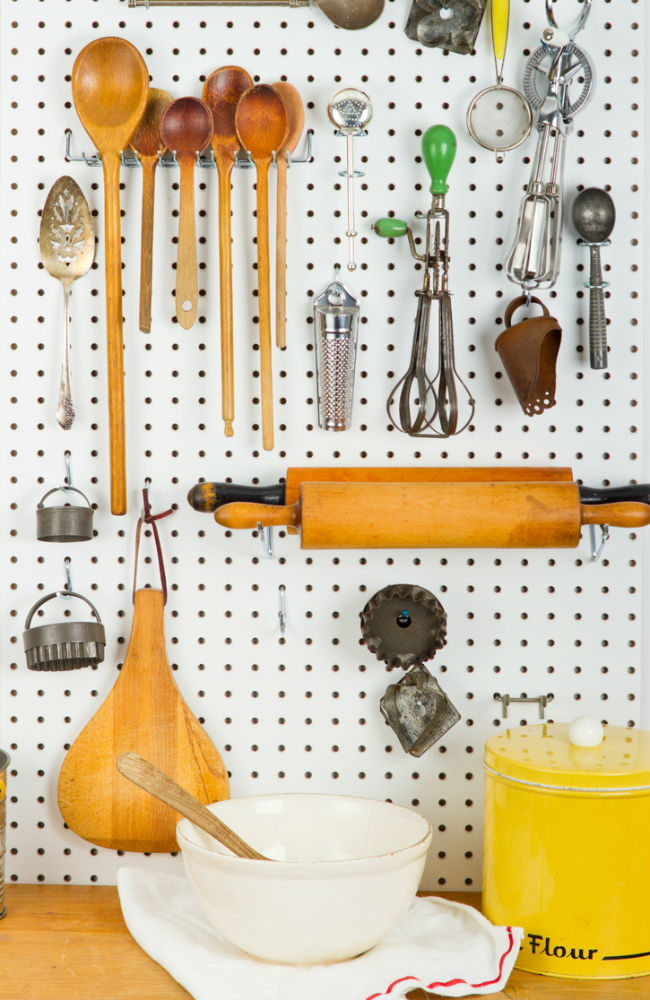
If you’re interested in a new look as well as a little extra a function, the hole-and-hook system of pegboard can lend its organization to the kitchen. A pegboard laid over your existing backsplash lets you hang up loose serving utensils, pots, pans, or decor to conserve precious space on your work surface. You could paint the particle board with a satin or semi-gloss finish (which is easier to clean than an unfinished board). Then mount with furring strips to install your removable backsplash over drywall.
Or, you might consider an upgrade: Rust- and rot-resistant, the metal pegboard panels from the Pegboard X2 line are ideal wall treatments for the moisture-prone quarters of the kitchen. Should the pegboard get splattered with food or grease, simply wipe it down with soap and water to get it spotless and shiny again. Plus, these are designed with back flanges, so all you have to do is screw the panels into the wall, then insert hooks and hang up your kitchen supplies.
Anything but Square
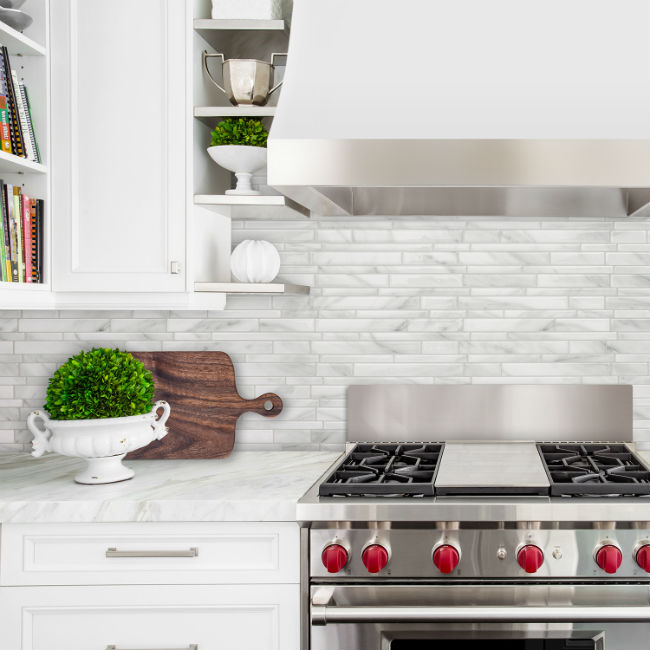
Love the clean and crisp look of tile, but balk at the thought of painstakingly laying individual tiles with glue, then applying mortar and grout with specialized tools? Or, maybe it’s your landlord who doesn’t like the idea of tenants applying permanent tiles to a rented space. Choose the right tiles, though, and the job can be easy and temporary. Decorative Smart Tiles (available at Home Depot) feature a gel-topped adhesive backing that makes installing them a fail-safe two-step process: Peel and stick into place. These heat-, humidity-, and crack-resistant tiles stand up to almost anything—they’re even less susceptible to the gradual yellowing that often befalls traditional tile installations. Removal is just as easy: Take a hair dryer to your removable backsplash to soften the adhesive, then gently tug at the corners to bring it down.
Cut from a Different Cloth
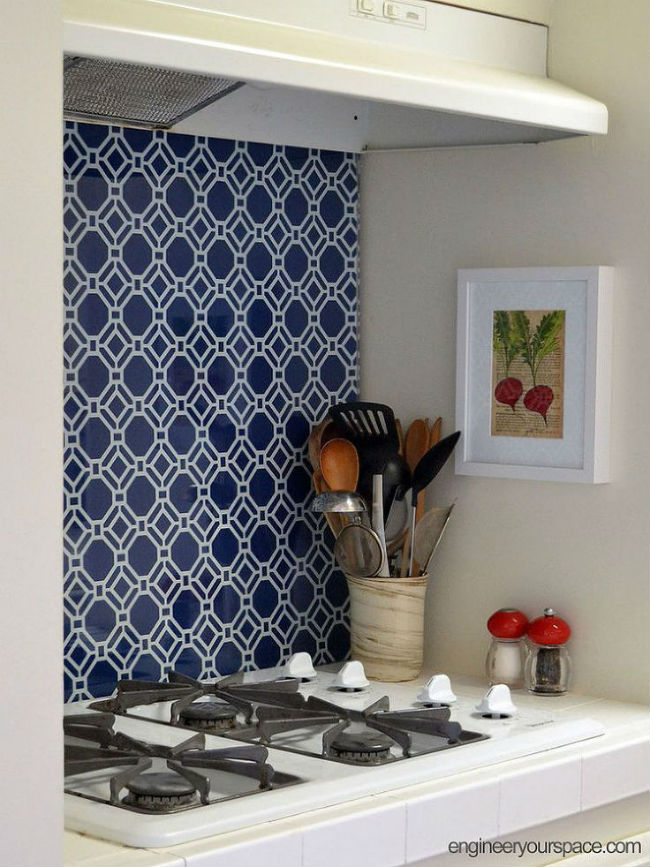
Superstar sartorial skills are not required for this tailor-made fabric backsplash. In fact, we promise no needles at all if you follow the lead of Isabelle at Engineer Your Space! She instructs on pulling your favorite fabric (like this tile-like geometric pattern) taut over the front of a cut-to-size piece of plywood, securing it with staples, and fitting it snugly in place between your countertop and your cabinets. A piece of tempered glass cut to the same size protects the linen from grease stains and flames from the nearby stovetop.
Alternatively, fabric, liquid starch, and a paint roller can do the trick to turn a sheet of fabric into a temporary wallpaper. Simply roll the liquid starch onto the desired area of a kitchen wall, then stick several pre-cut fabric panels—either solid or patterned—to the glue. Smooth over any creases in the fabric with your hands as you apply the fabric for a professional-looking wall treatment made by yours truly.

Temporary Tile
If, like Jessica of Four Generations Under One Roof, you’re eyeballing a tile that is meant for mortar but still not ready to say “yes” to a lifelong installation in your kitchen, give her glass subway tile project a try. The secret to this removable backsplash is its backer board construction. She cut hers into three-foot panels with a skill saw, screwed them into her walls, and then topped the wall coverings with subway tiles using a thin-set mortar and sand-less grout (which won’t scratch glass tile). Follow her detailed journey to recreate at home—and keep a plastic level handy, so that your backsplash will go on perfectly straight.

Into the Woods
Reclaimed wood veneers are guaranteed to enhance the warmth and intimacy of a cold and clinical kitchen, but their traditionally permanent application has made them a less-than-ideal backsplash option for renters. Not so with Weaber decorative barn wood panels (available at Home Depot). These lightweight boards need only brad nails to stay up on a kitchen wall, and those fasteners leave behind minimal damage when removed. (Seriously! Just spackle those tiny holes when you’re ready to move out.) Once in place, the kiln-dried planks set the scene for a back-to-nature-inspired kitchen.
The Luck of the Draw
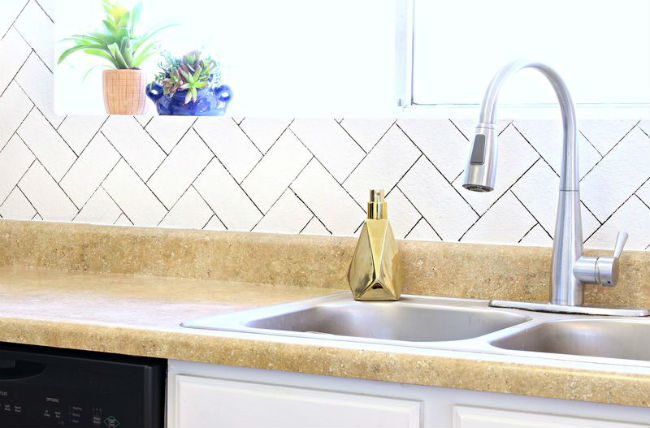
Make no bones about it: This Sharpie-scrawled backsplash from Mallory and Savannah shared over at A Beautiful Mess is the easiest way to copy the look of a herringbone mosaic tile backsplash without facing the wrath of your landlord. Enlist the duo’s tutorial, a carpenter’s square, and a single subway tile, then begin tracing the tile at an angle on the wall to create the traditional V-shaped design. Then, go over the penciled-in pattern with an oil-based Sharpie paint pen. Any color will the do for these faux grout lines, but black against stark white in this kitchen achieves a particularly pleasing visual contrast. Fresh coats of primer and paint can hide this renter-friendly backsplash before you move out.
RELATED: Bob Vila’s Best DIY Projects for Beginners

Close Contact
Contact paper is a godsend on any style-devoid surface, but its effortless removal (by the heat of a hairdryer) is especially prized in the kitchens of noncommittal do-it-yourselfers like Malissa and Machelle of A Joyful Riot. The peel-and-stick application of this faux marble backsplash forgoes the high cost of marble slabs and the professional labor associated with toting them in and installing them. Simply roll the self-adhesive vinyl film on with pointers from these crafty bloggers, and the slick finish of the removable backsplash means cleanup never feels like a chore.

Accidental Art
Turn “oops” moments in the kitchen into a work of art.by upcycling broken plate fragments into this mind-blowing mosaic backsplash from Marisa, as seen on Design Sponge. On a piece of plywood covered in ceramic tile adhesive, arrange your combination of colorful plate shards and miscellaneous tiles in a random pattern and fill their cracks with a dark grout to ensure the design pops. Don’t have enough plate fragments to fill the board? Complement the plates with broken seashells or the shards of old china to increase visual variety. Once dry, the board can be secured to the kitchen wall using a heavy-duty French cleat and screws, which are much easier to pull down in the future than if you stuck individual tile pieces directly onto the wall.
Size Doesn’t Matter
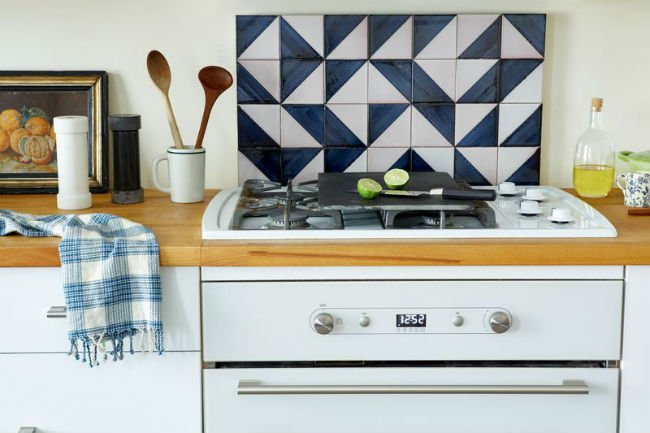
For most practical home chefs, a backsplash’s main purpose is to save the wall from splatter that flies off the range during your meal prep. After all, scrubbing cooked-on tomato spots can wear away at your painted walls in the kitchen over time. Alex at Food52 assembled a small collection of tiles (picked up during a trip to Grenada, Spain) into a removable backsplash for her rental apartment. Since she was limited in materials to whatever she took back in her carry-on luggage, this project was never destined to fill an entire kitchen wall. Still, the miniature design serves its purpose well and turns this corner of the kitchen into a focal point. Designed to span close to the width of the stove top and the height of the space between stove and cabinets, this surface catches any splashes of sauce and grease splatter. To adhere to the wall, she fixed the tile design first on plywood by troweling on and texturing mastic, then pressing tiles into place. Once dry, this plywood also fastens to the wall via a French cleat.

A Lighter Metal
Just as stainless steel appliances or brushed chrome accents can look sharp in your kitchen, so can metallic tile behind your countertop appliances. Thanks to the Fasade Backsplash Panels (available individually or in kits at Amazon), you can capture the charming nature of tin ceilings found in vintage homes for a fraction of the cost. Plus, installing these thermoplastic embossed panels is easy, as they are thin enough to be cut with scissors or utility knives and light enough to be hung by decorative nails or tacks. The hardest part may be choosing from the 18 metallic finishes offered; even then, if you can’t find your color, there’s a matte white option to paint.
A word of caution for when it comes time to stick ’em up: Keep these tiles from coming within 6 inches of your cooktops and ovens. Otherwise, excessive heat (temperatures above 140 degrees Fahrenheit) can alter the tile’s original form and tarnish your new look.
