

We may earn revenue from the products available on this page and participate in affiliate programs. Learn More ›
That inconspicuous toilet shut-off valve doesn’t see much action. In fact, that valve may sit for years without ever being closed. That’s not a good thing. After going unused for so long, the valve’s rubber washers begin to dry rot so that when you finally give it a turn, it leaks. And since the valve is usually only closed when the toilet isn’t working, a leaking shut-off valve often adds insult to a repair that’s already in progress.
This guide explains how to replace a toilet shut-off valve, and get your porcelain throne back in service as soon as possible.
Tools & Materials
Bobvila.com may earn a commission from purchases made through these links.
Before You Begin
You need to assess the type of plumbing you have before starting a toilet shut-off valve replacement.
- If you live in a home built before 1980, chances are you have iron pipes. Corroded iron pipes can break and crumble when you attempt to remove an old shut-off valve, turning what was supposed to be an easy repair project into a DIY nightmare. For that reason, it’s best to hire a professional if you’re dealing with old cast iron plumbing.
- You may also encounter copper plumbing. Copper pipes are often joined to toilet shut-off valves through a process called sweating, which involves soldering the joint with a blowtorch. This isn’t necessarily an obstacle for DIYers. You can easily cut a sweated copper joint and replace it with a compression connection, avoiding the need to wield high-intensity flames and combustible gas. But, if you want to “sweat” the new joint, it’s best to hire a professional plumber.
Finally, keep in mind that once you begin the process of replacing a toilet shut-off valve, your home will be without water until you complete the repair. Make sure you have all the necessary plumbing tools and supplies before you start, so you can finish the repair as quickly as possible and turn your water back on again.
How to Replace a Toilet Shut-Off Valve
Step 1: Cut the water supply to the house.
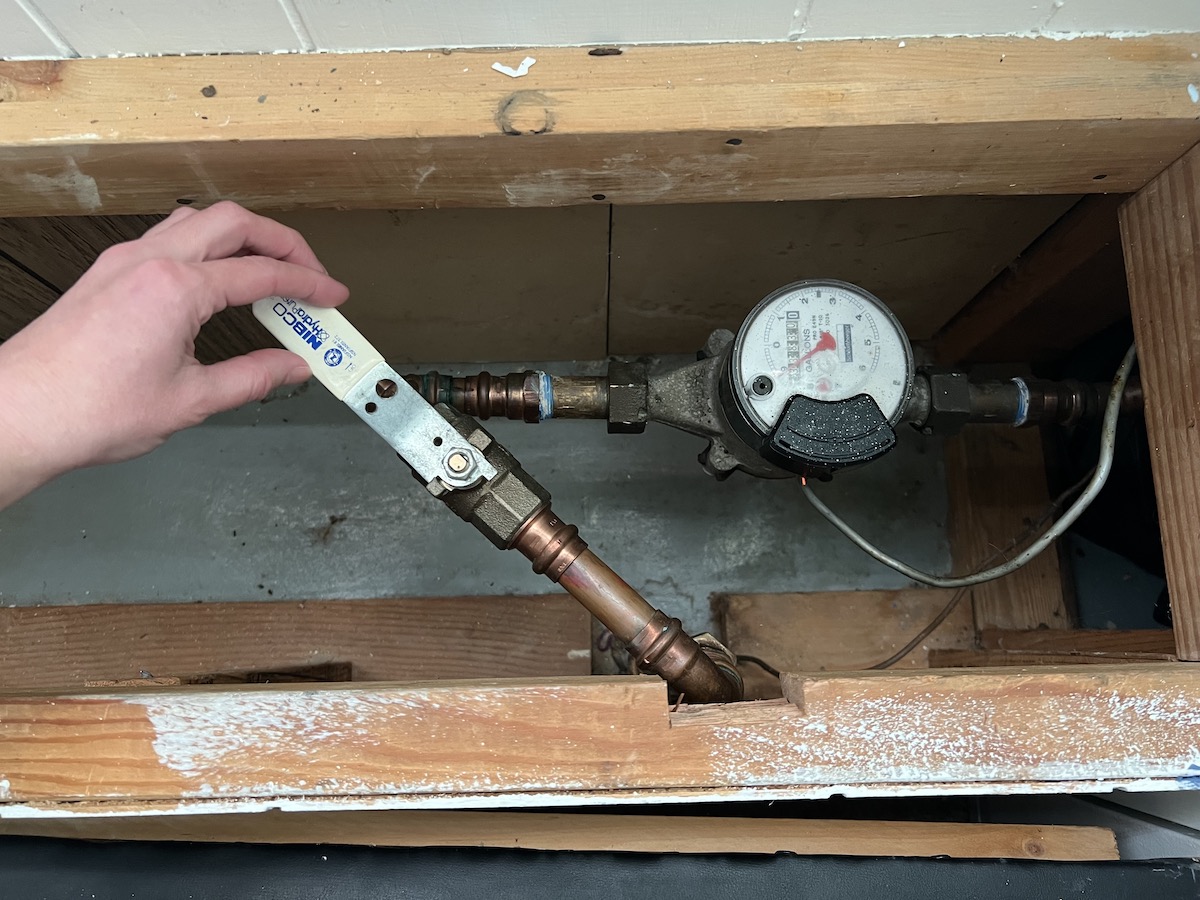
The water main shut-off valve in a home is usually located in the basement, but may be found in various other locations, including the laundry room, under the kitchen sink, or in a bedroom closet. Once you’ve found it, tighten the valve to shut off the water.
Step 2: Drain the water lines.
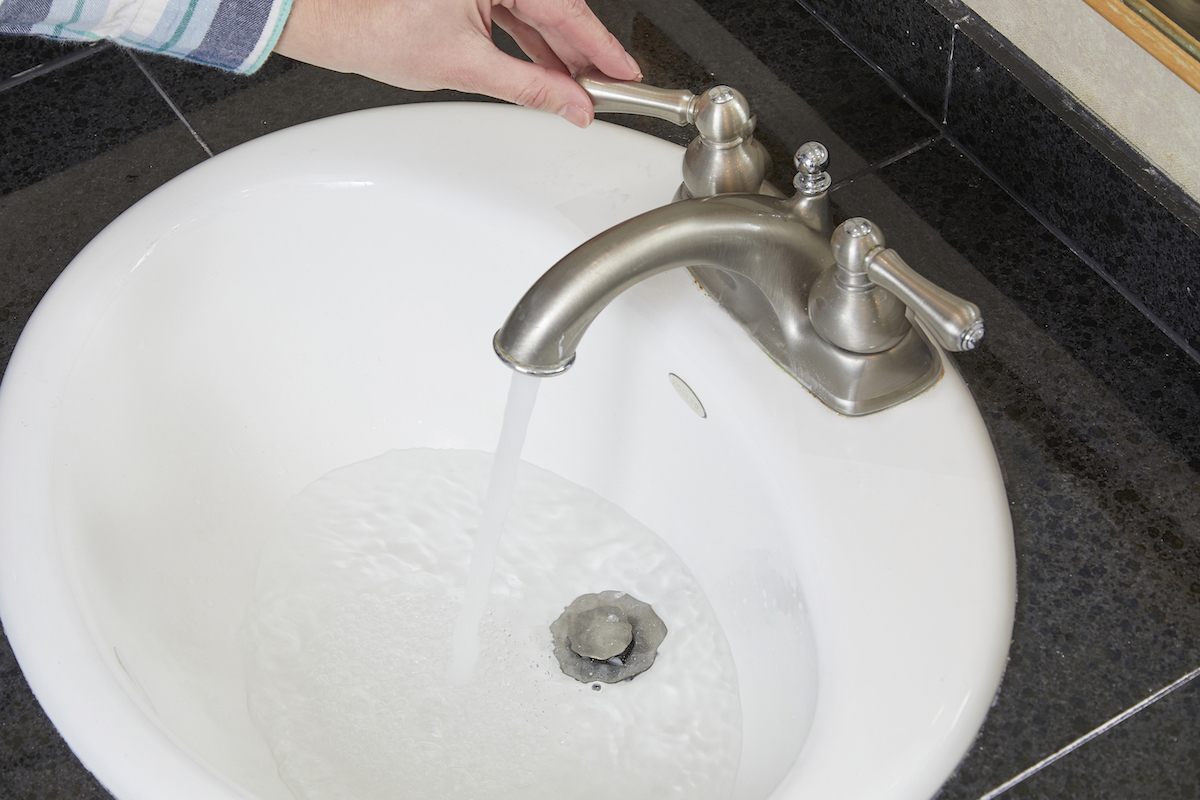
Before you remove the toilet shut-off valve, you’ll need to drain the supply line to prevent the water remaining in the pipe from gushing out onto your bathroom floor. Open a faucet that is below the level of the toilet valve you’re replacing. This step allows excess water to drain out of the water lines above it, including the pipe that supplies your toilet with water.
Step 3: Disconnect the supply line.
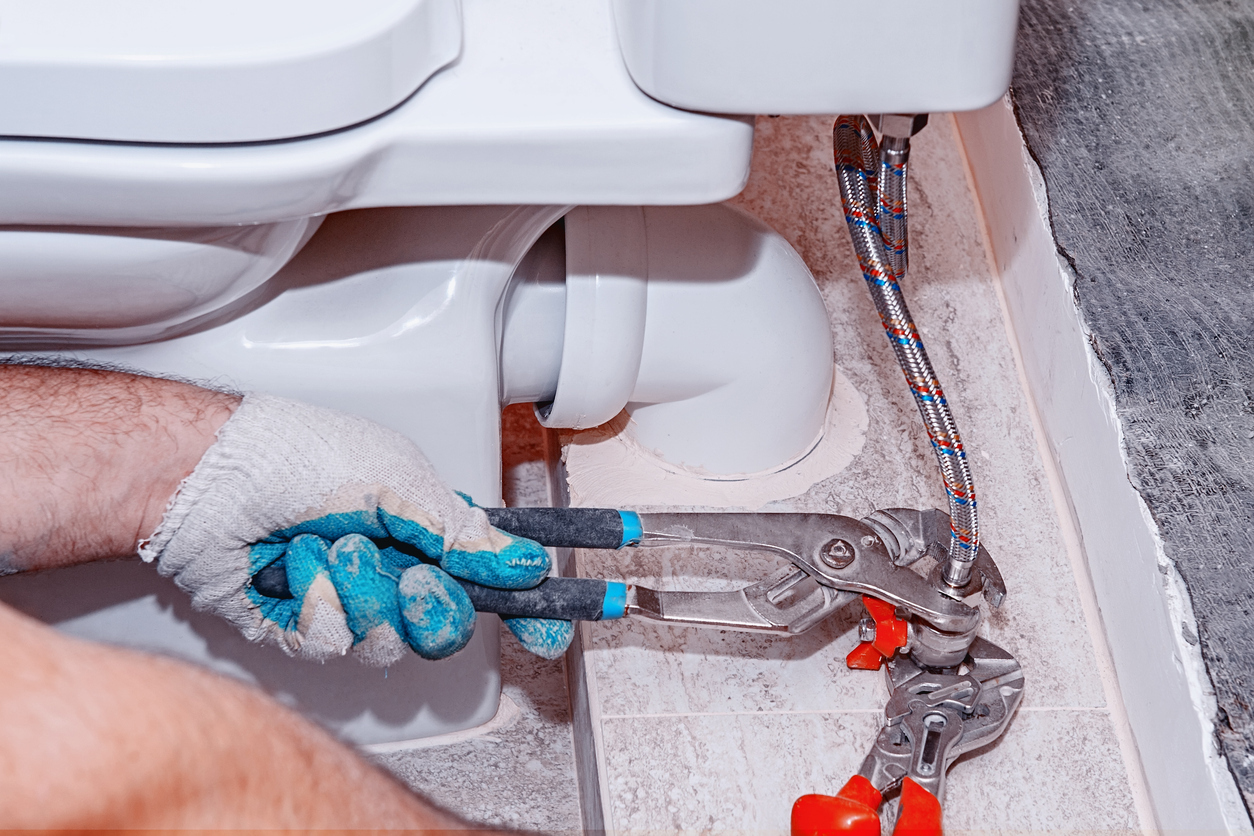
The toilet supply line is the flexible metal hose that runs from the toilet to the valve. Place a small bucket on the floor under the valve to catch any excess water that escapes from the line before you remove it. Use a crescent wrench to remove the bolt that connects the supply line to the valve. Then disconnect the line from the valve.
Step 4: Remove the old toilet shut-off valve.
The process for removing the toilet valve varies depending on the type of connection:
- For compression joints, use a crescent wrench to unscrew the bolt connecting the pipe to the existing valve while holding the pipe with a pair of pliers. The pliers will prevent the pipe from being twisted or bent as you apply pressure with the crescent wrench to loosen the bolt. Once you’ve removed the nut, pull the old valve off of the pipe. Then remove and discard the nut and compression rings.
- For sweated copper joints, place a tube cutter over the copper pipe as close to the old valve as you can. You need to leave enough pipe extending from the wall to have room to install the new fitting. Tighten the pipe cutter and rotate until it cuts completely through the metal, and then remove the valve.
Step 5: Install the new shut-off valve.
If you’re installing the new valve to a copper pipe, use a deburring tool to remove the sharp edge created when you cut it. Push the tool into the pipe firmly and turn a few revolutions until the edge is smooth. Skip this step if you’re working with a PVC pipe.
Next, slide the compression nut onto the copper or PVC pipe with the threads facing towards you. Then push the compression ring onto the tube. Slide the new valve over the pipe until it stops, ensuring the valve’s outlet is correctly oriented upward to receive the toilet’s supply line.
Hand-tighten the compression nut onto the threading of the new valve’s input. Then use two crescent wrenches, one to hold the valve body in place and the other to engage the nut, to tighten the nut another half turn.

Tried-and-True Advice
“When I replaced a toilet shut-off valve in my older home, I struggled with loosening the compression nut due to years of buildup and corrosion. A trick that worked like magic was gently heating the nut with a hair dryer for a few minutes. The heat caused the metal to expand slightly, making it much easier to unscrew. Just be careful not to overheat the area, especially if you’re working near plastic components, and always wear gloves to protect your hands from any hot surfaces. This simple tip saved me from damaging the pipe, and reduced frustration.”
—Paul Rankin, Contributing Writer
Step 6: Attach the toilet supply line.
Connect the toilet supply line to the new shut-off valve. If the supply line includes a compression nut, you can remove and discard the nut included with the new valve. Thread the nut onto the valve output. Hand-tighten the nut, then use a crescent wrench to tighten it another half turn.
If you can’t get the supply hose to line up with the new valve, you’ll need to loosen the valve nut and reposition it, so it lines up with the supply line. Make sure you adequately tighten all nuts before proceeding to the next step.
Step 7: Turn the water supply to the house back on.
Open the water main in the house then loosen the toilet shut-off valve by turning it counterclockwise. As the water begins filling the toilet’s tank, check for leaks around the new valve.
If there is a leak, shut off the water, empty the lines, and unscrew the valve’s compression nut. Add plumbers tape or plumbers putty to the threads on the valve. Reinstall, making sure to tighten all compression nuts, and recheck the fitting.
Final Thoughts
Replacing a leaky toilet valve is a repair that most DIYers can complete in a few short hours. By following these simple steps, you can ensure that your toilet valve replacement will go smoothly, eliminating the offending leak and allowing you to get your toilet back into service.
This project is one that most DIYers can handle, but remember not to bite off more than you can chew. Wrestling with old corroded iron plumbing is a recipe for DIY disaster. You can manage the PVC and copper repairs yourself, but call a plumber for the old stuff.
