We may earn revenue from the products available on this page and participate in affiliate programs. Learn More ›
An imperative “rite of spring” in our house is checking our two central air conditioning systems to make sure they are working properly. This involves eliminating any dirt or debris that may have accumulated during the winter as well as checking the hoses and ductwork.
This year, the main AC didn’t seem to have the cooling power it should, so we decided to have it checked out by a professional. As it turns out, this was an excellent idea.

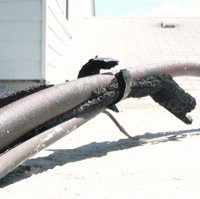
The technician checked our coolant levels and did a thorough inspection of the system, quickly discovering the source of our trouble: the insulation on the cooling conduit pipes between the inside and outside units was disintegrating. This lack of insulation was compromising the integrity of the whole system, the technician said. We were losing a good 10 degrees of cooling power!
Always eager to maximize energy efficiency and save ourselves money, we gave this project top priority and headed off to the home improvement store to do some research on pipe insulation.
Types of Air Conditioner Pipe Insulation
There are various materials available, all offered in various diameters to fit different pipe widths:
- fiberglass
- foam rubber
- polyethylene foam
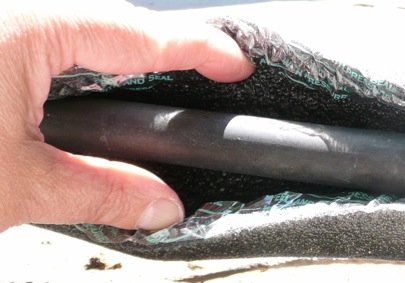
We felt the foam pipe insulation had several advantages, the first being that it was easy to measure and cut. Also, the foam lengths looked easy to install, because they featured a split all the way down the length, with self-sealing, sticky edges that would form a tight bond once the protective backing was removed. Finally, the foam was inexpensive, so we could buy extra in case we needed more than we estimated.

Installing New Foam AC Pipe Insulation
It only took minutes to replace the pipe insulation that had degraded over the years. Here’s how we did it:
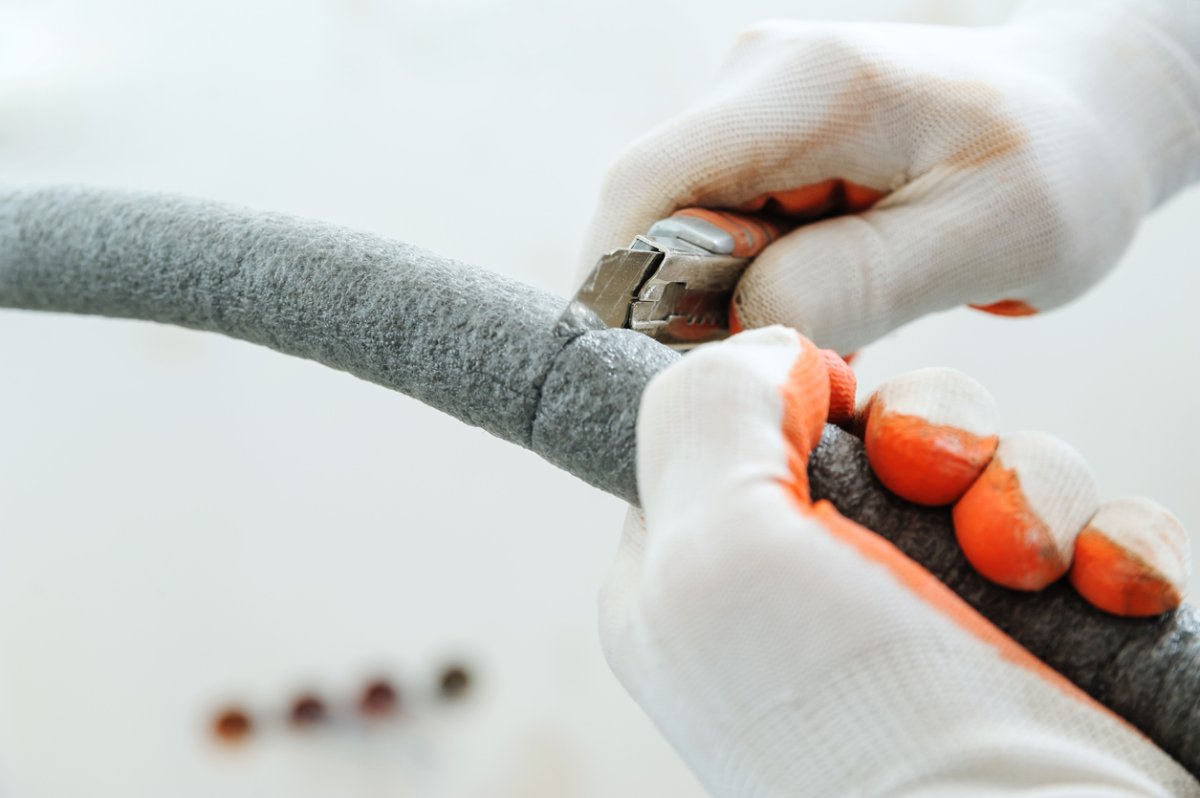
- The first step was to carefully remove all of the old insulation from the pipes using a utility knife.
- Next, we wiped down the pipes and then wrapped the new lengths of foam insulation around the pipes, one piece at a time, starting at the roof and working our way to the edge of the outside unit.
- Once we had all of the foam on the pipes, we removed the protective backing from the sticky edges of the slit pieces and pressed the edges together to seal them.
- We worked with one segment at a time, and where two pieces joined together, we wrapped the edges with electrical tape.
The result: it not only looks better, but both air conditioning units seem to be running less often and cooling more quickly! In the future, you can be sure that we’re adding “inspect pipe insulation” to our annual to-do list for air conditioning maintenance.


