
We may earn revenue from the products available on this page and participate in affiliate programs. Learn More ›
Does your yard contain slopes, dips, and inclines? Then you likely have a retaining wall somewhere on your property. Used everywhere from highway construction to landscaping, retaining walls hold back earth that would otherwise erode or collapse. Homeowners often rely on retaining walls to keep soil steady in elevated yard features, but they can also use the manmade structures when planting tiered gardens on a sloped area of yard, controlling erosion on an incline, or creating an elevated sitting spot. If you’re thinking about constructing a retaining wall, here’s all you need to know about the supportive structures.
The Basics of Retaining Walls
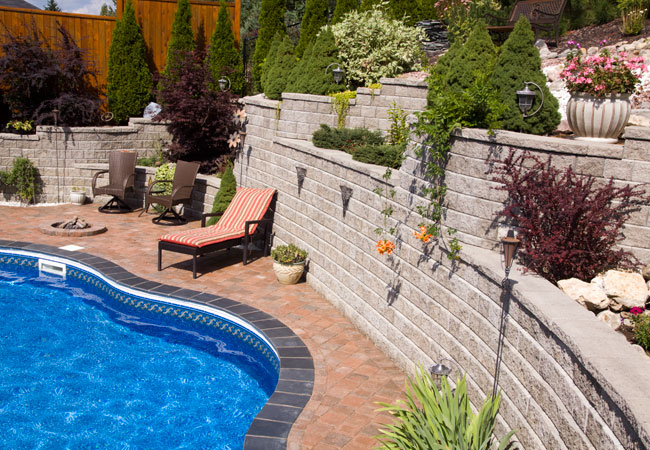
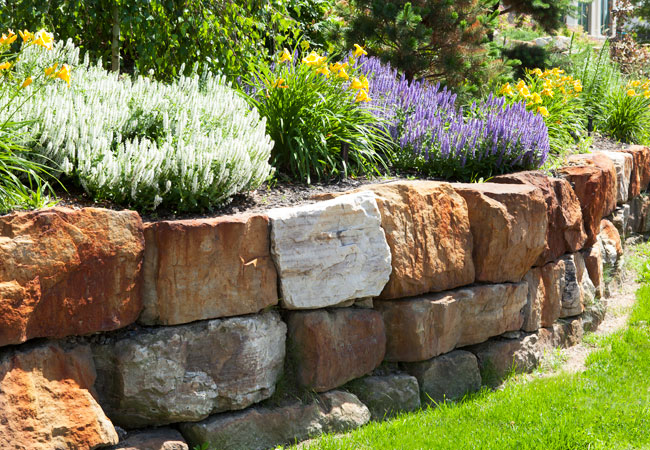
Retaining walls have a wide variety of uses around the yard, all of which involve keeping earth from spilling off a steep slope. They’re indispensable in the creation of sunken patios, walkout basements, and any other hardscape with an abrupt separation of ground elevation. You’ll also find retaining walls in parks and public gardens, where they act as retainers for plants, statues, and decorative landscaping elements.
Retaining walls are often constructed with concrete, stone, or bricks. But, if you’re looking to undertake a do-it-yourself job, retaining wall blocks (available at most home improvement stores) are your best bet. These blocks cost between $1.25 and $4 per block, depending on their size and texture, and they feature locking flanges that attach each row of blocks together. A small retaining wall less than three feet in height will cost an average of $5 to $8 per square foot, if you build it yourself. Larger retaining walls, which are not DIY-friendly, are pricier due to the labor costs involved. A natural stone or brick retaining wall laid by a mason can cost upwards of $20 per square foot, and a poured concrete retaining wall will set you back $13 to $18 per square foot. The contractor may also charge more for labor and materials if he has to pour a deep frost footing (explained below) or remove tree roots that are in the way of the footing.
If you’re planning to build a retaining wall, check with your local building authority beforehand. Retaining walls can alter water flow and affect your neighbors, so you may need to obtain either a zoning permit or a building permit. Local building codes and ordinances vary between communities, so don’t skip this step. You’ll also want to call DigSafe (811) to have representatives from local utility companies come out and check whether any buried electrical lines will be in the way.

Constructing a Retaining Wall
If you’re planning to construct a retaining wall, consider the following factors regarding support, foundation, backfill, and drainage.
Support
When building a retaining wall, landscapers often slope them slightly toward the earth they’re containing. This design, known as “step-back construction,” creates a sturdy wall structure that pushes back against the lateral pressure of the soil behind it. Step-back walls can be built by anyone with a strong back and basic construction knowledge, as long as they have blocks designed for retaining wall assembly.
Some types of retaining walls require additional structural support to keep them from toppling over. This includes vertical walls that don’t slope toward the contained earth, as well as walls higher than three feet. Depending on the height of the wall and the pressure of the earth behind it, the extra supports could be in the form of buried footings, steel reinforcement, cantilevered design, or tie-backs that extend deep into the earth behind the wall and connect to buried anchors called “dead men.” You could also add extra strength with a “gravity wall,” which is so wide that its weight serves as a buttress against the pressure of the soil behind it. This type of wall isn’t common, however, because it requires an extensive amount of stone or concrete for construction.
Foundation
A trench filled with gravel provides a suitable foundation base for a short, step-back retaining wall with three-five courses (each layer of blocks is called a “course”). A buried structural footing is usually required for larger retaining walls. To create this, a landscaper pours concrete below frost level (the depth to which the ground will freeze during the winter). Footings poured too shallow are prone to shifting and moving if moisture in the soil freezes and heaves. Since frost levels vary from one region to the next, contact your local building authority to determine the details before building a large retaining wall.
Backfill
The space directly behind a newly constructed retaining wall should be filled with gravel or sand—not dirt. Dirt absorbs water and swells when saturated, which will put unwanted pressure on the back of the wall. Meanwhile, gravel and sand don’t swell or retain water, so the wall will be subjected to less pressure. This decreases the risk of cracks and damage.
Drainage Details
Stackable retaining block walls with gravel or sand backfills don’t typically have drainage issues, since water seeps down through the backfill and drains out between the individual blocks. But if you have a solid retaining wall, such as a concrete basement wall, provisions must be made to drain away the water (or it might collect behind the wall and cause cracking). Many landscapers choose to install drainage tile, which carries groundwater to outlets where it can drain away harmlessly.

Tips for DIY Retaining Walls
When building a retaining wall, follow this advice for better construction and solid support.
- Choose material you can work with easily. If you don’t have experience in structural support, wall blocks are your best bet. They’re also widely available at most home centers.
- To keep the bottom row of blocks from pushing outward, bury the lowest section of a retaining wall. The general rule of thumb is to bury about one-eighth of the height of the wall. For example, if your wall will be three feet (36 inches) tall, the first course of blocks should start five inches below soil level. The gravel base should start three inches below this.
- For best results, make sure the first course of blocks is perfectly level. If it’s unbalanced, your entire finished wall will also be off-kilter.
