We may earn revenue from the products available on this page and participate in affiliate programs. Learn More ›
Available in all shapes and sizes, baskets are often the simplest way to store anything from your soap collection to office supplies—and with a touch more texture and style than transparent bins, at that. Head to a home design store to find enough to organize the whole home, though, and you’re not guaranteed to find the exact size you need. Fortunately, a rope basket is quite simple to make. With several yards of rope and a loaded glue gun, you can create your own custom (and even colorful!) catchall.
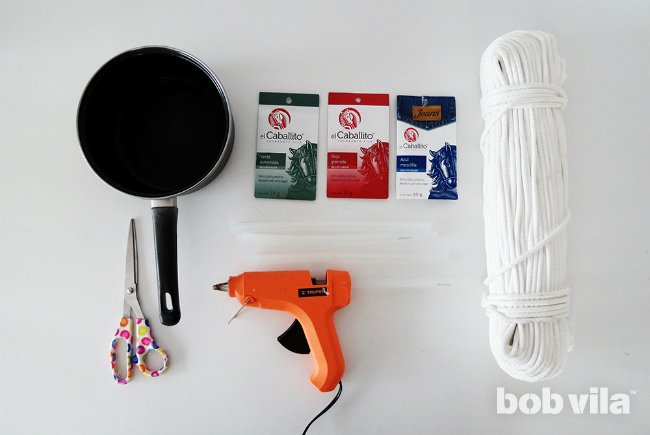
MATERIALS AND TOOLS
– 1⁄4″- or 3/8″-thick white cotton rope
– Scissors
– Masking tape
– Fabric dye
– Pot
– Plastic gloves
– Newspaper
– Hot glue gun
– Bowl, vase, or bucket (optional)
– Leather belt
STEP 1
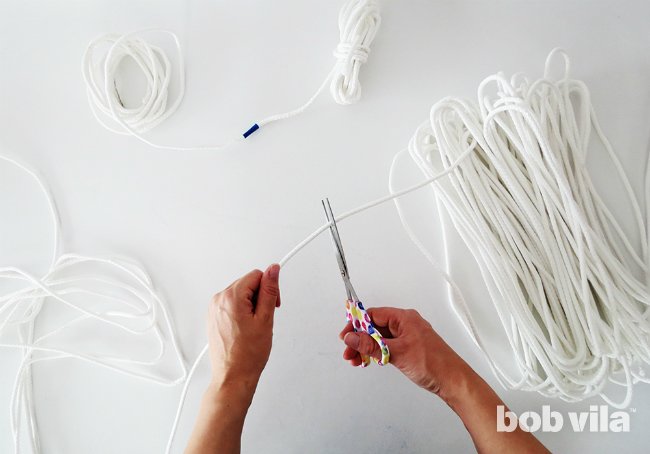
Cut the rope to the length you will need to make the rope basket. For reference, we used 10 yards of rope to make a small basket 4 inches deep and 4-1⁄2 inches in diameter and 21 yards of rope to make a basket of 6 inches deep and 6 inches diameter.
Once you have cut the rope to the length you need, find and mark the middle of the length with a piece of tape. This reminder will help ensure you dye only half of the rope to achieve a color block effect.

STEP 2
Dilute the dye into some water according to the instructions on the package. In most cases, you will have to bring a pot of water to a boil, add the dye, and mix. However the instructions may differ from one brand to another, so we suggest to checking the box (especially for the ratio of dye to water!).
Once the dye is ready, drop half of the rope into the pot (up until the tape) and let sit for a few minutes so that the cotton absorbs the dye well. When you’re ready to take the rope out of the dye, pull on plastic gloves and carry the whole pot over to your sink. Lift and rinse the rope with clean water, then let dry.
STEP 3
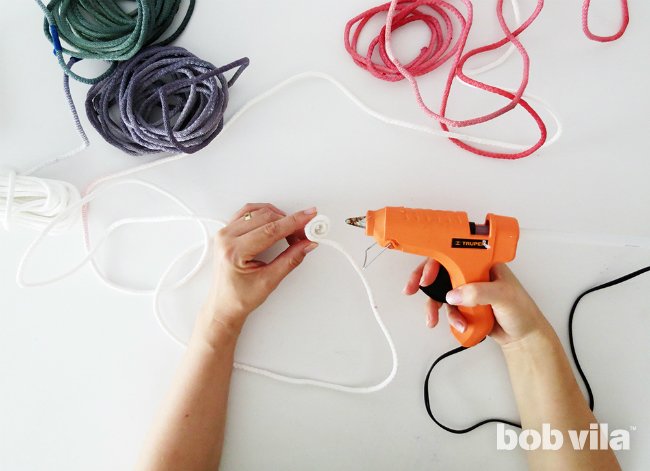
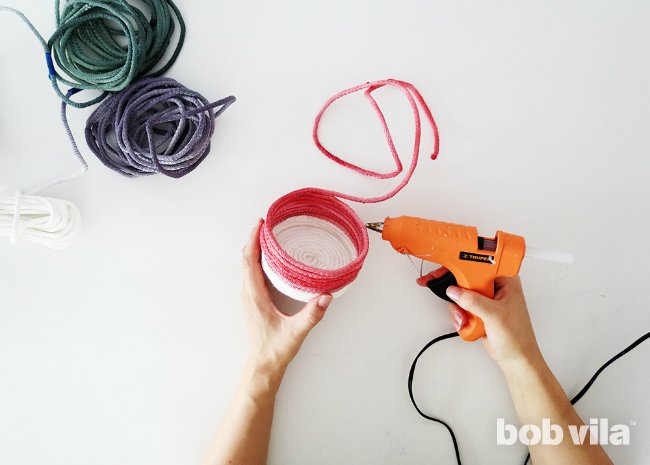
Take one end of the colored rope and add some hot glue to it in order to prevent it from fraying. Then, start tightly rolling the rope around itself. As you go, trace the outside of the spiral lightly with hot glue so that the next turn of rope sticks. Take it easy with the hot glue gun, though, or else you’ll be left with glue oozing out the bottom.
STEP 4
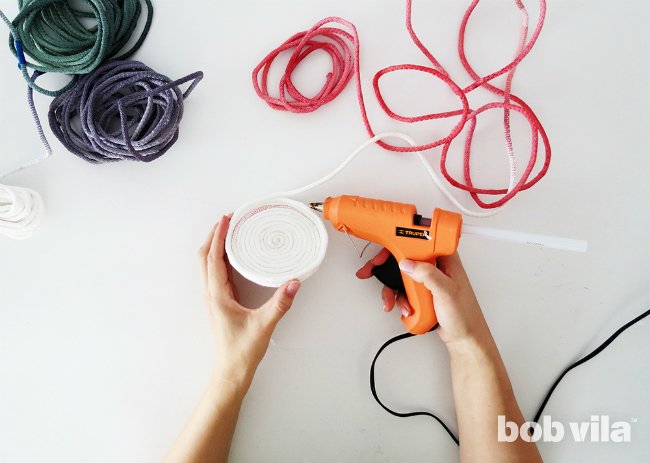
Keep rolling the rope around itself to make the flat bottom of the basket until you have what looks like a rope drink coaster.
Once you reach the desired diameter, glue the top perimeter of round circle and wrap the next turn of rope so that it presses into the glue. Now, you’ll continue this pattern—gluing the top of the rope rather than the side—to grow the side walls of your rope basket.
STEP 5
Continue gluing and coiling the rope to create your basket. You can try to keep the rope rows aligned freehand or place a bowl, vase, or bucket in the center to wrap around (just know it may get some hot glue on it in the process).
Once it reaches the depth you need, cut the excess rope. Now add a dot of glue to the free end to prevent it from fraying.
STEP 6
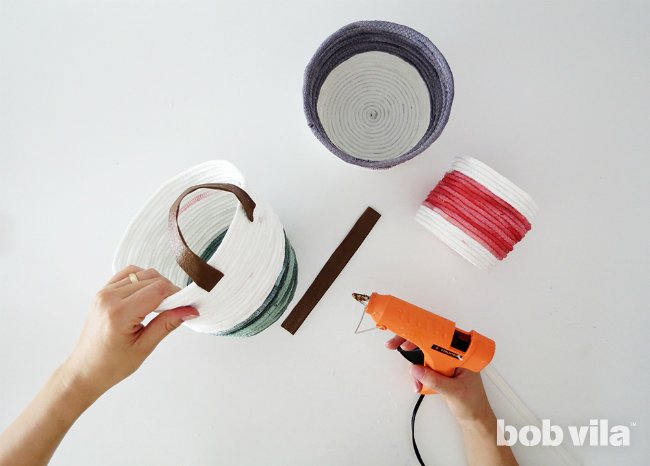
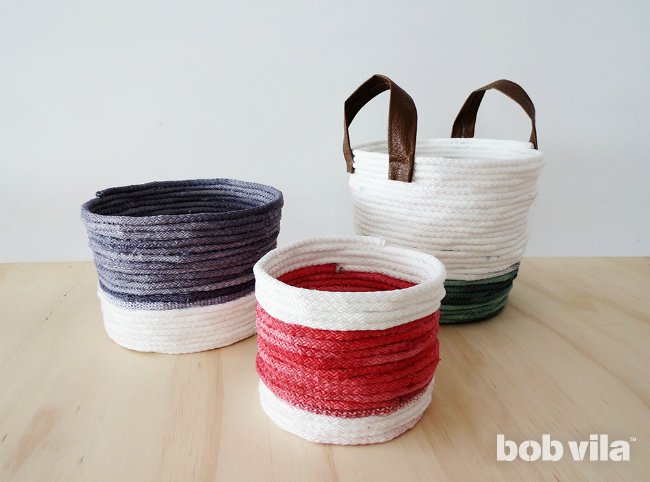
Want to add two purely decorative handles like what we attached to our large green and white rope basket? Cut two strips of leather (out of a sheet or straight from an old belt), and glue them on either side. While these will not be strong enough for lifting a filled basket, they certainly do add an extra touch of professionalism.
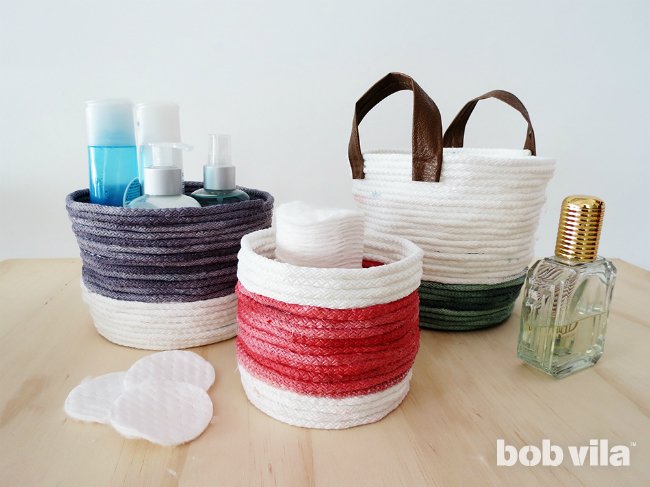
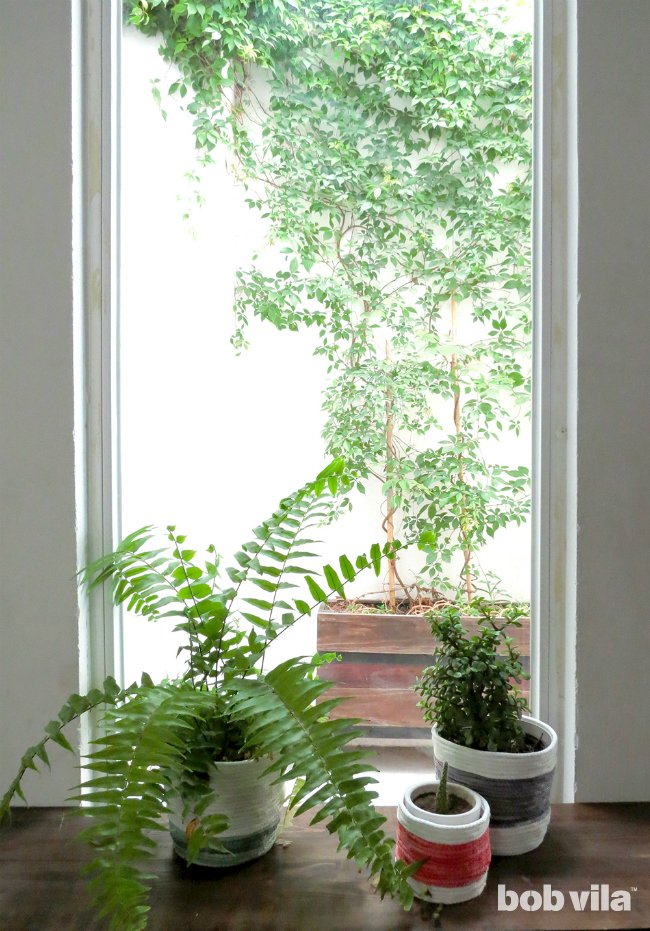
That’s a wrap! All that’s left to do is fill your rope basket with colored pencils, plants, toiletries, clothespins—the options are endless.
Ama is a DIY addict and the creative mind behind Ohoh Blog. She likes home decor, lighting, and furniture projects that may involve painting, sewing, drilling…no matter the technique! Whatever she has on hand is inspiration to create, and fodder for her serious addiction to upcycling.

