
We may earn revenue from the products available on this page and participate in affiliate programs. Learn More ›
Butcher block countertops provide unique appeal and safe food prep space in the kitchen, but these wooden surfaces are prone to stains, warping, and scratches. Luckily, sealing butcher block countertops every so often will protect them from most common forms of damage. All you need to preserve the wood is a suitable food-safe butcher block stain, sealant, or finish.
It’s important to determine what type of butcher block finish is best for your kitchen needs, how many coats to apply, how long to let the sealer dry, and how frequently they need to be resealed to keep your butcher block countertops looking and performing their best. To make sure you’re sealing butcher block countertops the right way, here are five key factors to keep in mind.
1. The butcher block sealer you choose matters.
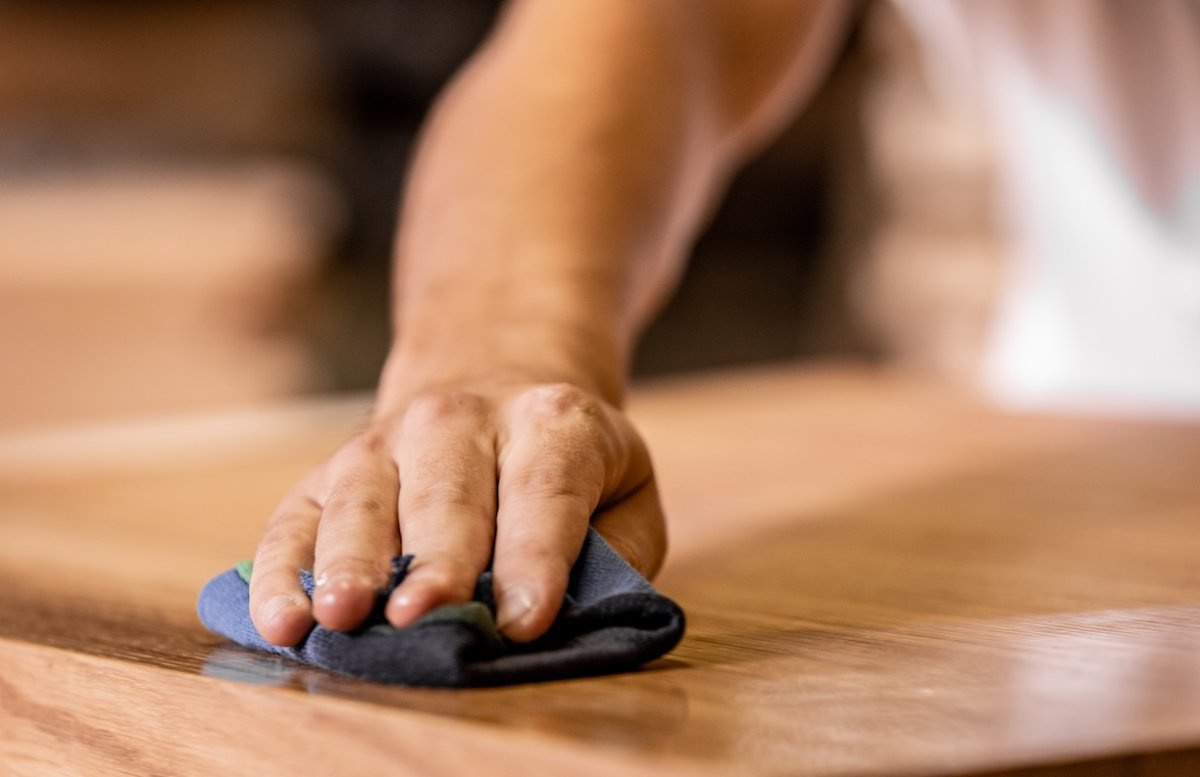
The first step to learning how to finish butcher block countertops is picking the right sealer, as there are various butcher block oils, stains, and sealants you can use. Staining butcher block countertops is one option, though most stains are not food-safe. Polyurethane sealer is another option; it’s food-safe once fully cured, comes in a range of finishes, and can last for up to 2 years with proper care.
However, the go-to product for sealing butcher block countertops is mineral oil, which is also commonly used as cutting board oil. Mineral oils are easy to apply and leave butcher block slabs ready for food prop, though they don’t have the same longevity as polyurethane.
This list of common sealant options, including the above food-safe options, can be used when sealing your butcher block countertops:
- Mineral oil
- Tung oil
- Penetrating oil
- Topical sealer
- Polyurethane sealer
- Epoxy sealer
- Wood stain
- Wood varnish
ESSENTIAL GEAR
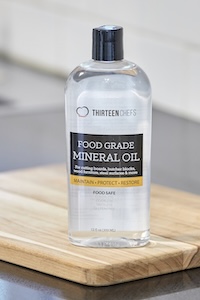
Our top pick on our tested guide to the best cutting board oil, the Thirteen Chefs Food Grade Mineral Oil is also our pick for maintaining butcher block countertops. It’s food-grade, lab-tested, made in the USA, and keeps butcher block from drying and cracking. Wipe it on clean butcher block every other month or so to keep it conditioned.
Thirteen Chefs Food Grade Mineral Oil at Amazon (12 ounces) for $16.99
2. Butcher block countertops should be sanded before sealing.
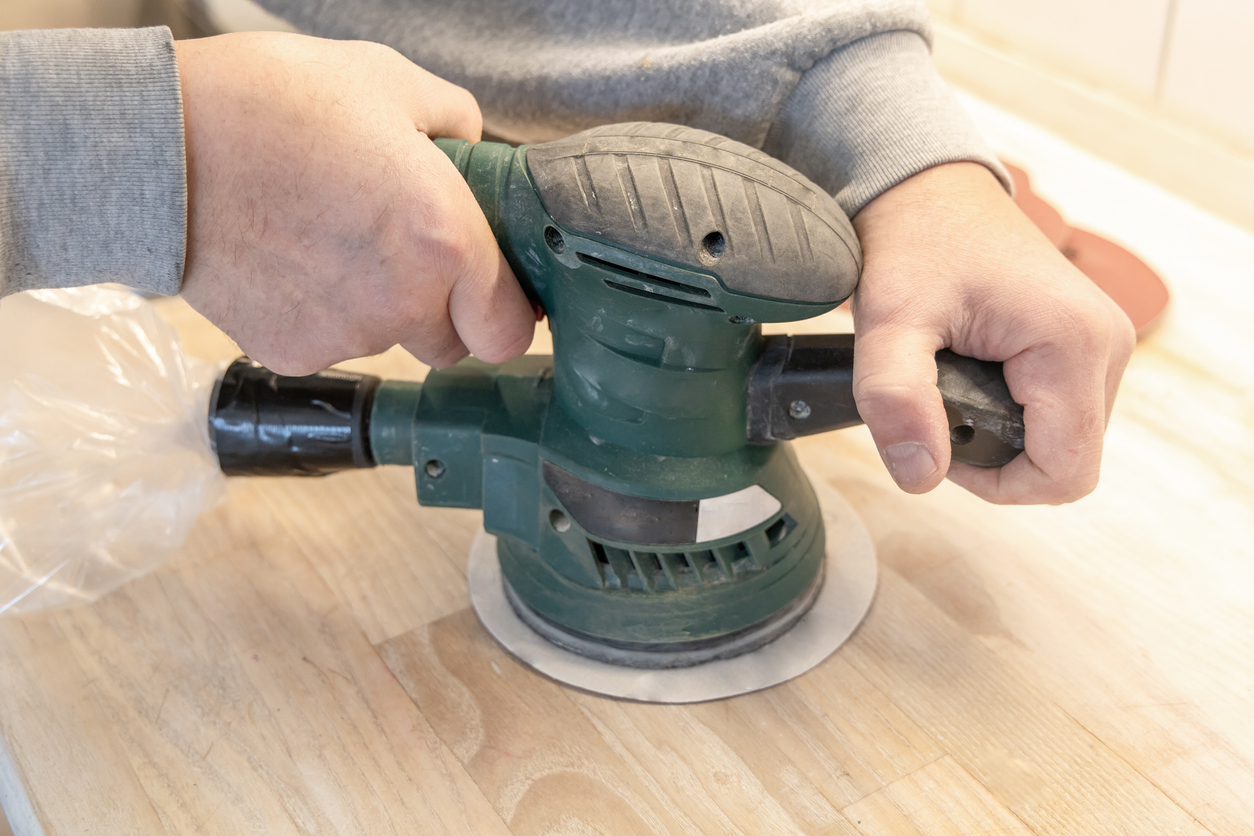
The best way to ensure that you get an even coating across the entire surface of the butcher block countertop is to first sand the wood. This will remove the top layer of wood, as well as any dirt, debris, old finishes, or other obstructions that could otherwise prevent the sealant from being absorbed into the wood.
Use an orbital sander to smooth out the surface of the butcher block countertops, but be careful to avoid rounding out any edges or creating noticeable divots between two pieces of butcher block. If you don’t feel comfortable using a powered sander, this job can also be tackled manually with 120-grit sandpaper.
3. Apply at least two coats, more if necessary.
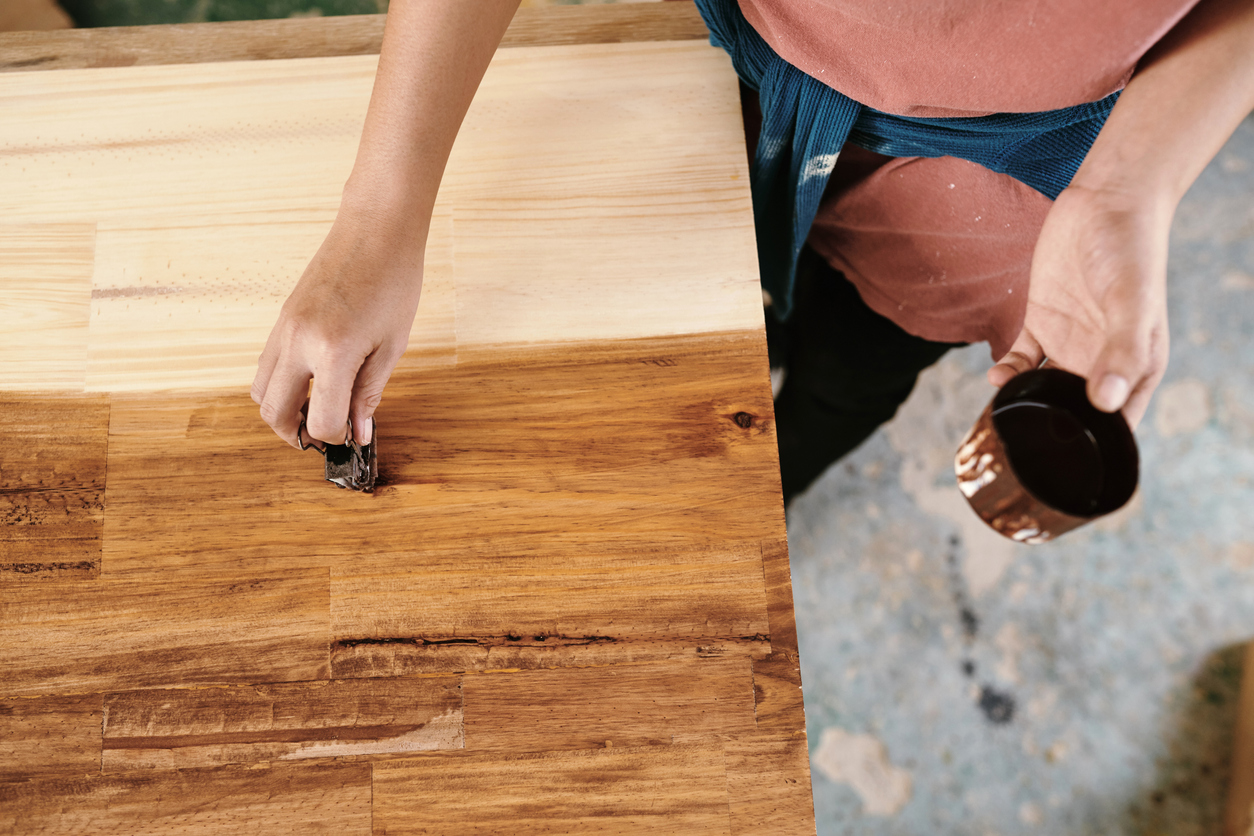
An important aspect of learning how to stain butcher block is to determine the number of coats that are necessary for butcher block staining or sealing. If you are using a thick, durable sealant, like polyurethane or epoxy, then you won’t need to add as many coats as if you were using a more light-duty option, like mineral oil. Generally, two coats of polyurethane or epoxy are enough to properly seal the wood.
Stain or varnish are another set of wood finish and sealant options to consider. They require about two to three coats for proper coverage. However, if the butcher block countertop will be used for food preparation, it’s recommended to use tung oil, mineral oil, or a similar food-safe product. This type of sealer will require two to six coats, depending on the specific sealant product and the absorption of the sealant into the wood.
4. After removing excess sealer, the countertops need to fully dry.
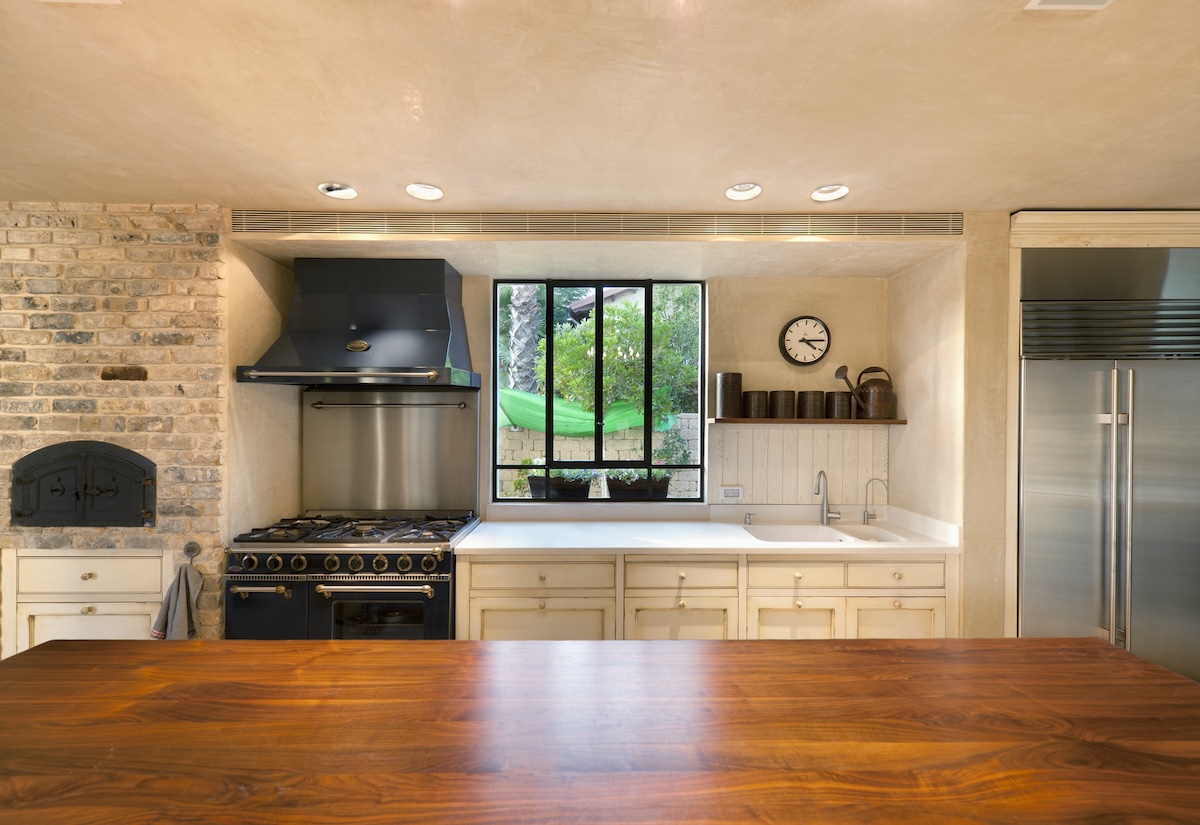
Most sealers are designed to either be absorbed into the wood, like a stain, or to sit on top of the wood, like epoxy. After applying two or more coats of sealer to the butcher block countertop, any excess sealer will need to be removed. This can be done with a fresh cloth for mineral oil or tung oil sealers, while a paint brush can help to soak up and remove any excess stain, polyurethane, or epoxy.
Removing the excess sealer helps to ensure that the butcher block countertops will have a smooth, uniform finish. However, this process also cuts down on the drying time because you don’t need to wait for small puddles of sealant to evaporate. Generally, it will take about 24 hours for the sealant to dry and cure, but the exact time it takes for a given sealer to dry depends on the product. Check the manufacturer’s directions to determine how long your butcher block sealer takes to fully dry.
5. Butcher block countertops need to be resealed regularly.
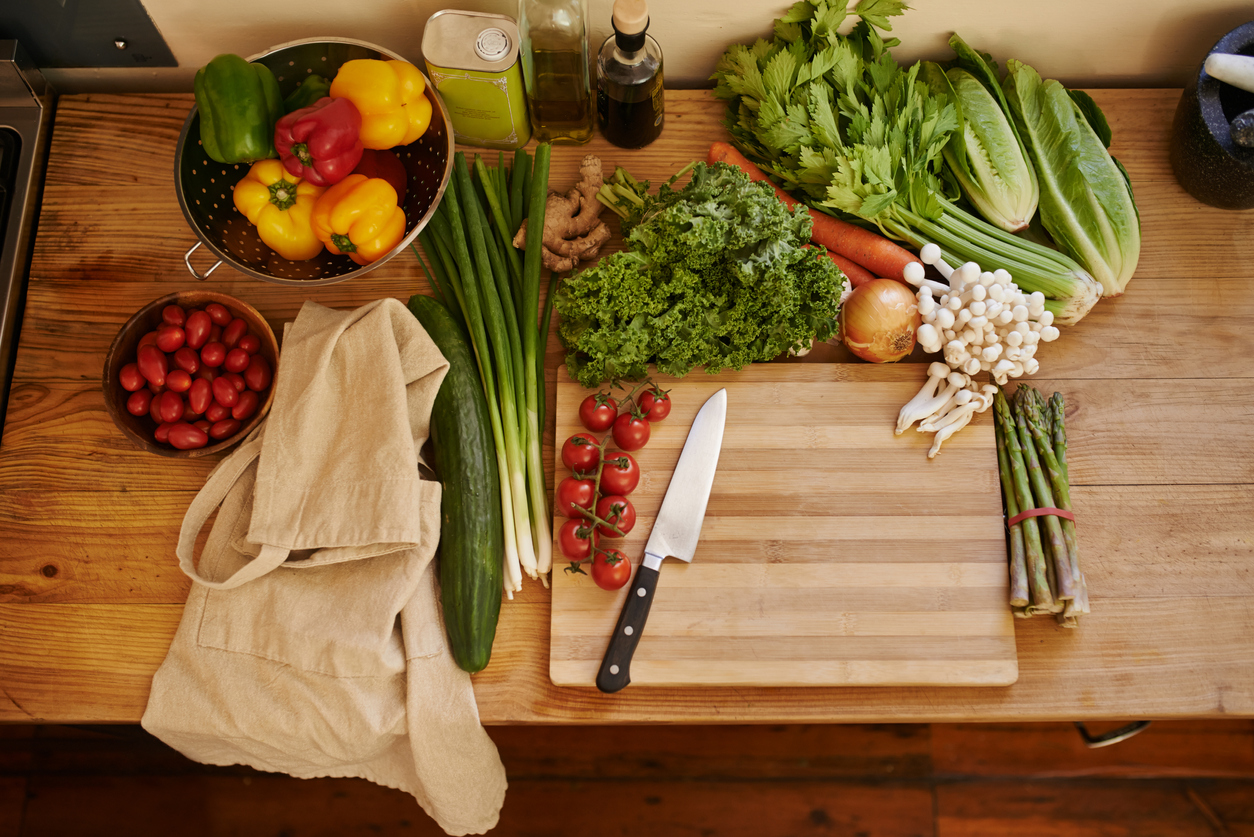
Sealing butcher block countertops is necessary to prevent damage to the wood. However, the sealant will need to be reapplied at regular intervals to keep the butcher block countertops protected. Initially, reseal the butcher block countertops about once a month for a full year. This will create a waterproof base to prevent the cutting board wood from staining, water damage, and warping.
After the first year, you can switch up the frequency so that you are only resealing the butcher block countertops about once every 6 months. Some products, like polyurethane or epoxy, may only need resealing about once every 1 to 2 years. If you are unsure, check the manufacturer’s directions to determine how often to reseal the countertops.
FAQ
If possible, butcher block sealer should also be applied to countertops prior to installation. Sealing or staining butcher block countertops before installing them reduces the risk of leaving any gaps in the coating.
Generally, sealing a butcher block countertop will take 1 to 2 hours, but the length of time it takes for the sealant to dry and cure depends on the type of sealant. Evaporating oil sealant takes just an hour to fully dry and cure, while polymerizing oils can take 24 hours to fully cure. There are also film sealants, though these products can take up to 30 days to fully cure.
Evaporating oil, polyurethane, polymerizing oil, and mineral oil sealants are just a few options, though one of the best products is Waterlox sealer and finish, a mixture of tung oil and resin that leaves wood waterproof and food-safe once dry.
The number of coats required to seal the countertops depends on the sealant. Only two coats are necessary for oil-based polyurethane sealers, but it’s recommended to use two to six coats for mineral oil or tung oil sealers.
