
We may earn revenue from the products available on this page and participate in affiliate programs. Learn More ›
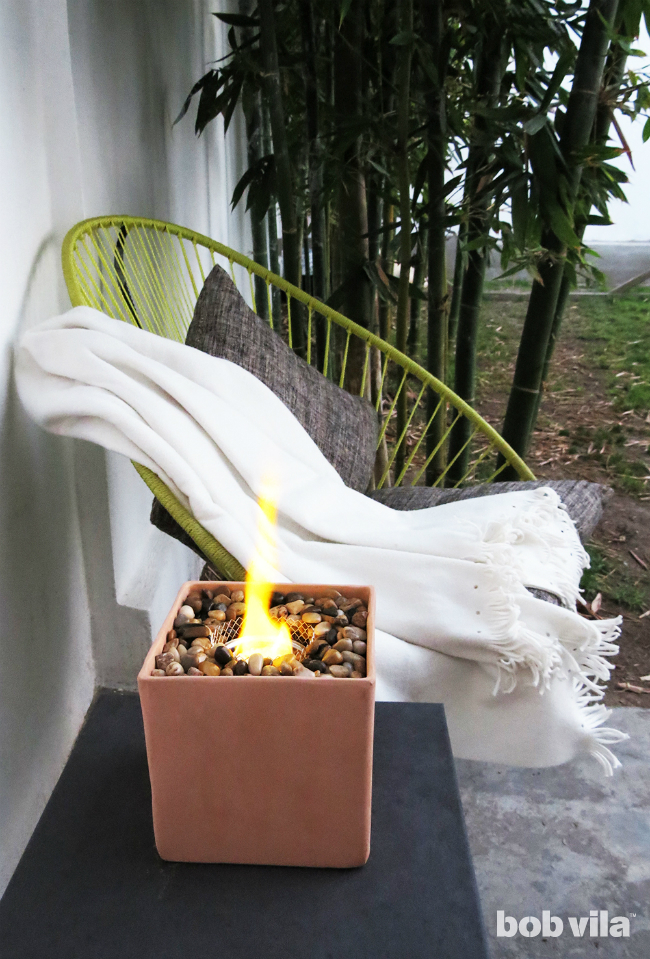
What’s summer without s’mores? Even if your outdoor living space is limited to a small side yard, you can still enjoy the magic of a campfire—complete with roasted marshmallows and extended curfews. The trick is to size it right. A handmade miniature version could sit atop a cafe table or beside your Adirondack chairs and provide enough warmth and light to fuel outdoor entertaining past dusk. And, truth be told, this tabletop fire pit requires so much less effort than laying a gravel base and assembling cinder blocks that you might be inclined to DIY it even with a full backyard! Read on to find out how you can build yours in under an hour.
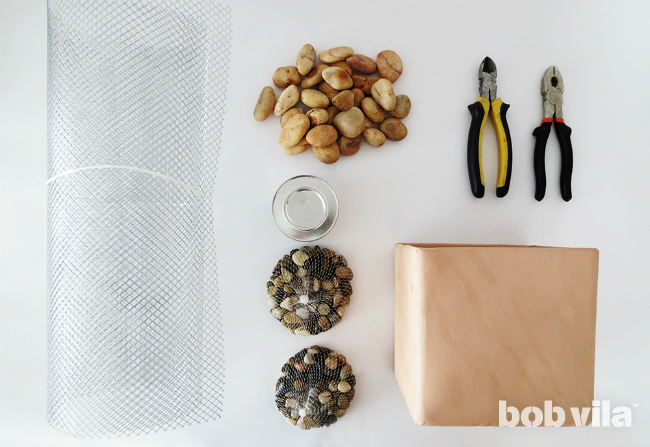
MATERIALS AND TOOLS
– Galvanized steel hardware cloth
– Heat fuel can or chafing dish fuel can
– Metal cutting pliers
– Work gloves
– Pliers
– Ceramic or terra cotta planter
– Lava rocks
– Fire pit pebbles
– Colored fire glass
STEP 1
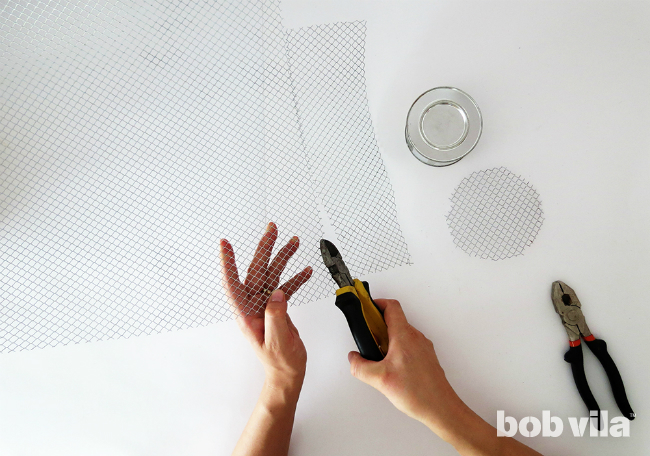
Make a small basket from wire to hold the fuel can, so that you have an easier time lifting it out when it’s emptied and needs to be replaced.
First, measure your fuel can’s height, diameter, and circumference. (We suggest you put on some gloves here, as the metal wire can be very sharp!) Then, using the cutting pliers, cut two shapes from your mesh:
• A rectangle that is a half-inch wider than the can is tall and one inch longer than the can’s circumference
• A circle that with a diameter that is a half-inch larger than the can’s diameter
STEP 2
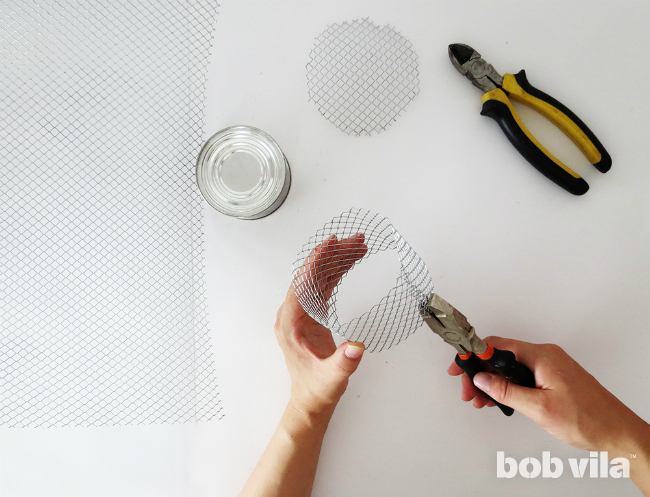
Curve the rectangle into a cylinder where the ends overlap slightly (remember, you have an extra inch of length to work with). Using the pliers, fold the edges to attach them together.

STEP 3
Center the mesh circle on one end of the cylinder to create the bottom of the wire basket. Cut short, quarter-inch notches along the edge of the circle so that you can fold the flaps onto the basket side with your pliers.
Once you’ve folded every flap, check that the fuel can fit in it. If you haven’t left quite enough space for yourself, simply redo Steps 1 through 3—you’ve got plenty of spare material!
STEP 4
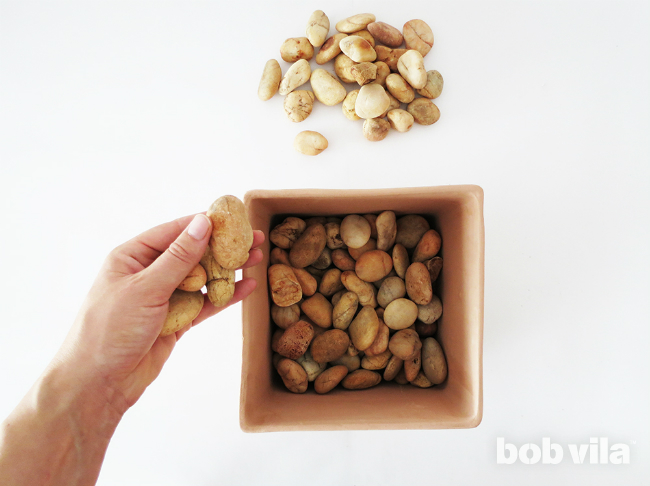
Choose a ceramic planter from your local home improvement store to contain the tabletop fire pit, since ceramics are known to withstand high temperatures. Fill the planter with big pebbles or lava rock—but not before you check that the material is specified as heat-resistant. Some stones are not cut out for this project and may explode in high heat.
STEP 5
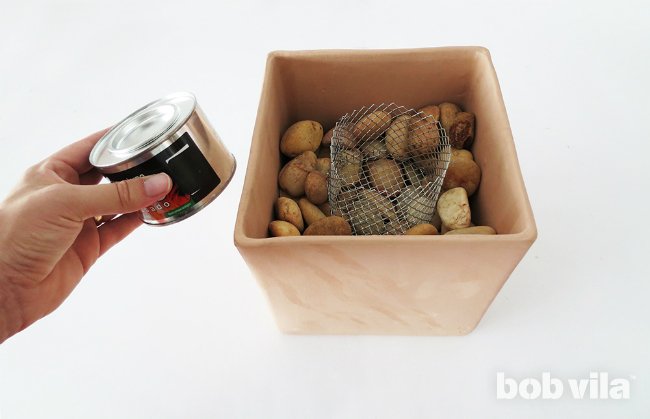
Place the wire basket in the center, put the fuel can in it, and fill in around it with more rocks.
STEP 6
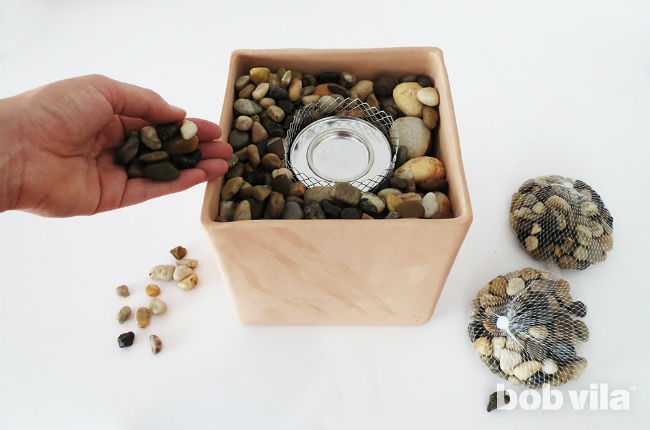
Top with a layer of smaller heat-resistant pebbles or colored fire glass for an attractive modern finish.
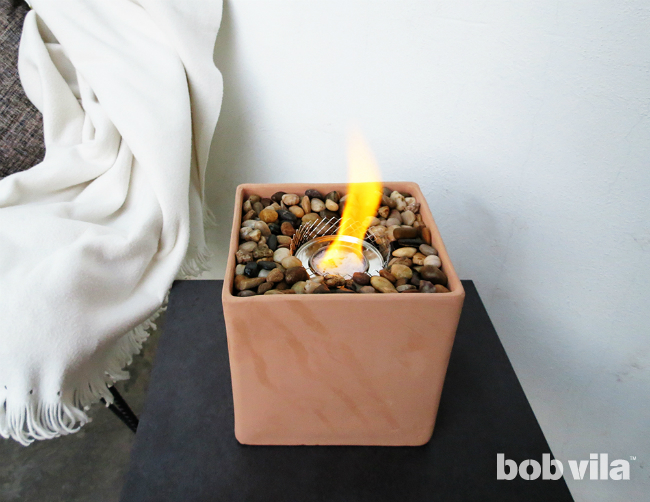
Then, open the fuel can, strike a match, and light your tabletop fire pit to kick off the evening’s activities.
Ama is a DIY addict and the creative mind behind Ohoh Blog. She likes home decor, lighting, and furniture projects that may involve painting, sewing, drilling…no matter the technique! Whatever she has on hand is inspiration to create, and fodder for her serious addiction to upcycling.
