We may earn revenue from the products available on this page and participate in affiliate programs. Learn More ›
Your home is likely one of the biggest investments you have, and it’s important to maintain your home’s value by taking care of it and its contents with occasional maintenance. Stop ignoring the things around the home that bother you, and fix them instead. There are many home improvement projects any DIYer can manage without the help of a professional and with little out-of-pocket cost.
Here are 20 things you can fix around your home for less than $20, from preventative maintenance to aesthetic upgrades.
RELATED: The 25 Smartest and Smallest DIYs You Can Do for Your Home
1. Get rid of your dishwasher’s smell.

You want your dishwasher to last a long time, and that’s possible with preventative maintenance. Build-up of food scraps, grime, grease, and soap scum can hinder the machine’s efficiency and cleaning effectiveness, not to mention add an unpleasant odor to the kitchen.
Manually clearing out the drain, and running the dishwasher on a hot water cycle with a cup of vinegar inside will wash away foul odors and leave the machine spick and span. Follow our guide on how to clean a dishwasher to get the best performance out of this appliance.
2. Buff out scratches in stainless steel appliances.

Scratches in your stainless steel appliances don’t have to be a permanent feature. From fine scratches to deeper, prominent ones, many are potentially removeable.
Scratch removal kits are about $10, and they’re quite simple to use. No matter how large the scratch is, always buff it out by going in the direction of the grain. The gist of this project is that you start with the coarsest grit, working your way up to the finest grit to restore the surface of your shiny appliances. Read our guide on how to remove scratches from stainless steel to learn how to do this properly.
3. Unstick stubborn drawers.
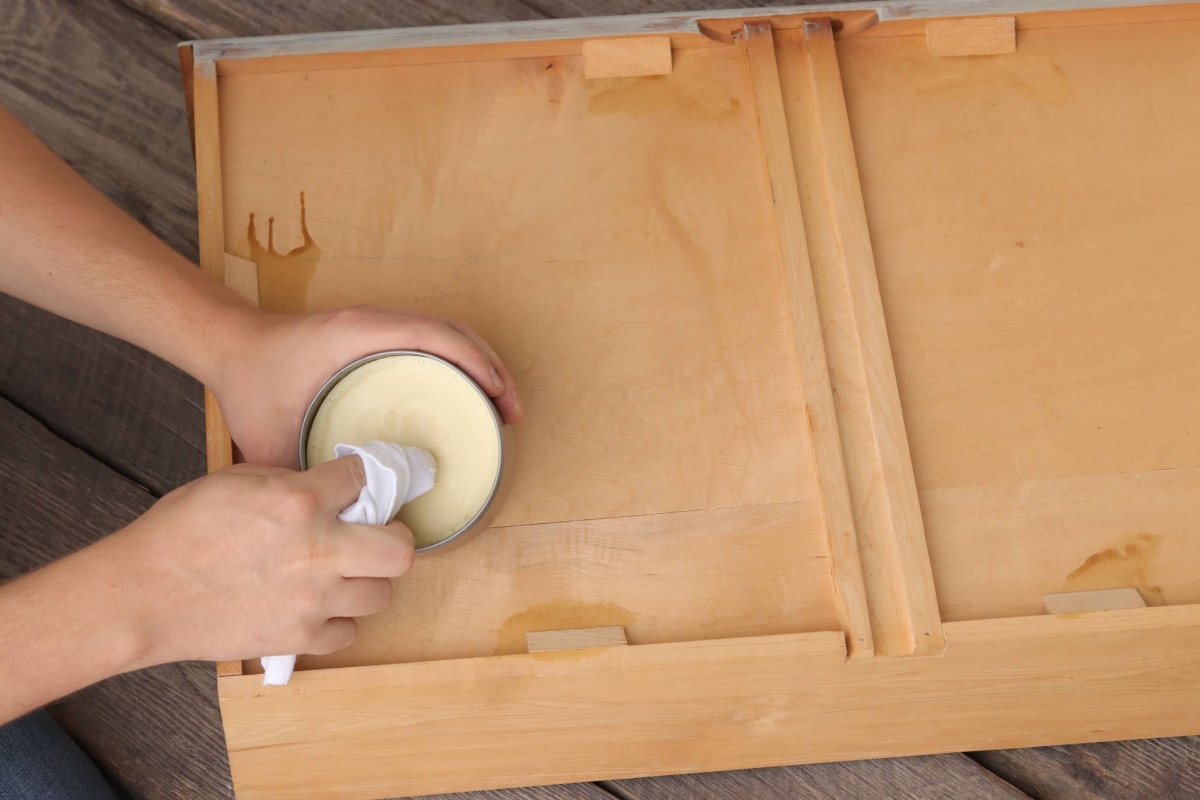
Whether you’ve thrifted a beautiful wood dresser, or you have a glorious wood desk at home, you may find yourself struggling to open the drawers. Unlike other materials, wood has a tendency to warp over time, especially in humid environments. Instead of continuing to use force to pull the drawers open, remove them entirely, then rub a block of paraffin wax on the drawer slides, edges, and surfaces where the drawer comes in contact with the dresser or chest. The wax creates less friction, helping the drawer slide more smoothly once again. You can find a block of paraffin wax on Amazon for $9.99.
4. Repair faucet leaks.

Before you grab the phone and call a plumber to fix that dripping faucet, consider making this a quick DIY project. Stop wasting water and money with just a couple household tools and a quick trip to the hardware store.
Often, leaks are caused by a loose connection or a failing washer, which can deteriorate as plumbing ages or use of the sink increases. You can get a set of washers for under $10, and you’ll pay under $3 for just one. To quiet a drip, follow our guide on fixing leaky faucets and then sit back and enjoy the sound of silence.
5. Stop cabinet doors from banging.

Repeated slamming of cabinet doors is not only loud, but slamming can also affect your door alignment over time—especially wood cabinets, which can warp, bend, or break.
When soft-close hinges are too expensive, an affordable and extremely easy DIY to save your cupboard and cabinet doors is to simply add some small bumpers to absorb sound and cushion against damage. This pack of 100 cabinet door bumpers is available on Amazon for under $10.
RELATED: Solved! How to Prevent Doors from Slamming
6. Install a no-clog shower drain protector.
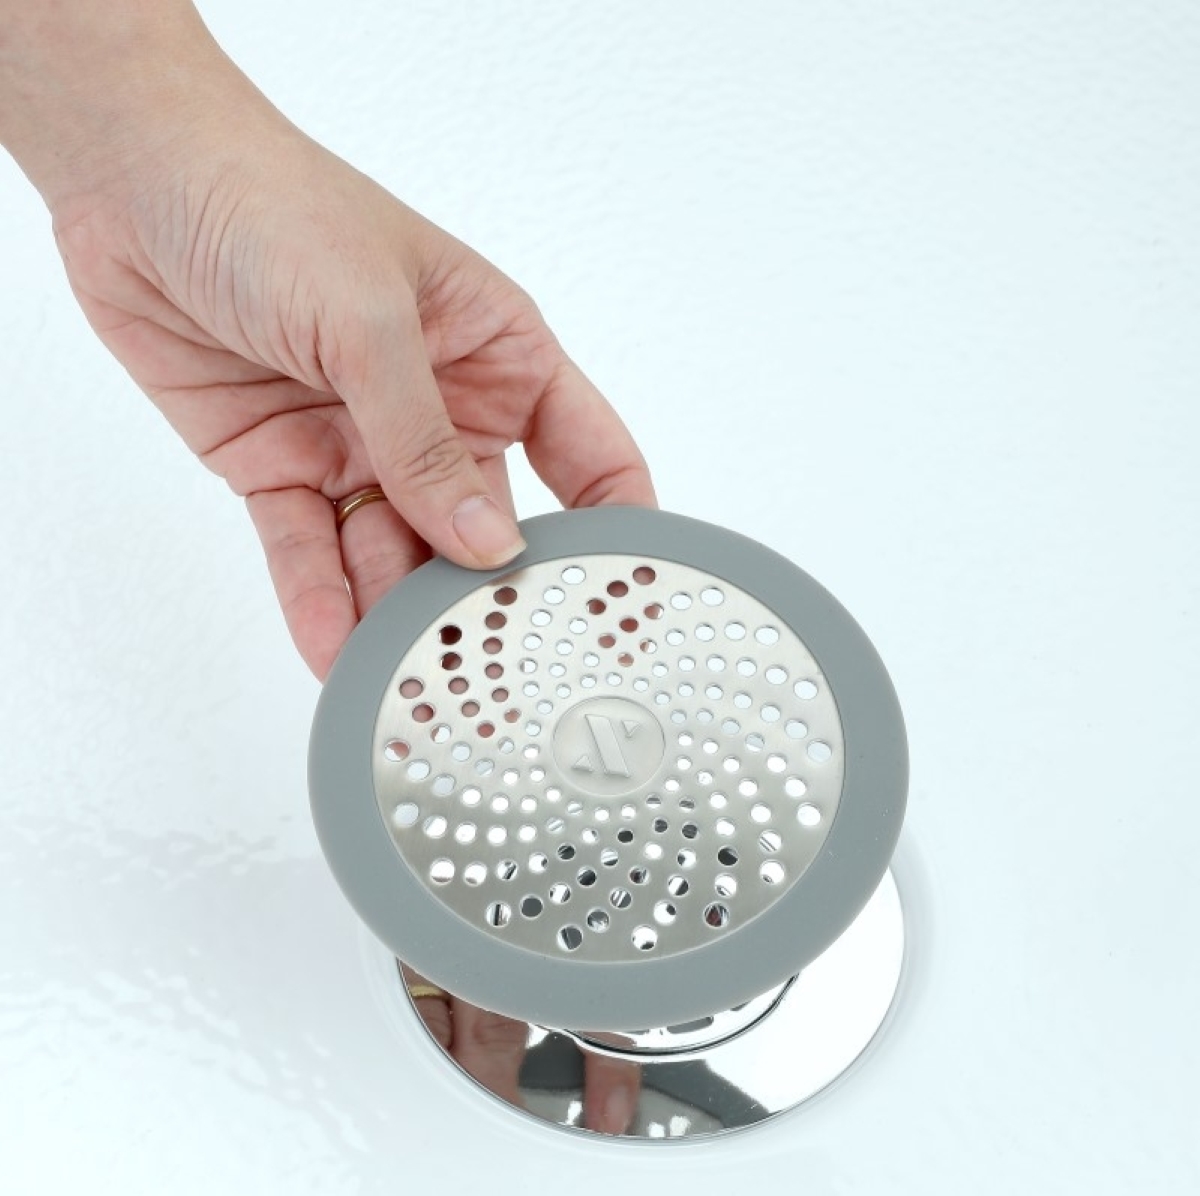
Save yourself a future headache and the expense of a plumber by spending just a few dollars on a shower drain hair catcher. These small drain protectors allow water to flow through, but prevent hair and other debris from accumulating and clogging up your pipes.
Depending on the style, these mesh hair catchers may sit right on top of the drain, or they can be installed on the inside of the drain—and put in place without tools.
RELATED: How to Unclog a Shower Drain
7. Remove water stains on wood furniture.

Some of the most beautiful furniture pieces we’ve seen are made of wood, but this material does have one drawback—it does not mix with moisture. How many tables, dressers, or desktops now have a water ring stain because one person forgot to use a coaster?
Rather than write off the furniture, you can save it with items you likely have at home. When it comes to water stains on wood, you can minimize the damage in three ways: Use an empty iron on its lowest setting, dab mayonnaise on the area, or scrub it with a white-non-gel toothpaste. Follow our step-by-step tutorial for each of these methods.
8. Eliminate wobbles from furniture.

Barstools, table legs, and benches are just some of the furniture culprits that may have minute wobbles. These imbalances are irritating, but perhaps not so extreme to warrant fixing in a more time consuming manner. If you want a project that’s a quick win—albeit temporary—use hot glue and a coin as a makeshift shim. Of course, if you want a more purpose-built solution, these furniture levelers from Amazon are under $15.
9. Stop squeaky floors.
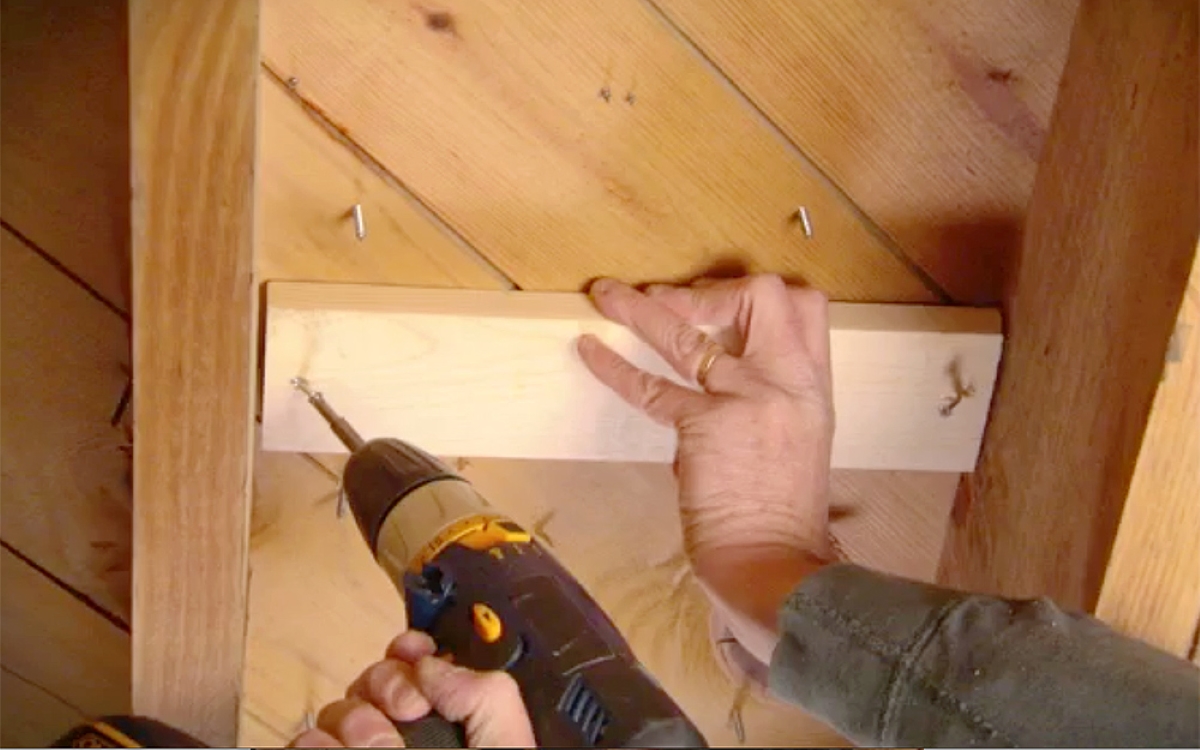
Solving squeaky floors is more of an intermediate DIY, but homeowners can always get an extra hand from somebody with a bit more experience. You’ll want to try to solve the issue from underneath the floor, if possible.
You need to determine the source of the noise to know how to fix it. Smaller gaps between the subfloor and joists can be mended with construction adhesion or shims, but larger gaps may need to be braced with a 2×4. See our guide on how to fix a squeaky floor to make your floorboards quiet again.
10. Swap out old doorknobs.
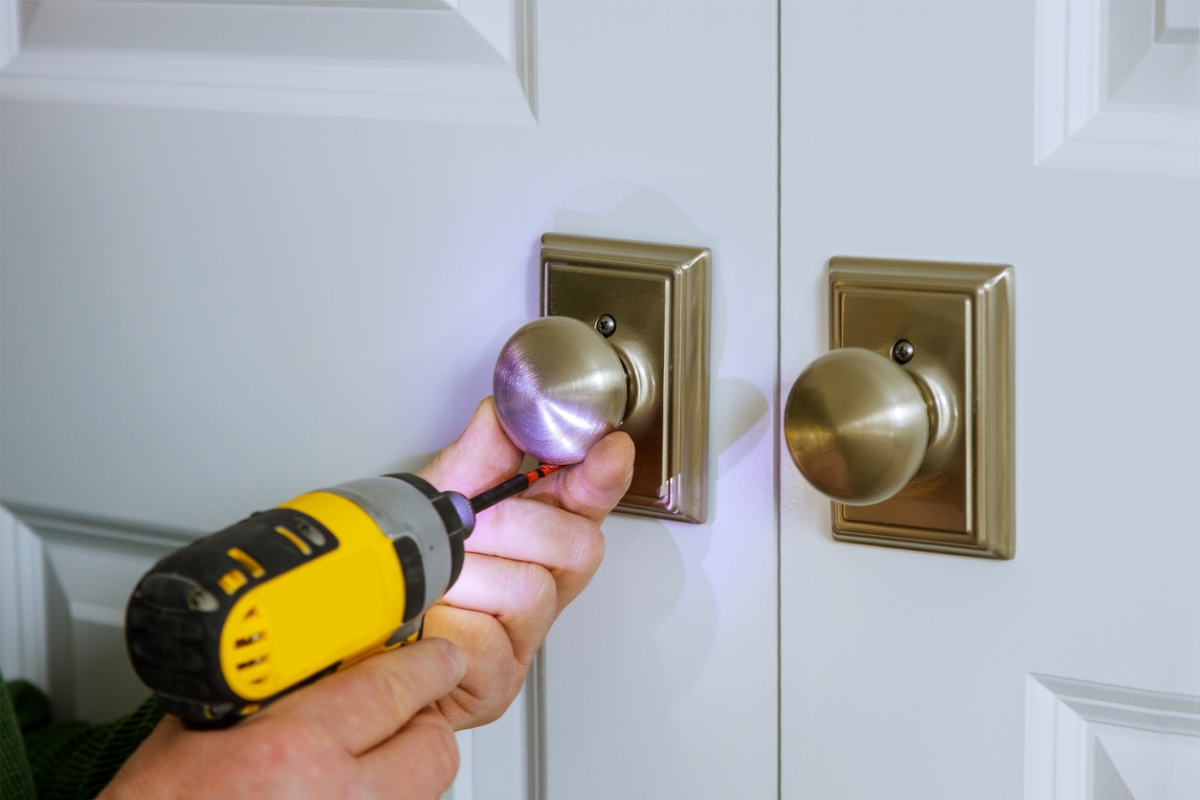
Perhaps it’s time for an aesthetic upgrade, your current doorknob isn’t working properly, or you need to switch to a handle so those with mobility issues can open the door easier. Whatever the reason for switching up your doorknobs, this is a relatively easy DIY activity providing you have the right tools on hand.
Depending on the design of your existing doorknob, you’ll need to remove it with the help of an Allen wrench, paper clip, or flathead screwdriver. We’ll walk you through how to remove and replace your doorknob, so you can check this item off your to-do list.
11. Lubricate your locks.
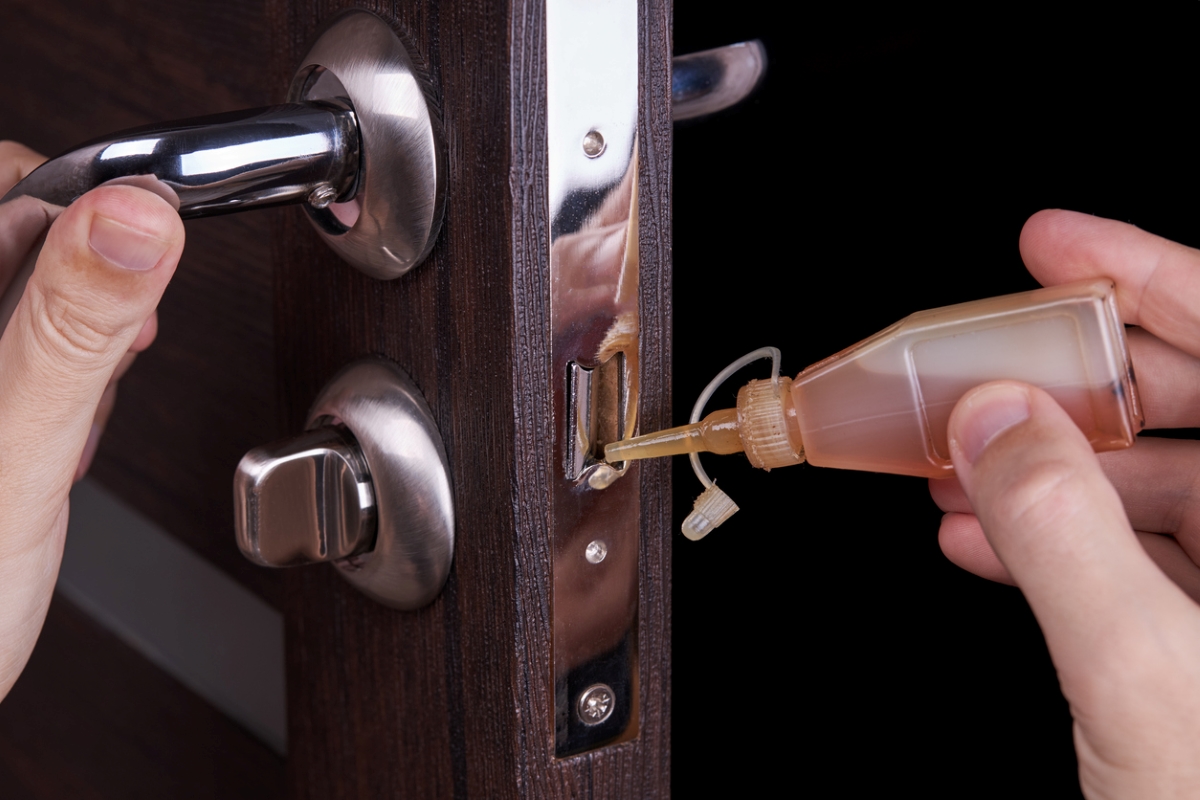
If your keys feel sticky in your door locks, garage locks, padlocks, or any other locks around the home, don’t ignore it. When a lock becomes difficult to open, it’s time to lubricate it before your key gets stuck, and you need to employ a locksmith.
Lubricating also saves you the cost of replacing your locks before it’s actually necessary. If you have a can of compressed air, use it on the lock to remove any dust inside. WD-40 is a quick fix for a short period of time, but a real trick is to use a pencil. Pencil lead is made from graphite, which has the same carbon atom arrangement as pricey lock lubricants. Rub your key and the exterior of the lock with a pencil, and simply using the key in the lock should loosen things up again.
RELATED: Solved! What Are the Two Main Types of Door Locks, and Which One Is Best for Me?
12. Change the HVAC filter.

Changing an HVAC filter regularly is one preventative maintenance item you don’t want to skip. Made to trap dirt, dust and other particles, HVAC filters also protect your appliances, as these particles can cause your heating and air conditioning systems to work harder than necessary. The more strain you put on these systems, the sooner they will wear out—a replacement that will cost you much more money than a new filter. HVAC filters cost less than twenty dollars apiece, but the overall cost for each one is even cheaper if you can buy them in bulk.
RELATED: What You Might Not Know About HVAC Filters
13. Remove paint drips.
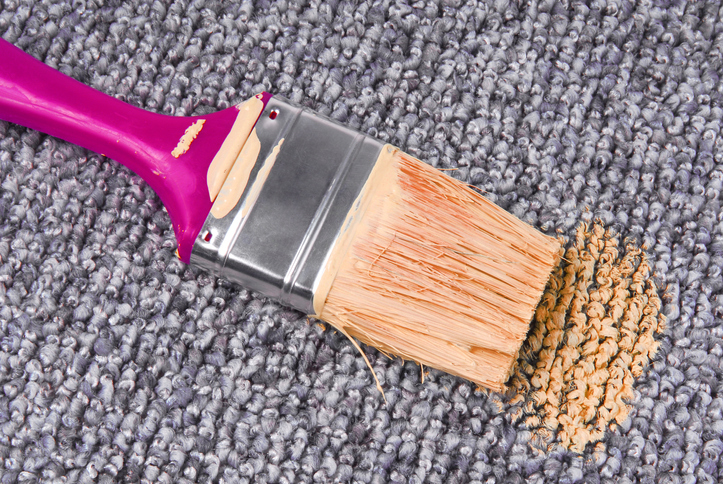
Perhaps you hesitate to jump into another home repair project because the last time you painted, you made a few mistakes that remain visible to this day. It’s possible to remove paint from a number of different surfaces using a variety of techniques and materials—some of which you likely already have at home.
Dish soap, a safety razor blade, olive oil, glycerin, paint stripper, and steel wool are all materials that can help you eliminate painting accidents. Follow our guide on how to remove paint from everything and learn how to save your home when this DIY mishap happens.
RELATED: Paints, Stains, and More: Choosing the Right Wood Finish for Any Project
14. Clear out the dryer vent.
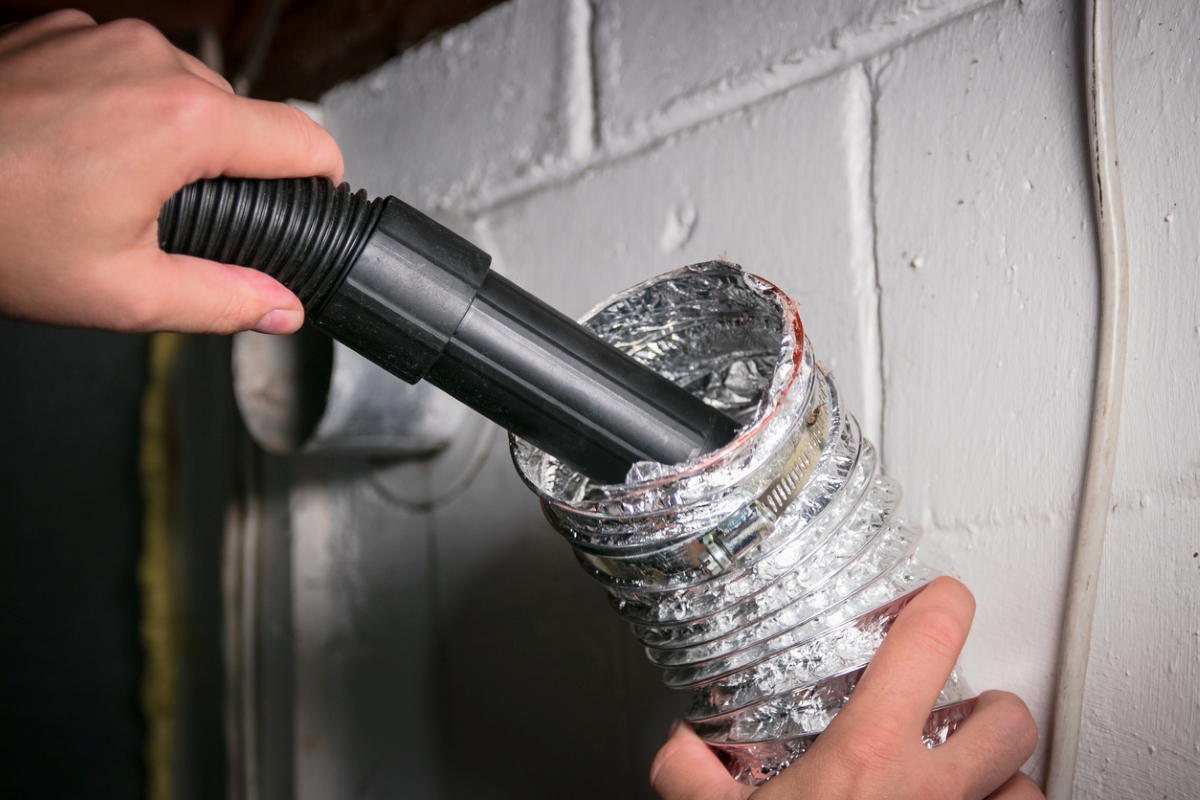
Built up lint in the dryer vent can make your appliance less efficient, slowing drying time and increasing the risk of fire behind the dryer. Pulling the lint filter out each time you run a load of clothes is a great start, but if you find that your dryer is not working properly, is too hot to the touch, or emits a burning smell, it’s way past time to clean the duct, not just the filter.
Fortunately, it’s an easy and affordable project. You can vacuum the vent with the hose attachment on your vacuum, and then choose a basic kit in our guide to the best dryer cleaning kits to get remaining debris out of the vent. Get our step-by-step instructions for this project and don’t forget the vent on the outside of your home too. This is a great addition to your list of annual home maintenance projects.
15. Swap out outlet covers.
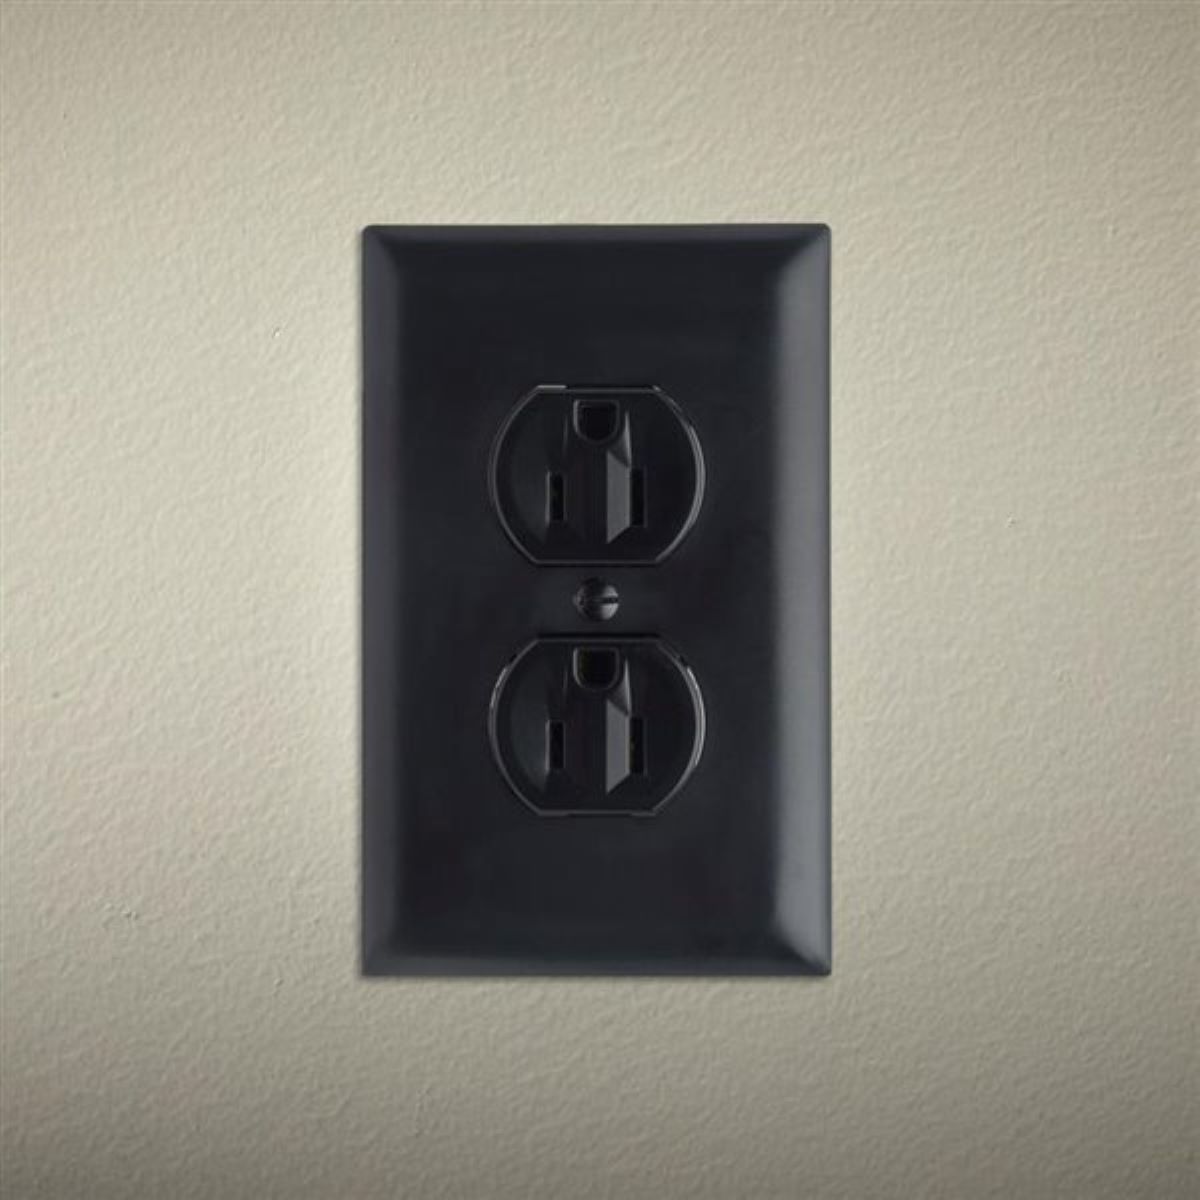
Mismatched or outdated outlet covers can be a visual bummer. With a flathead screwdriver and mere minutes of your time, you can swap out the existing plates for something with a better design or uniformity, so every color matches. There is an abundance of aesthetic options out there, from evergreen designs to eye-catching decor enhancers. We like the look (and price) of these modern outlet covers available on Amazon.
16. Mend unsightly wallpaper seams and bubbles.
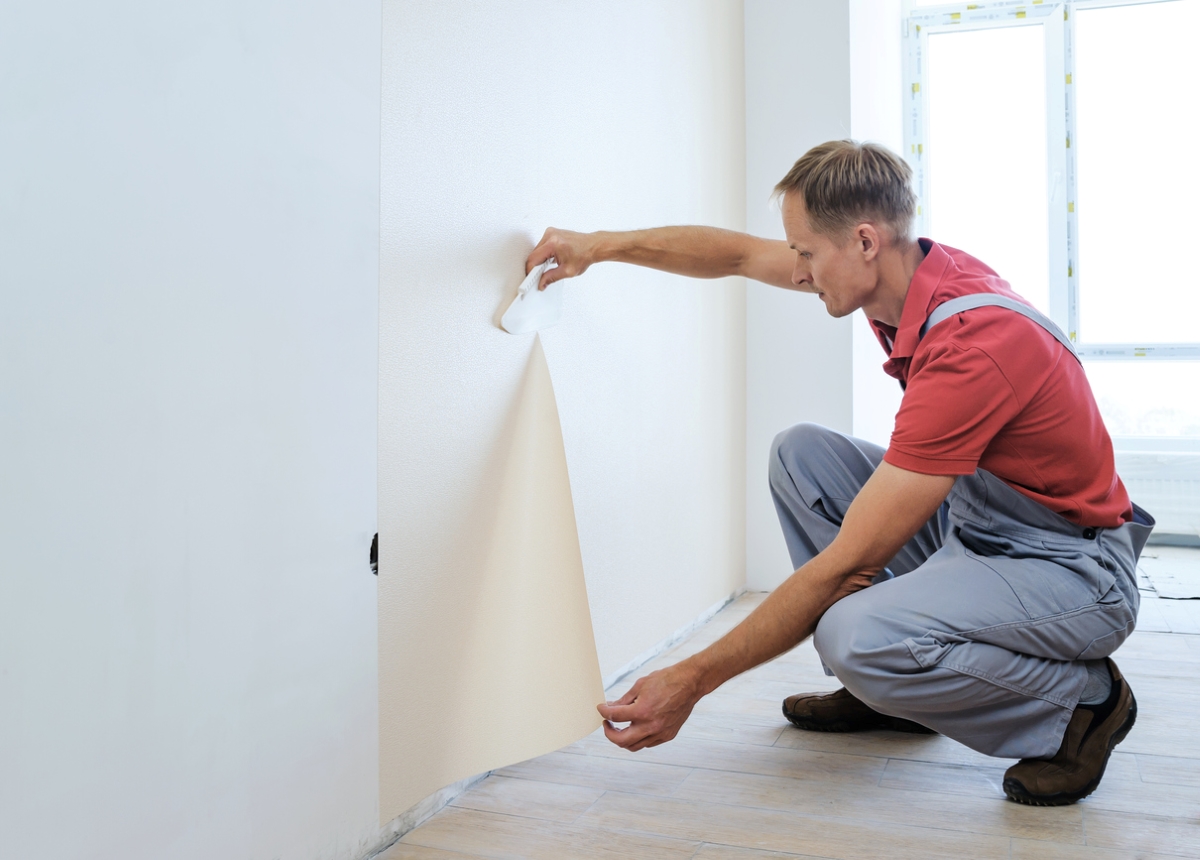
Humidity, inferior glue, or poor installation may be to blame for peeling wallpaper. However, all hope is not lost. If you love the look of your wallpaper, it may still be salvageable. When the wallpaper is literally coming apart at the seams, it’s actually fairly easy to repair.
Using affordable wallpaper tools, you can pull back the seam to where it fully adheres to the wall and reglue it, or inject adhesive into wall bubbles and smooth it out. Follow our guide on how to fix and repair wallpaper peeling, so you get it just right.
17. Repair holes in the wall.
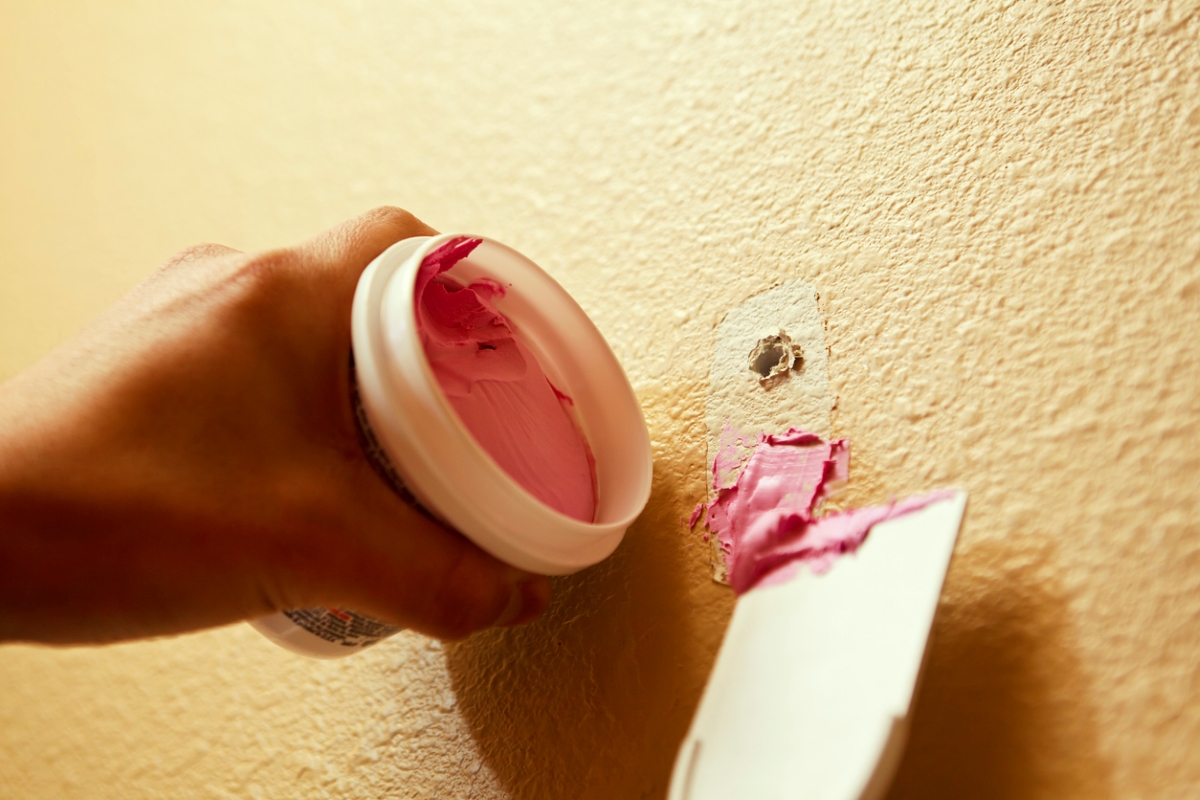
Walls get dinged up in all sorts of ways—relocating furniture, moving art from one place on the wall to another, and sometimes just normal wear and tear. If the hole is small—four inches in diameter or smaller—there’s no need to hire a contractor; you can likely fill or patch the hole yourself.
Our DIY guide on fixing holes in the wall covers three tried-and-true methods to make your wall whole again. From toothpaste to homemade sealant to a creative patch job using cardboard and a flour paste, these methods can help fix holes even for those adhering to an exceptionally tight budget.
18. Install weather stripping to your doors.

To save money on energy bills, weather stripping is a simple way to keep your costs down and prevent winter chill from invading your warm home.
This home fix couldn’t be easier, and the money that it saves you on your heating bill is well worth the less than twenty dollars you’ll spend on weather stripping material. The overview of this DIY home project is to clean your door and jamb, measure the door, cut the weather stripping, and stick it in place. You can read our step-by-step tutorial on how to install weather stripping if you need some help.
19. Add mulch to plants.
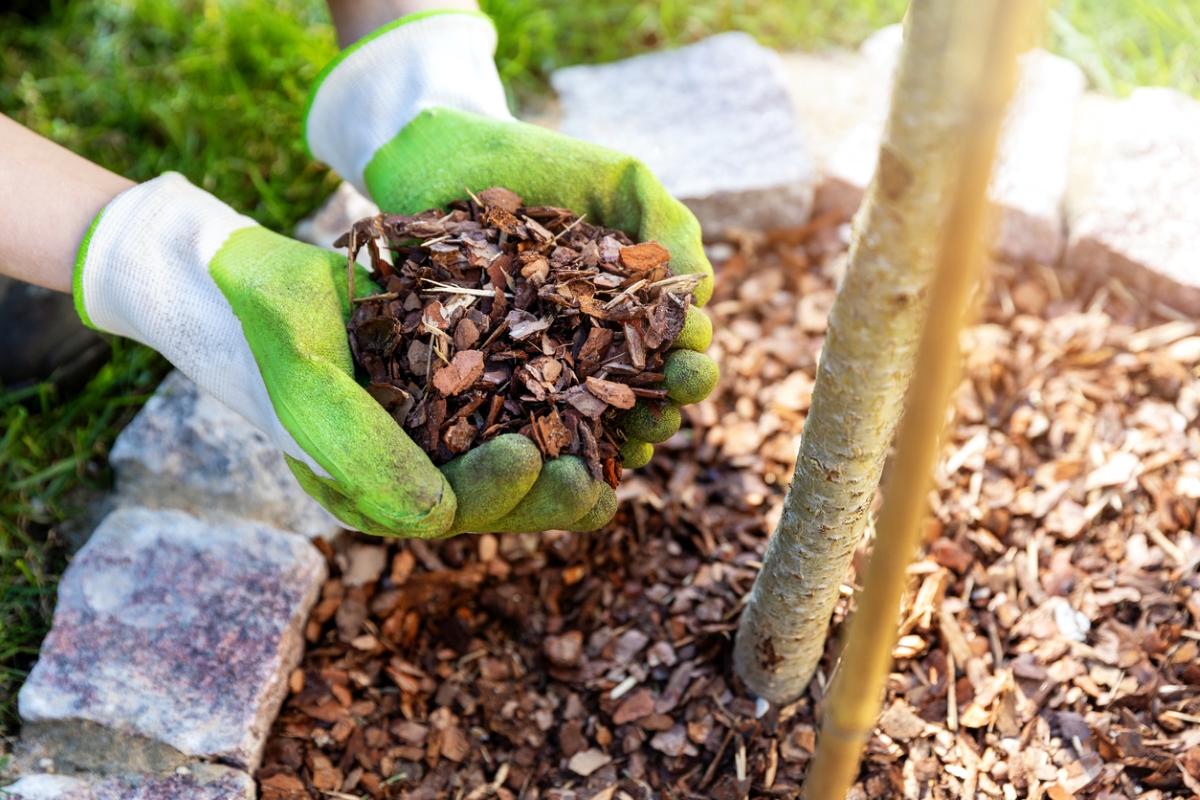
You don’t have to be a master gardener or expert landscaper to keep your outdoor plants alive through the season. Though mulching has its advantages in the spring and summer, adding mulch to your plants in the fall prepares them for winter. Our guide on mulching in the fall outlines how this activity preserves perennials, nourishes soil, insulates plant roots, and discourages weeds.
RELATED: How Much Is a Yard of Mulch?
20. Replace a sprinkler head.
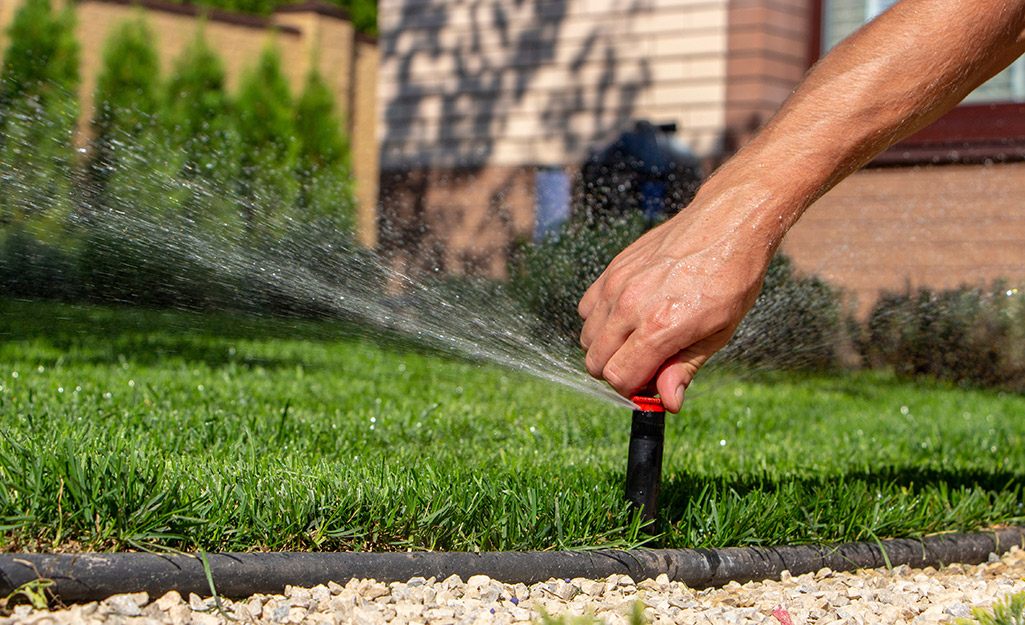
After a long summer, sprinkler heads take a beating from mowing the lawn, weekly use, and the occasional kids’ soccer game in the yard. In winter, they can show wear and tear after extreme temperatures. Any time of year is a good time to replace broken parts, and the best news is that they’re far more affordable than most people think.
For under $3 you can get a standard pop-up sprinkler head, and for under $12 you can get the professional grade version. Installing is simple with our guide to repairing sprinkler heads in six easy steps, and then you’ll be ready to water your landscape for a long time to come.


