We may earn revenue from the products available on this page and participate in affiliate programs. Learn More ›
The idea that a DIYer could see what’s within a wall cavity using a smartphone screen is the stuff of science fiction movies. It’s also now a reality with the Walabot stud finder—a device that syncs with an Android smartphone to allow the user to “see” the location of construction materials beneath drywall.
I put the Walabot stud finder (available on Amazon) through a series of tests, and I really wanted to like this “techie” new stud finder. While the concept is impressive, and I’m sure the manufacturer will perfect the device in the coming years, for now, I’ll stick with my reliable electronic stud finder with an LCD screen that indicates both the edges and the center of a stud.
I constructed a test wall consisting of open stud framing and a cutaway drywall panel to analyze the accuracy of the Walabot stud finder in detecting the studs. I also tested the device on a standard wall where I knew the location of the live wires. Keep reading to find out what happened in the tests and why I’m still hopeful about using this technology in the future.
Verdict: The Walabot stud finder is on the cutting edge of construction technology, but this tool needs a bit of tweaking before it beats out standard electronic stud finders.
Rating: 5.75/10
PROS
- Easy-to-install app
- Sharp graphics
- Multiple mode selection
CONS
- Nano pad too small
- Hit-and-miss detection rate
- Frequent calibration necessary
Get the Walabot DIY Stud Finder In-Wall Imager on Amazon for $68.23.
How Well Does the Stud Finder App Work?
I can’t say enough about how easy it was to download and install the Walabot app from the Google Play Store. Keep in mind that the Walabot stud finder only works with Android smartphones running version 6.0 or later. My smartphone is a nearly new Samsung Note20 Ultra, so I had no problems whatsoever with the app—it took about 30 seconds to download and install and synced perfectly with my Note20.
Once I installed the app, it walked me through the steps to connect the scanning device to my smartphone. This, too, was straightforward, with every step thoroughly explained through both words and graphic images.

What’s in the Walabot Box?
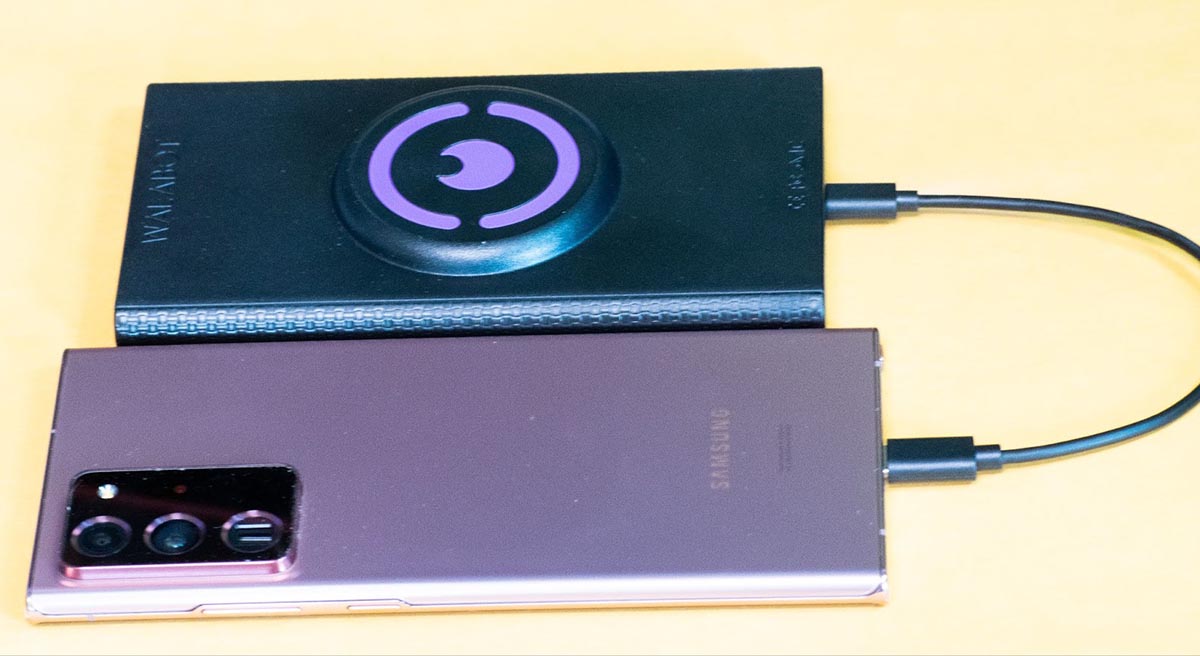
For a pretty technical device, the Walabot stud finder is a relatively simple tool. It comes with a lightweight plastic scanner box that’s about the same size as a smartphone, an instruction booklet, two types of USB cables for use with different models of Android phones, and a sticky gel nano pad to hold the stud finder to the back of a smartphone. Additionally, a thin sheet of plastic film sticks to the back of the stud finder to help it slide smoothly over drywall.
One side of the scanner box features a Walabot insignia that indicates where to place the sticky gel nano pad. Nothing too complex here—this scanner box connects via the USB cord directly to the smartphone.
Is the Walabot Stud Finder Easy to Use?
Having experience with sticky nano pads, my first step was to wipe the back of my Note20 with rubbing alcohol to remove any traces of oils or grime so the nano pad would adhere well. That was pretty much a lost cause, as the nano pad wasn’t large enough to hold the phone and the scanner securely together. When scanning, I often ended up having to use two hands to keep the scanner and the phone together. This was problematic because it wasn’t easy to slide the scanner across a wall without using both hands.
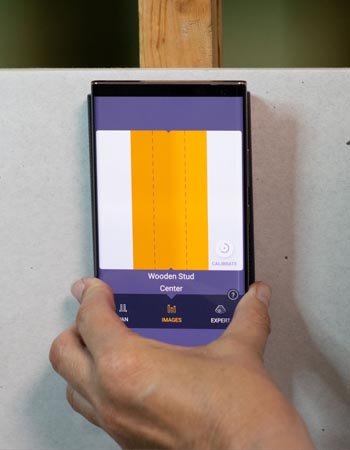
If the manufacturer of the Walabot stud finder would eliminate the raised insignia, which limits physical contact between the phone and the scanner, and used a sticky nano pad the same size as the scanner, it would significantly improve the design. A free hand is necessary to make a mark on the wall when looking for a stud’s center, so the inability of the scanner to adhere tightly to the phone was a definite drawback. Despite the failure of the nano pad to secure the phone to the scanner, the Walabot stud finder nailed the location of the wood stud in the test wall.
Does the Walabot Stud Finder Require Calibration?
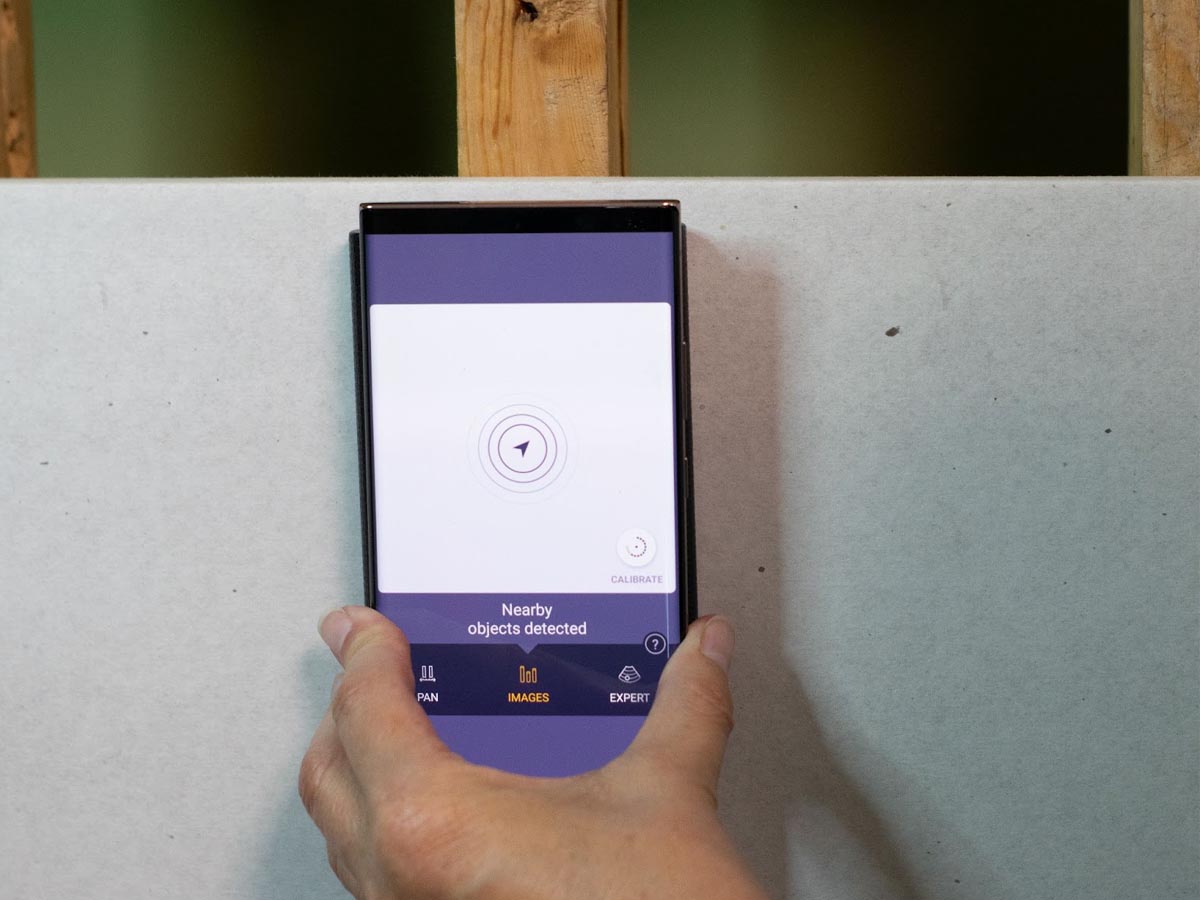
Many users of electronic stud finders are already aware that these devices require calibration to detect studs and other construction materials accurately. The Walabot stud finder is no different in that sense. Each time I placed it on the wall, I had to select the desired mode (wood, metal, or wire) and then hold the scanner and phone in place on the wall until it was calibrated. Then, I could begin scanning.
Since I was struggling to hold the phone and scanner together—yes, I washed the nano pad frequently, but it didn’t help—it took a bit of finger calisthenics to select the correct modes on the screen. It would be nice if the Walabot stud finder didn’t require recalibration every time it’s lifted from the wall, but I expect that improvement will be coming soon.
How Accurate Was the Walabot When Detecting Wires?
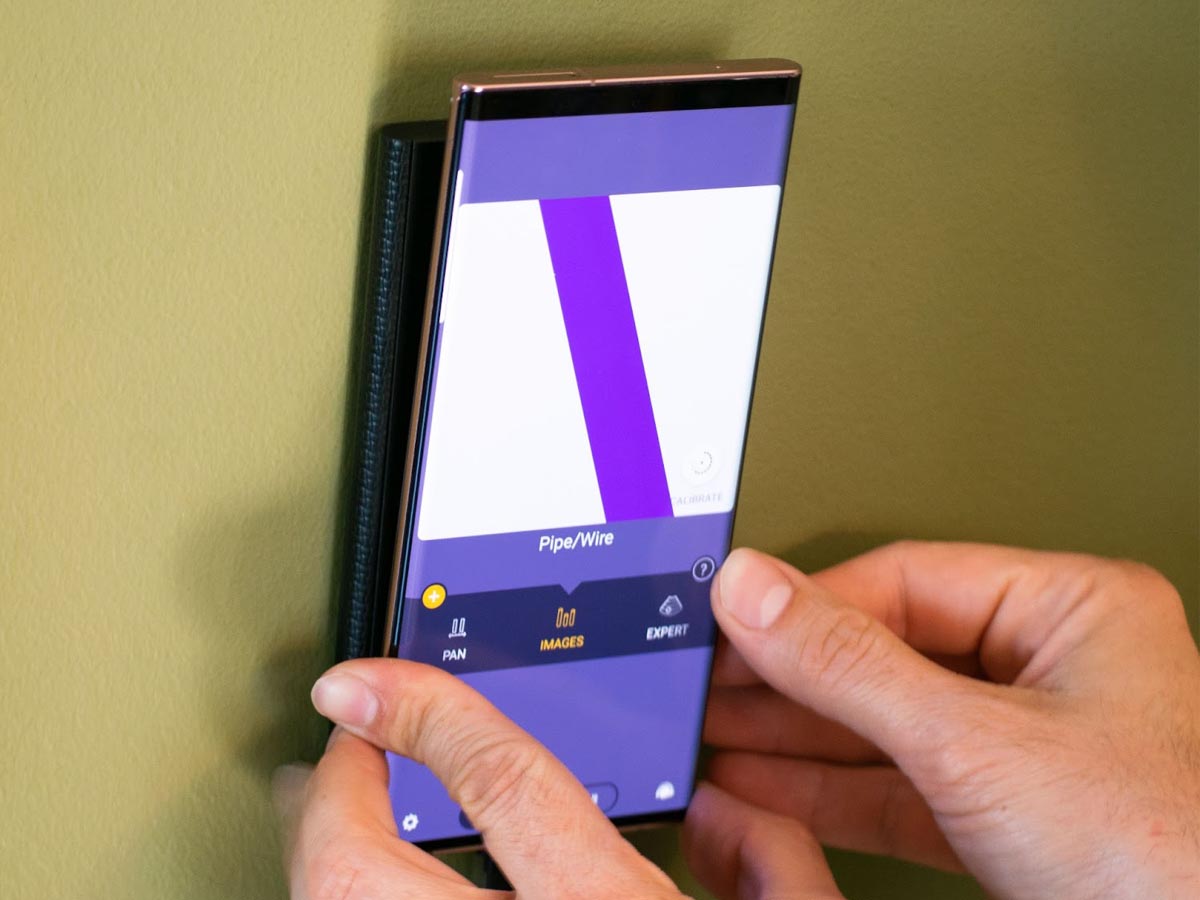
After finding the Walabot stud finder to be accurate on the test wall for pinpointing studs, I moved on to scan a standard household wall to see if it would detect live wires. I was familiar with the wall’s original construction, so I knew wires were attached to a stud just below a light switch. Sure enough, after calibrating for live wires, the stud finder detected wiring right where I knew it was located.
Unfortunately, the wire graphic on the screen appeared diagonal and cockeyed, although I knew the wire ran straight down the stud from the switch. It didn’t sit at an angle as the screen on my Note20 incorrectly displayed.
Still, the Walabot stud finder did detect the presence of a live wire, so it wasn’t wholly a bust. For someone preparing to cut or drill into the wall in that general area, the diagonal image on my smartphone screen would serve as a warning to proceed with caution. I wondered if the image could be due to the problems with the phone and the scanner not adhering tightly.
Is the Walabot Stud Finder Right for You?
Despite a few design flaws, the Walabot stud finder still has a lot going for it. Those interested in obtaining a large sticky gel nano pad could conceivably cut it to size to fit the entire back of the phone to hold it more securely to the scanner.
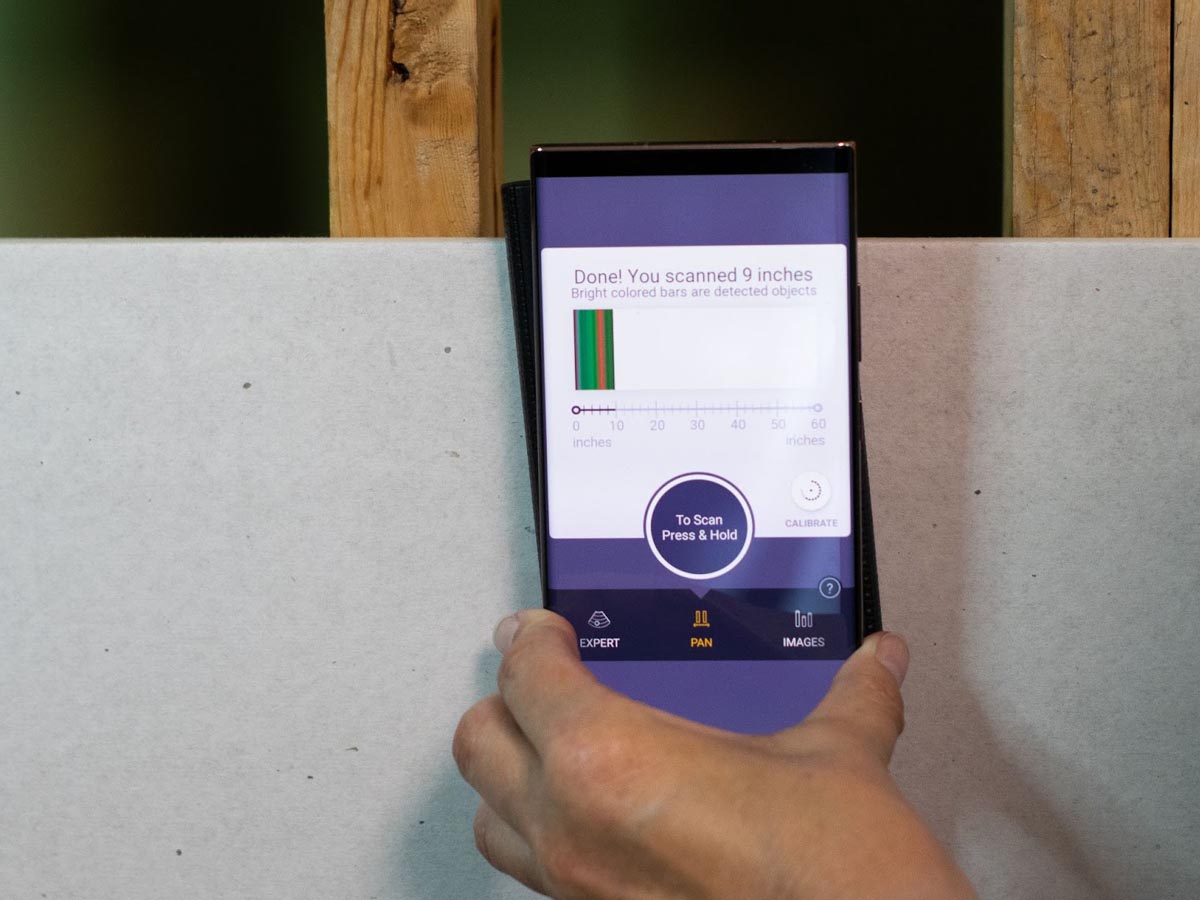
The Walabot stud finder also features a panning mode that allows the user to start at one side of the wall and scan any desired distance. When complete, the smartphone screen shows a bar chart that indicates (by color) whether the stud finder discovered a wire or a stud during the scan and its precise location using an integrated ruler. I found this to be one of the more intriguing features of the Walabot stud finder since a user could scan a complete wall and have a precise record of the location of each stud.
For those who don’t mind using both hands to hold the phone and scanner together, this stud finder offers some exciting features, such as the panning mode. It also includes a motion detection graphic that looked a lot like a thermal imaging photo. Since I knew the stud in the wall wasn’t moving, I can only assume the movement detector picked up motion from my hands. I could see this functionality as beneficial if someone was trying to detect rodents or other critters within the stud spaces.
The Stud Finder Advantage
Few DIYers can rap their knuckles on a wall and pinpoint the center of a stud—but a stud finder makes it easy. Among electronic versions, the Walabot stud finder stands out by using imaging algorithms that detect various types of mass behind a wall and translate the data into easy-to-recognize studs, pipes, and wires. Those interested in checking out the Walabot can look forward to improvements from the manufacturer that address the concerns that were discovered during the hands-on testing. Find out more about what to consider when shopping for a stud finder in this buyer’s guide.
Get the Walabot DIY Stud Finder In-Wall Imager on Amazon for $68.23.

