
We may earn revenue from the products available on this page and participate in affiliate programs. Learn More ›
Q: We’ve bought our dream fixer-upper and are slowly DIY-ing our way through each room. One of the bedrooms has some vintage wallpaper I really love, but it’s peeling in some places. Is there anything I can do to fix it—or at least prevent future wallpaper peeling?
A: Congrats on what sounds like an awesome project—despite the peeling wallpaper, which is common in older homes. One reason is a lack of ideal humidity conditions; over time, too much humidity can weaken the adhesive behind the paper. Inferior or an inadequate amount of glue could also be causing the problem, or perhaps small bubbles that didn’t get smoothed properly during installation is to blame. Fortunately, peeling wallpaper is a fairly easy fix that even a novice DIY-er can handle with some inexpensive tools and supplies.

You can re-glue any wallpaper that’s peeling at the seams.
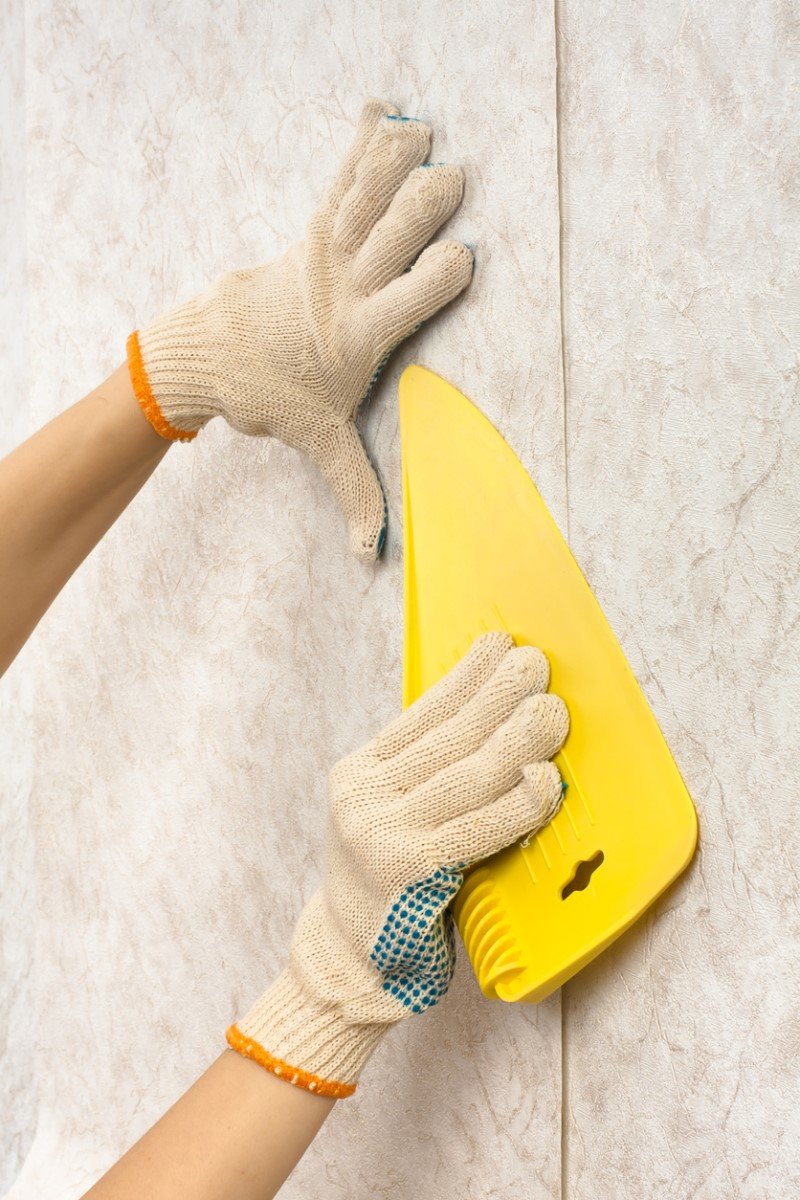
Both pre-pasted and traditional wallpaper may begin to peel in the places where two strips meet. With pre-pasted paper, the adhesive may not have been fully applied during manufacture. Seams may also become loose if too much paste was squeezed out of the seam during installation. Start by gently pulling the wallpaper back to where it fully adheres to the wall. Then, using a small artist’s paintbrush, spread some wallpaper seam adhesive onto the wall under the seam. Smooth the wallpaper back down over the adhesive and use a small wooden seam roller (a specialty wallpapering tool available on Amazon or at home improvement stores) to flatten it completely. Use a damp cloth or sponge to wipe up any errant adhesive that may have squeezed out onto the wallpaper.
Fix an air bubble by injecting new adhesive.
If trapped air is not fully purged and smoothed away from under the wallpaper during installation, small blisters or bubbles can appear over time, causing the paper to come away from the wall. Before you attempt a fix, feel the bubbled area with your finger to be sure it is indeed just air, and there is nothing trapped underneath it. Once you confirm that it’s just air, fill a small adhesive syringe (available on Amazon as well as at home improvement stores) with wallpaper adhesive. Insert the tip of the syringe through the paper directly into the bubble and push in a small amount of adhesive. Then smooth the paper down with a seam roller, and use a damp cloth or sponge to clean up any extra adhesive that may have squeezed out.

Remove foreign objects from beneath wallpaper carefully.
A bubble may also appear under wallpaper if a speck of dirt or some other foreign object became trapped under the paper during installation. Over time, humidity will force air to surround that object and form a bubble that will cause the wallpaper to peel. If you feel an object under an air bubble, cut a small slit in the paper with an Exacto knife or razor blade, then carefully remove the object with tweezers. Next, inject wallpaper adhesive behind the slit with an adhesive syringe and roll the area flat again with a seam roller. Finish up with a damp cloth or sponge to clean up any excess adhesive.
Proper precautions can prevent wallpaper from peeling.
When installing new wallpaper, prep the surface, smooth properly, and maintain ideal humidity in the room to avoid wallpaper peeling and bubbles in the future.
- Be sure the wall is completely clean of dust and debris before starting the job, to lessen the likelihood of foreign objects getting trapped and causing adhesion problems.
- Smooth the paper from the center outward, instead of top-down or outside in. This makes it less likely that air bubbles will be trapped under the paper.
- When smoothing wallpaper, be careful not to squeeze too much adhesive out from the seams. Too little adhesive at the seam area could cause the wallpaper to peel later.
- Over time, humidity can weaken wallpaper adhesive. Use a dehumidifier, if necessary, to ensure that rooms with wallpaper stay at 40 to 50 percent humidity.
