We may earn revenue from the products available on this page and participate in affiliate programs. Learn More ›
Q: We painted our bathroom a few months ago and are already noticing areas where it’s peeling. How can we fix this—and prevent it from happening when we tackle the bedroom?
A: When a recent paint job starts looking old before its time, various culprits may be to blame:
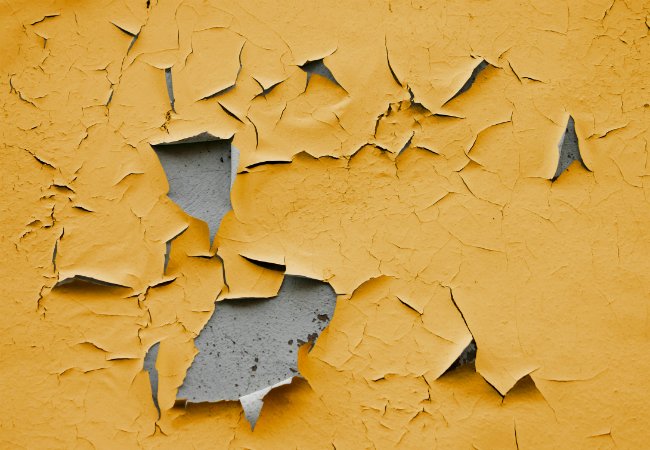
- Usually, unsightly peeling, cracking, and flaking occur when the surface hadn’t been cleaned, prepped, or primed properly.
- It’s also possible that you didn’t allow adequate drying time between coats, which can cause severe cracking known as “alligatoring.”
- Or perhaps that bargain brand you bought wasn’t such a bargain: Poor-quality paint tends to be less adhesive and flexible, and therefore notoriously prone to peeling.
- Plus, this being a bathroom, moisture—which can impair paint’s adhesive properties—might have contributed to the problem.
Fortunately, you caught it early, so you can probably do a patch job rather than repaint entire walls. The steps below outline precisely how to go about fixing peeling paint. But be forewarned: It’s crucial that you get your surfaces in shape and use the appropriate product to ensure smooth, long-lasting results in your bathroom fixes as well as the fresh paint job in your bedroom.

STEP 1: Purge the peeling.
Before you begin, it’s a good idea to check for a leaky roof or plumbing concern that may have contributed to the peeling in the bathroom and could wreak havoc with your repair attempts.
Once you get that squared away, get cracking on those cracks! Protect the floor with a drop cloth, and have a receptacle handy to catch the refuse. Gear up with goggles and a face mask, because tiny flakes of paint are sure to go flying. Then—using a putty knife, wire brush, or paint scraper—carefully remove all the chipped or peeling paint from the walls and ceiling.
STEP 2: Prep the surface.
Using a putty knife, apply quick-setting patching compound in a thin, even layer to fill any cracks or holes. Let dry thoroughly, repeat if necessary, and then allow to dry overnight.
Next, sand the area until it’s smooth and blends in with the rest of the wall. Use very fine grit sandpaper or for easy cleanup, a shop vac with a sander attachment. Feel with your fingers for any ridges or uneven spots you may have missed.
Finally, clean the area with a damp sponge, wipe again with a dry cloth, and let dry completely. (Remember: You don’t want any lingering moisture when you begin to prime and paint.)
STEP 3: Take time to prime.
There are excellent paints on the market with built-in primer, but as you’ve already experienced a peeling predicament in the bathroom, go the extra mile and use an oil-based primer with stain-blocking properties to gain an extra edge against humidity. This kind of primer also guards against mildew and water marks. KILZ (view on Amazon) and Zinsser (view on Amazon) have long been considered the best oil-based, stain-blocking primers available.
STEP 4: Repaint the patches.
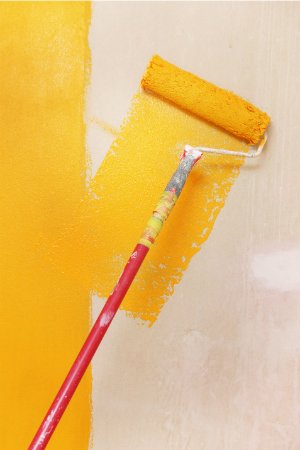
Once the primer is dry, you’re ready to repaint. If you’ve got enough paint left over from the original job, great; if not, see if you can purchase a sample can. Use a bristle or sponge brush (or a roller for large areas), starting inside the patched areas and feathering outward. Err on the side of stingy. You never want to glop paint on, and that’s especially important with a retouch job. Let dry, and wait 24 hours before using the shower in this bathroom.


