We may earn revenue from the products available on this page and participate in affiliate programs. Learn More ›
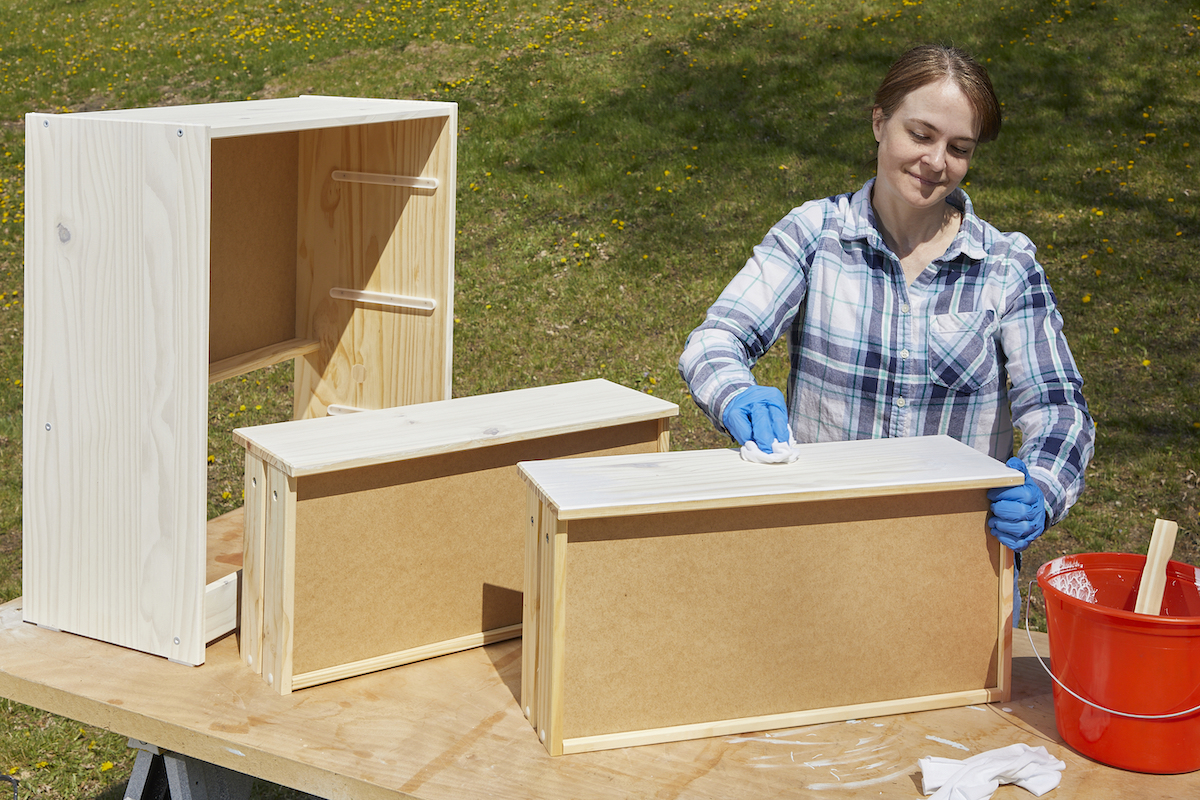
In contrast to a regular paint job, whitewashing brightens the look of wood surfaces while allowing their natural grain to show through. The light color and pleasingly imperfect aesthetic of whitewashing makes rooms appear more comfortably lived-in, even friendlier—making it popular in modern farmhouse, charming cottage, and relaxed beach interior schemes. Although its results are out of the ordinary, whitewashing differs only slightly from run-of-the-mill painting. Here’s how it’s done!
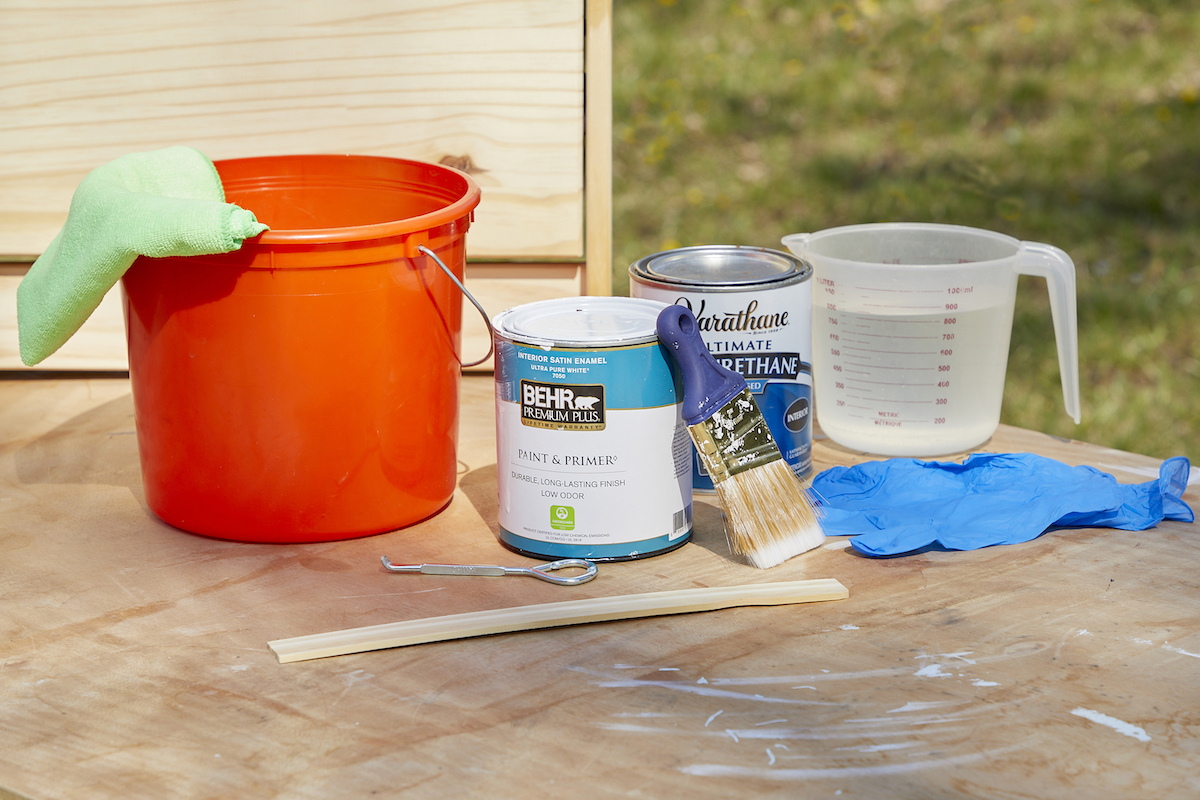
Tools & Materials
Bobvila.com may earn a commission from purchases made through these links.
Whitewashing Wood in 5 Steps
This project is easiest to undertake outdoors on a fine day—the fumes from the paint and poly won’t be as bad, and you won’t have to vacuum up sawdust resulting from sanding.
Step 1: Remove the existing finish from the wood.
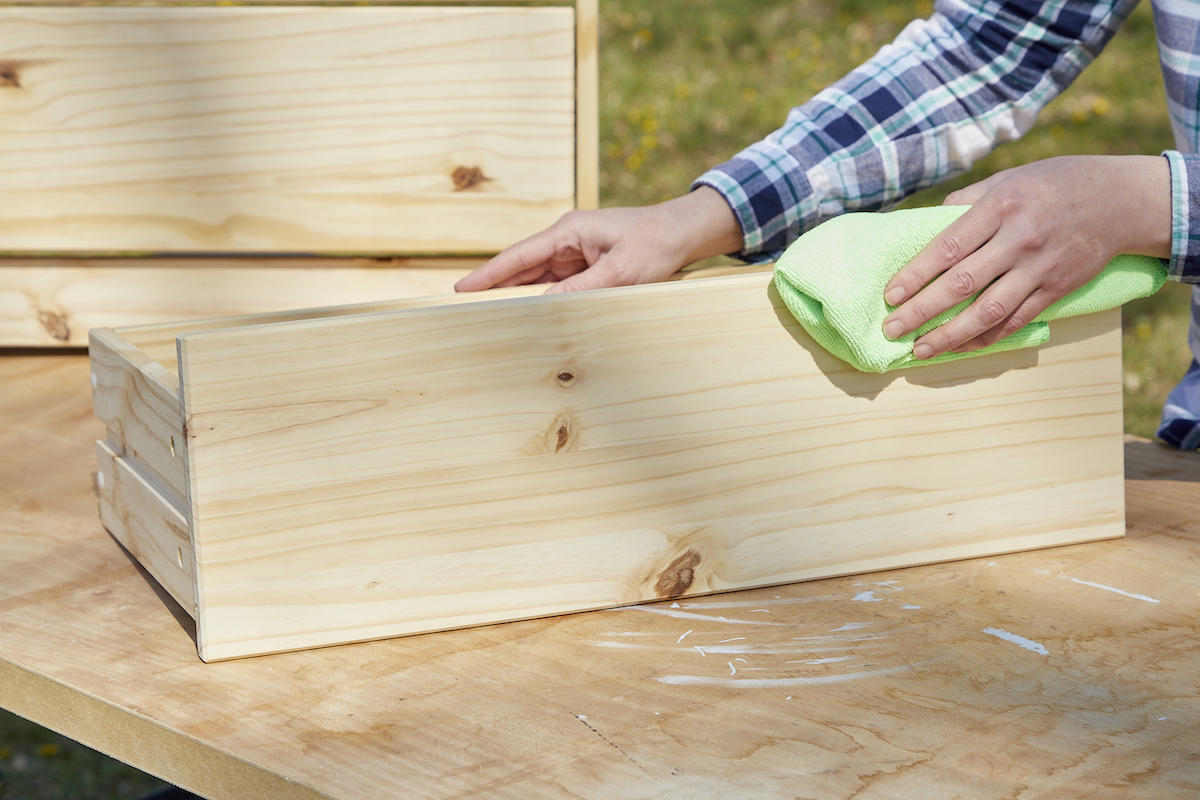
Whitewashing works best on raw wood. That being the case, it’s critical that you remove as much of any existing finish—be it paint, stain, or varnish—as possible. Do so by thoroughly sanding the surface you intend to whitewash. Sanding by hand is one option, but it’s far quicker and easier to opt for a power sander. (If you don’t own one, you can rent one from your local home improvement center.)
Before continuing on to the next step, it’s important to clear all sawdust and debris created in the course of sanding. Sweep or vacuum the area, if appropriate; otherwise, use a damp cloth to wipe the surface clean.
Step 2: Dilute the white paint.
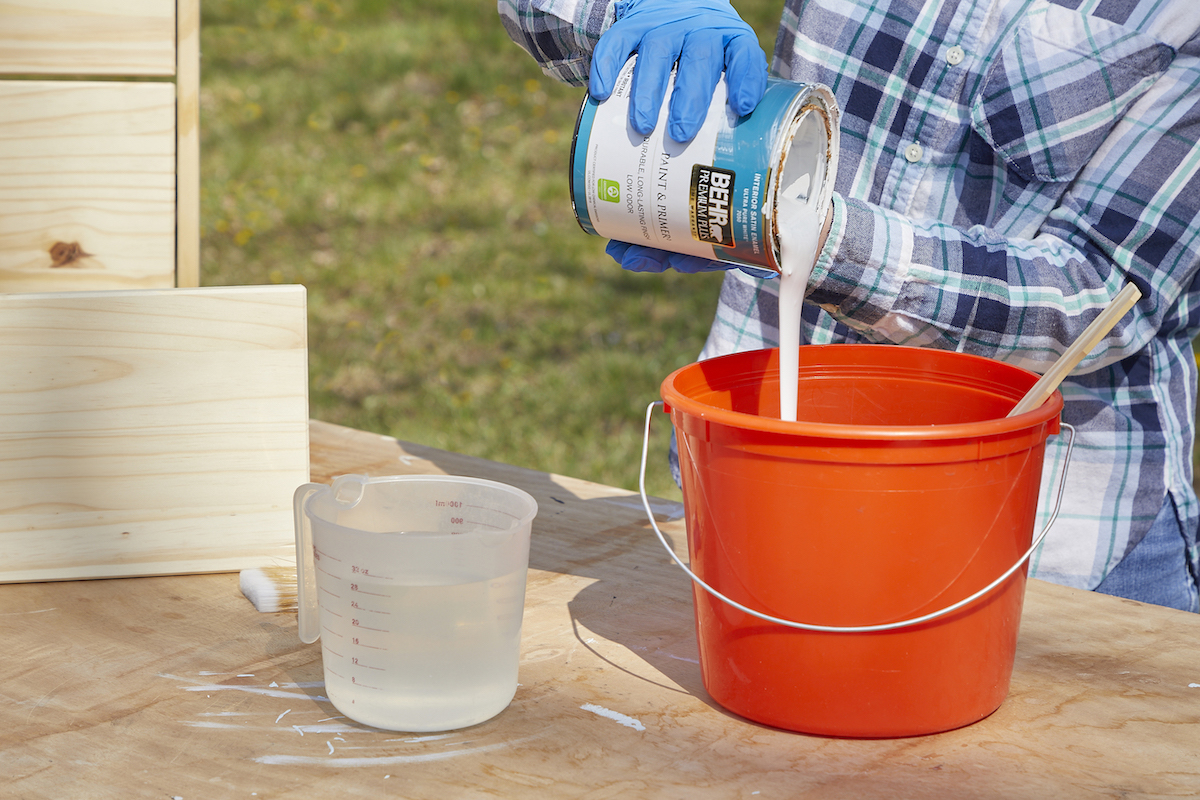
Now formulate the whitewash. Rest assured there’s no complicated recipe to follow; rather, making whitewash is a simple matter of diluting regular white paint. Dilute water-based white paint with water, and dilute oil-based white paint with turpentine or paint thinner.
The precise ratio of paint to thinner depends on the look you wish to achieve:
- For thicker coverage, use a mixture of two parts paint to one part thinner.
- Reverse that ratio if you’d prefer a thinner application.
Before you whitewash the entire surface, first experiment with the mixture in an inconspicuous spot. Be sure you like the way that it looks before committing. After all, it’s easy to add coverage but more challenging to take it away.
Step 3: Apply the whitewash with a paintbrush.
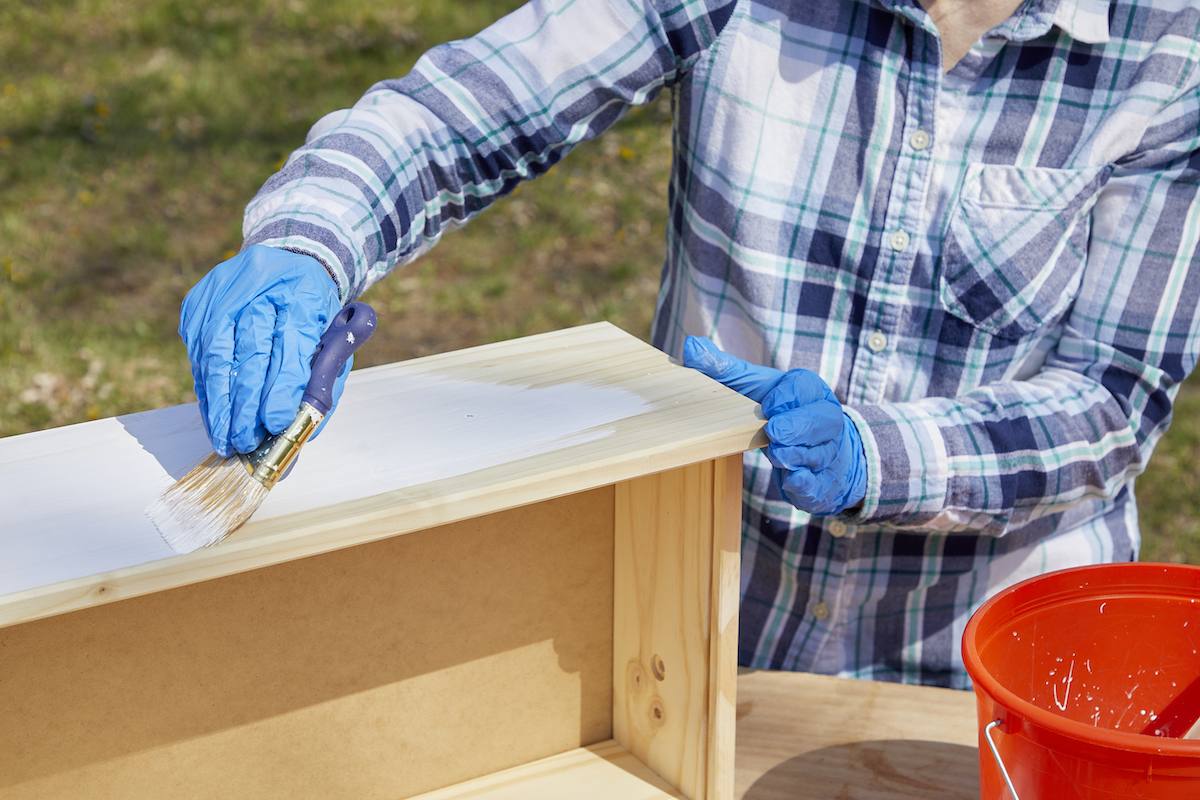
Load your paintbrush or roller, and apply the white color on in long strokes following the direction of the wood grain. The finish dries quickly, so it’s wise to complete one small section at a time. Should you prefer the wood grain to show through more than it does, use a cloth to wipe away excess whitewash before it has the chance to dry completely. Doing this should result in an attractive, washed-out look.
Step 4: Let the whitewash dry between coats, and sand if needed.
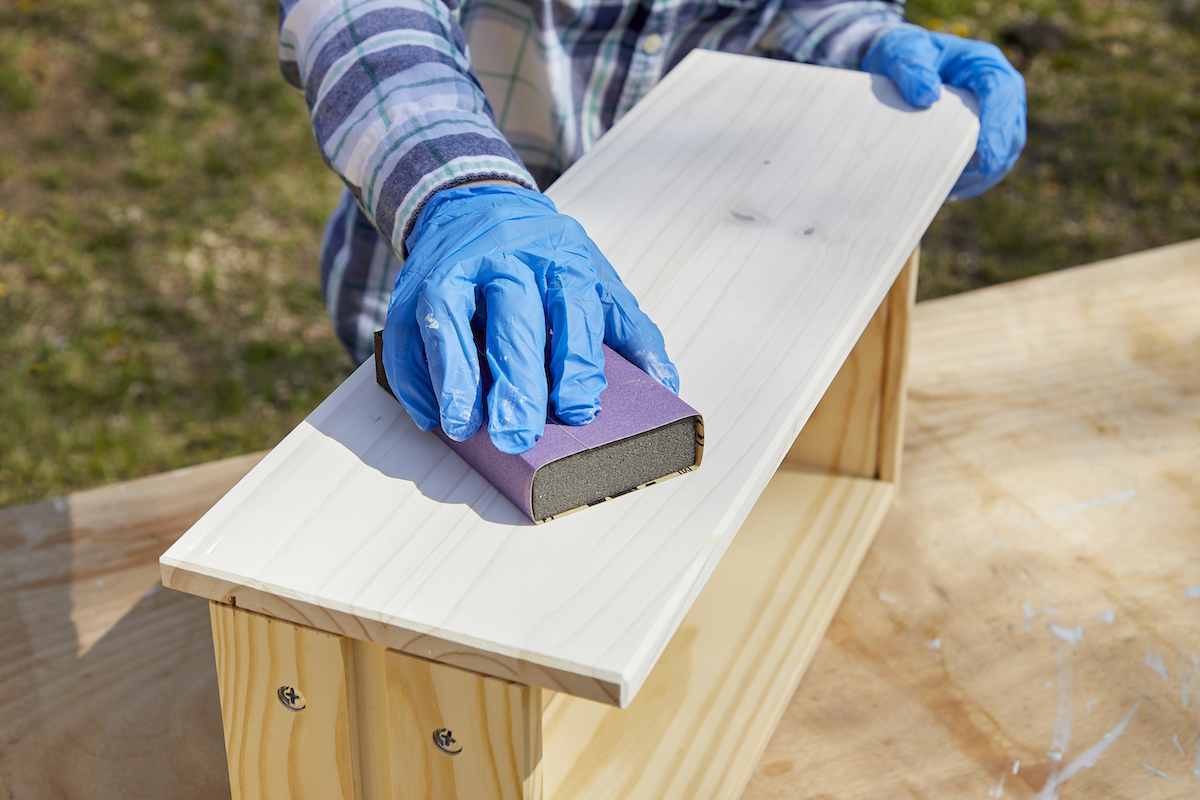
After the first coat has dried completely, then determine whether a second or third coat is need. So long as the whitewash is dry (allow several hours), you can use fine-grit sandpaper to play down any coverage that you think seems thicker than ideal.
Step 5: Seal the whitewashing with clear polyurethane.
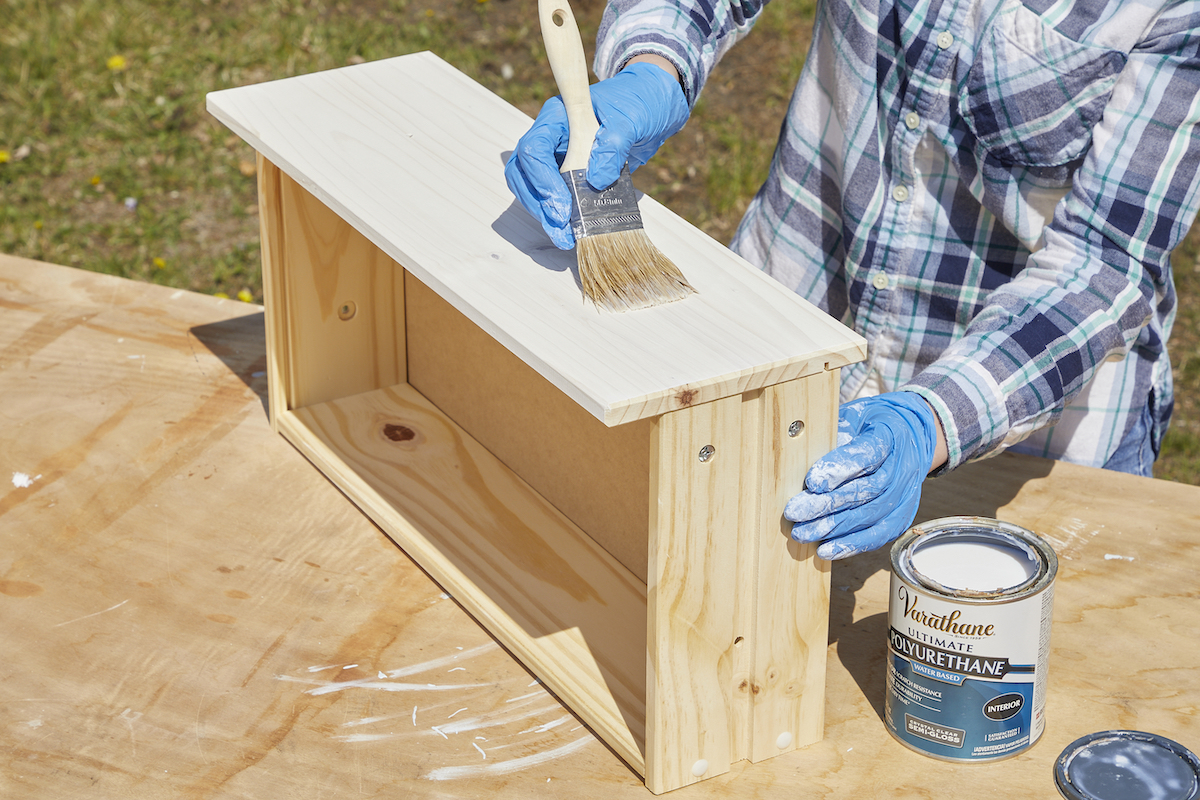
Bring the project to completion by coating it with a clear polyurethane sealer, applied with a brush as evenly as possible over the surface. Once sealed, your whitewashing should look fresh for years to come.

