We may earn revenue from the products available on this page and participate in affiliate programs. Learn More ›
Window screening is there for a purpose. If it gets a snag, a tear, or a hole, it is much less effective at keeping insects and debris out of your home than it is if it is intact. Should your screens fail, however, understand that it’s easy to change them out—and with little cost for materials and tools—by following these basic instructions for window screen replacement.
Tools & Materials
Bobvila.com may earn a commission from purchases made through these links.
STEP 1: Remove the old screen from the frame.
The screen is held in place with a plastic cord, called a spline, that runs in a channel around the perimeter of the metal frame. Use a small flat-head screwdriver, nail punch, or sharp object to lift the spline out of the channel. Keep the spline, but remove and discard or repurpose the torn screen.
If the frame is dirty, this is a good time to wash it. While it dries, bring the old spline with you to a home improvement store to ensure that the replacement spline you buy is the proper size.
STEP 2: Size the new window screening material.
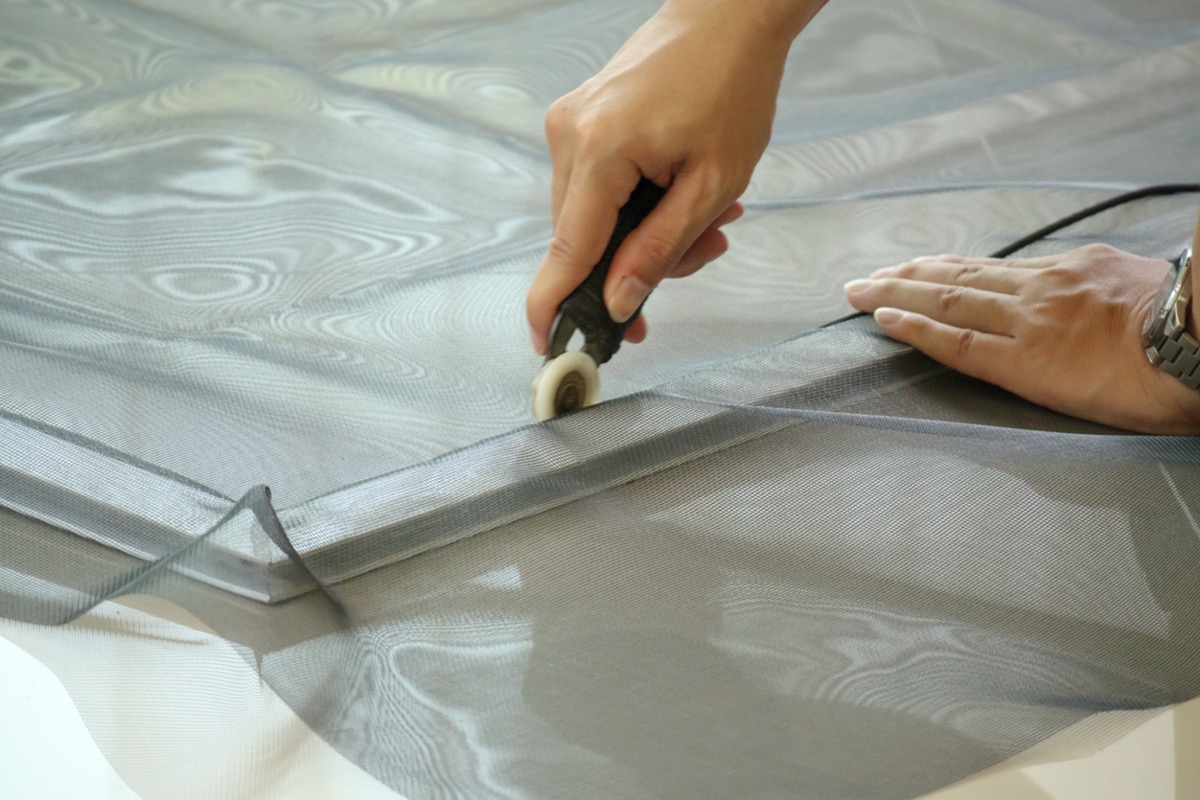
Place the metal frame on a flat work surface, and roll out a length of screen material to cover the entire frame. Leaving an extra 2 inches of screening material on all sides, cut the screen to size.
STEP 3: Position the new window screen in the frame.
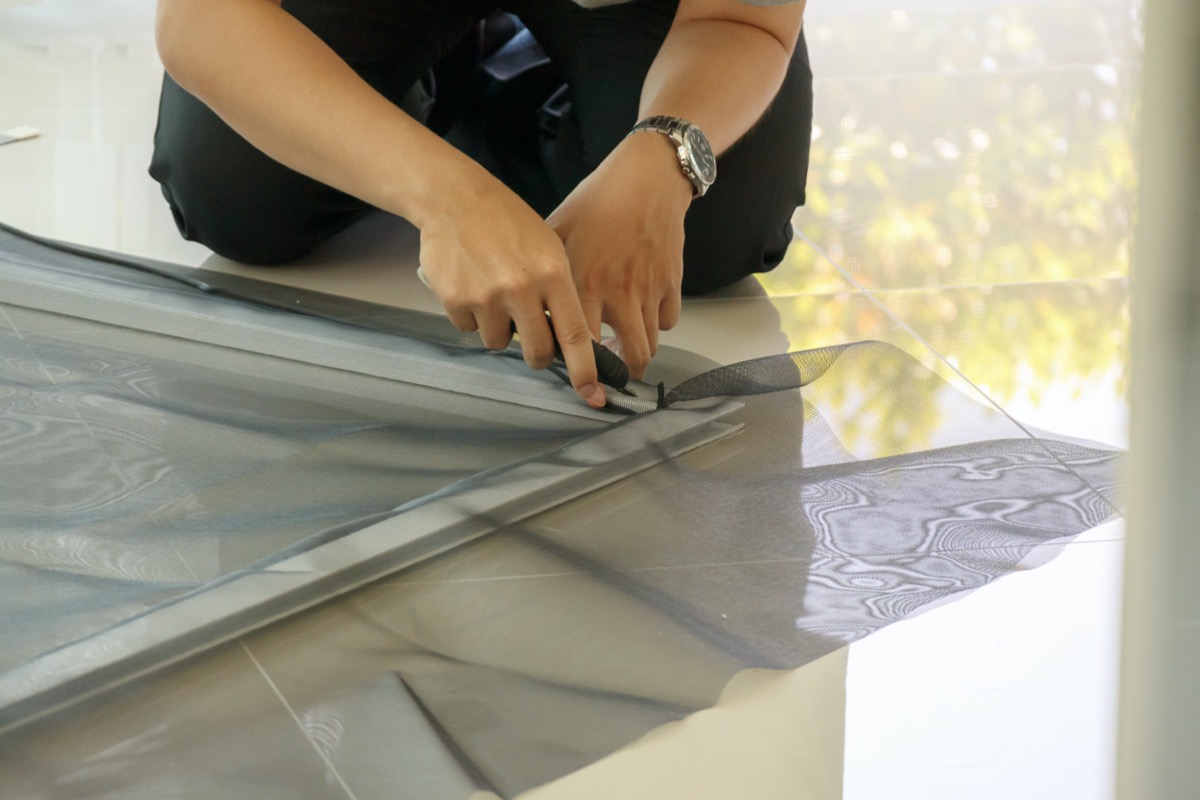
Lay the new window screen material over the frame, making sure that the material overlaps the metal on all four sides.
Screen material is usually sold on a roll. When you unroll it, place it curved side down—it’ll be easier to work with. Pull the screening taut and tape or clamp it to the top and bottom of the frame.
STEP 4. Install the new spline.
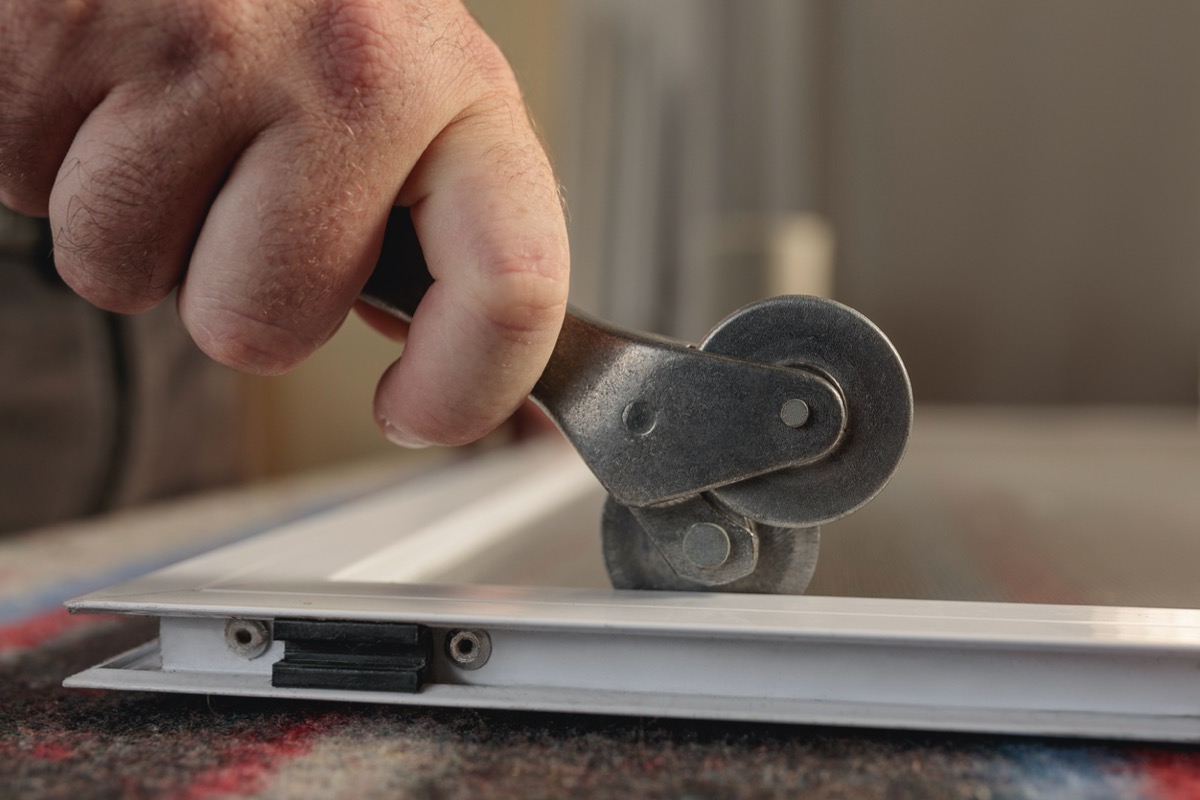
Starting at one side and working your way around the perimeter of the frame, use the convex wheel of the screen rolling tool to push the screen into the channel of the frame. Be sure to keep the material taut as you work your way around, then use the concave side of the same tool to insert the plastic spline.
STEP 5. Remove excess screening material, and replace the new screen in the window.
Once you have installed the spline, trim the excess screening material with a utility knife. Cut the screen on the outside of the new spline, angling the utility knife blade away from the new spline to avoid cutting it. Finally, install your new window screens.
How to Care for Replacement Screens
A large part of ensuring that patio door screen or window screen replacements last a long time involves properly maintaining them. It’s a good practice to remove your screens in winter and store them in a dry place, such as an attic or basement, to prevent snow and ice from damaging them.
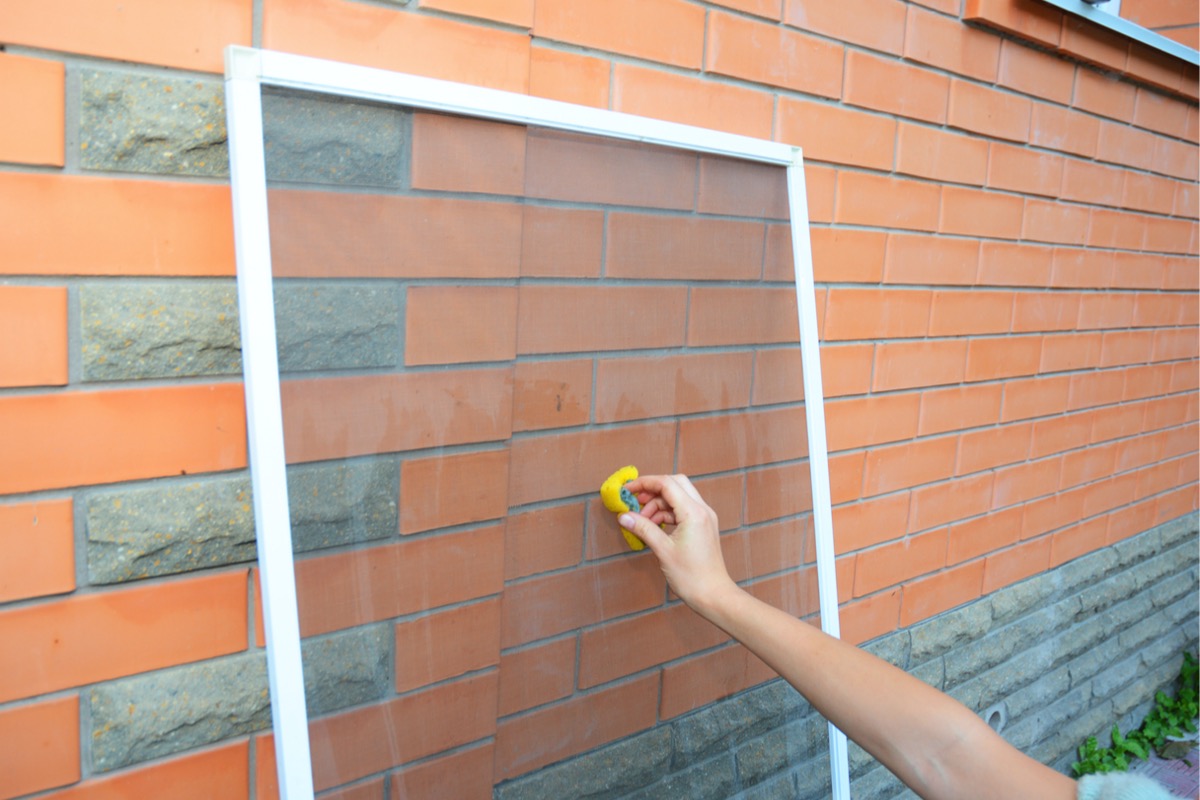
Though most homeowners periodically wash windows, the screens often get neglected. Window screens should be cleaned at least once a year to remove dirt and pollen that collect on them.
Before reinstalling the screens in spring, place them on a flat surface and vacuum them to remove spider webs and dust. Afterward, apply a mild soap-and-water solution and lightly brush the screens before rinsing them with water and wiping them dry.
Screens are most often damaged while being installed or removed. Learning how to remove a screen from a window properly will help you avoid bending the screen frame or tearing the screen, and ensure that it will block bugs and debris from your home for a long time to come.
- Store your screens in the winter.
- Clean screens annually.
- Learn how to properly install and uninstall your window screens.
Final Thoughts
When shopping for a roll of replacement window screen material, be sure to buy screens made of a material that’s appropriate for your household. Most window screening is made of fiberglass, but households with dogs or cats might want to consider heavy-duty, pet resistant screens that are less prone to snagging. Solar screens are useful on patios, or in sunny areas of your home, because they reduce the amount of heat and sunlight indoors (and thus, the amount it costs to cool your home).
By following the simple steps above, you can learn how to rescreen a window, saving you the expense of costly replacement window screens. (The screen repair process is the same for screen doors—now you know how to fix those too!) With an inexpensive replacement mesh and a couple of simple tools, replacing a torn screen takes less than an hour.
While installing a replacement window screen may be a relatively simple job, it isn’t a repair you should have to take on regularly. Extend the life of your window screens by properly storing them in the winter and by cleaning them before reinstalling them in the spring.
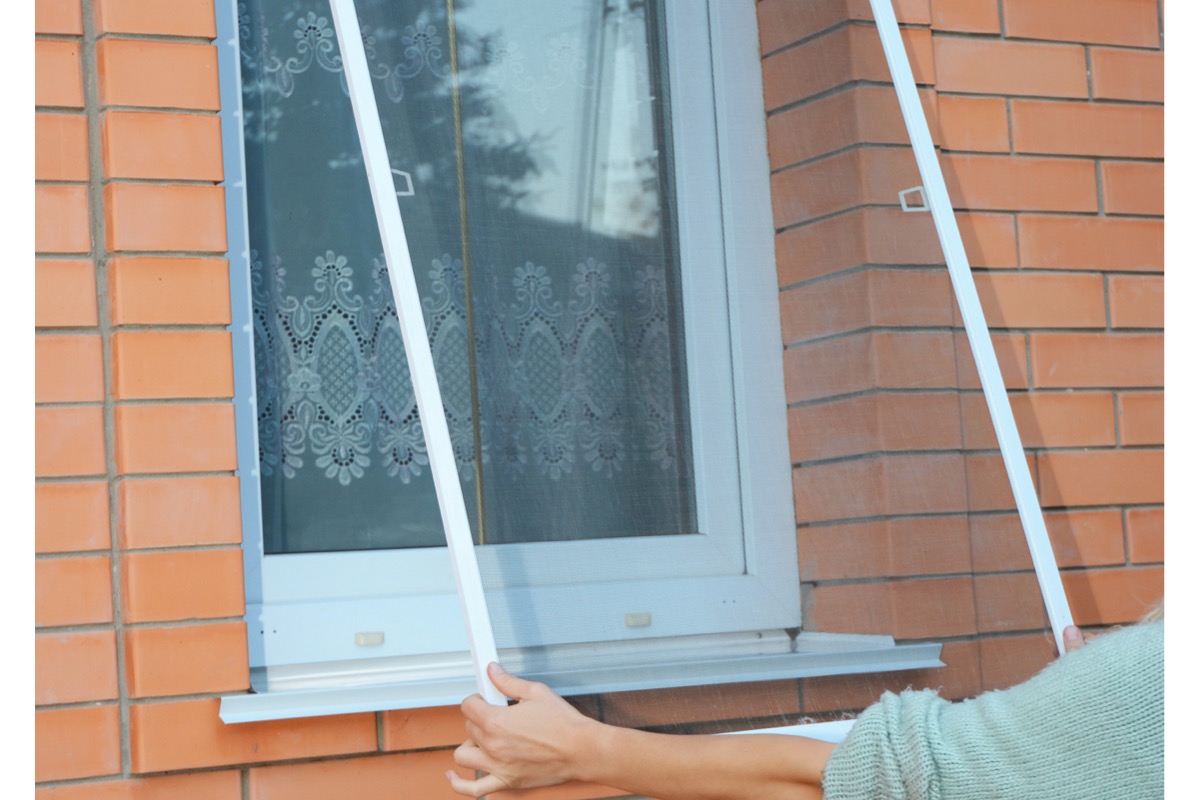
FAQs About Replacing Window Screens
If you’re wondering how to measure a window opening for a screen or how much you can expect to pay to replace a screen, then read on for answers to these and other questions about window screens.
Q. Are there standard window screen sizes?
Windows and screens come in standard sizes for each type of window, including double and single hung, sliding, picture or fixed, and casement. To determine what size you need, measure the old screen, or the size of the window opening.
Q. How much does it cost to replace a screen in a window?
The cost of replacement screens for windows ranges from $20 to $100, based on the size of the screen, according to HomeAdvisor.
Q. Do you measure windows from the inside or outside?
Measure your windows from the inside for screens. Use a tape measure to measure the width of the screen opening from corner to corner then subtract about 1/8 of an inch to allow for enough clearance to install the screen. Next, measure the screen’s height. Measure from the channel at the top of the opening under the window sash to the lip at the bottom of the sash. This channel will hold the screen in place.
Q. How do I keep my screen in place?
Depending on the type of window, there are different methods to hold the screen in place. While some sit in a channel, other windows have tension mounts. If the screen is falling out, it’s usually because the screen is not sitting in the channel properly or the tension mount is loose.
If the tension mount is loose, check to make sure the screen frame is not warped, preventing it from sitting in the channel properly. If there is a tension mount, check to make sure the screen isn’t missing any spring clips.
