
We may earn revenue from the products available on this page and participate in affiliate programs. Learn More ›
When it comes to home improvement, repair, and maintenance, DIYers can learn a wide assortment of skills to help take on an array of jobs so they don’t need a professional. Oftentimes, even the simplest projects call for using essential tools every homeowner should have one hand. Hammers, screwdrivers, and tape measures, for instance, are relatively easy to use, but even these tools are only as effective as their user.
Whether you’re planning a large renovation or simply want to expand your DIY skills in the coming year, learning how to handle some of the most commonly used tools is a worthy endeavor for any homeowner. Bob Vila has you covered with setup instructions, parts diagrams, how-tos, product reviews, and more, for eight go-to tools for DIYers.
How to Use a Drill
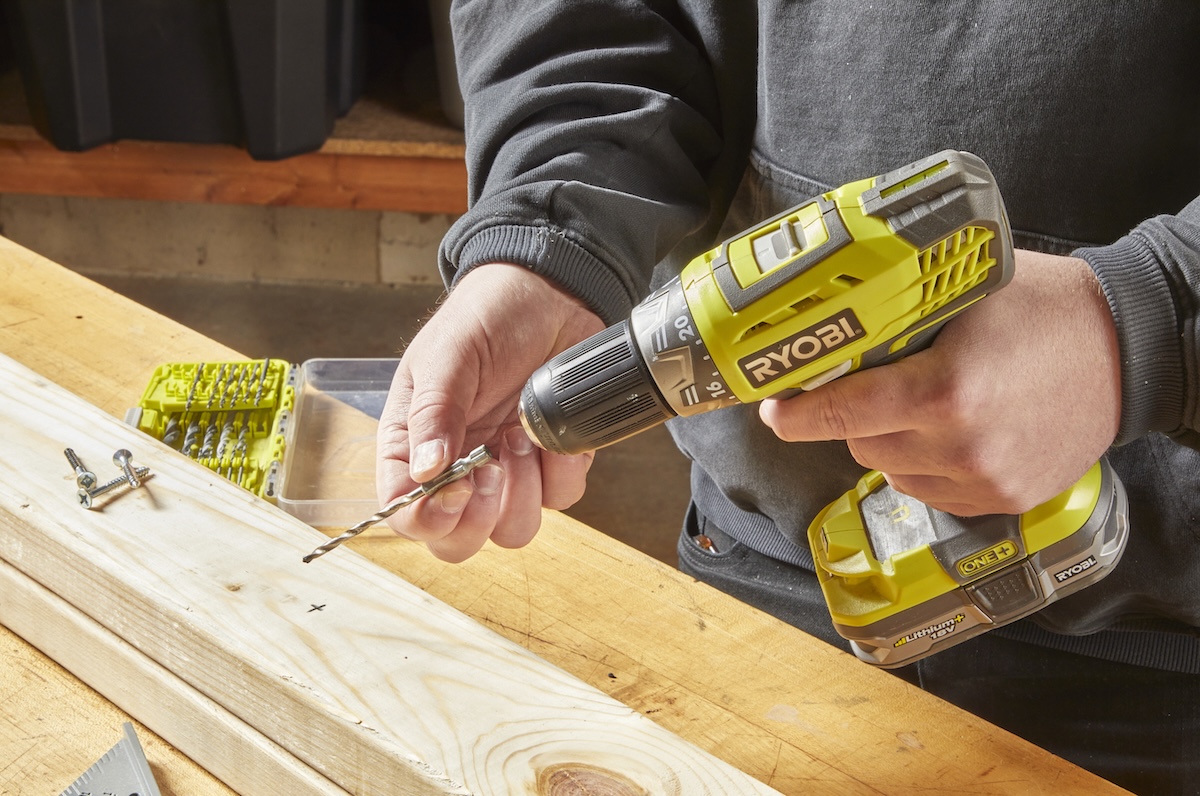
One of the most frequently used tools around the home is a drill, and for good reason. Learning how to use a drill allows you to penetrate through drywall, wood, metal, and other hard materials, making it easier to run wire, mount heavy objects, or simply drive screws without hand-cranking a manual screwdriver. You can find both corded and cordless drills, as well as a wide variety of drill bits to handle a range of different scenarios. Just make sure to use proper eye protection to avoid flying bits of dust and debris.
How to Use a Stud Finder
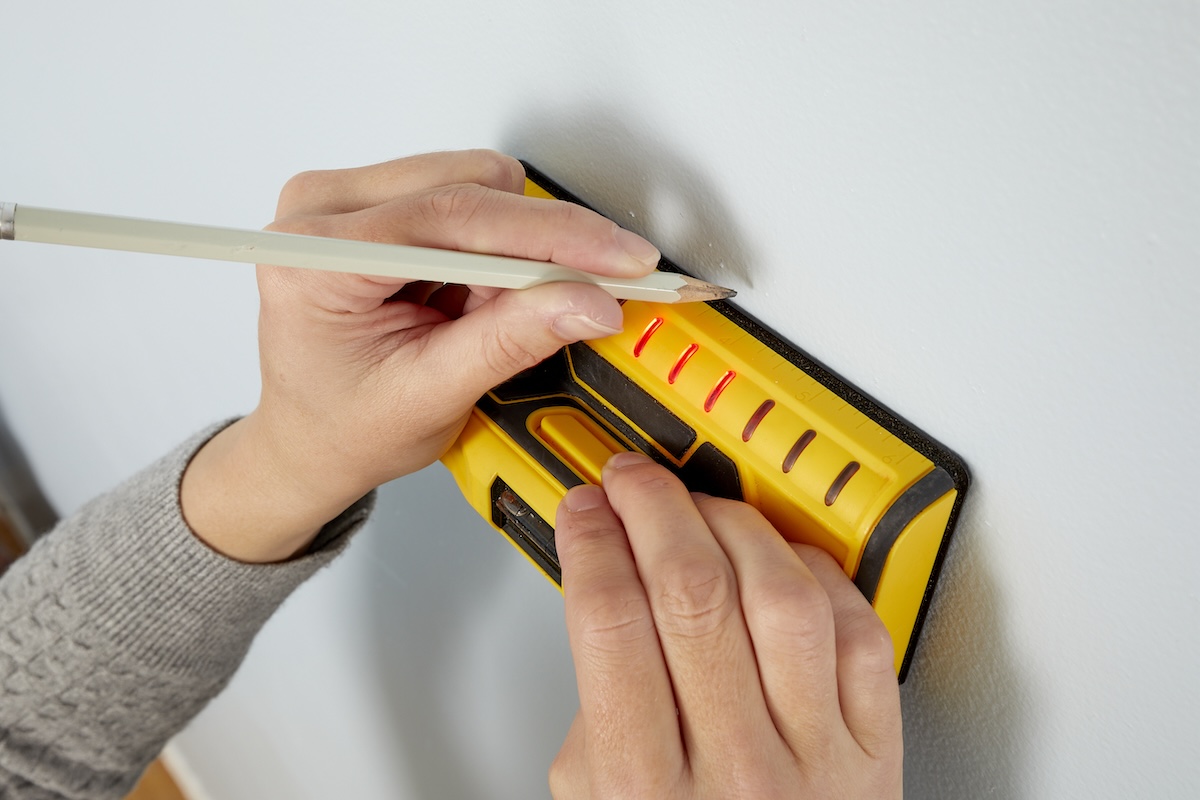
The purpose of a stud finder is right there in the name: To find wall studs. These essential tools help to locate studs behind wall claddings or to identify the location of ceiling joists without needing to cut a bunch of holes. (It’s ideal to hang pictures, put up shelving, install wall-mounted TVs, and more through a stud.)
DIYers who learn how to use a stud finder can streamline a variety of simple jobs around the home, cutting down on wasted effort and unnecessary damage, especially when using more advanced stud finders that can even detect the differences in density along the walls.
How to Use a Circular Saw
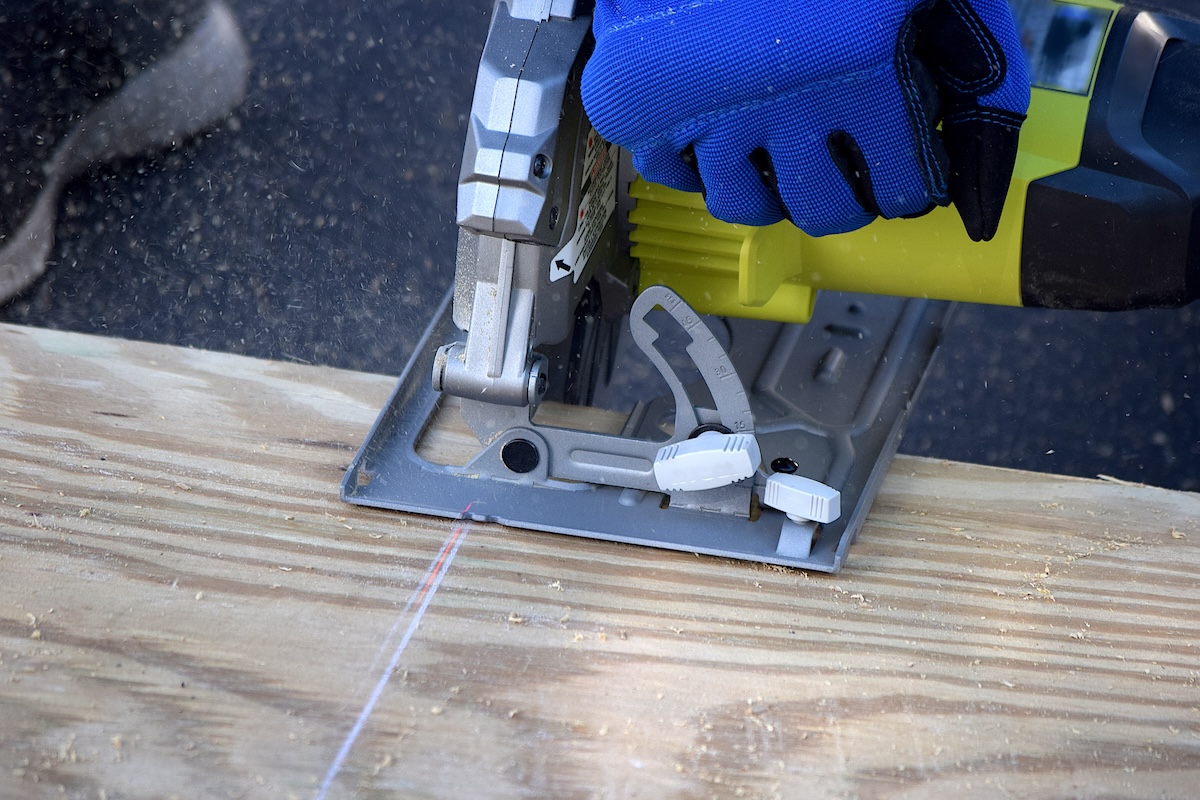
A circular saw is a type of handheld power saw that is frequently used by DIYers for making straight or diagonal cuts through pieces of wood. When equipped with the right blade, a circular saw can also be used to cut metal, plastic, and other materials.
Learning how to use a circular saw requires correct hand positioning. DIYers should make sure that they grip the saw with two hands, positioning one hand on the front grip and their dominant hand on the rear grip where the trigger is located. Also, ensure that the target material is properly supported and that you don’t force the saw through the material, as this can cause the saw blade to dangerously stick or kick back.
How to Use a Caulk Gun

Caulk guns are designed to hold and apply caulking to fill in gaps and prevent leaks. Common uses of a caulking gun include applying beads of caulk around the tub, filling gaps around windows or door frames, and finishing molding or trim work. It’s relatively easy to learn how to use a caulk gun, but if you cut too much off the tip of the caulk tube or try to work too quickly, the caulk can come pouring out, leaving you with a difficult mess to clean up.
It’s recommended to make a small cut in the tip of the caulk tube, then squeeze the caulk gun handle slowly until the caulk begins to come out so you can get a sense for how much pressure is required when applying the caulk.
How to Use an Air Compressor
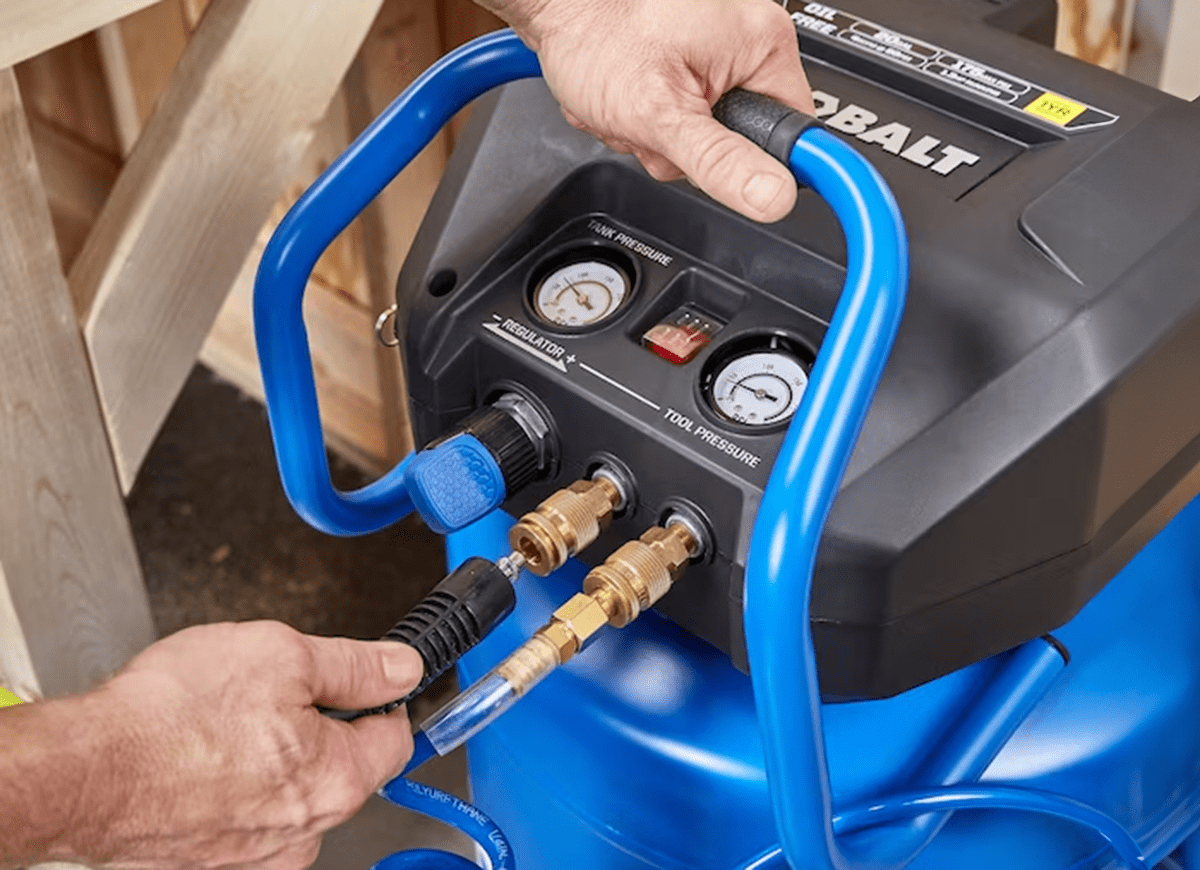
An air compressor on its own can still be useful, but these tools truly shine when paired with a wide range of pneumatic tools to make home DIY projects much easier. Air compressors essentially allow pneumatic tools to use air pressure for tasks like power nailing, paint spraying, or even automotive work.
The steps for learning how to use an air compressor vary depending on the type of pneumatic tool you are using, but the initial set-up remains basically the same. However, it’s important to read and follow the specific directions provided by the manufacturer, as there can be some key difference between products, depending on the type of air compressor.
How to Use a Belt Sander

When you are working with wood, a belt sander is an essential tool for removing thick layers of material and smoothing out the surface of the wood. A sanding belt moves rapidly through the tool, allowing the user to focus on controlling the position and pressure of the tool.
Belt sanders are great for deck installation jobs, fence repair, paint stripping, and furniture building or refinishing, though it’s important to learn how to use a belt sander to avoid oversanding your project. Since a belt sander tends to be more powerful than a finish sander, DIYers need to work slowly until they get the hang of it.
How to Use a Glue Gun
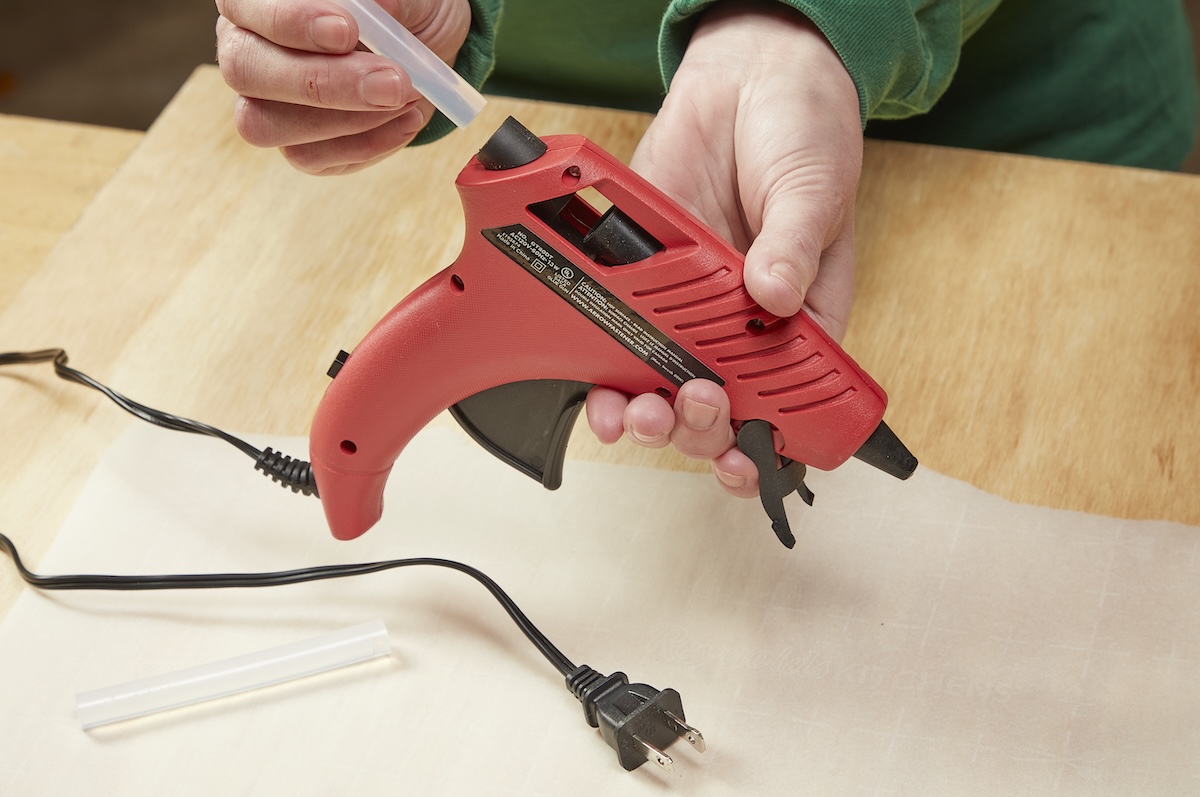
Glue guns aren’t just for crafts and art projects, they can also be put to use for a number of household repairs and helpful hacks, including adhering small woodworking joints, fastening baseboards, or holding shoe molding or molding returns in place while you nail. Like caulk guns, it’s simple to learn how to use a glue gun, but if you rush, then you can create a sticky mess.
Work slowly and carefully to ensure you apply the right amount of glue to the target material. It’s also recommended to have a scrap piece of cardboard to set the glue gun on when you aren’t using it and a rag to wipe away any excess glue.
How to Use a Miter Saw

When you need to make accurate, repeatable cuts through several pieces of wood, metal, or other material, a miter saw is one of the best options available. Miter saws have a base that sits on a workbench or table, and an arm that holds the saw blade, which extends over the top of the base. You position the target material on the base, then bring the saw blade down to complete a cut through the material.
Once you learn how to use a miter saw, you can make adjustments to the position and angle of the cut to create highly accurate and repeatable cuts that are effective for a wide range of projects, like fence building, deck repair, furniture making, and more.
