
We may earn revenue from the products available on this page and participate in affiliate programs. Learn More ›
Wrought iron adds a timeless elegance to any outdoor space, from ornate patio furniture to sturdy fences and gates. But this durable material requires regular maintenance to keep it looking its best and prevent it from rusting. Logan Taylor, founder and president of Seattle’s Dazzle Cleaning Company, says, “Regular cleaning prevents the buildup of dirt, dust, and rust, which can corrode wrought iron over time. Maintaining clean wrought iron not only enhances its appearance but also extends its lifespan, ensuring that it remains durable and rust-free for years to come.”
Whether you’re sprucing up your wrought iron patio chairs or maintaining a wrought iron gate, it’s important to know how to clean them properly. Walk through the steps below to clean and protect your wrought iron pieces without rust, damage, worry.
Tools & Materials
Bobvila.com may earn a commission from purchases made through these links.
Project Overview
Working Time: 30 to 60 minutes
Total Time: 1 to 2 hours (including drying time)
Skill Level: Beginner
Estimated Cost: $10 to $30
BEFORE YOU BEGIN
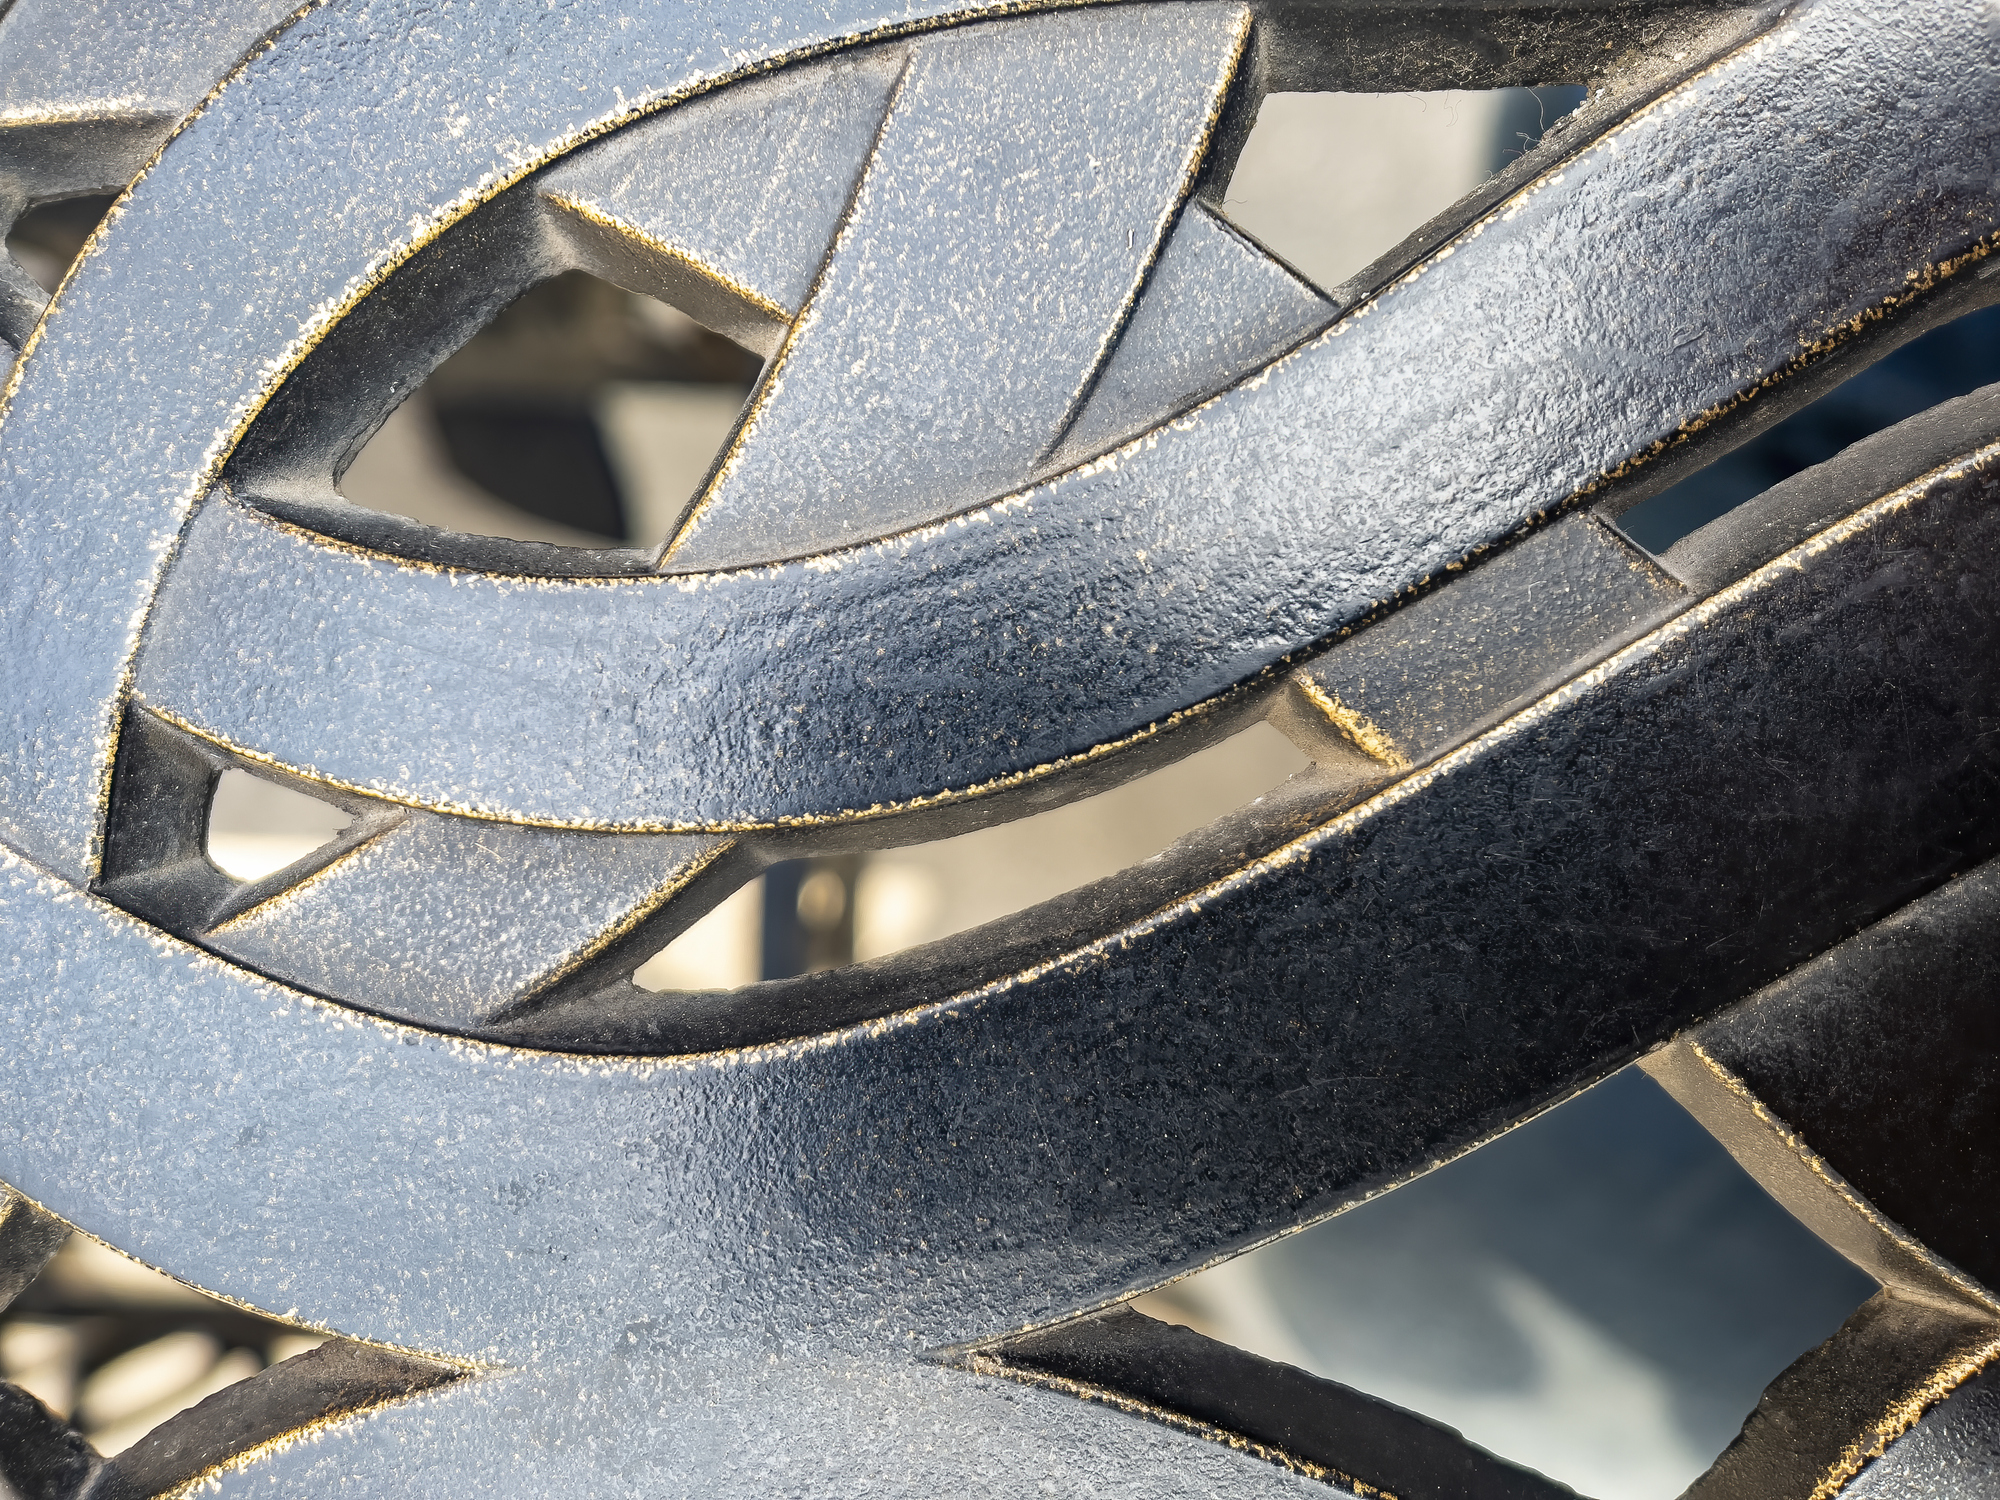
Before diving into the cleaning process, start by assessing the condition of your wrought iron. Check for any loose parts, severe rust, or damaged areas that may require repair before cleaning. If your wrought iron piece is an antique or has a special finish, consider consulting a professional to make sure you don’t inadvertently damage it during the cleaning process.
Step 1: Gather supplies and prepare the area.
According to Logan, “The first step in cleaning wrought iron is to gather all necessary supplies. These include a bucket, mild dish soap or detergent, a soft-bristled brush, and clean water. You may also want to have a garden hose and some soft cloths or towels on hand.” Consider choosing an environmentally friendly cleaning solution.
For indoor cleaning or deck areas, lay down a drop cloth to protect surrounding surfaces. Choose a well-ventilated workspace, moving smaller items like wrought iron patio chairs to a shaded outdoor area if possible.
Step 2: Remove debris and loose dirt from the metal surface.
“Before you start cleaning, make sure to prep the area by removing any debris such as leaves or dirt from the wrought iron surface,” Taylor recommends.
Use a soft, dry brush to gently sweep away loose debris, working from top to bottom. For intricate areas and crevices, use compressed air to dislodge dirt. Wipe down the surface with a slightly damp microfiber cloth to catch any remaining particles. As you clean, check for and tighten any loose screws or bolts, especially on outdoor furniture or wrought iron gates.
Step 3: Mix a cleaning solution and apply it to the wrought iron.
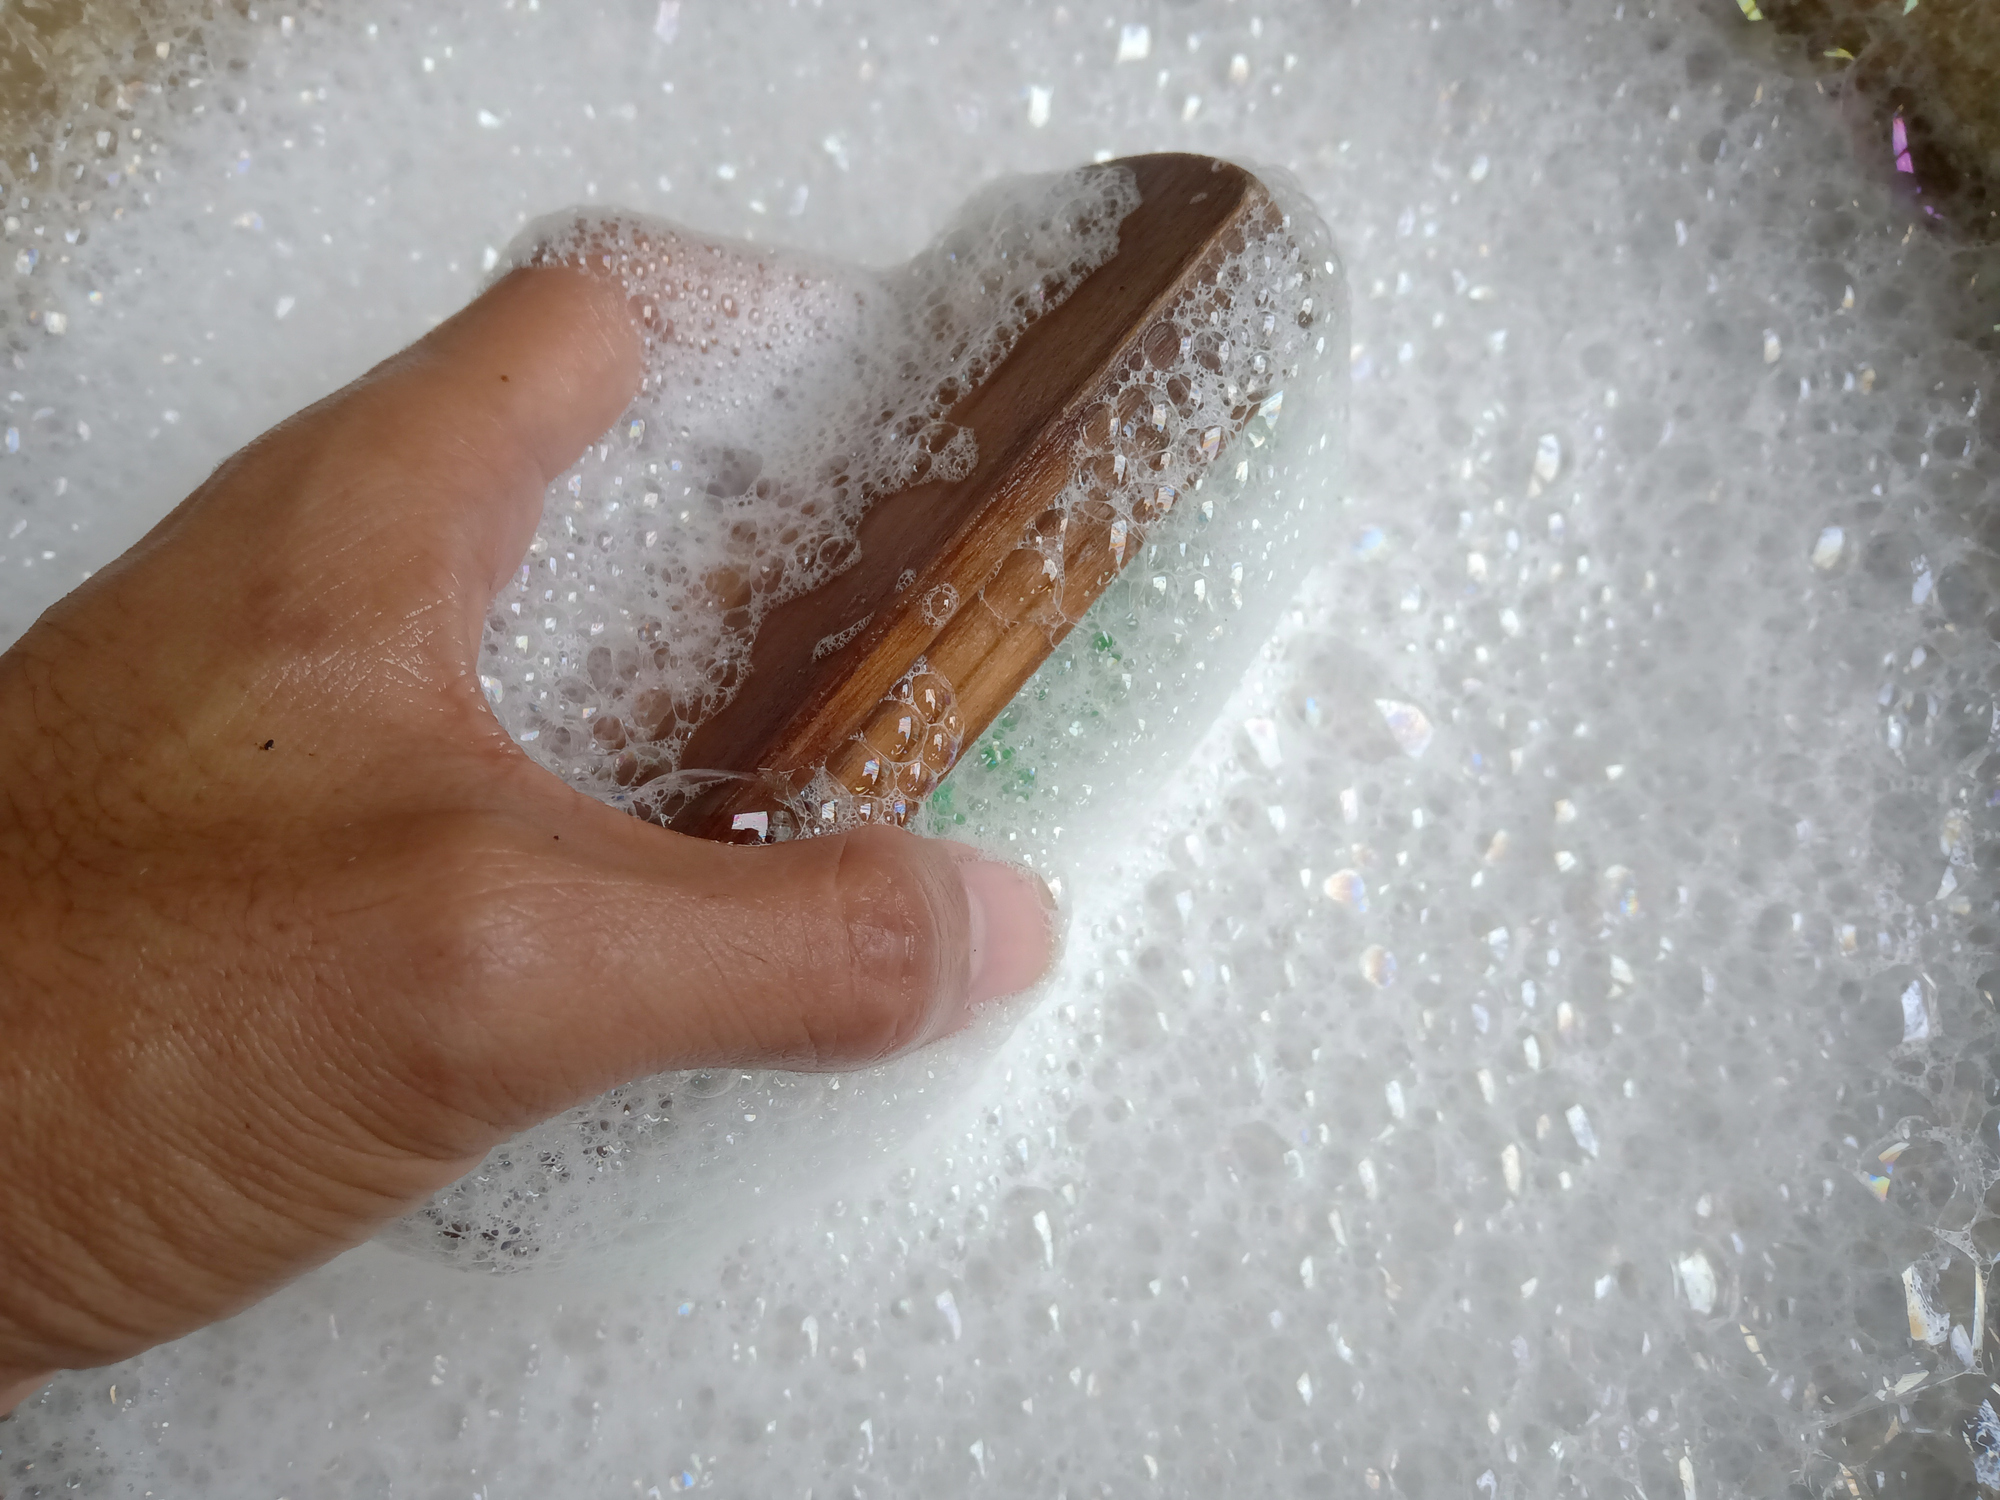
Taylor suggests, “In a bucket, mix together warm water and a small amount of mild dish soap or detergent. You can also use a specialized wrought iron cleaner if desired. Avoid using harsh chemicals as they can cause damage to the metal.”
Once you’ve prepared your wrought iron cleaner, apply it to the wrought iron surface using a soft-bristled brush or sponge. Work in small sections, ensuring you cover all areas of the piece.
Step 4: Scrub gently to remove dirt and grime.
“Using a soft-bristled brush, gently scrub the wrought iron with your cleaning solution,” Taylor explains. “Make sure to pay extra attention to any areas with built-up dirt or grime. For tougher stains, you may need to let the solution sit for a few minutes before scrubbing.”
Be thorough but gentle in your cleaning to avoid damaging the iron’s surface. For intricate designs or hard-to-reach areas on items like a wrought iron bed frame or wrought iron table and chairs, you may need to use a toothbrush for more precise cleaning.
Step 5: Rinse thoroughly and dry completely.
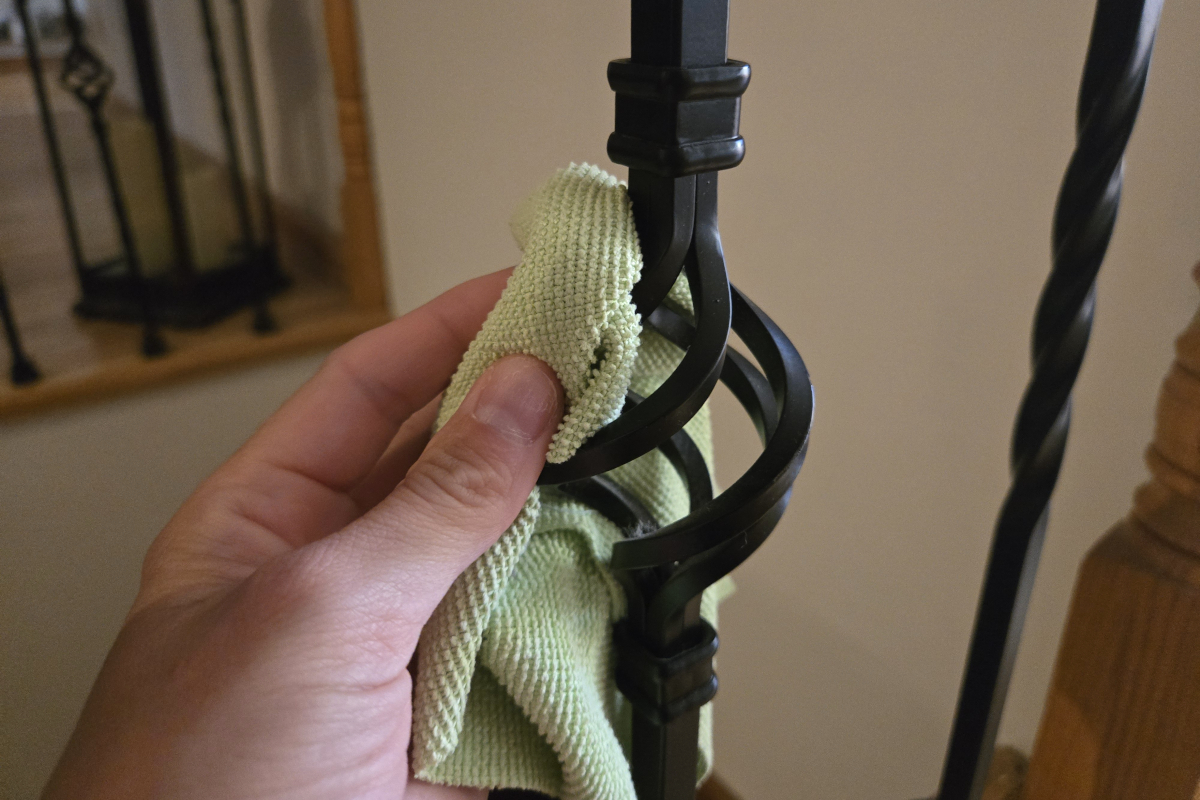
After cleaning, it’s time to rinse. Taylor advises, “Once you have scrubbed all areas of the wrought iron, rinse it thoroughly with clean water. You can use a garden hose or a bucket of water to do this.” Ensure all soap residue is removed to prevent streaking or dulling of the surface.
Next, Taylor emphasizes the importance of drying: “After rinsing, make sure to dry the surface completely with a soft cloth or towel.” This step is crucial in preventing rust formation, especially on items like wrought iron fences that are constantly exposed to the elements.
Step 6: Apply a protective coating to prevent rust and maintain appearance.
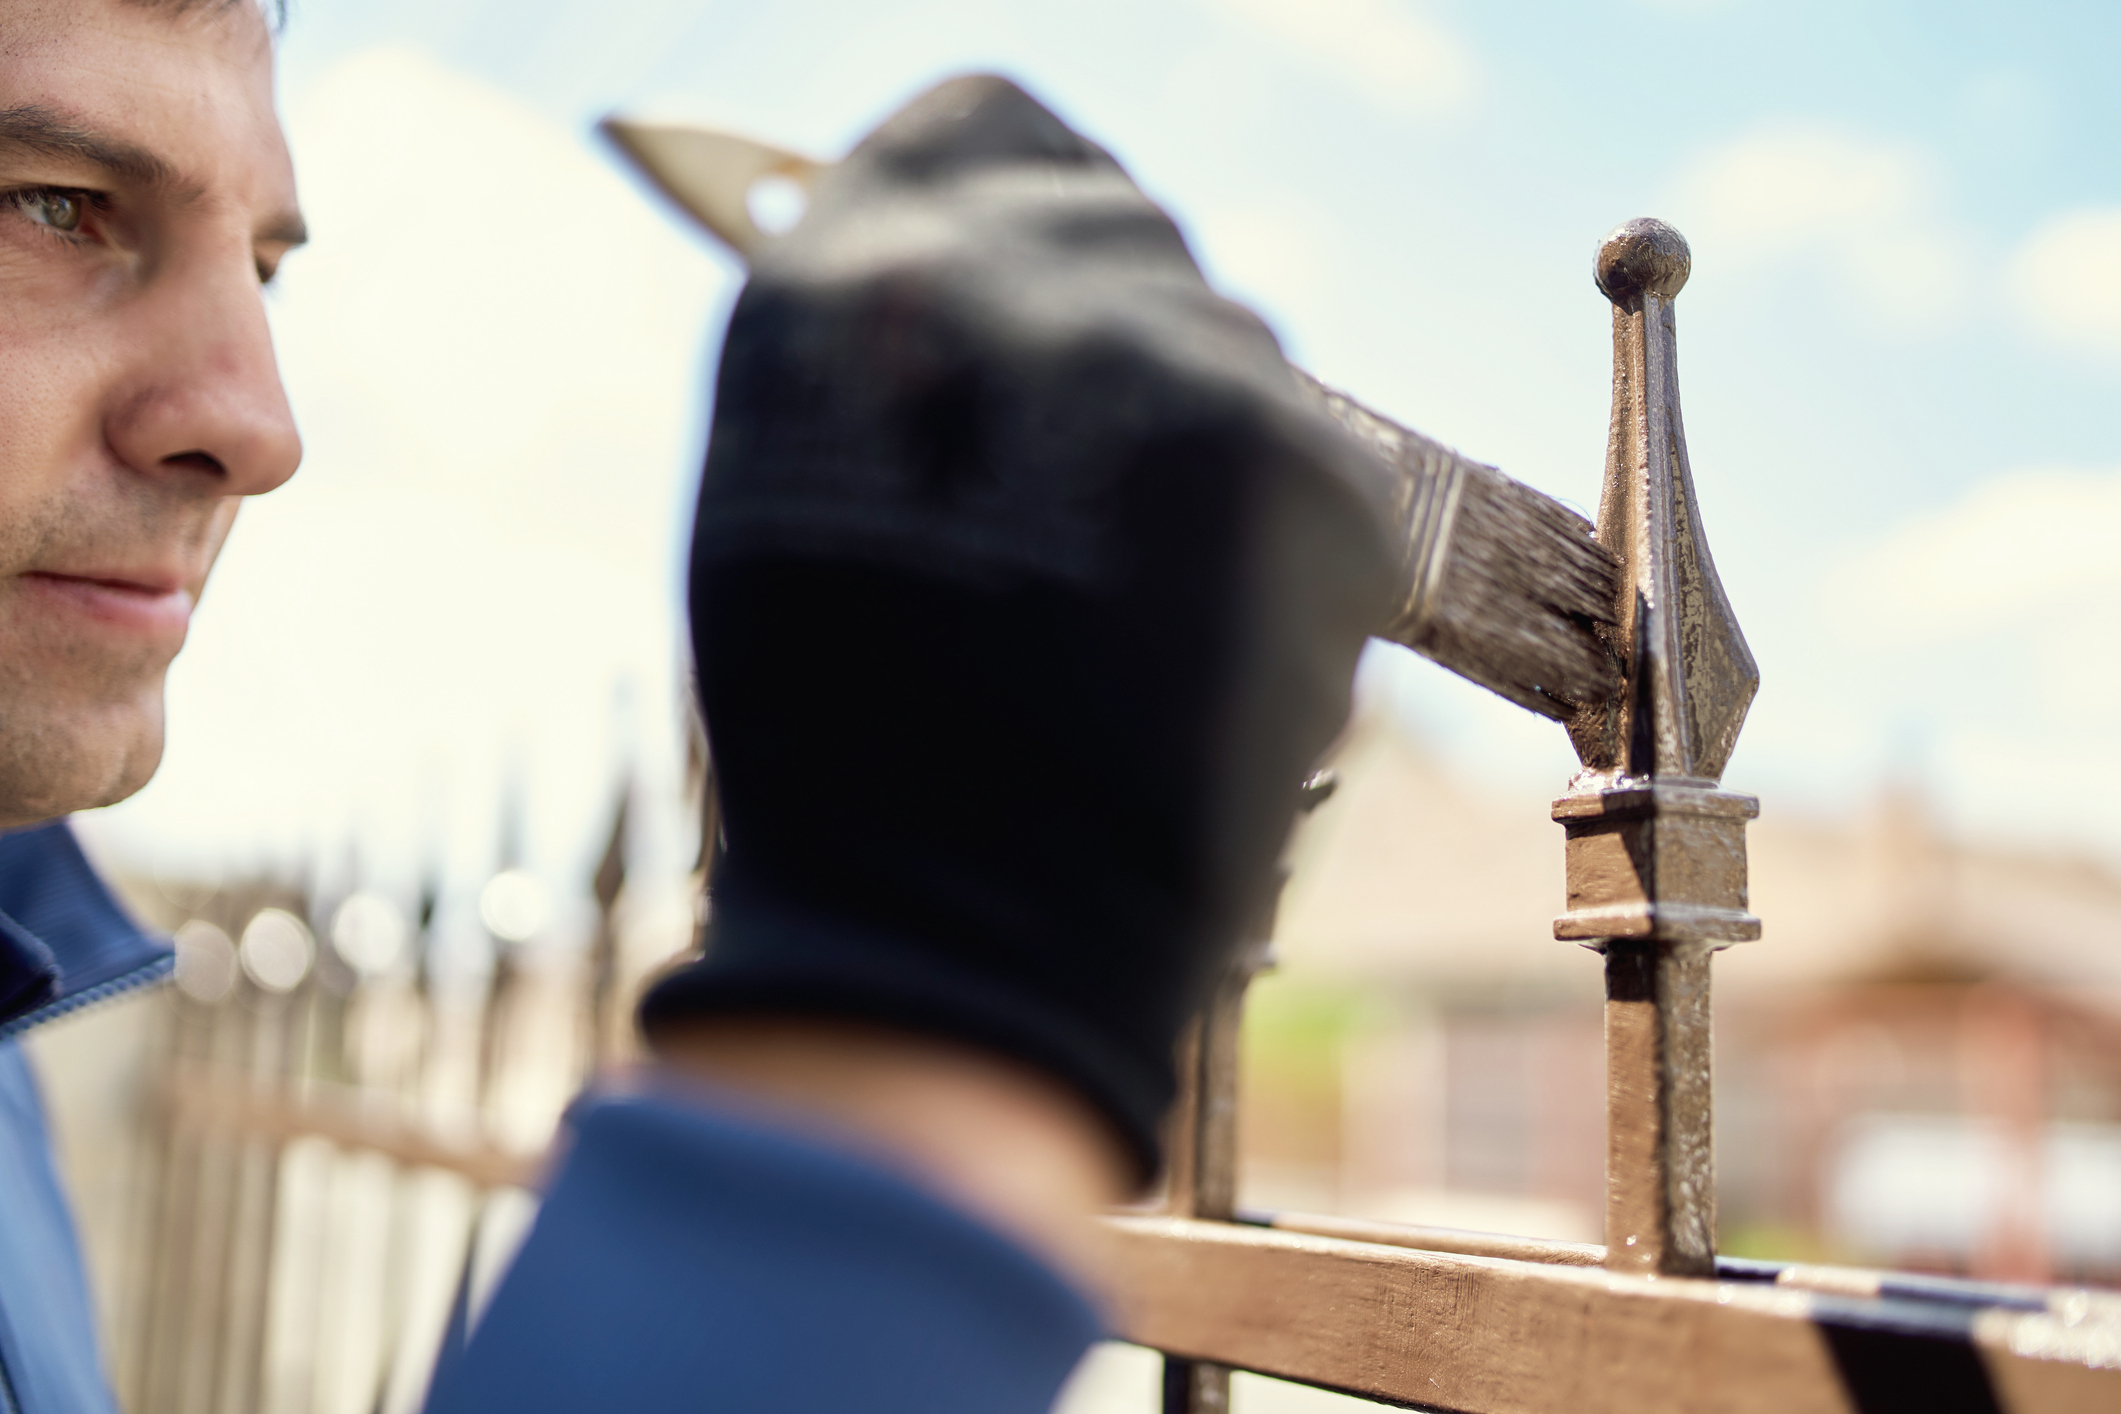
To finish the cleaning process and protect your wrought iron, Taylor recommends, “In the final step, try applying a protective coating to your clean wrought iron surface. This can help prevent future dirt and grime build-up and keep your wrought iron looking its best.”
For outdoor items like a wrought iron gate or patio furniture, consider using a rust-inhibiting primer or paint designed specifically for wrought iron. This extra layer of protection will help maintain the beauty and integrity of your wrought iron pieces.
By following these steps and incorporating regular cleaning into your home maintenance routine, you can keep your wrought iron pieces looking beautiful and functioning properly for years to come.
