
We may earn revenue from the products available on this page and participate in affiliate programs. Learn More ›
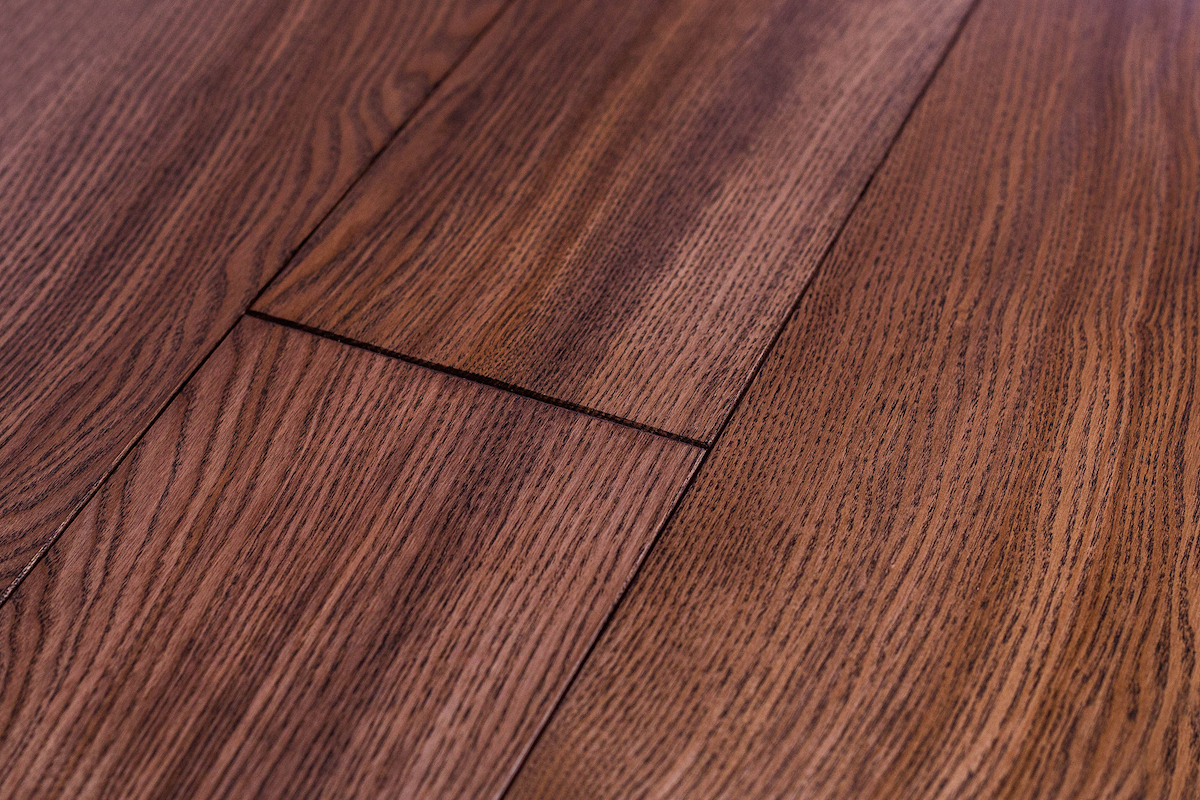
I’ve installed laminate flooring many times. It’s affordable, attractive, and easy to install. While it’s typically durable and trouble-free when the appropriate underlayment is used correctly, there are a few problems that can develop over time.
Scratches are not uncommon, either through heavy use or from accidents. You might also need to deal with water damage, swelling, or buckling. While sometimes replacement is the only option, let’s first look at how to repair laminate flooring.
Here are five relatively quick and easy repair methods.
How to Repair Scratches in Laminate Floors
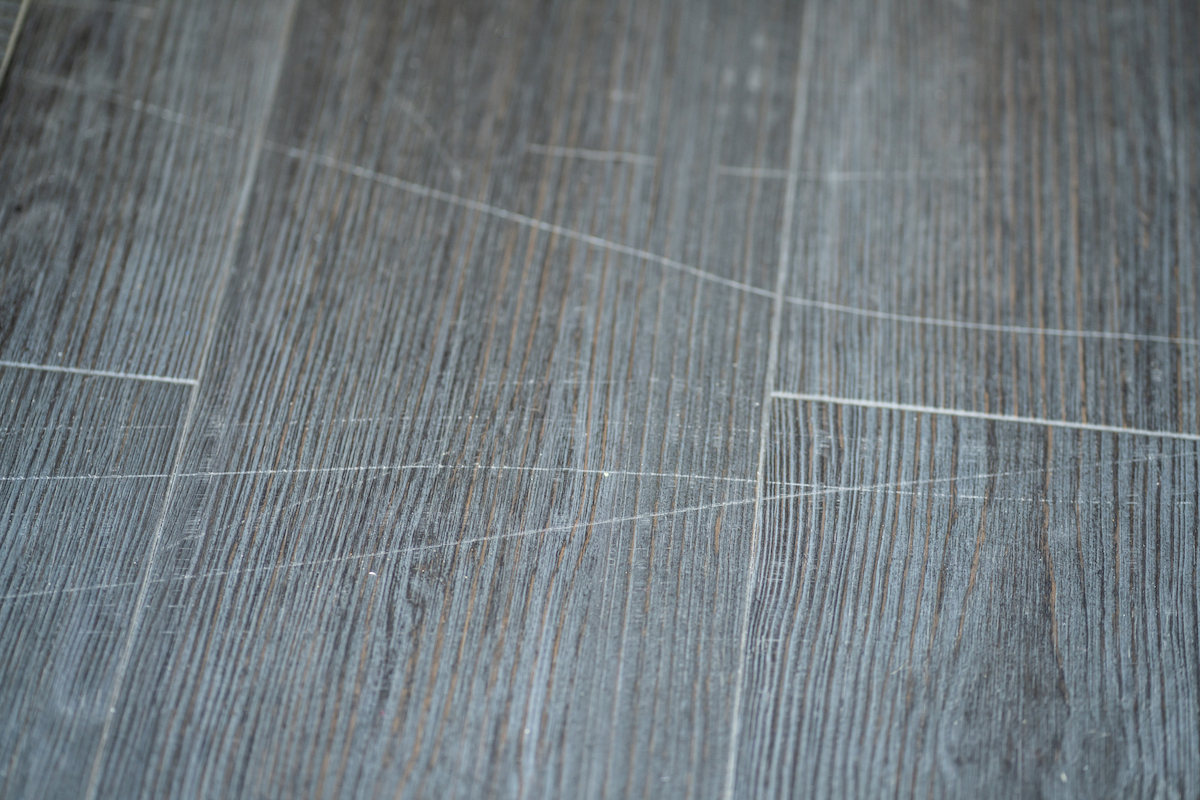
Choosing the correct wear layer for the intended location will reduce scuffing, but some scratches are almost inevitable if there are kids and pets running around or if things get dropped or dragged across the surface. The structure of laminate planks means we can’t use most traditional wood flooring repair techniques for scratches, but there are several other ways to repair scratches in laminate.
Supplies
Toothpaste
WD-40
Baking soda
Soft cloth
Laminate flooring cleaner
Wax crayon
Tea bags
Cotton swabs
Laminate flooring cleaner
Laminate floor repair kit
Method 1: Use common household items for laminate floor repair.
Laminate flooring can be repaired with a few basic household supplies.
- Toothpaste: Toothpaste is often suggested as a laminate floor scratch remover. Just rub a little over the affected area with a soft cloth. It works because toothpaste contains very mild abrasives. However, the scratches may reappear when you next clean the laminate floor.
- WD-40: Applied in the same way as toothpaste, a lubricant like WD-40 may also work by filling scratches in the top layer. It won’t damage your flooring, but make sure to wipe up any slippery overspill.
- Baking soda: Baking soda, a mild abrasive found in many home pantries, can also be used. Make a paste of two parts water to one part baking soda, rub it in with a soft cloth or kitchen paper, and wipe it away after a quarter hour.
Method 2: Use a laminate floor cleaner with scratch repair ingredients.
The effectiveness of DIY remedies can vary. We discovered a relatively low-cost alternative that produces more consistent results when we investigated the best laminate floor cleaners. Several cleaners not only remove dirt and stains but can also hide small scuffs and scratches. They may also rejuvenate the appearance of worn areas.
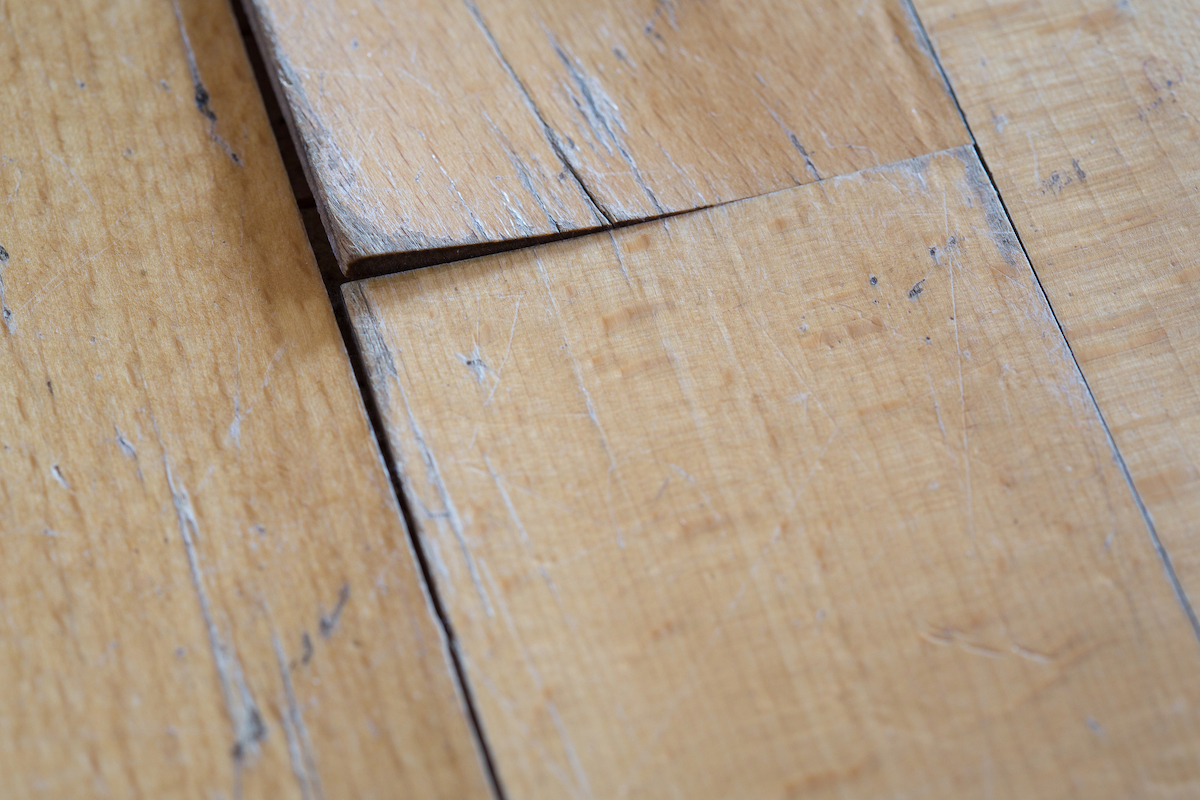
Method 3: Fix scratches that have gone through the decorative layer.
The construction of laminate flooring can vary but generally there’s a clear protective top layer, a decorative layer that mimics wood or stone, and then a core that provides strength. In steps 1 and 2 we looked at ways to repair the top clear layer, but sometimes damage goes through, and into the core. The scratch is a completely different color and much more obvious.
- Wax crayon: One of the easiest approaches is to use a wax crayon. These are available in a huge range of colors so it shouldn’t be difficult to find a match. They are soft enough to fill the scratch simply by rubbing over the damaged area. The wax can attract dirt, so you should seal the surface using your favorite laminate floor cleaner.
- Tea bag: If you’re looking for a safe, natural way to fix scratches in laminate flooring, try tea staining. Steep a tea bag in hot water for 10 minutes, and then allow it to cool. Apply with a cotton swab being careful not to color the surrounding area. Different types of tea produce different shades, and several applications may be necessary. Once again, seal with floor cleaner.
Method 4: Use a comprehensive kit for coloring and filling scratches.
Most laminate floor repair kits are very affordable. Our favorite kit, from Realinn, contains eight different touch-up markers for light scuffs, 12 fillers for deeper repairs (with white, gray, and black for stone effect laminates), plus a scraper and brush. It’s easy-to-use, effective, and delivers long-lasting results.
How to Repair Water Damaged Laminate Flooring
Although some laminate flooring is sold as ’waterproof,’ we feel that water-resistant is a more accurate description. If water is left on the surface of laminate, it will eventually penetrate the joints and cause the planks to swell. As Ryan Norman of building and remodeling professionals at Norman Builders points out, the key to preventing laminate floor water damage is to “act quickly before the water seeps into multiple planks.”
Another problem that can occur is when water gets underneath the laminate. Norman explained this can be catastrophic and, “it may be necessary to remove and replace multiple planks or even entire sections.” However, there are a couple of things you can try.
Supplies
Steam iron
Soft cloth
Utility knife
Wood glue
Fan and/or dehumidifier
Method 1: How to fix small areas that lift or bubble.
A minor spill that has gone unnoticed may distort the surface: an area may lift slightly or bubbles form. The upper protective layer is usually clear resin and applying heat can often flatten it again.
- Steam iron: Try a steam iron on a medium setting. First cover the area with a slightly damp cloth. Do not apply the steam iron directly to the plank.
If the decorative paper layer has lifted around the edges of the planks, wood glue can be spread into the gaps.
- Wood glue: Use a slender blade like that found on a utility knife to apply the glue. Wipe away the excess, and weigh the area down until the glue has set.
Method 2: What to do if moisture in the whole room is a problem.
The bottom layer of laminate flooring offers little protection from water. If you suspect there is moisture in the subfloor, tackle it before installing the laminate. Additional protection can be offered using a waterproof membrane between floor and planks.
If water does get into the subfloor, a fan or humidifier can be used to try to dry the room out. This might take several days, and there is no guarantee of success. This is one area where prevention is way better than the cure.
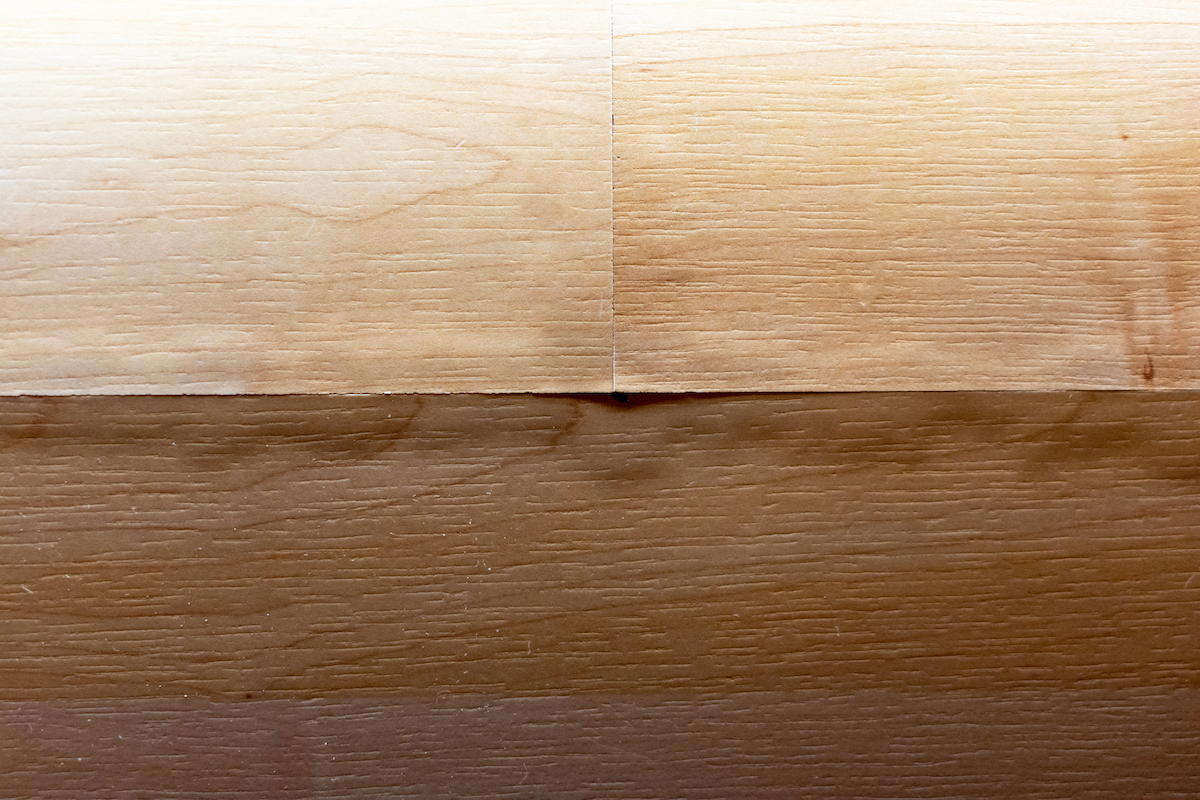
How to Fix Gaps in Laminate Flooring
Over time, changes in humidity between summer and winter can mean laminate planks contract or move a little. Gaps in laminate flooring are not just unsightly, they also harbor dirt. The solution is either to use a homemade laminate floor gap fixer or to fill the gaps.
Supplies
Vacuum
2x4x16 lumber
Heavy-duty double-sided tape
Hammer
Silicone caulk
Utility knife
Caulking gun
Soft cloth
Method 1: Force the gaps closed without needing to lift the planks.
Trying to push the planks back into place with your hands is virtually impossible. We need to apply some extra force without the risk of damaging them. The trick here is to temporarily fix a block of wood to the plank, so we can hammer against it, and make it move. The reason for using such a long piece of lumber is to make it easy to lever it off the planks each time.
- Vacuum the gaps to remove any dirt.
- Apply a couple of strips of double-sided tape to the piece of lumber, peel off the backing, and press it firmly onto the plank you want to move, a couple of inches from the gap.
- Now tap the far end of the lumber with a hammer. Little by little, the gap will close.
- Repeat this process across the floor.
Method 2: Fill the gaps with a colored silicone caulk.
Method 1 can take considerable time and effort. If there are only one or two problem planks, then filling the gaps will be easier—and silicone caulk is available in a wide range of colors.
- Cut the caulk’s plastic nozzle with a utility knife so it’s a little smaller than the gap.
- Place the caulk in the caulking gun and then fill the gap carefully.
- Wipe away any excess.
Once cured, the silicone should be waterproof so you can clean the laminate flooring as you would normally.
How to Fix a Buckling Laminate Floor
We discovered in our article on how to fix flooring problems that real wood floors can buckle if they absorb too much moisture. That can cause laminate floors to buckle, too, but there may be other causes.
Laminate is almost always installed as a floating floor with an expansion gap around the edge of the room. This allows some movement without buckling. In cases of bad laminate flooring installation, often either the expansion gap is insufficient or the baseboards pinch the planks. With nowhere to go, buckling occurs. Any fix is likely to be time consuming, but normally you will be able to reuse existing materials.
Supplies
Cardstock
Metal ruler or other straightedge
Utility knife
Hand saw
Step 1: Determine if excess moisture is the problem.
If it’s obvious that water has caused the planks to swell, you can try following Method 2 in How to Repair Water Damaged Laminate Flooring above. Unfortunately, if the planks have swelled enough to cause buckling right across the room, it’s unlikely that drying will be successful. A new installation will probably be needed.
Before you install a new floor, make sure moisture isn’t coming from the subfloor. In high moisture areas like a bathroom, vinyl flooring may be a better alternative.
Step 2: Are the baseboards pinching the floor?
If the laminate flooring has been installed well there will be a tiny gap between it and the baseboards. You can usually take a 3-inch strip of cardstock (or cut a piece of cereal box cardboard) and slide it in there. Check at different points around the room.
If there’s a stretch of a couple of feet or more where the card won’t slide in, it could cause buckling.
- Remove the baseboard and see if the floor will settle.
- When reinstalling the baseboard, use pieces of card underneath to ensure you have a gap.
- Pull them out when you’re finished.
Step 3: Are the planks jammed up against a wall?
Laminate planks are less affected by humidity than real wood floors, but humidity can still have an impact. If there’s insufficient expansion gap around the room then even a small amount of swelling can cause buckling. In fact, this lifting may also cause the baseboards to pinch against the planks.
When you remove the baseboard in Step 2 it might be obvious that the planks are jammed, but it could be one of the other walls. More baseboards may need to be removed. Once the problem area has been identified, the planks nearest the wall need to be lifted and trimmed.
The expansion gap should be between ¼-inch and ½-inch wide. If only a small amount needs to be trimmed from the long edge of the plank, use a utility knife with a fresh blade, and a metal straightedge as a guide. If it’s across the short edge of the plank, use a hand saw. Relay the planks, and refit the baseboards.
How to Replace Laminate Floor Planks
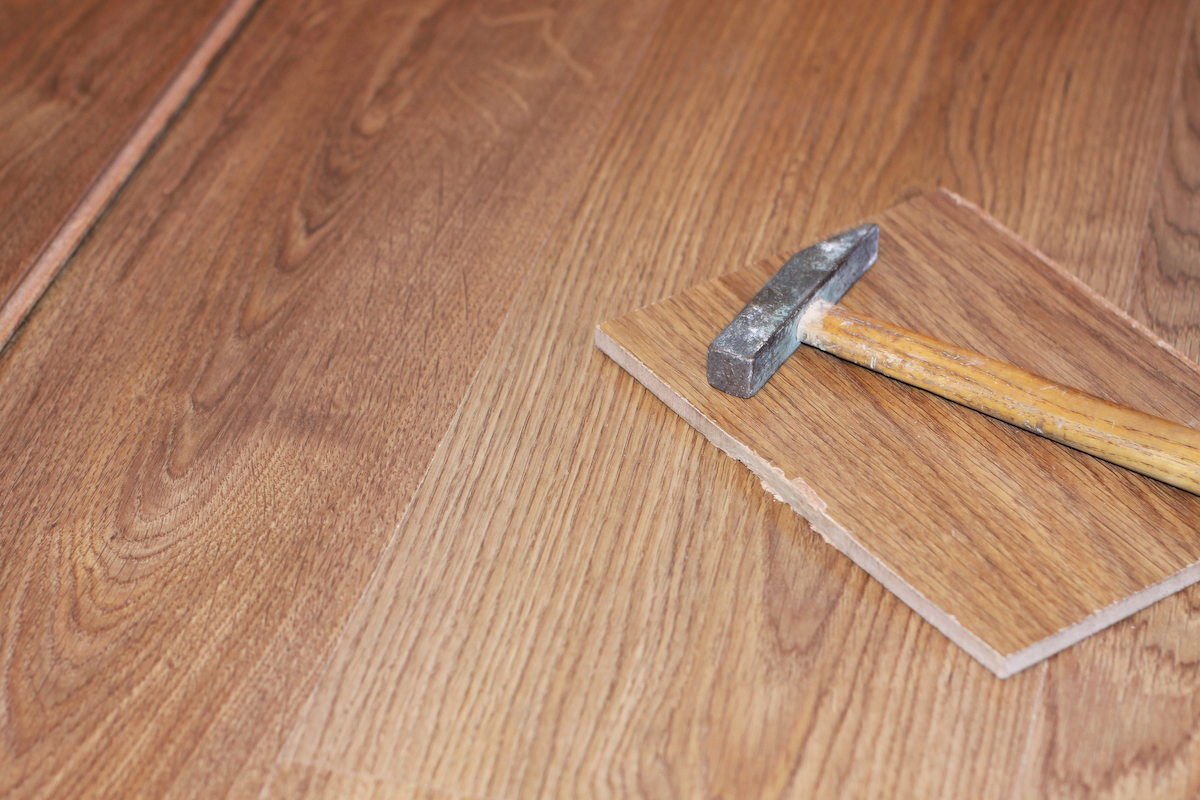
Sometimes the damage is too great to repair, and a new plank needs to be installed. There are two methods: one for replacing laminate flooring planks near the edge of the room and the other for planks nearer the center of the room.
Supplies
Pry bar
Pencil
Ruler or speed square
Power drill
¼-inch drill bit (or larger)
Utility knife or circular saw
Hammer
Chisel
Wood glue
Soft cloth
Method 1: Replace laminate floor planks near the edge of the room.
First, remove the baseboard with a pry bar. Once you can get at the planks, simply lift them until you come to the problem area and replace the damaged plank. Relay the floor and reattach the baseboard.
Method 2: Replace laminate flooring planks in the center of the room.
Here’s how to replace planks when they are in the middle of the room.
- Drill holes approximately ½ inch in from each corner of the plank to be replaced.
- Drill holes along the two long edges about 4 inches apart.
- Draw a connecting line between the holes as a cutting guide.
- Using a utility knife or circular saw, set to the thickness of the laminate and cut along the lines until you have cut out a rectangular panel.
- Pry it loose using a hammer and chisel.
- If necessary, carefully work the remainder of the damaged plank loose using the hammer and chisel.
It’s almost impossible to insert a new plank with the interlocking edges intact, so about three-quarters should be trimmed away using the utility knife. Apply a small amount of wood glue to all edges then slot the plank into the gap. Wipe off the excess glue, and place a weight on the area until it has dried.
Final Thoughts
There are several methods for fixing laminate flooring. Many are either free or very affordable. Most require little or no skill. The key ingredient is patience! If you’re trying a homemade solution, it’s a good idea to test it in an inconspicuous area first.
Unfortunately there are times, particularly in cases of severe water damage, when replacing the entire laminate floor is the only solution. If you would rather not do this yourself, check out our guide to the best laminate flooring installers. When the appropriate underlayment is installed correctly, laminate flooring is usually durable and trouble-free.
