
We may earn revenue from the products available on this page and participate in affiliate programs. Learn More ›
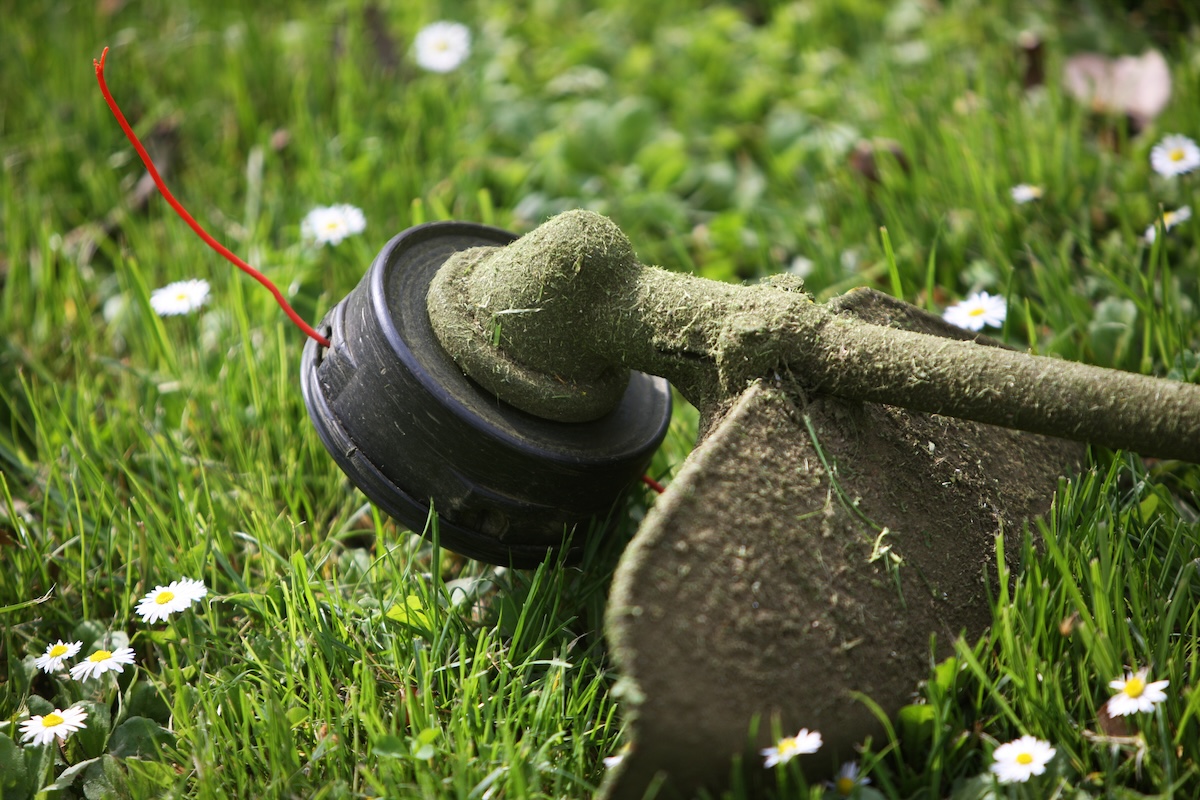
Next to the lawn mower, a weed eater is perhaps the most essential tool for managing a lawn, allowing you to trim grass that’s up against your house, along fencing, and in other places the blade of your lawn mower can’t reach. A handy tool, but its trimmer line doesn’t last forever. You’ll need to replace the trimmer line from time to time to keep your weed eater doing its job.
While threading a weed eater with fresh line doesn’t take long, it can be an exercise in frustration if you’ve never done it before. Ahead, we take you step by step through the process of changing out the trimmer line while sharing a few tricks of the trade from a few lawn care pros to help make learning how to restring a weed eater easier.
Safety Precautions
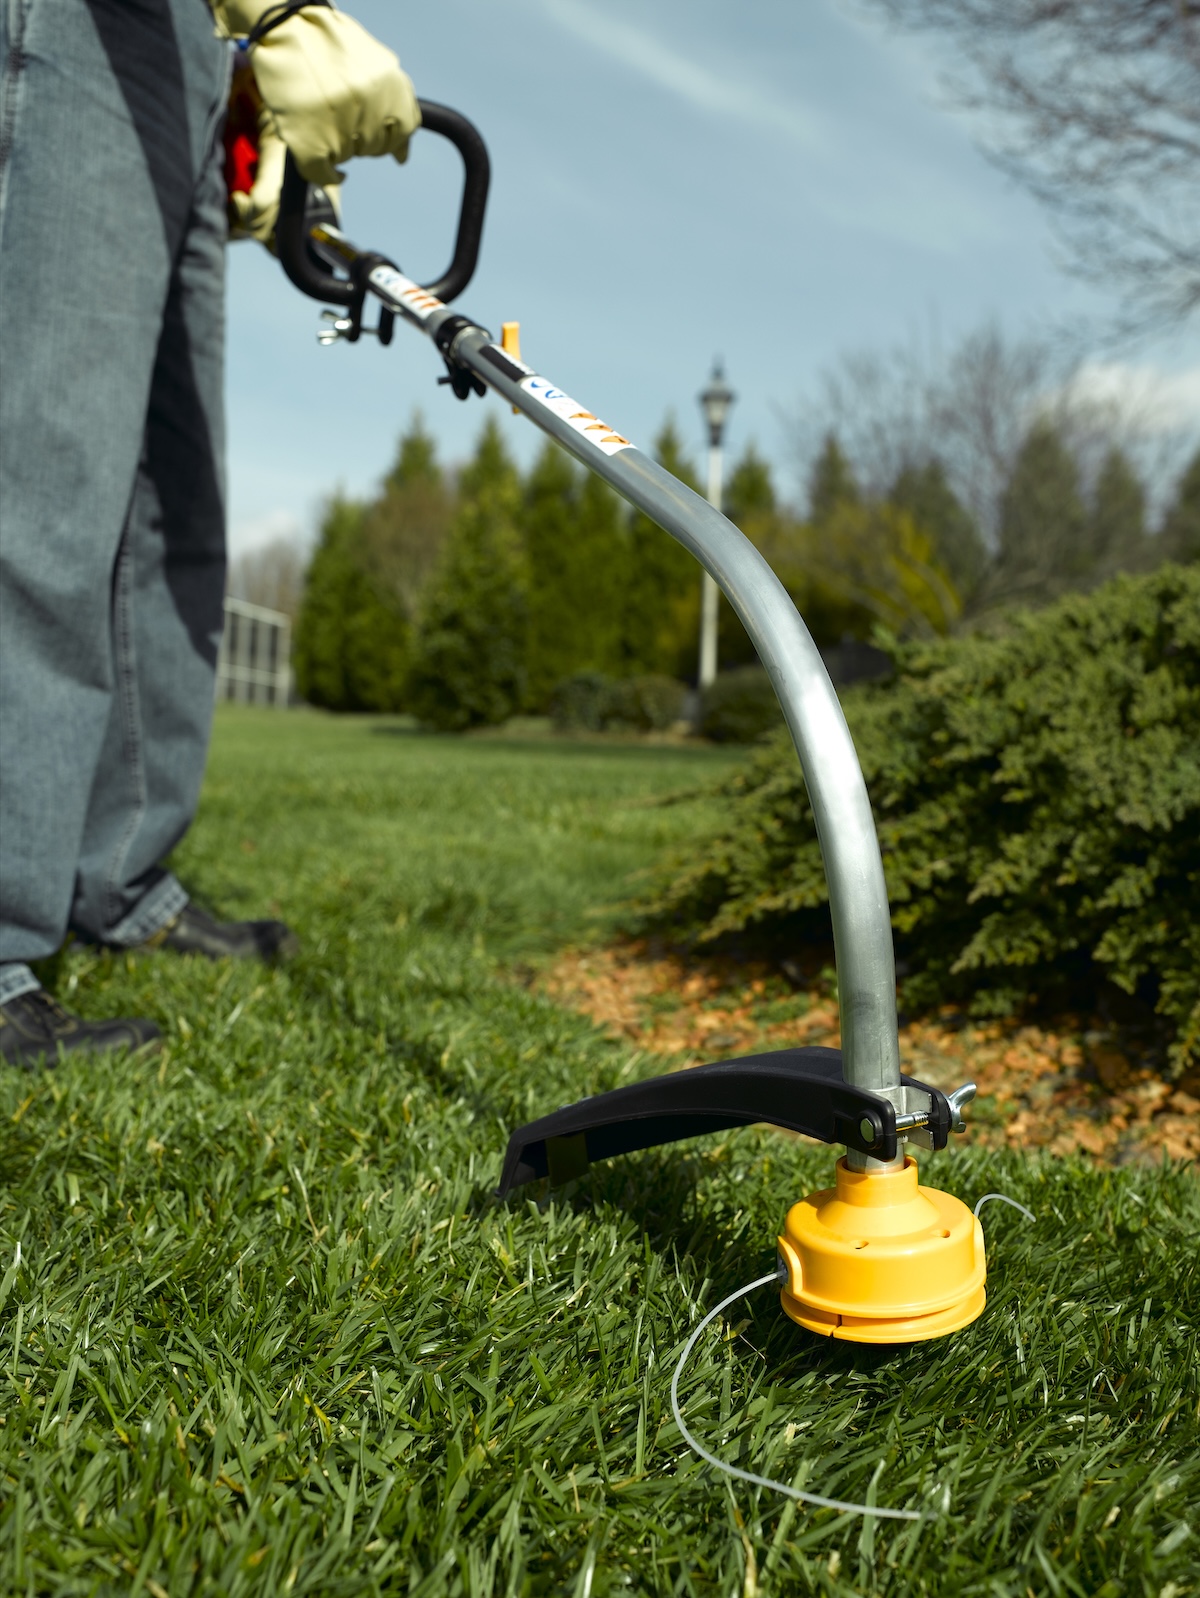
String trimmer line replacement is a job you should only do with the string trimmer completely powered down. That means cutting off the engine if it’s a gas string trimmer, removing the battery if it’s a cordless electric string trimmer, or pulling the plug if it’s a corded string trimmer.
Tools & Materials
Bobvila.com may earn a commission from purchases made through these links.
How to Restring a String Trimmer
Changing weed eater string requires very few tools and doesn’t take long if you follow the steps below.
Step 1: Purchase the right line.
Make sure you’re using trimmer line that’s the same thickness as the line you’re replacing or a line thickness that’s compatible with your string trimmer. String trimmer line comes in different thicknesses ranging from light-duty 0.065 inch line up to heavy-duty 0.11 inch line. If you’re not sure what sizes are compatible with your weed eater, check the tool’s manual.
Pro Tip: Michael Clarke, founder of home and garden site Yardwork, advises selecting a line gauge that suits the job. “For thicker weeds, consider using a heavier gauge line or a twisted line, which are more durable and can handle tougher conditions without wearing out as quickly,” he says.
Step 2: Remove the cap.

Position the string trimmer on the ground upside down so that the trimmer head is facing upwards, giving you access to the cutting head. Remove the cap that covers the cutting head by pinching the cap on its two tabs or by unscrewing it. Just under the cap you’ll find a spool that holds the trimmer line. Remove the spool and discard any leftover line.
Pro Tip: Jeremy Yamaguchi, owner of Lawn Love, suggests using the old line as a guide. “A mistake a lot of people make is taking out the spool and then taking out the last bit of string without looking at it, and then when they go to attach the new string, they realize they aren’t exactly sure where things go,” Yamaguchi says. “If you just take a few moments to assess how/where the old string is attached—or better yet, take a picture on your phone—that will make installing the new string way easier.”
Step 3: Measure the line.
The best way to measure the amount of fresh line you need for your string trimmer is to use your arm span, says Mark Clement, home and garden tool reviewer and licensed contractor with MyFixitUpLife. Clement suggests making three pulls of string, extending your arm to its full length with each pull. While the amount you pull will vary depending on your arm length, this method should give you about what you need to fill the spool.
Step 4. Replace the line.

Locate the small hole that’s on the spool and insert the trim line into the hole. If your string trimmer has two cutting lines, there will be two channels on the spool (one for each line) and two holes, one for each line.
Look for an arrow that indicates the direction you should wrap the line and begin wrapping the line around the spool. Be mindful when wrapping the line, Clarke says. “When winding the trimmer line in the spool, keep it tight but not too tight, since a loose line can cause it to get caught or stuck when in use and a tight line can force the line to stick together,” he says. Clarke also warns against overfilling the line, which can cause it to jam.
After wrapping the line, you’ll need to hold it in place while you reload the spool. “Without letting the sprung line spring out of the channel it’s in, feed each one through the corresponding eyelet of the spool housing, then push the spool back into the housing and twist/lock it into place,” Clement says.
Note: If you find the process of re-wrapping trimmer line to be more of a hassle than you’re willing to deal with, you can skip the wrapping process by buying replacement spools of trimmer line. These spools are already wrapped with a trimmer line. Rather than re-wrapping the line you simply replace the entire spool. You’ll spend a little more for this convenience, but these pre-loaded spools make the process quicker. If you go this route, be sure to purchase replacement string heads that are compatible with the make and model of your string trimmer.
Step 5: Install the spool.
The next step is installing the spool, and the method depends on the type of trimmer you own.
Standard String Trimmer
Place the spool back into the string trimmer, making sure to thread the line into the hole or holes in the spindle as you do. Some string trimmers have grooves that you can drop the line into as you’re installing it. Once the spindle is in place and the lines are extending through the holes, pop the spindle cap back into place.
Speed Feed String Trimmer
If you have a weed eater with a speed feed head, you don’t need to remove the cutting head. Align the hashmarks on the head, then thread the line into one of the eyelets on the head and push it through and out the other eyelet.
Pro Tip: Given that line comes wrapped in a coil and you need to push it through a straight channel, threading it through both eyelets can be a challenge. To make the process easier, Clement suggests straightening some of the line first. “Flex the curve out of the first foot of line by straightening it,” he says.
Clement adds that the hashmark guides typically wear away after a few months of use. If that’s the case with your speed feed trimmers, you’ll need to rotate the spindle by pressing down on the head repeatedly until you can look through one eyelet and see out the eyelet on the other side.
Once the line is through, make sure there is an even amount of line on each side of the head, then turn the base of the head to wind the string into the trimmer.
Step 6: Set the line length.
Set the line length by pressing the head of the string trimmer, then use your fingers to pull out the line. You should be able to pull out a few inches of line with each press. If the line doesn’t come out, then you’ve made a mistake loading it, and you’ll need to start over. Repeat the process until the line is to the desired length. Don’t pull the line out far enough that it can come into contact with the shield that is around the head.
Final Thoughts
Having to pause to replace string trimmer line in your weed eater should only cause a minor delay in your summertime yard work ritual. But if you don’t know how to install trimmer line, what could be a quick and easy job can quickly spiral into a time-wasting struggle. By following the above instructions and tips, you can make quick work of this job and get back to beautifying your lawn.
FAQ About Stringing a Weed Eater
If you have lingering concerns about how to string a weed eater, here are some helpful answers to popular questions.
A. While it isn’t an absolute necessity, it’s not a bad idea to soak your trimmer line in water for about a day before loading into your trimmer. Trimmer line is made from nylon, which absorbs moisture. Soaking weed eater string in water makes it more malleable and less likely to break, so it will last longer.
A. First, make sure you choose a weed eater string that is compatible with your string trimmer. Check the manual if you’re not sure. If you’re trimming grass and light weeds, a thinner string will give you a precise, clean cut. If you’re taking down thicker vegetation, choose a thicker string line that’s compatible with your trimmer.
A. Extend the line between 4 and 6 inches from the cutting head. This allows for enough length to cut weeds and grass without being so long that the line comes into contact with the shield.
A. There are several signs that it’s time to change the string line in your weed eater. The most obvious is your weed eater is no longer trimming vegetation because there is no string extending from the head. It may also be time to change the string if the line repeatedly becomes tangled in weeds or grass or if it breaks easily, indicating it has become dry and brittle.
