We may earn revenue from the products available on this page and participate in affiliate programs. Learn More ›
A burst pipe or clogged toilet can be a real headache. We depend on the plumbing in our home to function seamlessly so we have clean water to use; cold and hot water running throughout the house in each shower, tub, faucet, and water-using appliance; and the ability to remove wastewater.
But when plumbing isn’t working, the problem needs fixing right away. Many homeowners try to address plumbing issues on their own, but that isn’t always a good idea. “While it’s great that homeowners are interested in tackling some plumbing tasks themselves, it’s important to know where to draw the line,” warns Al Fagundes, founder and CEO of A. Fagundes Plumbing and Heating Inc., with locations in Massachusetts and New Hampshire. “I’ve seen my share of DIY mishaps over the years, and some can be costly,” he says.
We spoke with Fagundes and other professional plumbers to ask what they think are the three biggest DIY plumbing mistakes they’ve seen and been asked to fix. They also offered tips to help homeowners determine which plumbing repairs are typically suitable for DIYers and which are best left to the pros.
1. Over-Tightening Connections
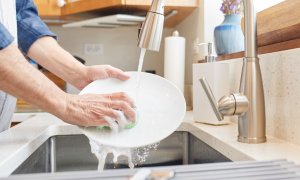
A common mistake that DIYers make is tightening pipe fittings, supply lines, faucet connections, and toilet bolts too much, which can result in cracking pipes or destroying washers. “Many DIYers think that if a little tightening is good, then more is better, but this is often not the case,” says Fagundes. “Over-tightening pipe fittings, especially plastic ones, can actually damage them, leading to cracks and leaks. It can also strip threads on metal fittings, making them unusable.” This can ultimately cause leaks that could have easily been avoided.
The goal should be to create a seal, not to crush the pipes. Fagundes offers a good rule of thumb: tighten fittings until they’re snug and then give them just a little bit more—usually no more than a quarter turn. Use Teflon tape or pipe dope on threaded connections to help create a seal and prevent seizing.
2. Incorrect Use of Sealants and Tape
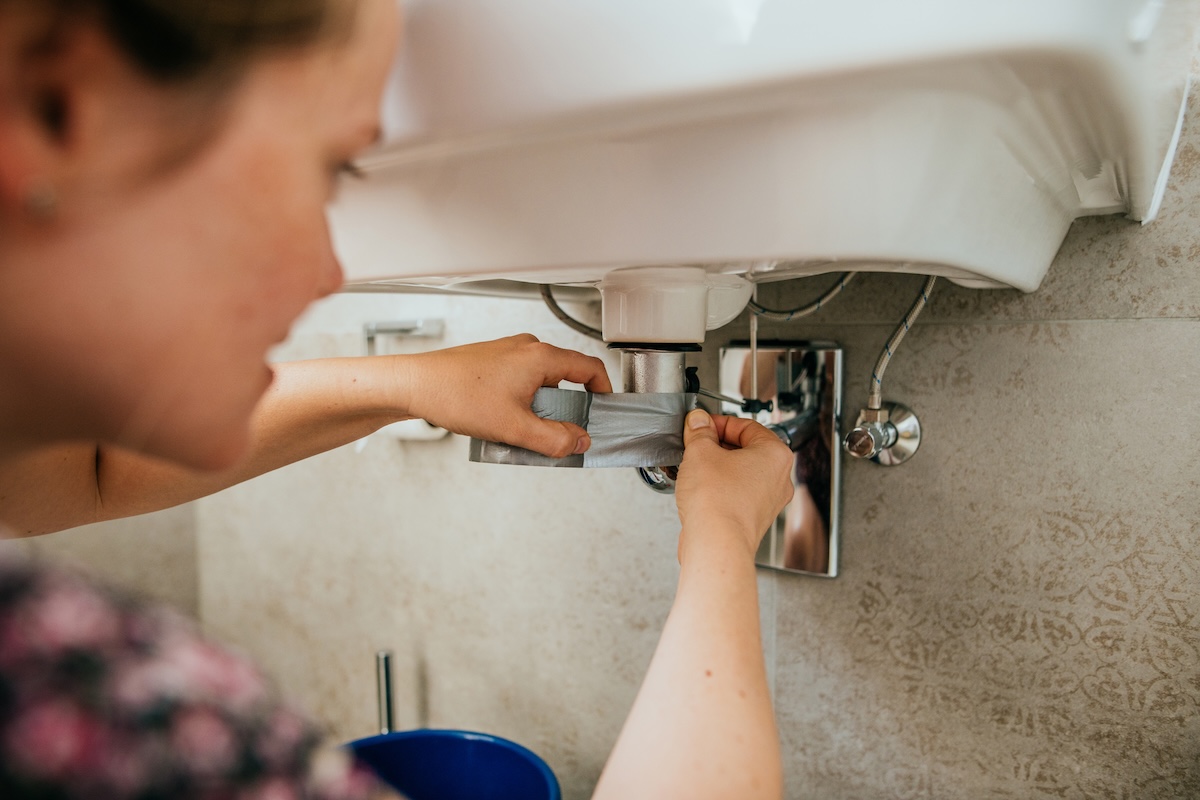
Another issue occurs when DIYers use duct tape or epoxy fillers incorrectly. Danny Pen, a plumbing and HVAC contractor at New Era Plumbing & HVAC in Dracut, Massachusetts, often sees inexperienced homeowners wrapping Teflon tape backward or using too much of it. “In both of these cases, it causes leaks instead of preventing them,” he says. Pen suggests wrapping the tape clockwise two to three times so it tightens with the fitting.
Understanding which sealant to use for which application is also critical. Teflon tape is great for threaded connections, but it’s not appropriate for all plumbing situations, says Fagundes. “For example, it shouldn’t be used on compression fittings,” he explains. “Pipe dope (pipe joint compound) is another sealant that’s used on threaded connections, often in conjunction with Teflon tape.” Also, using too much sealant can be just as bad as using too little. Excess sealant can squeeze out and create obstructions in the pipes.
Finally, Alex Atkinson, plumber and HVAC technician with Super Brothers in San Jose and Sacramento, California, has walked into homes where residents have attempted to repair a burst or leaking pipe with temporary solutions like duct tape or DIY epoxy fixes. “While these might hold for a short time, they’re not permanent solutions and can lead to costly water damage if they fail,” he says. The temporary patches can easily give out, requiring you to replace entire sections of drywall or flooring due to water damage.
3. Forgetting to Turn Off the Water Supply and Drain Pipes
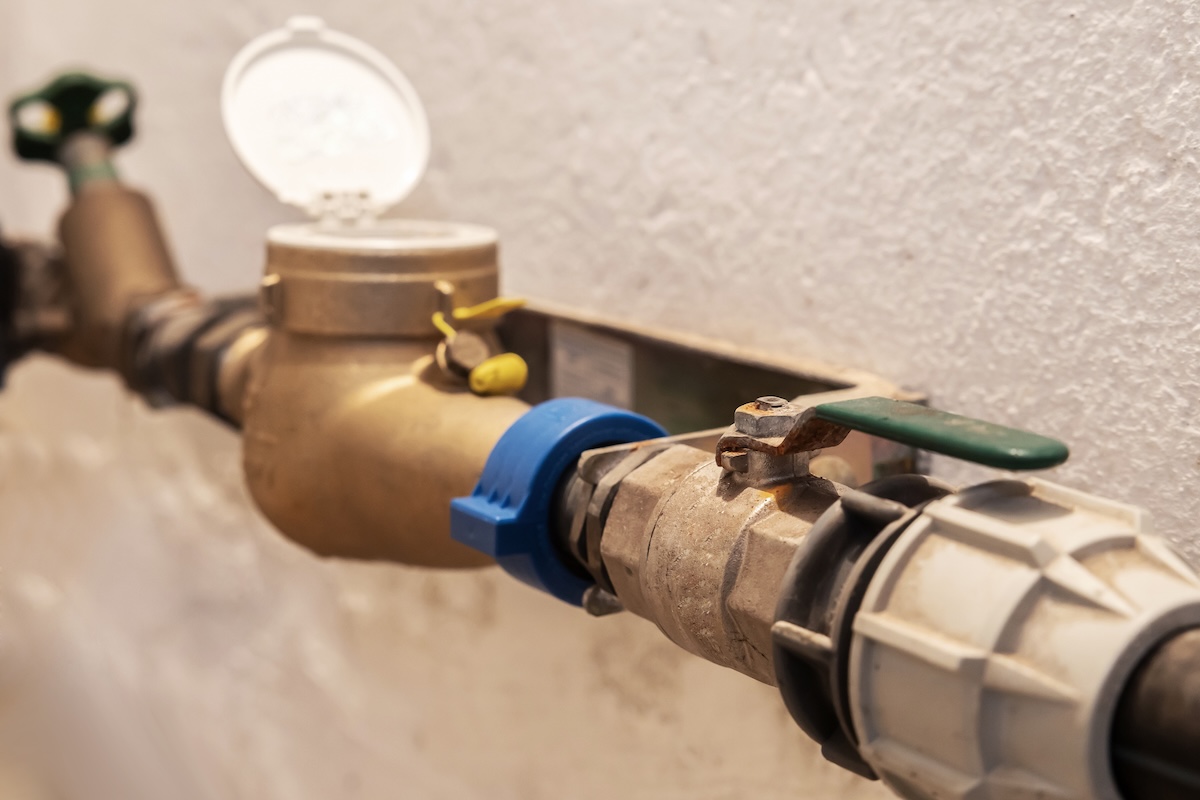
Another big error is when homeowners forget to turn off the water supply and then drain pipes before they attempt to fix a plumbing issue. “It’s amazing how often DIYers forget (or don’t know how) to turn off the water supply before starting a plumbing repair,” says Fagundes. “This can lead to a real mess—water spraying everywhere, potential water damage to walls and floors, and even the risk of electrical shock if water comes into contact with electrical wiring.”
How can you avoid a disaster? Before tackling any plumbing project, be sure to always locate the main water shutoff valve for your home and turn it off. For smaller repairs, like replacing a faucet, you might be able to use the shut-off valves under the sink or toilet.
It’s also critical to drain the pipes before starting any work on them, says Pen. “This means when they start unscrewing a connection, water still under pressure sprays everywhere, leading to soaked drywall, flooded cabinets, and a mess they didn’t see coming.” Always open a faucet downstream to relieve pressure before doing anything with your plumbing.
Plumbing Repairs Most Suitable for DIYers
When it comes to determining which plumbing repairs are DIY-friendly and which require a professional, consider complexity, risk, and tools, says Atkinson. Make sure you have the proper plumbing tools, including a toilet plunger, plumber’s tape, mini sink and drain plunger, and drain-cleaning auger. You’ll also want to find the proper instructions for each type of repair that you can follow easily.
Here are some straightforward, quick plumbing repairs that can typically be handled as DIY projects:
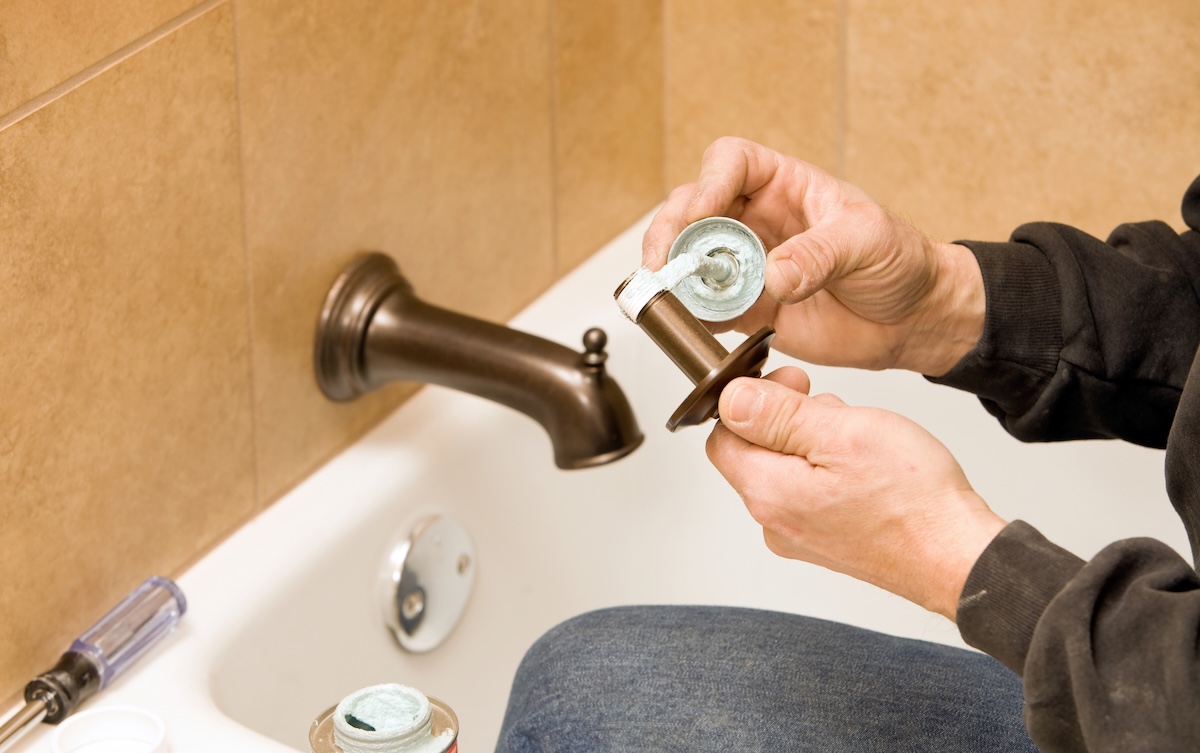
- Replacing a faucet washer
- Unclogging minor blockage in a drain with a drain snake or a plunger
- Swapping out existing fixtures like faucets and showerheads
- Fixing a running toilet by replacing the flapper
- Tightening a minor leak under a sink (if it’s just a loose connection)
When It’s Time to Call a Pro
On the other hand, sometimes it’s best to hire a professional plumber to avoid DIY plumbing mistakes and ensure the job is done well. The typical cost range to hire a plumber is between $180 and $489, with a national average cost of $331. Costs will vary depending on the plumber’s expertise level, type of service, job complexity, supplies, labor, and geographic location.
Anything that includes cutting into pipes, working with pressurized water lines, or taking care of sewage should be left to a licensed plumber, says Atkinson. “If a mistake has the potential to cause significant water damage, mold growth, or safety hazards, it’s best to bring in an expert who has the training and equipment to handle the job properly,” he says.
A good rule to follow, according to Fagundes, is: “if it’s wet, call a pro.” If the problem involves a significant amount of water or if you’re dealing with drain lines or sewer lines, it’s generally best to call a professional plumber. “Water damage can be very expensive to repair, so it’s not worth the risk,” he says.
If you’re not sure if a plumbing repair is something you can handle yourself, it’s always best to err on the side of caution and call a licensed plumber. Here are some of the more complex plumbing tasks that often require a pro:
- Repairing burst or leaking pipes
- Relocating pipes
- Repairing or replacing water heaters
- Working on any plumbing behind a wall, under the foundation, or involving gas or sewer lines
- Addressing persistently low water pressure
- Figuring out the cause of mysterious leaks
- Addressing major drain clogs
- Installing smart toilets and luxury faucets and fixtures
- Performing any work requiring permits or adherence to local codes