
We may earn revenue from the products available on this page and participate in affiliate programs. Learn More ›
Outdoor watering systems are essential to lawn and plant health, but are subject to harsh conditions, especially in winter. Although winters around the world are warming to some extent, the effects of climate change also can lead to extreme weather events in the colder months. For example, Arctic deep freezes are spilling further south and the warming Arctic is making the jet stream less stable, which can land extended cold in areas not accustomed to these kinds of hard freezes.
Even in a normal year, the nearly 70 percent of Americans who live in snowy regions should prepare their outdoor irrigation equipment to prevent damage from freezing, where water expands and can potentially burst or crack the line, pipes, or barrel containing it. Just like when winterizing inside your home, you should winterize outdoor watering systems to prevent damage and potentially costly repairs or replacements.
Rain Barrels

Forgetting to empty and cover a rain barrel can result in an interesting but expensive sight: a barrel swollen or tipped over from the expansion of water inside. A rain collection system in regions with winter periods of 28 degrees Fahrenheit or lower can freeze and crack as the frozen water grows in volume. This also is true of barrels in slightly warmer climates but on the north or shady side of a home. To be safe, take these steps to protect rain barrels from harsh winter exposure:
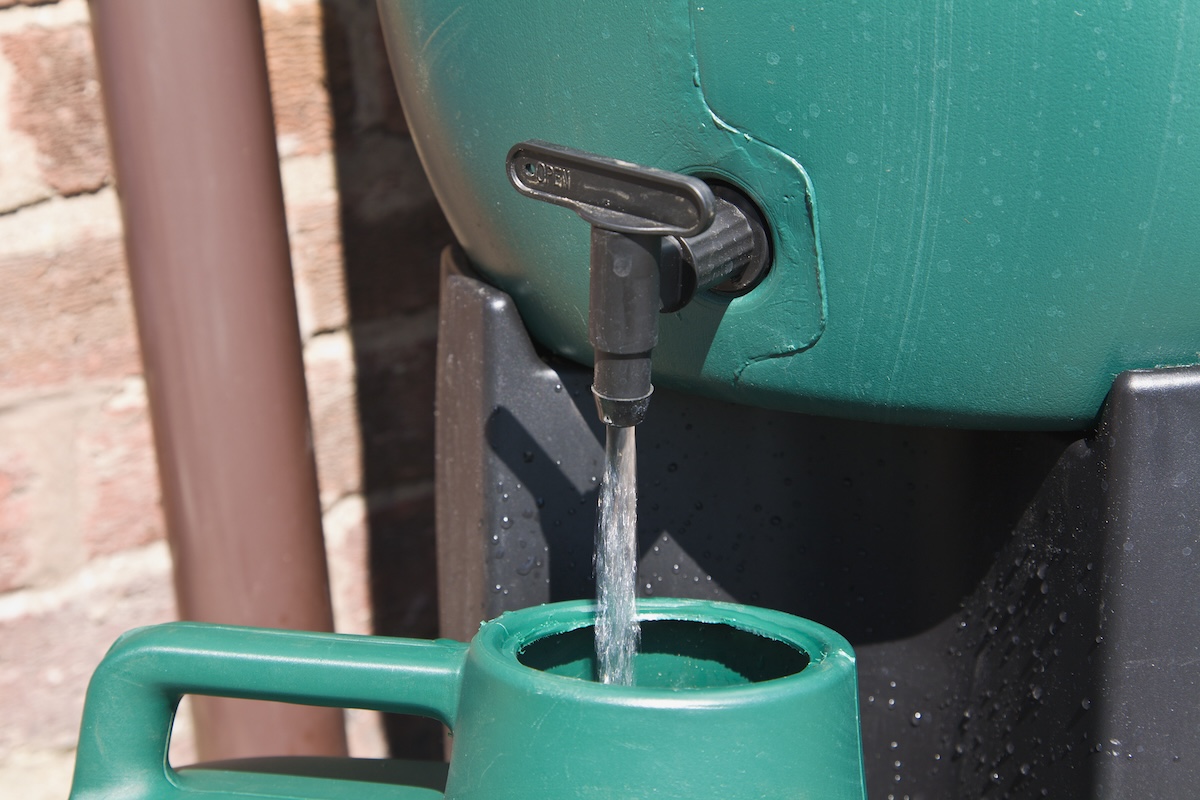
- Start by draining the rain barrel. Attach a garden hose to the lowest connection on the barrel and use it to water a tree or garden area for the last time before freeze sets in.
- Most barrels retain some water and sediment on the bottom; if you can lift the barrel, pour as much out as possible.
- Clean the rain barrel before storing it for winter. Add ¼ cup of distilled vinegar to water in the barrel and scrub the sides and bottom if you can fully reach inside.
- If the barrel is still dirty or smells rotten, try a ¼ cup of 2 percent bleach with a teaspoon of dish soap; scrub again.
- Thoroughly rinse the barrel with clean water, especially if the cleaning required bleach.
- Turn the barrel upside down on bricks or wood blocks to allow airflow while the barrel drains and dries thoroughly.
- In cold climates, store the rain barrel in a garage or shed if possible.
- If storing the barrel outdoors, remove its spigot (or leave it open) and cover the top opening so no water can get inside.
- After moving the barrel, you might want to install a downspout or gutter extension to direct roof water from melting snow away from your house or from sidewalks and patios that can become dangerous from ice.
Before returning your barrel to service in spring, be sure to check the inside for dirt or debris and clean gutters and downspouts to prevent debris entering the barrel with the first flush of rain. The best rain barrels have a screen or filter; replace the filter on your barrel if it is ripped.
Exterior Spigots

Although homes built in the past 30 years likely have frost-proof faucets, you may have no idea what types your home uses or how their locations can affect freezing. It’s better to be safe than sorry to prevent a costly winterizing mistake and resulting plumbing leak by protecting any outdoor spigot. A garden hose or splitter still attached to the faucet can freeze if water remains in it, which can burst the hose, plus cause freezing in the pipes behind it. Be sure to add draining and removing all garden hoses, soaker hoses, or other above-ground faucet attachments to your winter preparation checklist, plus:
- Begin by shutting off the faucet’s water supply; the shut-off valve usually is found on an interior wall of the house.
- Remove and drain the garden hose (and any splitters or timers) from the spigot. You can drape the hose over a fence or clothesline or raise one end of the hose to waist level and walk the length of the hose, moving it from hand to hand to create enough gravity to empty the hose.
- Roll the empty hose up and store it in a shed or garage for winter. Do the same after each time you use a hose if you water in winter.
- Once the spigot is free of attachments, open it as usual to drain remaining water from the spigot.
- Shut off the faucet once it is drained.
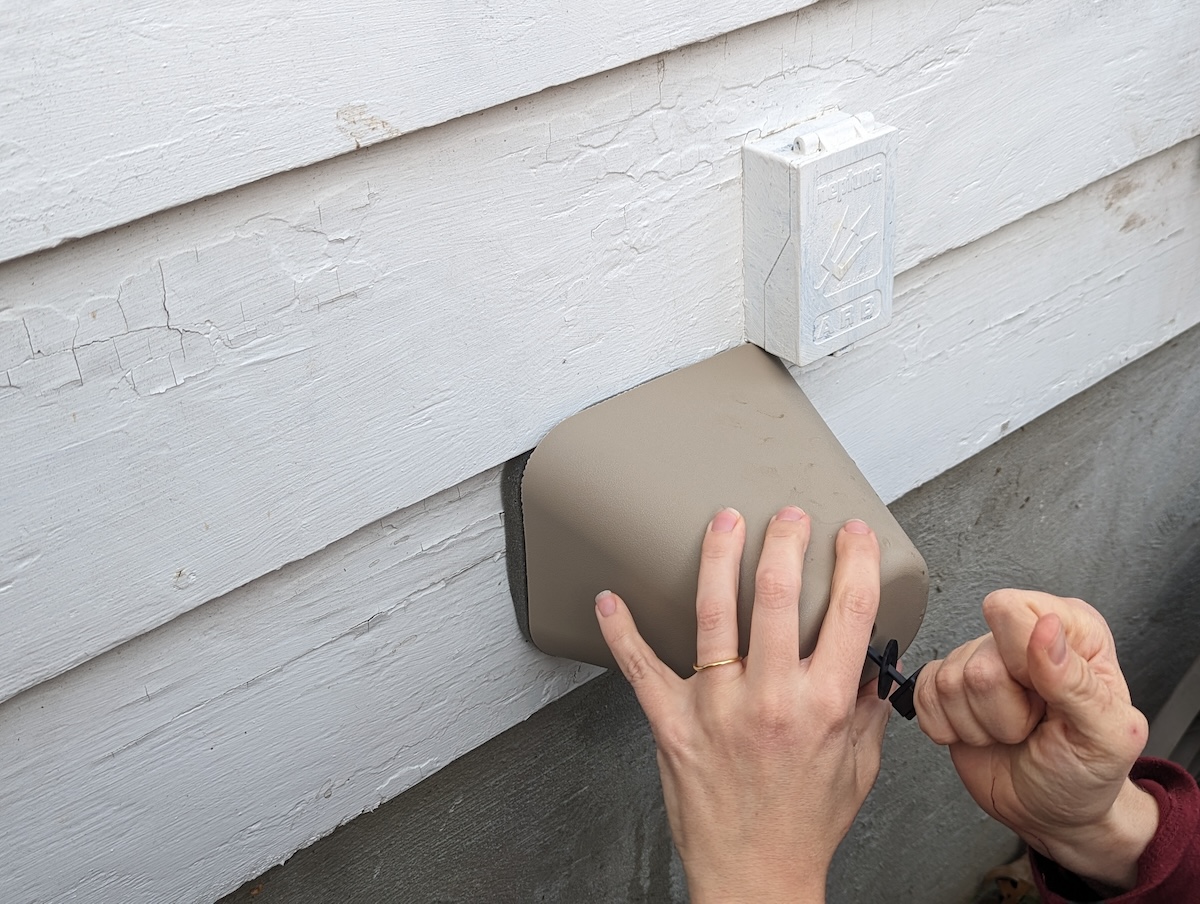
- Cover the spigot tightly with insulation foam or a faucet protector like this one available at Amazon.
If you have an old spigot or must replace an outdoor faucet, be sure to opt for a frost-free model. Again, it’s better to be safe than sorry with outdoor faucets. Those located on a shady or north side of a home, or with poor insulation, can freeze even when your thermometer reads warmer in other parts of the yard.
Irrigation Systems

Winterizing is especially important for sprinkler and drip systems. The lines that feed water to your plants are plastic and tiny (from ¾ inch in diameter to ⅛ inch for microtubing). Some plastic tubing and nearly all irrigation system fittings and sprinkler heads are subject to freeze damage. The specific steps to take depend partly on the typical low temperatures and duration of freezes in your region, the type of irrigation system, and how deeply the lines are buried. In general, if temperatures typically drop below 30 degrees in winter, you should take steps to protect your system.
- After your last watering and before the expected first frost, drain all water from the lines and components. Start by turning off the water supply to the irrigation (it’s typically below ground inside the irrigation box).
- Some irrigation systems have automatic drain valves or backflow prevention that rely on gravity, but they must have been installed well to ensure no water gets trapped in the low spots.
- Open all drain valves and drain the backflow device. The Texas A&M Agrilife Extension School of Irrigation offers videos on how to winterize these and other irrigation systems.
- Systems with electric valves or no built-in drainage need blowing out with compressed air to ensure complete expulsion of water. This often is best left to pros. If DIYing, blow out one sprinkler zone at a time using appropriate pressure (generally 50 to 80 pounds per square inch, or psi; see these tips from Colorado State University Extension).
- If necessary, blow each zone’s or station’s lines out twice to ensure all water is out. If sprinkler heads remain in their up position and blow out air only, you have used enough pressure to empty the lines.
- Seal the ends of open lines with an end fitting, plastic bag, or other barrier to prevent debris from getting into the irrigation lines.
- Be sure to turn off or deactivate the system’s timer to ensure it does not run unexpectedly and leave water in the lines.
- Insulate above-ground components of the irrigation system with insulation tape like this option available at Amazon, foam covers, or other methods.
- In the coldest areas with hard freezes, pros might recommend that you disconnect the entire faucet assembly, including the timer, filter, and pressure regulator, and bring them inside. This can be more complex, and might be best left to a certified irrigation professional. You also can remove any accessible plastic fittings.
If you’re unsure about how to winterize your particular system, look for the instruction manual or check with the system’s installer, making an appointment for pro help if needed. When you start the system up in spring, be sure to check and tighten fittings and check for possible leaks.
