
We may earn revenue from the products available on this page and participate in affiliate programs. Learn More ›
Gutters play a major role when it comes to managing rain water. Without gutters, rain can run off your roof and onto the ground near your foundation, potentially splattering dirt on your siding or causing water to drain into your basement. While it’s possible to repair leaking gutters, those that are too far gone need to be replaced.
While you can hire a professional to install gutters, this is a project most DIYers can handle with materials and tools you can find at your local home improvement store. There’s a good reason to take on this job yourself. Professional gutter installation costs between $8 and $15 per linear foot, more than twice the cost of doing it yourself. Read on to find out how to install rain gutters.
Gutter Planning Tips

Planning is key to ensuring a good gutter installation.
- Start by measuring the length of every roof edge where a gutter will be installed. Remember, gable ends of a roof typically do not need gutters.
- Make a sketch of your house and mark where you plan on installing the gutters.
- Identify any corners that will require special gutter pieces.
- Plan where you will place the downspouts, which are typically located at the corners of the house and at about every 30 to 40 feet.
- Consider the size of the gutters you need based on the amount of heavy rainfall you receive and the roof pitch.
- Purchase all sections of gutter, downspouts, hanging brackets, and connectors you need to complete the project.
- Gather and purchase all necessary supplies and tools.
- Ask a friend to help with the installation.
Safety Precautions
Installing gutters requires you to work from a ladder, which is inherently dangerous. Take precautions by using a sturdy ladder that’s in good condition and make sure to keep a safe distance from nearby power lines.
Since installing replacement gutters involves working with lengths of gutter that are up to 10 feet long, you’ll need to work with a partner who can help lift and hold each length of gutter as you secure it to the fascia.
Tools & Materials
Bobvila.com may earn a commission from purchases made through these links.
- Extension ladder
- Tape measure
- Level
- Cordless drill/driver
- Hacksaw
- Miter saw (optional)
- Cold chisel
- Hammer
- Metal screws
- Drill bits
- Socket set
- Hole saw bits
- Pencil
- Nail
- Chalk line
- Aviation snips
- Gutters
- Brackets
- Downspouts
- Connectors
- Caulk
- Downspout brackets
- Downspout elbows
- Downspout outlets
- Gutter sheet metal screws
How to Install Rain Gutters Step by Step
While installing rain gutters isn’t a difficult process, following each step with care is crucial if you want a gutter system that does the job it’s supposed to do. We recruited Jim Marino, home improvement expert and assistant general manager of Pinnacle Home Improvements, to provide in-the-field insights gathered from his company’s experience of installing gutters as part of their services.
Step 1: Mark the run of the new gutters.
You’ll need to measure and mark the placement for the line of gutter that you run. For each line, start by marking where the gutter will start (the high side of the gutter). The gutter should hang about 1¼ inches below the edge of the flashing. Drive a nail into the mark and attach a chalk line to it. Run the chalk line to the other end of the roofline, so it runs lower than the first mark.
Don’t rush this step. Getting a proper slope is absolutely crucial when hanging gutters to ensure they work properly, according to Marino. “This is usually about ¼ of an inch for every 10 feet, which will ensure proper drainage,” he says.
Hold up a level to the chalk line and check the bubble to see if there is a pitch (the bubble should be to the right of the level’s center line), then snap a chalk line.
Step 2: Measure the length of the gutter.
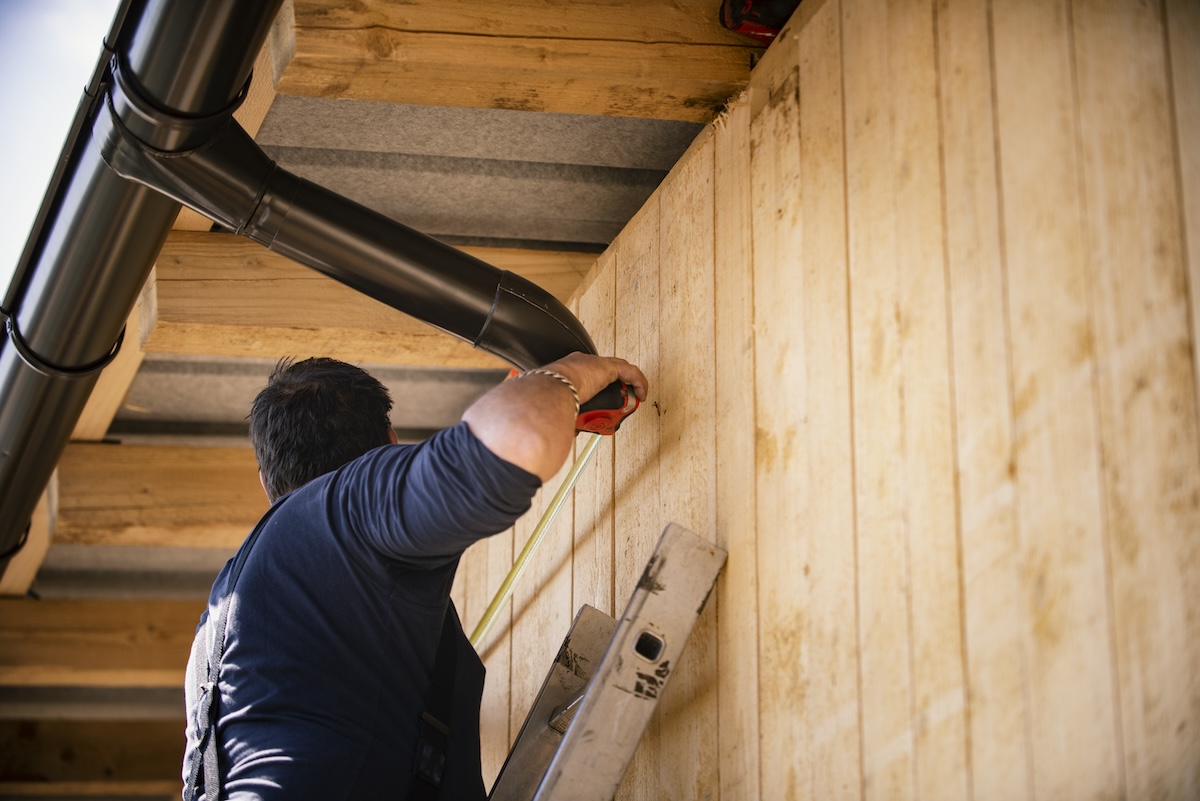
Use a tape measure and measure from one end of the fascia board to the other for each section of gutter.
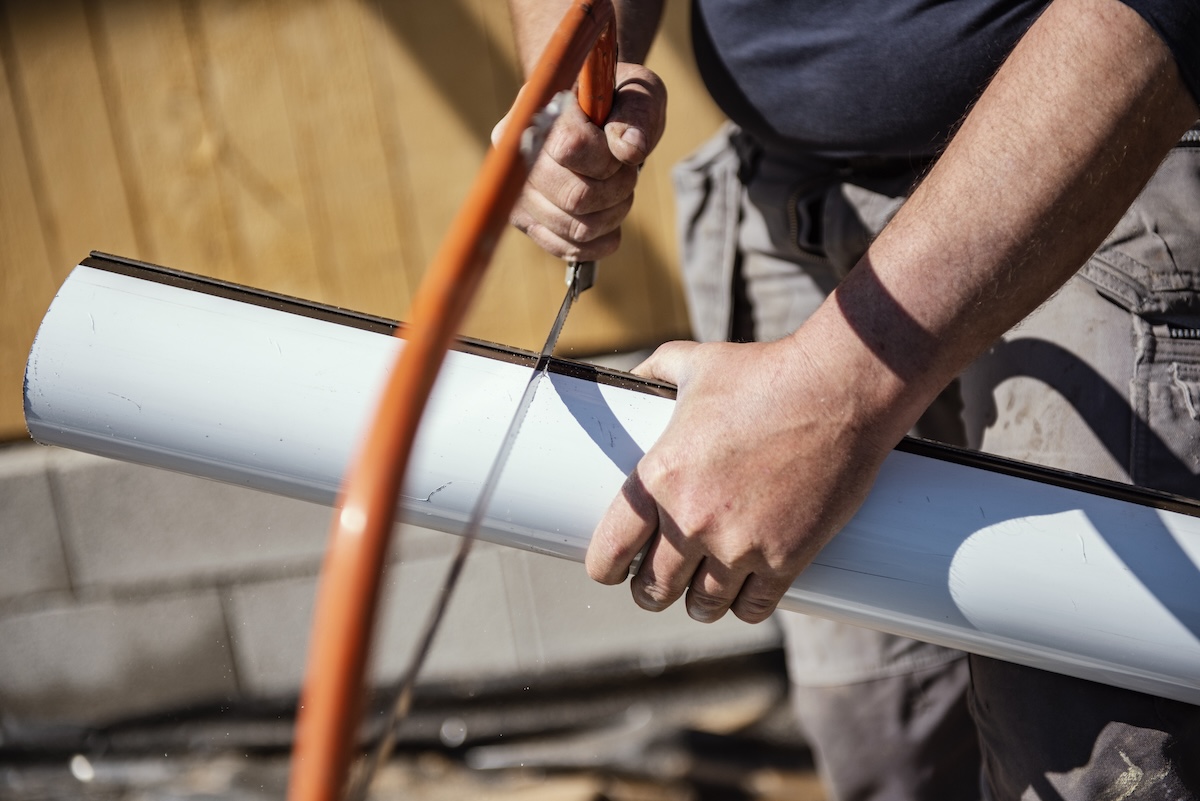
Use a hacksaw, tin snips, or a miter saw with a carbide blade to cut each piece of gutter to length. Since most gutters come in 10-foot lengths, you’ll need to connect two lengths of gutter if you have a run longer than 10 feet. Overlap the two pieces by 4 inches, making sure that the top edge is pointing the same direction as the water flow. When mounting the gutters, place a bracket in the overlapped section of gutter to keep the two pieces secured together.
Apply end caps to the end of the gutter. Fill the end cap seam with gutter caulk, then push it into place on the end of the gutter.
“Don’t forget to seal the joints and end caps,” Marino says. “It’s a frequent area that is overlooked, and failing to take this step will likely lead to leaks and water damage.”
If the gutter continues around a corner, you’ll need to install a corner piece. Depending on what type of corner it is, use either an inside or outside corner. Set the end of each length of gutter inside the corner piece, then secure the overlapped sections to the fascia with a bracket when you mount the gutters.
Step 3: Cut downspout holes.
You’ll need to cut holes in the lengths of the gutter for the downspouts.
“Downspouts should also be placed every 30 to 40 feet to prevent overflows and backups during heavy rains,” Marino says.
After you determine your downspout locations, use a downspout outlet as a stencil to mark the hole in the section of gutter. Use a hammer and a cold chisel to cut the hole. Apply caulk around the hole, install the downspout outlet, and secure it with metal screws.
Step 4: Hang gutters.
Position the gutter hangers inside the gutter, spacing them about 3 feet apart. With the help of a partner, lift the gutter into position, using the chalk line as a guide. Once lined up, use a cordless drill/driver to secure the gutter to the fascia board. Remember to install a hanger into any overlapped sections of gutter and at connections with gutter corners.
Step 5: Create and install the downspout arm.
Measure the distance between the downspout hole and the siding, then subtract 5 inches to account for the width of the downspout. Cut a piece of downspout to that measurement.
- Attach elbows to either side of the piece of gutter, forming an S shape.
- Attach the elbows so that the pieces overlap in the direction of the flow of water to prevent leaks.
- Attach the S-shaped piece to the downspout outlet using screws.
Step 6: Measure, cut, and install downspouts.
Measure the distance between the elbow and the ground and cut a downspout pipe that ends about a foot above the ground. The easiest way to do this is to hold up the downspout to the elbow and mark a cutline.
Attach the downspout pipe to the elbow, then add screws at every seam to secure it into place. Use downspout straps to secure the downspout to the side of the house, adding one for about every 5 feet of downspout. Use a level to make sure the downspout is straight as you add the downspout straps.
After the downspout is in place, add an elbow to the bottom of the downspout. Finally, add a downspout extension, making sure it empties at a place that drains away from the house.
Final Thoughts
While installing a gutter system on your home isn’t a difficult job, it does have some physical requirements. You’ll need to feel confident working from a ladder while positioning long pieces of gutter and using power tools. We highly recommend recruiting a friend or family member to help you with this job.
There are situations when you should hire a professional gutter installer. Given the risks of working from a ladder, we recommend going with a pro if you’re installing new gutters and downspouts that are two stories off the ground. Even though the cost is higher for a pro to do a rain gutter replacement, if you want the look and reliability of seamless gutters, you’ll need to hire a pro as seamless gutters require a special fabrication tool.