We may earn revenue from the products available on this page and participate in affiliate programs. Learn More ›
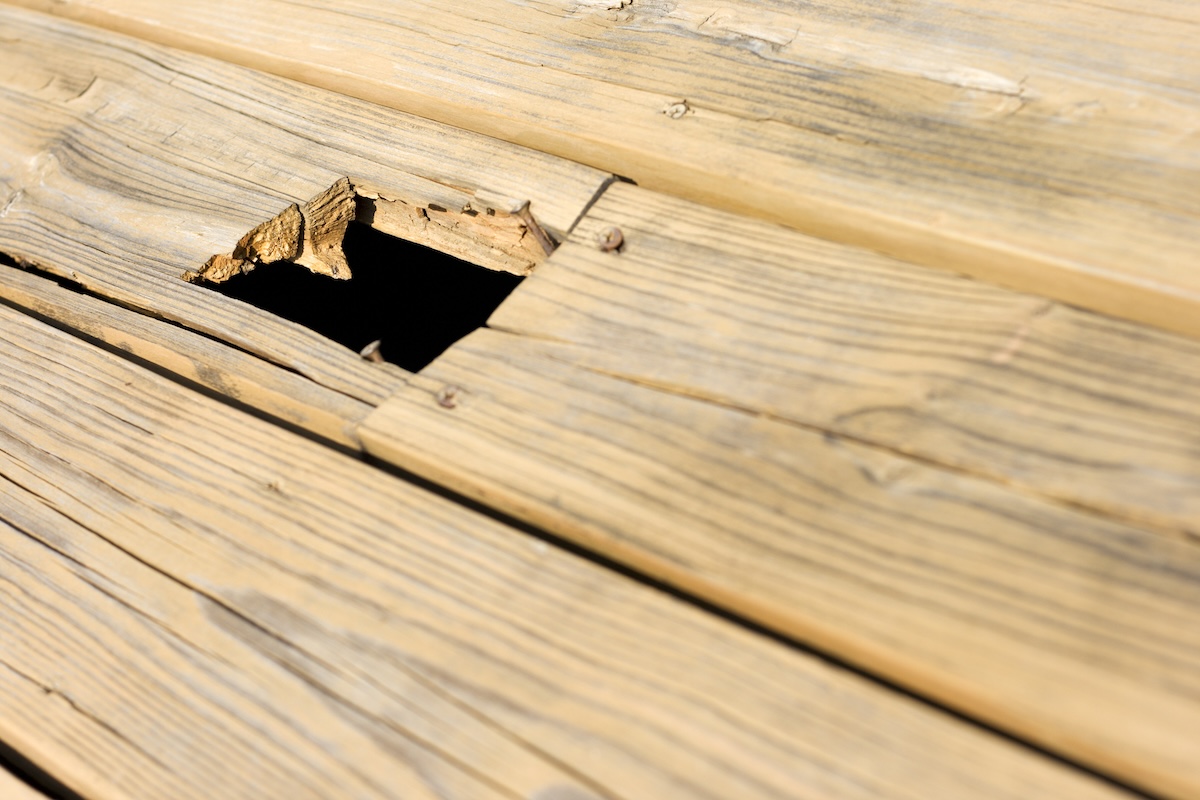
There are a number of reasons you may need to replace a deck board. If you’ve bought a new house with an old deck, you may find that you need to replace a deck board or more. Even on new wood decks, a board or two can shrink or deform so much over a season or two that replacing it might be the best way to achieve uniformity.
Another cause for deck board replacement is the so-called “deck rescue” coatings. In the decks I’ve seen that have had this thick, viscous latex-y paint applied to them, water got through the coating after a period of time and rotted deck boards underneath the coating.
Decks of all sorts, wood and composite—can also undergo storm damage from a falling branch or tree, requiring a deck board to be replaced. Composites can be damaged by excessive heat (like an improperly placed fire pit) or scratched by moving heavy deck furniture.
The hardest part of replacing a deck board is getting the damaged one out without causing any harm to its neighbors. Here’s how to successfully remove the old deck board from a wood deck, and how to replace deck boards with new boards.
Tools & Materials
Bobvila.com may earn a commission from purchases made through these links.
Project Overview
Working Time: 1 hour
Total Time: 90 minutes
Skill Level: Intermediate
Estimated Cost: $100+
Before You Begin
Replacing deck boards is one deck repair project that can help extend the life of your current deck. It’s less than the cost of deck replacement or rebuilding a deck, but a deck board replacement does take some effort on an older deck. The method for removing an old deck board depends on how the deck board was installed. Check to see if it was nailed or screwed in place and then follow the steps below to remove the board.
Note: Safety is important when doing any deck renovation, repairing a deck, or removing an old deck board from a deck. Make sure to wear safety glasses and gloves before starting any demo.
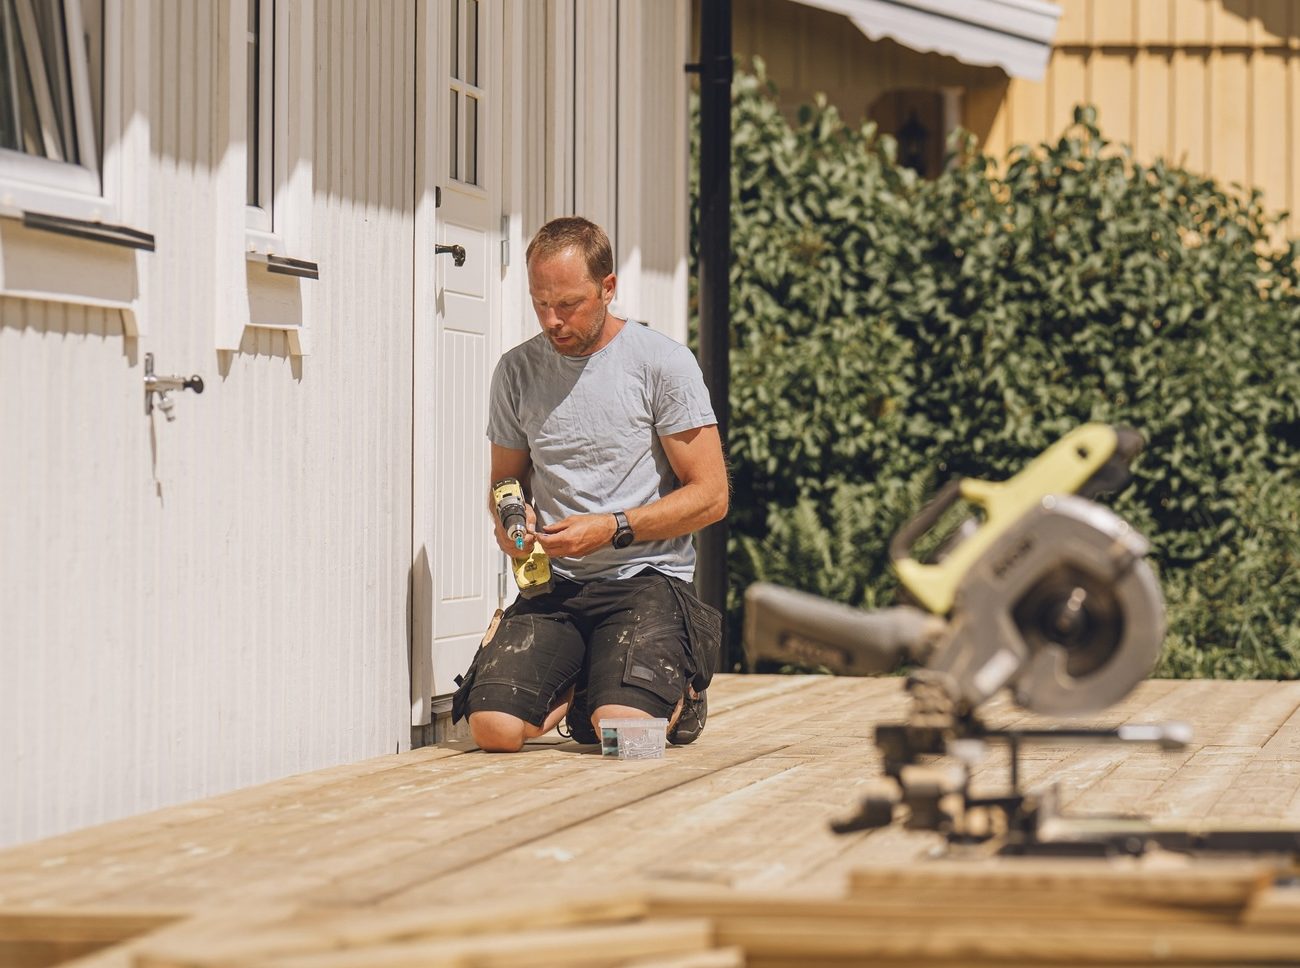
Step 1: Remove the deck board.
Removing a deck board can be easy on a newer deck, and more difficult on an older deck. You can either get under the fasteners to lift the board out of its place or cut the board out of the deck.
Option 1: Remove the fasteners holding the deck board in place.
The first step in replacing a deck board is to remove the old board. Here’s how to remove a nailed deck board and how to remove a screwed deck board.
Nailed deck boards: Try to get under the board with a pry bar.
Lots of decks that are 25 years old or so have been hand nailed. That typically means double-hot-dipped galvanized nails were used. And as great as modern fasteners and screw geometry is, double hot-dipped galvanized nails were meant to stay put. And to get at them, the secret is to get under them. Therefore, the first tool in my arsenal I’m going for is my Estwing 18-inch I-Beam pry bar.
- Using the right-angle head, position the tool so that the tool’s teeth are parallel with the length of the board, i.e. “with the grain.” Drive the teeth in under the nail head, then pull. Really make sure to seat the teeth around the shank of the nail. The goal here is to get the nail to move just a little so we can get another, longer (more leverage) tool in there.
- If the nail moves, I then reach for Fiskars Iso-Core Wrecking Bar. Again, going with the grain, drive the teeth hard into the shank of the nail. Once seated, apply pressure. The nail will either come out or the head will pop off.
- If the nail moves but the head pops off, the next layer of nail pulling is nail pulling pliers, aka nail nippers. Assuming the shank of the nail is up now, the pliers’ jaw can bite down on the shank and you can roll the tool such that the nail will move. Assuming it does, readjust, re-bite, and keep pulling. Nail nippers are also good wire cutters and good for cutting other things like zip-ties.
- Alternatively, a dedicated nail pulling tool also works.
Screwed deck boards: Try to back out the screws.
When removing decking boards that have been fastened with screws, it can be more challenging. You may see that your wood deck has been screwed down and think that your day is made. And on a newer deck, you’d likely be right because you can use an impact driver or drill to back the screws out.
But on an older deck where the screw heads have been filling with dirt and such for years, it’s 50-50 if the screws will budge. Also, they may have decayed between the bottom of the deck board and the top of the joist such that there is minimal or even no connection remaining with the deck framing.
If you can’t remove the deck board, move on to Option 2.
Option 2: Cut the deck board out of the deck.
In the likely event that all the fasteners won’t back out, the next step is to cut the deck board out. Set your circular saw just deeper than the thickness of the deck board, which is 1 inch deep for “5/4 decking” and 1½ inches deep for 2×6 decking.
- Offset about ¼ inch from the center of the deck board. Then take two passes with the saw. In a deck board that is sandwiched between two others, take care not to cut into the adjoining deck boards.
- After taking those two passes, you should be left with a thin strip in the center of the deck board. Using a painter’s multitool or some other small pry bar, pull the strip up and pry it out.
- You can also cut the strip. Using the circular saw, make two plunge cuts about 2 inches apart perpendicular to the strip. Part of the strip will fall out and you’ll have a larger void to get at the strip.
- With the strip removed, there is now a void down the center of the deck board which should be enough to get the nose of a pry bar in, enabling the deck board to come out in two long halves.
Step 2: Replace the deck board.
Now that the old board is out, it’s time to replace the board. Simply cut a piece of decking to fit, ensure the gaps are uniform on each side and fasten. If the new piece of wood decking looks wider than the one you took out and it fills the entire void without gaps, that’s expected. Its moisture content is sky high from manufacturing. It’ll shrink to the correct width as it dries out. It can take a few weeks to a month for it to shrink.
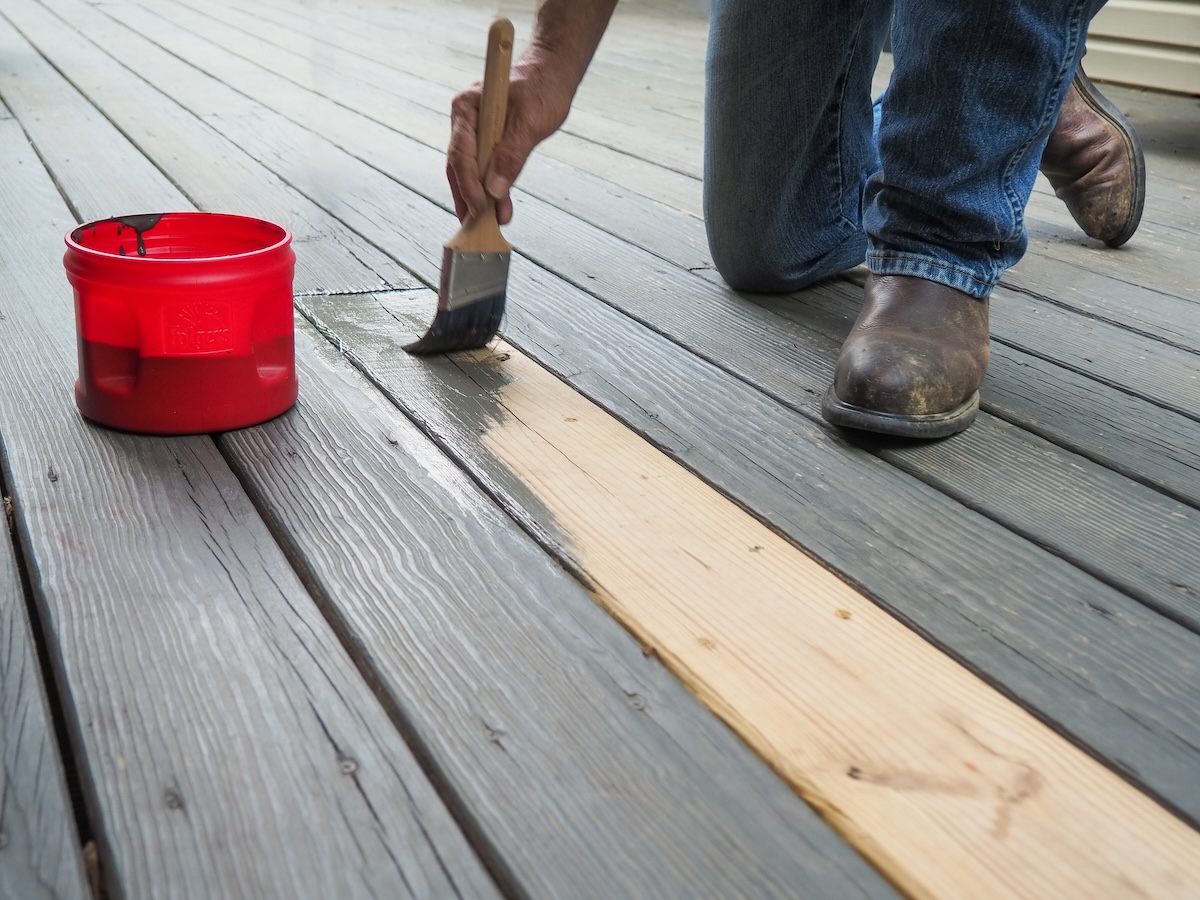
Step 3: Finish the new deck board to match the rest of the deck.
Now that the deck board is in the deck, it’s time to match the wood to the rest of the deck. If the deck was stained or painted, use a cut-off from the old piece of wood decking as a sample to color-match the stain color or color-match the deck paint. If the deck was sealed, choose the same sealer on the new deck board.
When applying the new stain or sealer, tape off the neighboring deck boards so they don’t absorb any additional color while you work to apply stain to the new deck board. After the board is dry to the touch, remove the painter’s tape.
Final Thoughts
Deck boards need to be replaced due to weathering, lack of regular maintenance, or just wear and tear. Replacing a deck board can be easy or it can take a lot of effort. It depends on how the old deck board was installed and whether you can make contact with the fasteners in the board. Cutting out the deck board is another option, but it takes some finesse and skill. If you are challenged with removing the old board, consider asking a pro to do the job.
While wood decks can last for decades, they last longer and better with the right care.
