
We may earn revenue from the products available on this page and participate in affiliate programs. Learn More ›
Sanding a wood deck is an essential part of home maintenance, and it sounds simple enough. Rent a sander, take a few laps around the deck surface, tune up the guard rail’s top cap, and voila: a just-like-new deck! Right?
Not quite. Before sanding a deck, it’s imperative to fully understand all of the steps involved. Beyond the amount of time it takes to painstakingly walk back and forth with a vibrating deck sander, there’s also the effort it takes to set all of the fasteners so they don’t damage the sander.
Whether you want to know how to sand a deck to ready it for paint or stain or if you are just hoping to expose new wood fiber, follow the steps outlined below to achieve that freshly sanded wood deck you want.
Note: For this article, the focus is on the horizontal surfaces. While sanding 2×2 wood balusters (“spindles”) is possible, it is an incredible amount of labor. I often recommend replacing the balusters when updating an older wood deck
Tools & Materials
Bobvila.com may earn a commission from purchases made through these links.
- Stiff bristled brush
- Kakuri nail punch
- Hammer
- Impact driver
- Floor sander: 4-disc random orbit sander (rental) and sanding discs
- Blower
- Compressor
- 6-inch, right-angle random orbit sander
- Sanding discs
- Angle grinder (optional)
- Safety glasses
- Safety mask
- Ear protection
- Knee pads
- 3-in-1 cleaner/brightener/fungicide
Project Overview
Working Time: 2 hours per 100 square feet
Total Time: 3 hours per 100 square feet
Skill Level: Intermediate
Estimated Cost: $150+
Before You Begin
Getting ready to sand is probably harder than actually sanding a wood deck. In addition to renting the floor sander and gathering all of the supplies, it’s important to start with a clean deck that’s not in need of any deck repairs and that has fasteners set below the decking surface. Just these two steps can take several hours, depending on the size of the deck surface.
Before turning on the sander to start your deck refinishing project, put on safety glasses to keep dust and debris out of your eyes, ear protection due to the sander’s noise level, and a face mask to keep dust out of your lungs. You may also want to use knee pads while setting all of the nails or screws in the decking.
Step 1: Clean the deck.

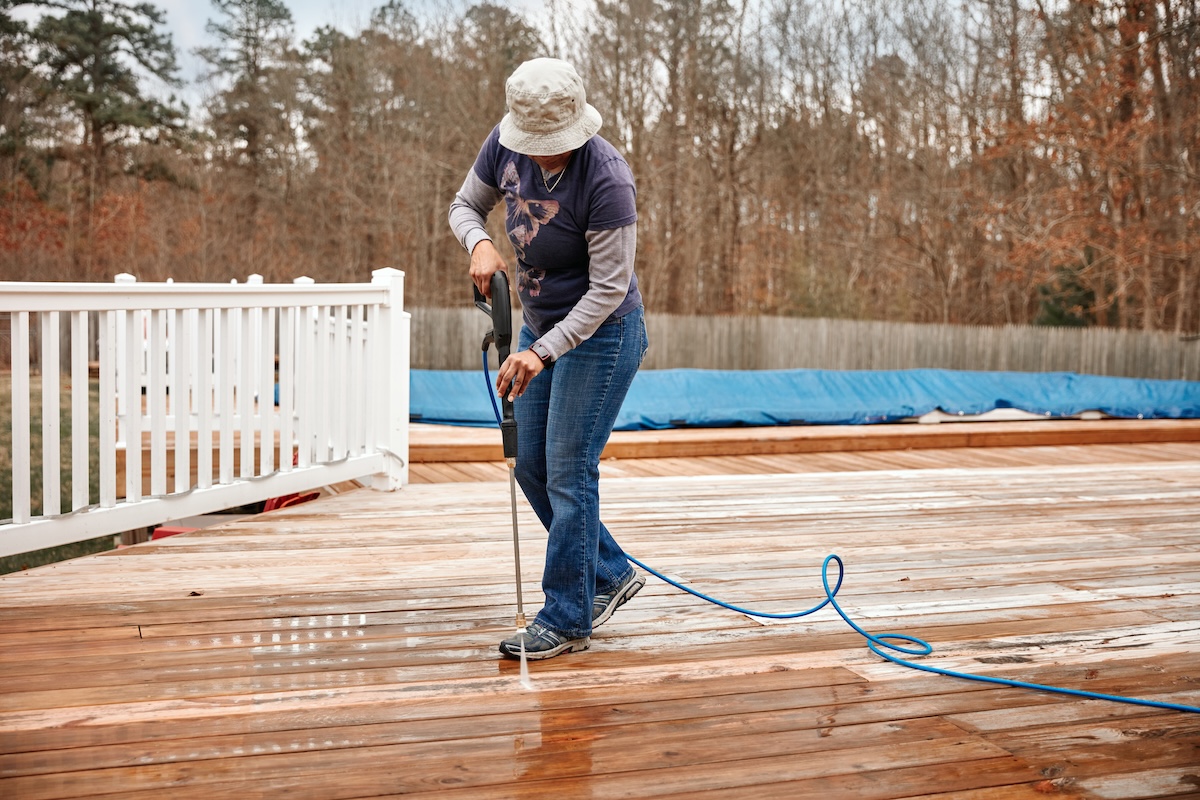
Whether you’re sanding a deck to reveal new wood fibers, stripping a stained deck, or just getting it ready for stain or sealer, clean the deck. While the sander will sand the dirt off, the dirt will clog the sanding discs faster than if you are sanding clean wood. Use a 3-in-1 cleaner/brightener/fungicide and a stiff-bristled brush to clean the deck. You might find that just cleaning it will do wonders for making the wood look better.
Tip: Make sure whatever detergent you use has oxalic acid in it. This is what brightens the deck and makes the wood look newer.
Step 2: Sink the fasteners.
The decking fasteners need to be successfully sunk at least ⅛ inch below the deck surface.
Nails. If you have a deck that’s 25 or so years old, you may have 16-penny nails holding the deck boards down. Every last one of them needs to be countersunk beneath the deck surface. Most of the older decks I see have been hand nailed and the nail heads are flush-ish with the deck board. For decks that were gun-nailed, this job may be largely done for you.
This requires a lot of hand-nailing using a nail set. But these nails aren’t dinky trim nails in interior trim. Serious impact energy is required to move them. And holding a nail set as you would a pencil while you smash it is not easy. Getting a larger nail set with a bigger target is the key here, like this one from Shark Corp or the Kakuri Nail Punch. (I’ve had the Kakuri for years, and it is my favorite nail set).
Screws. If your deck was built in the age of cordless drill/drivers and screws, this countersinking problem may seem like it solves itself. Just zip the screws in a little further with an impact driver or drill, and you’re ready to go. However, as I’ve taken apart decks for deck resurfacing, I’ve found that screws have typically proven problematic to manage.
First, the heads fill with dirt and debris so getting a driver tip in there (almost always Phillips where I work) is near impossible. And even if you can get the tip in the cruciform recess, the screw may be too frozen in the wood fiber to back out or drive in. Or, it might just spin because—and this is common—the screw shank has rusted and rotted between the bottom of the deck board and the top of the joist. If this happens to you, you may want to consider resurfacing the deck with new decking or hiring a professional to sand the decking.
Step 3: Rent a floor sander.
To truly open up new wood fiber, the required tools need to remove a serious amount of stock. And for this, a professional floor sander is pretty much required. There are two types of sanders for a deck: A drum sander and a 4-disc random orbit sander.
For a deck, I’d choose the 4-disc random orbit sander because you can get closer to edges, it covers a slightly wider surface area, and it requires less technique to operate correctly. You’ll also need to buy a lot of sanding discs, starting from the roughest and working down to 80- or 100-grit.
Tip: If you haven’t successfully set all those fasteners from Step 2, and you start sanding through them, you’ll see them as “shiners” as you make passes. You run the risk of damaging the rental tool, which you do not own. Ask your rental supplier about coverages for tool damage.
Step 4: Pass over the decking with the sander.
Assuming you rented a 4-disc random orbit machine, it’s a matter of smooth, even coverage, going through the grits from the most coarse to the finest. Deck sanding involves methodically passing over the deck surface, back and forth, moving in the direction of the deck boards.
Depending on the condition of the wood, it might be smart to make two passes with the most coarse discs. Don’t expect to see night and day changes on the first pass, either. This is mostly stock removal for smoothing. The finer sandpaper grits should expose the new wood fiber.
Because deck boards require so much stock removal, I overlap my passes 50 percent, kind of like mowing the lawn. Two discs hit on unsanded wood, and then two discs work on slightly smoother material, at least for the first round.
There’s no way to explain how to determine when to change sanding discs, but when you don’t see much of a change in the deck surface any longer, they’re clogged. Keep your mask on when you check the dust bag every so often to see how full it is. Change it as needed.
Tip: Use a blower between passes to clean the deck off. There’s no sense in sanding sawdust.
Step 5: Sand the railing caps.

The same prerequisites apply to railings as they do to decking. Fasteners must be set, and dirt must be cleaned away before sanding. It’s much easier to notice a change after sanding railing caps—almost always a 2×6. While you can sand a railing cap with a typical 5-inch random orbit sander, that tool really isn’t designed for the challenges of exterior stock removal. A 6-inch, right-angle random orbit sander is my choice for this job. (By the way, after you use it, you’ll wonder why you ever chose that light-duty 5-incher.)
Tip: On the rail cap, however, there might be an ace in the hole, at least for the first pass: An angle grinder with a flapper wheel. Before I say anything else, an angle grinder spins at 35,000 RPM. It’s no joke. But, it removes stock in seconds where other tools will take many minutes to achieve the same result. I use this setup in new deck builds where I need to remove some bark, wane, or forklift damage from pieces.
The downside of the angle grinder is that it’s hard to get the workpiece flat because the flapper wheel only has about 1 inch of flatness to it. Subsequent passes should be with a sander that has a flat plenum (the part of the tool that the sandpaper sticks to).
Final Thoughts
Sanding a deck can revive the look of a wood deck and prep it for paint, sealer, or stain. While it can be painstaking to walk back and forth holding on to a sander for a few hours, it will prolong the enjoyment of your current deck. And, while you’re wondering if your wood deck is in good enough shape to benefit from sanding, also be thinking about the costs of simply resurfacing the deck with new decking. If you add the value of your time into the overall budget, it may cost about the same and be much less work.
