
We may earn revenue from the products available on this page and participate in affiliate programs. Learn More ›
A clean range hood filter is crucial for keeping your ventilation system working effectively and maintaining a sanitary cooking space. Over time, these range hood filters accumulate grease, smoke residue, and other cooking byproducts, which can not only reduce the overall efficiency of the range hood but also pose a potential fire hazard.
Knowing how to clean a range hood filter will help you improve your indoor air quality, prevent unpleasant odors from lingering, and extend the lifespan of your appliance. This guide will walk you through the step-by-step process of thoroughly cleaning your kitchen range hood filter with common household supplies and a bit of elbow grease to restore it to its former glory.
Tools & Materials
Bobvila.com may earn a commission from purchases made through these links.
- Degreaser or dish soap
- Distilled white vinegar (optional)
- Baking soda (optional)
- Non-abrasive sponge
Project Overview
Working Time: 30-45 minutes
Total Time: 1-2 hours (including drying time)
Skill Level: Beginner
Estimated Cost: $10-$20
Before You Begin
As founder and owner of Puget Sound Cleaners Edwin Nino Delgado advises: “Safety first—ensure the range hood is powered off before cleaning.” Additionally, if you’ve recently used your range hood and cooktop, make sure both have fully cooled prior to touching either. And as a final precaution, consult your range hood’s manual for any specific cleaning instructions or precautions that the manufacturer recommends.
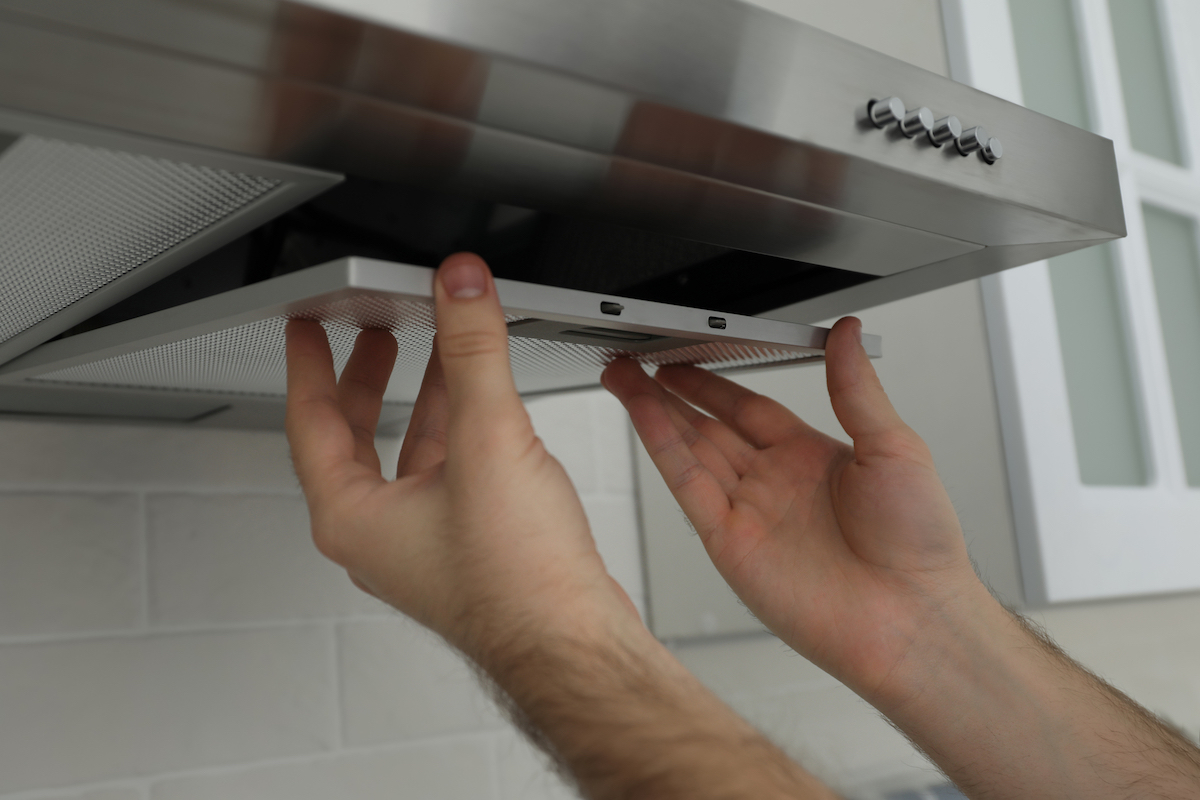
Step 1: Remove the range hood filter(s) from the unit.

Locate the filter beneath your range hood and carefully remove it. Most ventilation hood filters slide or pop out easily, but consult your appliance manual if you have any issue dislodging it.
Use caution when handling the filter, as it may be coated with grease and could be slippery. If your range hood has multiple filters, remove them all for cleaning.
Step 2: Prepare a soap and water solution for degreasing.
Fill your sink or a large bucket with hot water, which will help to better break down grease than cold water. Add a generous amount of degreaser or dish soap. For particularly stubborn buildup, you can create a paste using a two-to-one mixture of baking soda and water as an alternative cleaning method.
Allen Chenault, owner and founder of AC’s Heating & Air, recommends, “Use a degreaser or commercial hood cleaner on the fan, vents and other areas.” If you prefer a more natural approach, a mixture of hot water and distilled white vinegar can also make for an effective homemade degreaser.
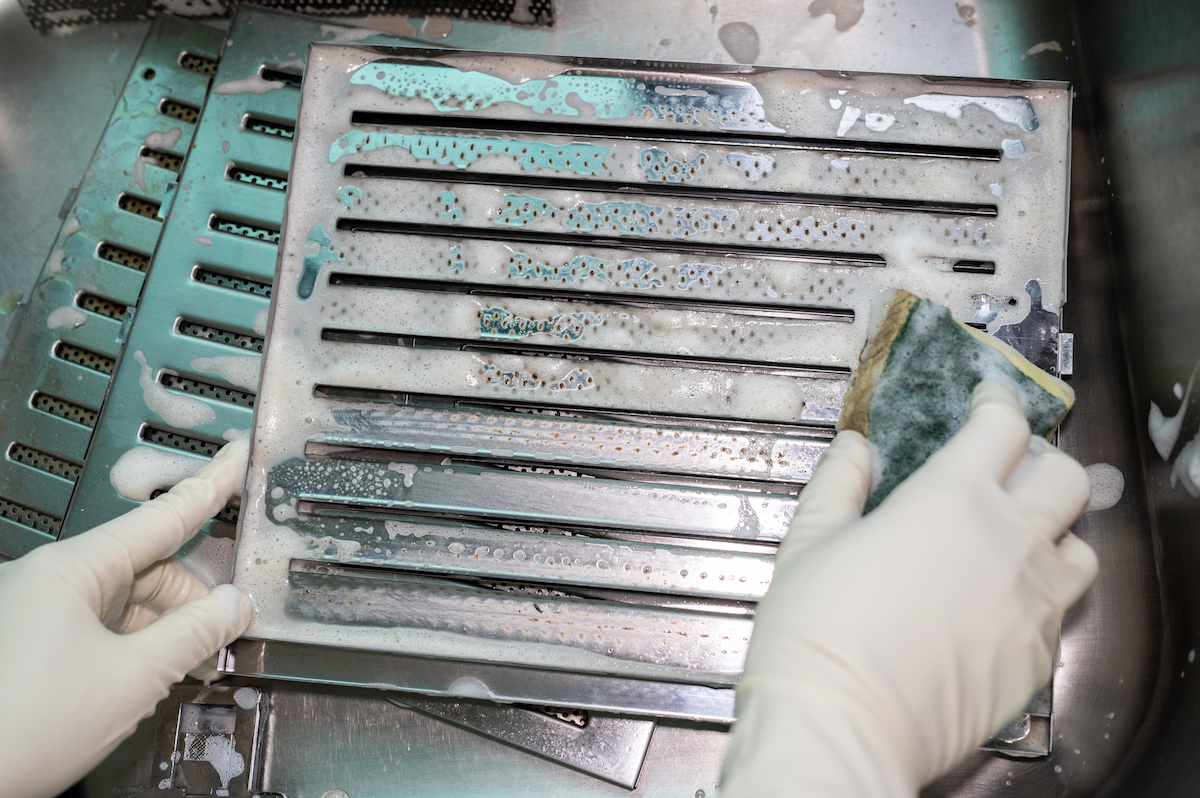
Step 3: Soak and scrub the filter(s).

Submerge the filters in your prepared cleaning solution and let them soak for about 15-20 minutes. This soaking period helps to loosen the grease and makes the scrubbing process easier. After soaking, use a soft-bristled brush to gently scrub the filters, paying extra attention to areas with visible buildup.
Delgado explains, “Soak the filters in a degreaser or warm, soapy water, then scrub them gently with a soft brush to remove grease,” adding, “For stubborn messes, scrub with an abrasive sponge.” Be thorough but gentle to avoid damaging the filter’s surface.
Step 4: Rinse thoroughly and fully dry.
“After cleaning, rinse the filters thoroughly and let them dry completely before putting them back,” advises Delgado. Once you’ve scrubbed away all the grease and grime, rinse the filters thoroughly under hot running water, taking extra care to remove all soap residue. Shake off excess water and set the filters aside to air dry completely before reinstalling them.
To speed up the drying process, you can use a clean, lint-free cloth to pat the filters dry, but make sure they’re completely dry before reinstallation them to prevent any moisture-related issues.
Step 5: Clean the range hood itself.

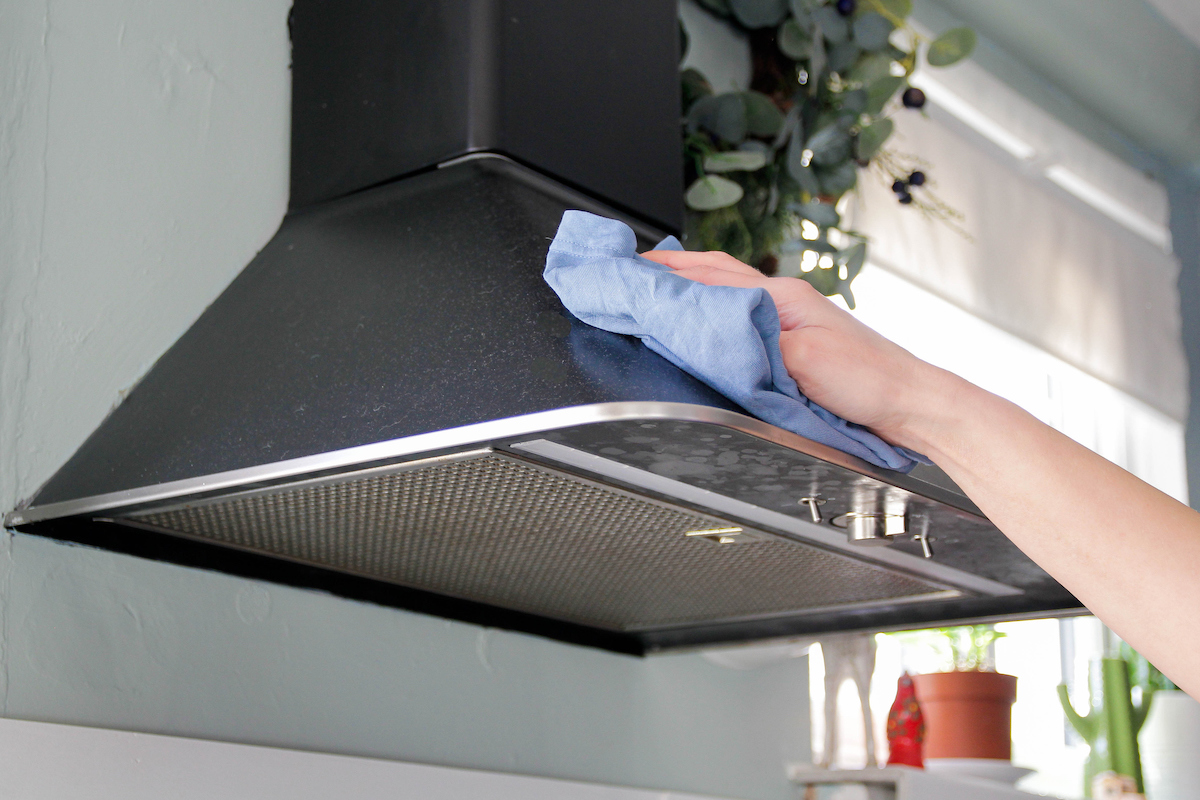
While waiting for the filters to dry, clean the rest of your range hood. Use a degreaser or a mixture of equal parts vinegar and warm water on a microfiber cloth to wipe down all surfaces of the hood, both inside and out. Pay special attention to the fan blades and any other areas where grease tends to accumulate.
Delgado suggests, “Using a degreaser or a mix of vinegar and water, wipe down both the inside and outside of the hood with a microfiber cloth to avoid scratches.” For any hard-to-reach areas, you might find an old toothbrush helpful. Once clean, dry all surfaces with a clean microfiber cloth to prevent water spots.
How to Keep Your Range Hood Filter Clean
Emphasizing the importance of regular maintenance, Chenault says, “Cleaning a range hood thoroughly takes time but prevents major issues down the road and ensures safe, efficient operation.”
Maintaining a clean range hood filter doesn’t have to be a daunting task if you make it a part of your regular kitchen cleaning routine. Aim to clean your filters at least once a month to prevent heavy grease buildup and ensure your range hood continues to function efficiently. After cooking particularly greasy foods, consider giving your filters a quick wipe-down to prevent immediate accumulation.
By following these steps and maintaining a consistent cleaning schedule, you’ll keep your range hood in top condition, ensuring it effectively removes grease, smoke, and odors from your kitchen.
